
Why Car Doors Actually Freeze Shut
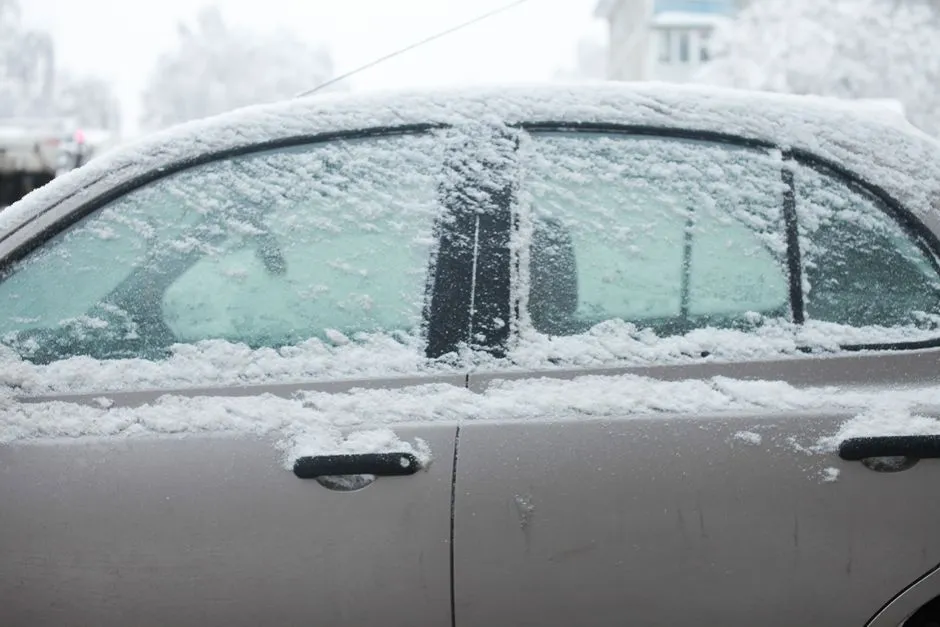
Car doors don’t freeze because of the metal itself – it’s the rubber weatherstripping along the door edge that’s the culprit. Moisture gets into the rubber gasket, freezes overnight, and bonds the door shut. It’s a surprisingly simple chain reaction that catches people off guard every winter.
Doors freeze shut when moisture from rain or snow fills the seams around the door and then freezes, bonding the door to the car’s frame. This usually happens when temperatures drop from above freezing during daytime hours to sub-freezing once the sun goes down.
The rubber door seals are the essential components responsible for this freezing process. When they become hard, cracked, or aged, instead of acting as barriers to moisture, they become the very places that trap it – forming small reservoirs where water collects in exactly the wrong spot.
The Core Trick: Treating the Rubber Seal
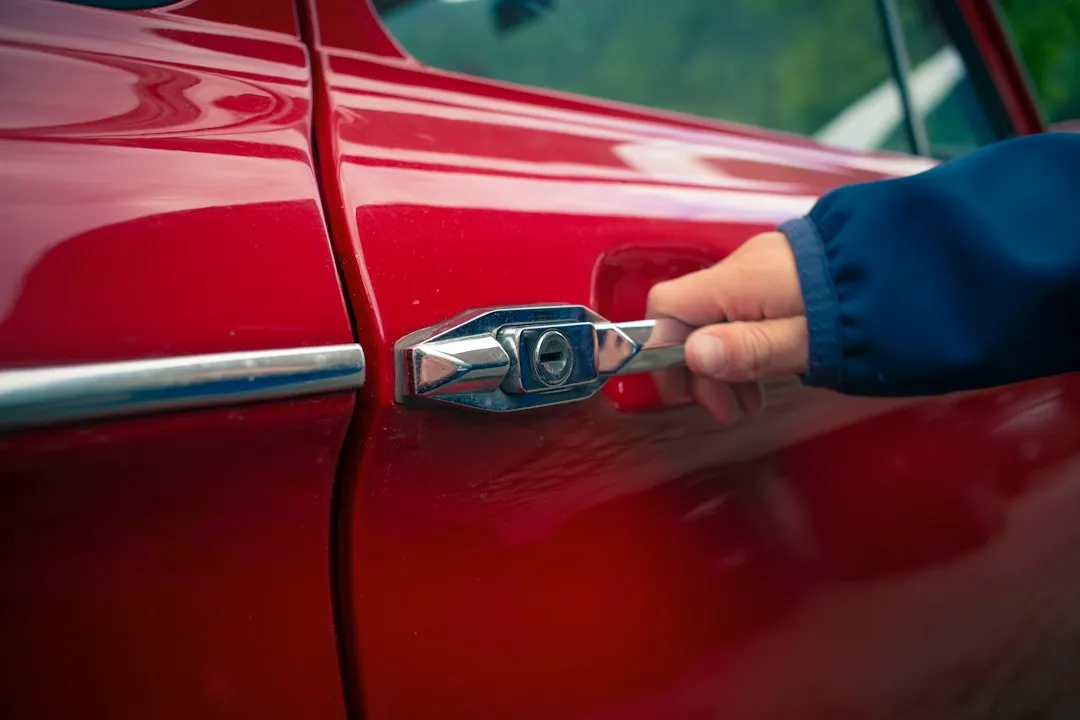
The rubber seals around your doors can trap moisture that freezes, sticking the door shut. By applying a thin layer of glycerin-based moisturizer, you can prevent this seal from sticking to the vehicle frame and freezing shut. This is, in essence, the trick that works.
After cleaning the seals, a rubber-safe conditioner or silicone-based seal protectant keeps the rubber soft and flexible. Apply it thinly with a cloth or applicator and wipe off the excess. This stops the seals drying out and cracking, reduces door noise, and crucially keeps the rubber from bonding to the frame and tearing when you open a frozen door in winter.
Silicone or Glycerin: Which Works Better?
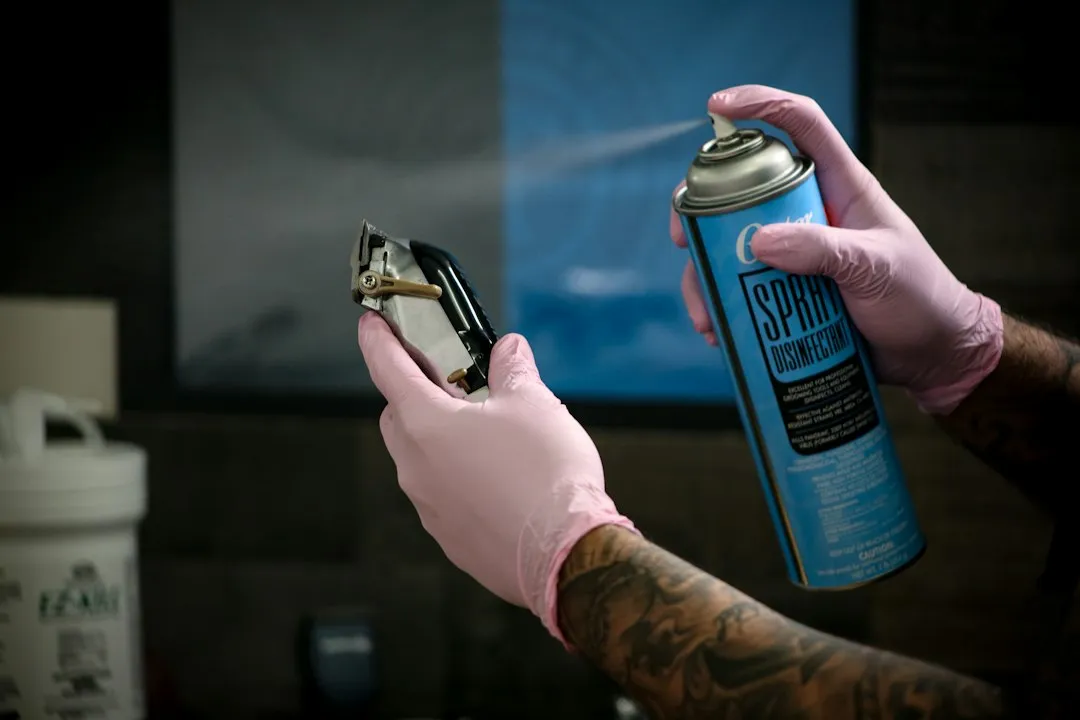
Silicone lubricates, protects, preserves, and restores the elasticity of seals. In winter, it protects the rubber against oxidation and freezing, and also prevents the windows from sticking. It’s widely available in spray form and easy to apply.
Silicone spray is odorless and non-toxic, highly waterproof, and stable over a wide temperature range – it does not harden or melt. It’s a universal agent that lubricates and protects surfaces for a long time. These qualities make it especially practical in climates with severe freeze-thaw cycles.
Glycerin, cosmetic Vaseline, and wax are sometimes used as substitutes. However, these substitute remedies are generally considered a less ideal alternative, as rubber doesn’t fully absorb them and greased seals can stain passengers’ clothing. Silicone-based products tend to be the cleaner, longer-lasting choice for most drivers.
Clean the Seals Before You Treat Them
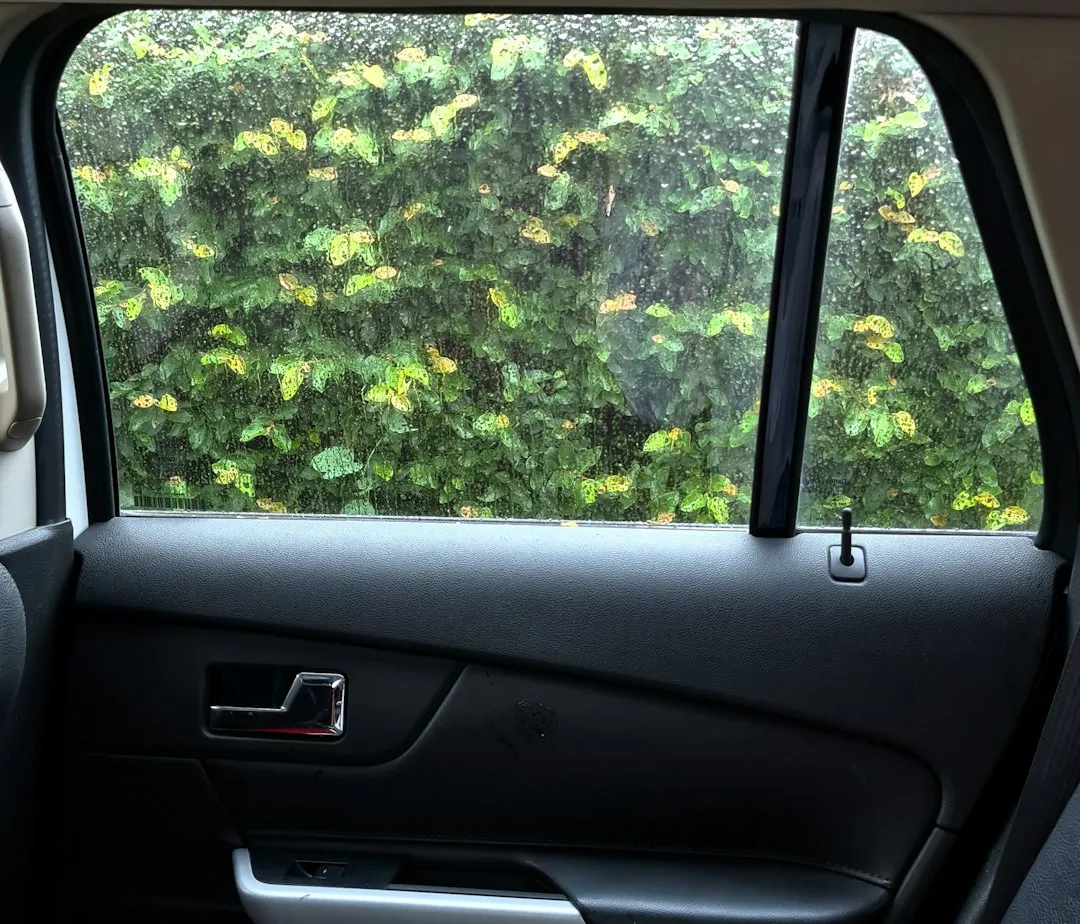
First, clean all grime off the door jambs on the body of the car where the rubber door seals mate. Then clean the rubber door seals themselves. It’s the grit and grime on the door jambs that hold moisture and cause the rubber seals to freeze to the door jambs. Skipping this step is one of the most common mistakes people make.
Dirt holds moisture, and moisture freezes. Wipe the seals with a cloth dampened in mild soapy water, use a soft brush to get into the channels and lift trapped grit, then wipe dry before applying any conditioner. It takes only a few minutes but makes a measurable difference through the whole season.
How to Apply the Treatment Correctly
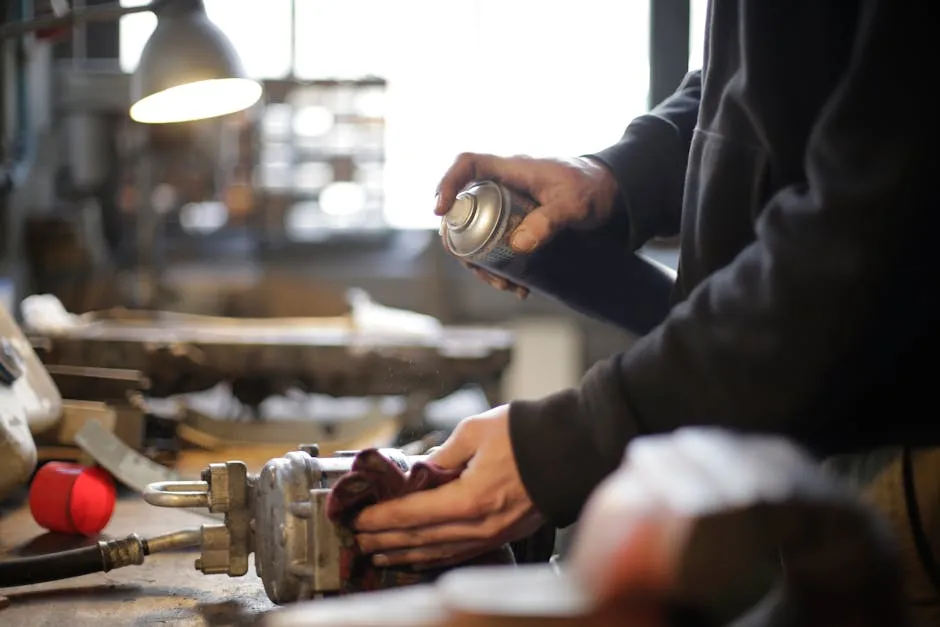
Apply the maintenance and preservation agent evenly to the surface of the seal. The method depends on the chosen product type. If you’re using a silicone spray, apply it from a distance of about 25 to 30 centimeters. Spraying directly onto a cloth first, then wiping, also gives you better control.
A practical approach is to apply the silicone spray to a paper towel, wipe down the door gaskets, let it dry for a short time, and wipe off any excess. This avoids overspray onto surrounding trim and keeps the result clean and effective.
If silicone is applied to car seals regularly, it can extend their life and help avoid unnecessary problems. This especially applies to seals exposed to degradation due to contact with low temperatures, such as door, trunk, and sunroof seals.
What Happens When You Force a Frozen Door
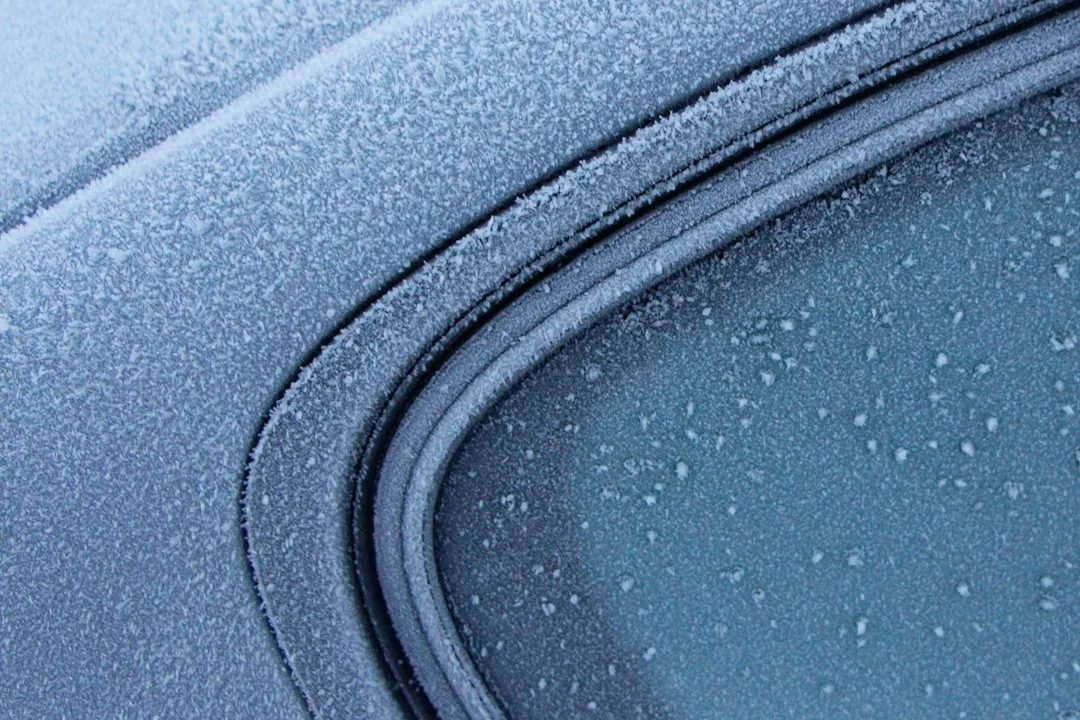
Resist the urge to yank on your car door to free it from ice. Door handles aren’t designed to withstand high amounts of pressure and can snap off, especially in freezing temperatures when materials are more brittle. Pulling hard on a handle can also damage the door’s internal latch and lock mechanisms. Since ice forms on rubber door seals, yanking the door can tear the rubber seal, causing leaks.
Using an unsafe method to force a frozen car door open can lead to torn weatherstripping, broken door handles and latches, shattered glass, and even paint and body damage. The repair costs from a few seconds of impatience can far exceed what the entire winter prevention routine would have cost.
Don’t Forget the Door Locks
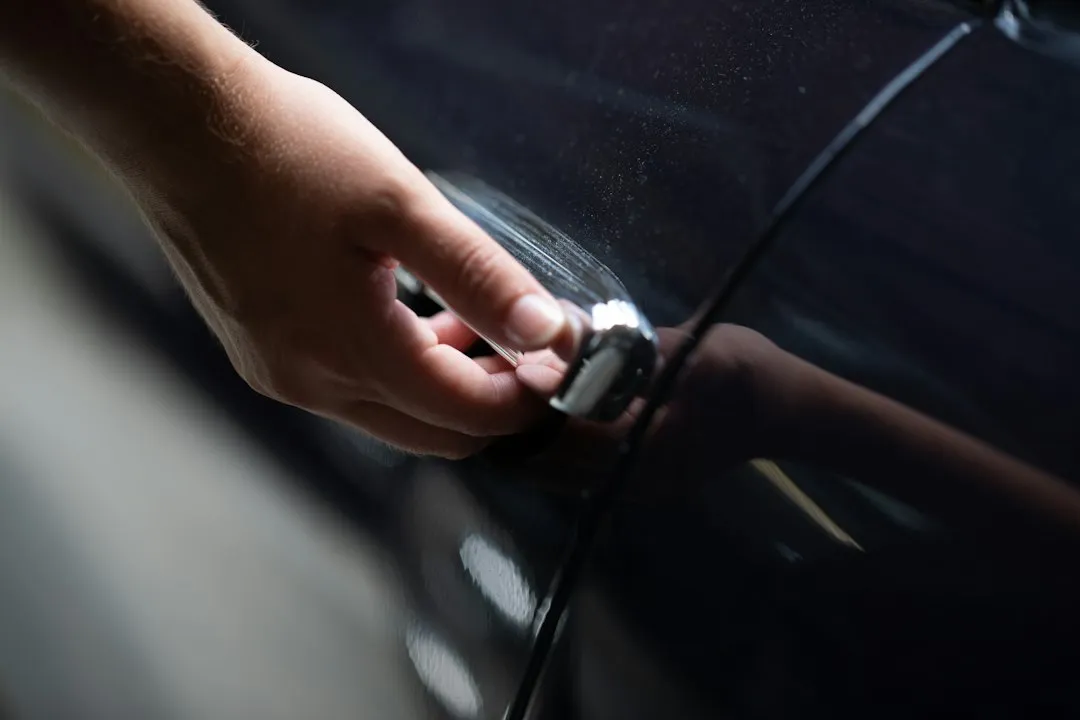
Lubricant sprays such as WD-40 work to keep parts moving and reduce friction, but they also help force out moisture and keep it away. Spraying your locks semi-regularly with a bit of automotive lubricant spray can prevent a frozen car door lock. Locks are often overlooked when people focus on the seal itself.
Silicone can prevent moisture from sticking to parts of the lock mechanism and keep them from freezing together. A quick occasional spray into the door locks can pay off in cold, wet weather. For keyless entry vehicles, this still applies to the mechanical backup keyhole.
Older Cars Are More Vulnerable

Doors on older cars freeze more easily, as these vehicles usually have worn-out door seals that trap moisture, which then freezes when temperatures drop. Older vehicles may also have doors that hang unevenly, creating gaps where water can enter and freeze, along with older lock components that freeze more easily.
Weatherstrips made of rubber firm up and add resistance in cold weather, and they can allow cold air, moisture, and even snow to get inside. If your car is more than seven or eight years old, it’s worth inspecting the seals closely before winter arrives rather than waiting for a problem to show up on a cold morning.
Parking Choices Make a Difference Too

Parking indoors is a straightforward way to prevent car door locks from freezing. This will generally keep your vehicle dry and above the freezing point. Even a carport offers noticeably more protection than an open driveway during freezing rain.
If you can’t park under cover, using a car cover or tarp reduces the amount of snow and freezing rain that reaches your door seals, especially during overnight storms. Car covers can also help protect the doors and locks from freezing moisture and are described as a “relatively cheap but effective solution.”
How Often Should You Treat the Seals?
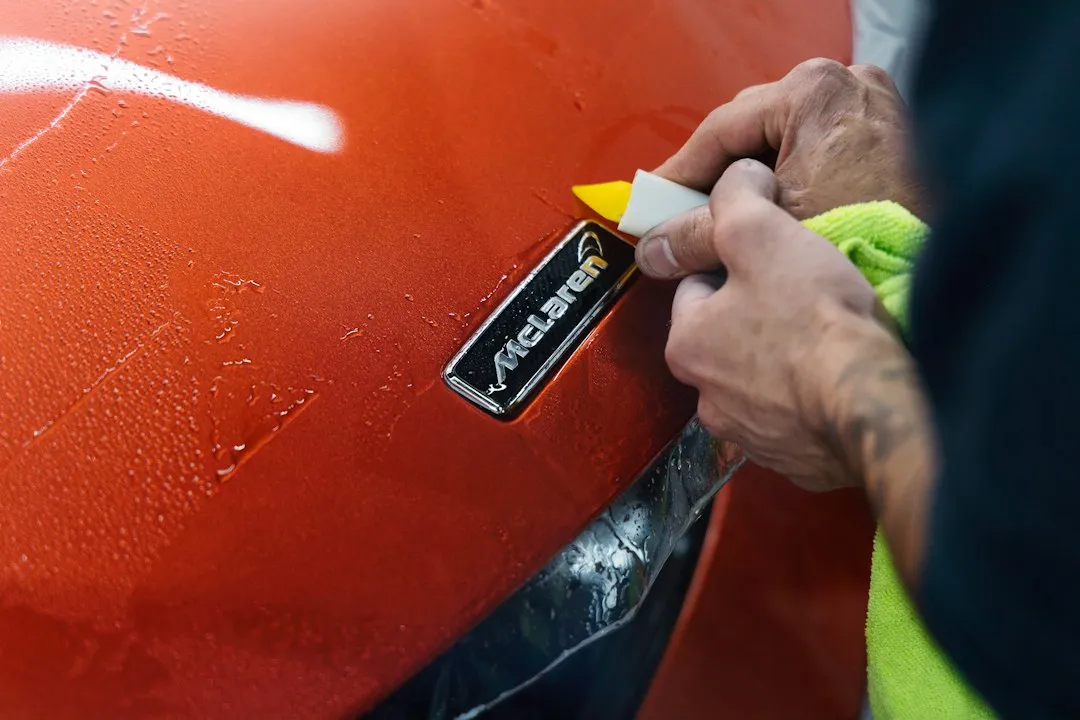
Silicone is a cheap and effective product that extends the life of seals and restores their original properties. Regular maintenance of seals with silicone helps to avoid unpleasant problems. Most automotive sources suggest treating seals at the start of the cold season and again mid-winter if the car is exposed to heavy ice and rain regularly.
Some rubber conditioners are formulated without solvents, raw silicone oil, or formaldehyde. Using them about twice a year can help prolong the life and resiliency of rubber gaskets. Twice a year is a reasonable minimum – once before winter, once heading into the warmer months to restore flexibility after cold stress.
The Takeaway
A frozen car door is one of those problems that feels unavoidable until you understand exactly why it happens. With a little preparation, you can prevent your car doors from freezing shut, avoid damage to the rubber seals, and keep your morning routine calm – even on the coldest days.
The seal treatment trick costs very little, takes under ten minutes, and works reliably when done correctly. Clean the rubber, apply a silicone-based or glycerin-based conditioner, and repeat before temperatures really bottom out. That’s the whole method. Winter mornings are difficult enough without adding a stuck car door to the mix.
AI Disclaimer: This article was created with the assistance of AI tools and reviewed by a human editor.