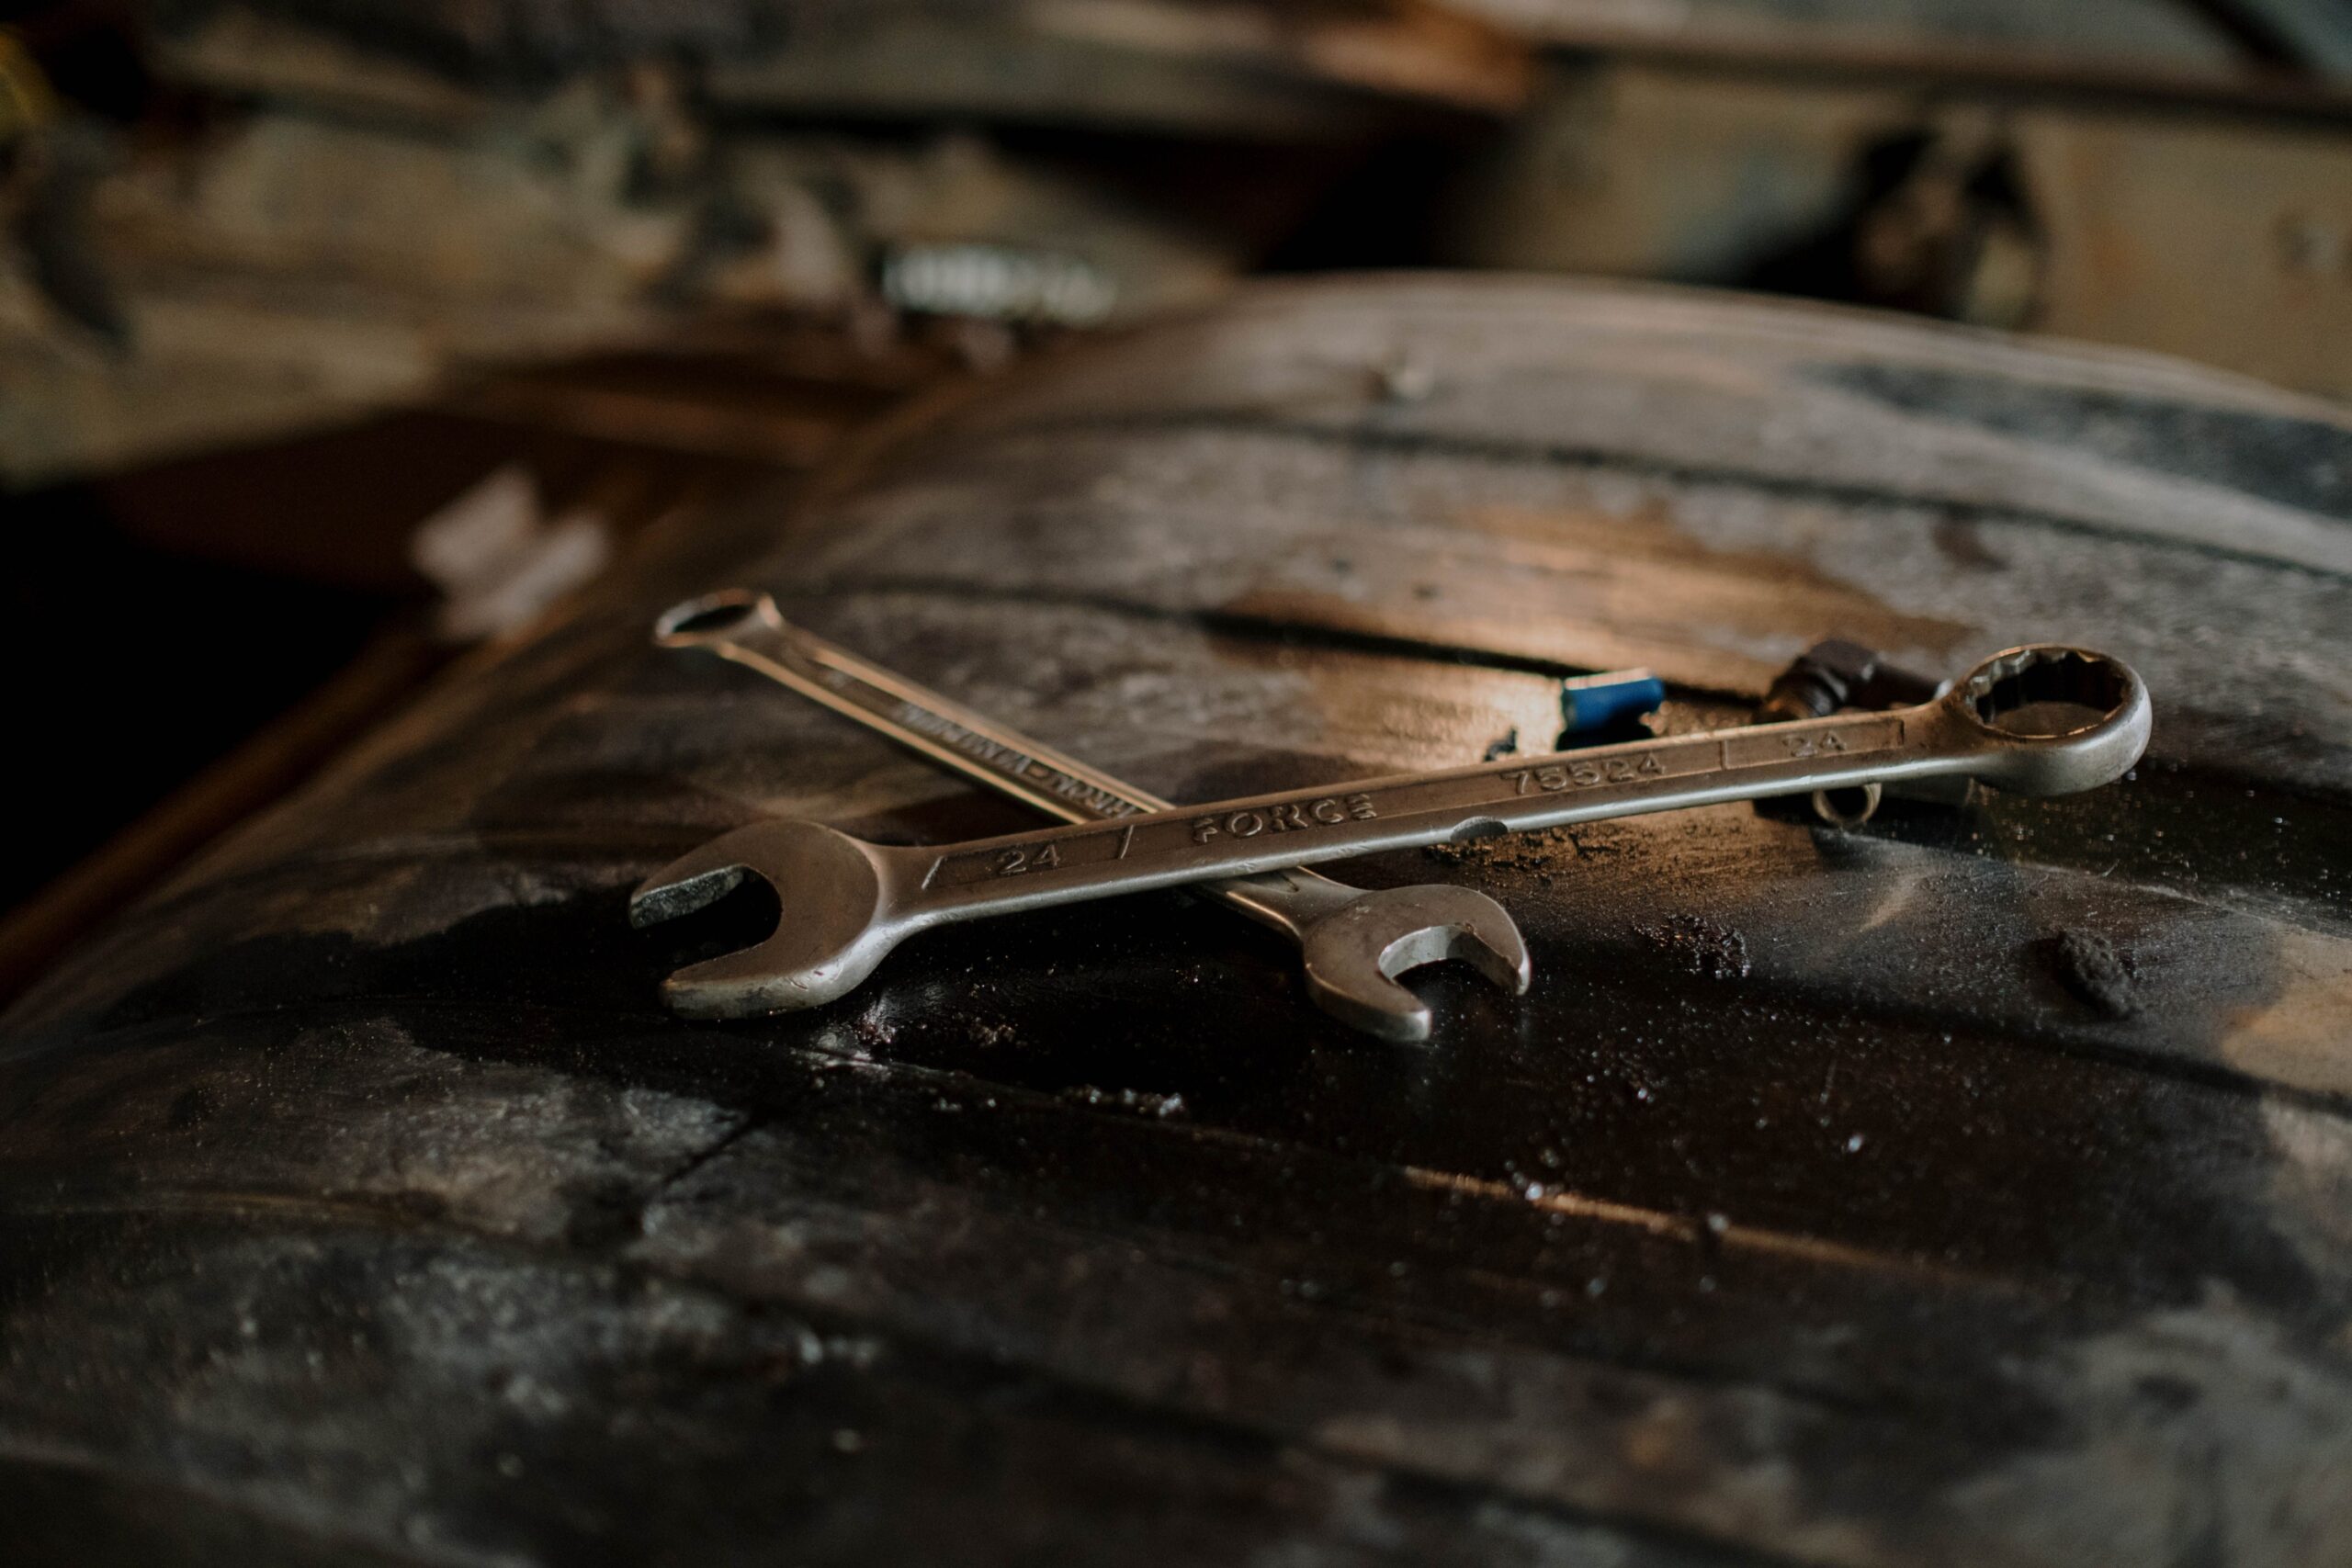

Wiping Tools Down After Every Single Use
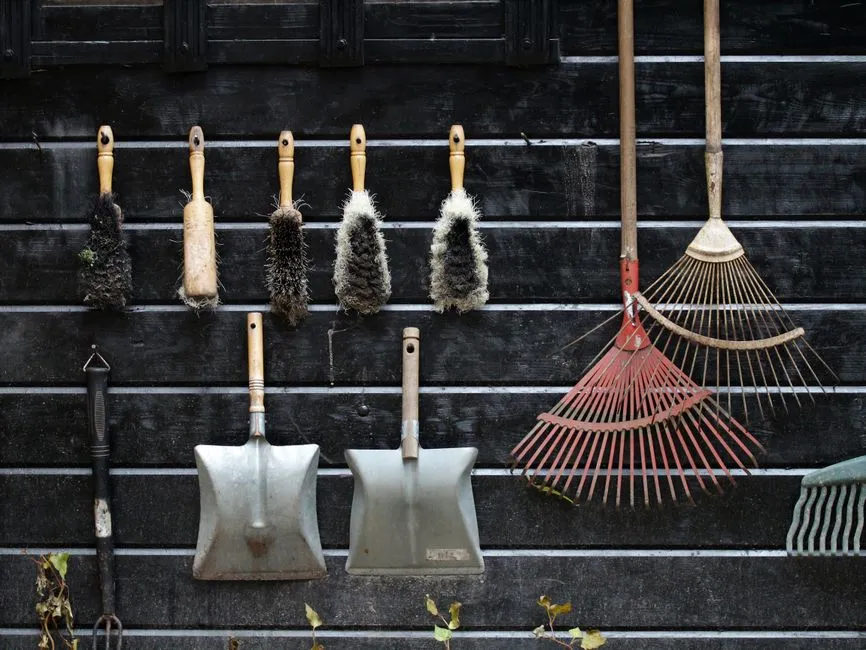
It sounds almost too simple, but this was the first and most non-negotiable rule in any serious craftsman’s shop. Dust, dirt, and oils can accumulate on tools, affecting their performance and causing long-term damage such as rust or corrosion, and cleaning tools immediately after each use helps preserve both their appearance and functionality. Grandfathers didn’t let a tool go back in the drawer still warm from use without a wipe-down first.
Proper hand tool maintenance involves a few consistent steps after every use: wiping away dirt, dust, and metal shavings with a clean cloth, and using a mild degreaser if needed while drying the tools completely. Modern mechanics say the same thing. The ritual hasn’t changed because the underlying problem, moisture and grime eating metal, hasn’t changed either.
Oiling Metal Surfaces to Fight Rust
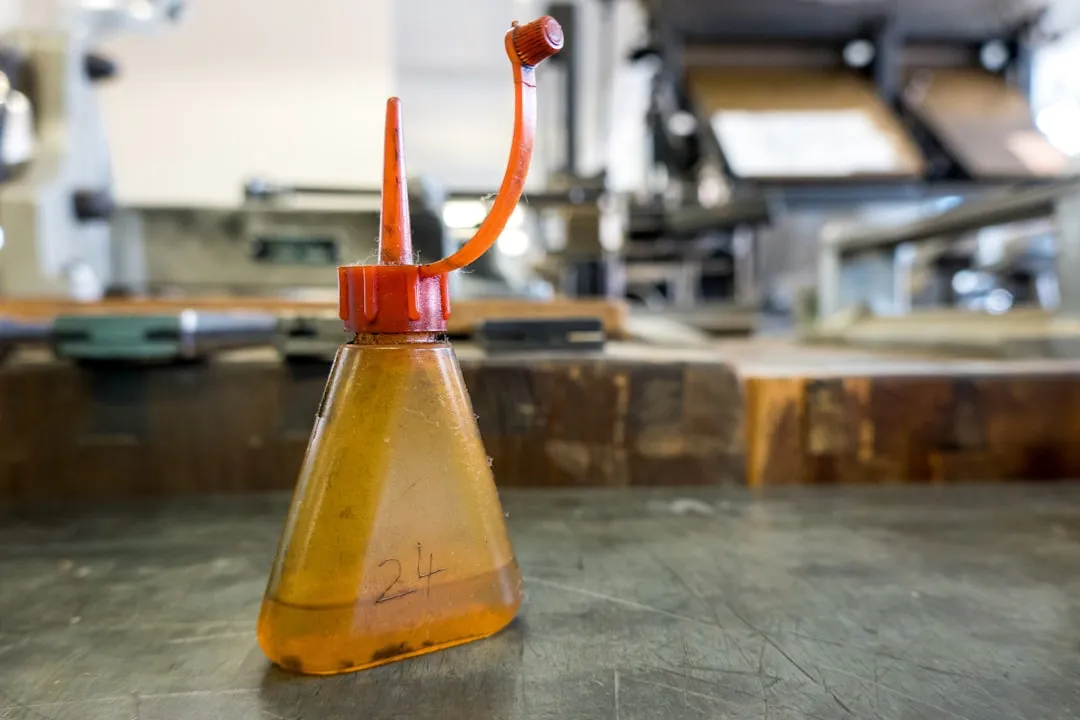
Applying a light layer of protective oil to exposed steel parts, such as a multi-purpose machine oil, remains a core practice in hand tool maintenance. Grandfathers often kept a rag soaked in light machine oil hanging near their workbench. After every session, bare metal got a thin wipe before the tool was stored.
To keep metal rust-free in a cold, damp garage, rubbing tool heads with an oily cloth was standard practice, with mineral oil or machine oils used for this task, or even a beeswax compound, because the oil coated the metal and protected it from humidity. That approach still holds up perfectly well in 2026. It costs almost nothing and can add years to a tool’s working life.
Treating Wooden Handles with Boiled Linseed Oil

Grandfathers would take a cotton rag and a container of boiled linseed oil and rub the handle from top to bottom, letting the oil soak in for about 30 minutes before rubbing off the excess, because boiled linseed oil dries quickly on the wood and forms a thin polymer film that allows the wood to breathe while preventing it from drying out, cracking, and sustaining moisture damage and rot.
Wooden handles on tools become gray, dry, and splintered over time through exposure to the elements, but a yearly application of boiled linseed oil maintains their smooth, silky finish, and linseed oil is a plant-based product that protects wood handles by repelling water. Today, woodworking guides and tool restoration specialists recommend exactly this same method. Every wooden handle needs annual applications of boiled linseed oil to preserve it from moisture and rot and give it long life.
Using Vinegar to Remove Rust Without Harsh Chemicals

Long before rust-removal sprays filled hardware store shelves, grandfathers used something from the kitchen. If a tool was left out in the weather and became rusty, a solution of one tablespoon of salt and just enough vinegar to make a thick paste could be rubbed on the metal in a circular motion to remove the iron oxide, repeated until all the rust was gone, then rinsed in clean water.
Soaking tools in a vinegar solution for several hours, then scrubbing away loosened rust with a wire brush or steel wool, is a method recommended by sources including This Old House. Vinegar tops the list of household approaches for removing rust because of its natural acidic properties. The science behind it is straightforward: acetic acid dissolves iron oxide without destroying the underlying steel when used correctly.
Lubricating Hinges, Pivot Points, and Moving Parts
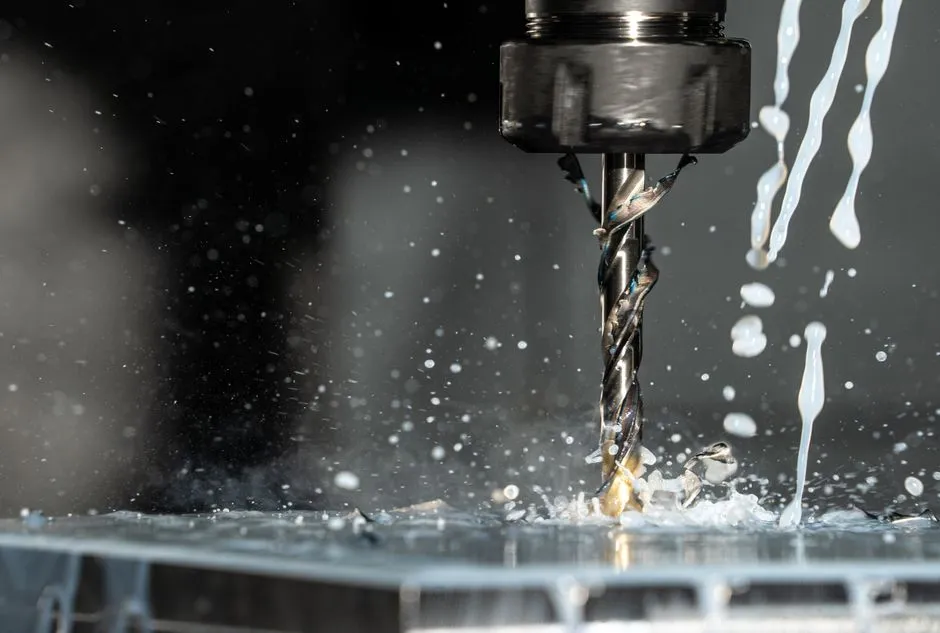
Tools like scissors or pliers have hinges that benefit from lubrication, and after cleaning, applying a drop of lubricant to the pivot point and wiping away any excess keeps the tool’s mechanism working smoothly and prevents rust from forming at the joints. Grandfathers intuitively understood this. A stiff pair of pliers was never left stiff.
Keeping moving parts lubricated is essential for premium performance, and tool lubrication not only keeps mechanics running smoothly but also decreases the chance of rust developing. Different tools require different lubrication schedules and products, with pneumatic tools needing daily oiling while electric tools may require periodic gear grease replacement. The general logic, keep joints moving freely, is timeless.
Storing Tools Off the Ground and Away from Moisture
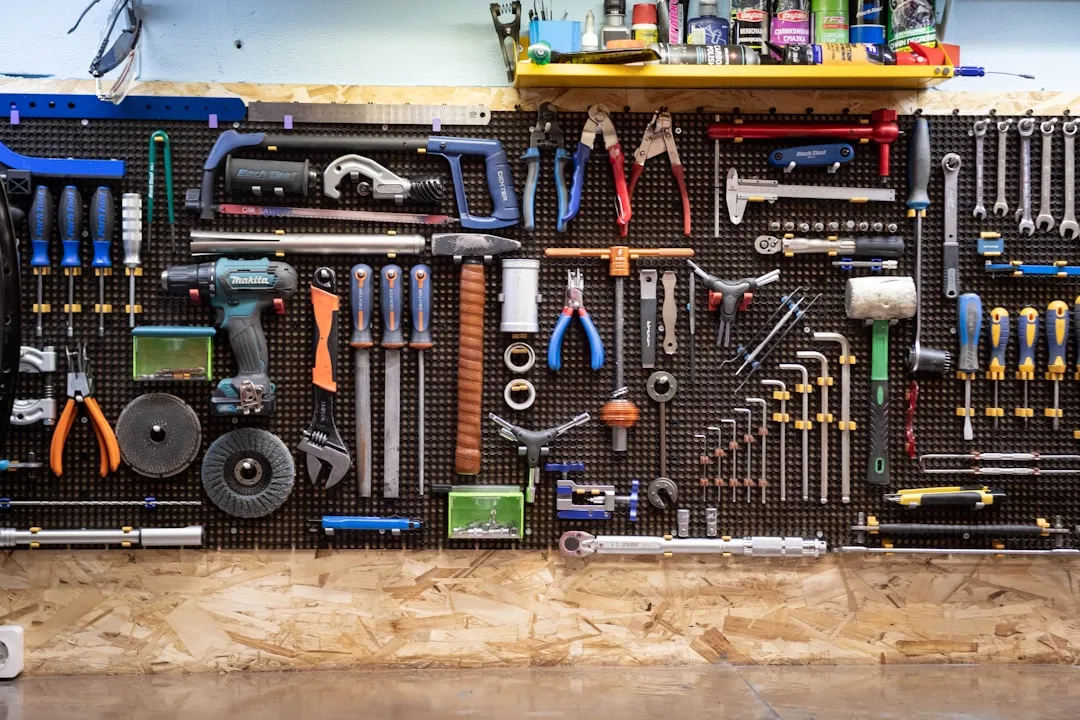
Besides cleaning tools properly, storing them correctly is essential, because improper storage procedures can cause corrosion and other damage, and ideally tools should be stored in an area with a consistent temperature and minimal moisture exposure. Grandfathers hung tools on pegboard walls or kept them in latched metal boxes. Nothing sat on a damp concrete floor overnight.
How and where you store hand tools is critical to their longevity, as proper storage minimizes exposure to environmental factors such as moisture, dust, and direct sunlight, all of which can accelerate the deterioration of tools. Selecting a storage area with low humidity minimizes rust formation, and basements often have higher moisture levels, so a garage with climate control or a dedicated workshop is preferable.
Sharpening Blades Before Putting Them Away

A dull blade was a sign of carelessness in the old workshop. Grandfathers sharpened cutting tools as part of putting them away, not as a task they’d remember to do later. The metal on cutting tools should be thoroughly dried and properly lubricated with a light coating of oil before being put away, and sharpening should be done on axes, knives, hoes, and similar tools before storage.
After a metal file has smoothed larger dinks and dents, following up with a whetstone or finer tool sharpener and using small circular motions to follow the original bevel angle is important, because creating a steeper angle than the product’s design can result in a weaker blade that may snap, while too shallow an angle leaves the blade too dull for practical use. Getting that angle right was knowledge passed on by watching, not by reading a manual.
Inspecting Tools for Damage Before and After Use
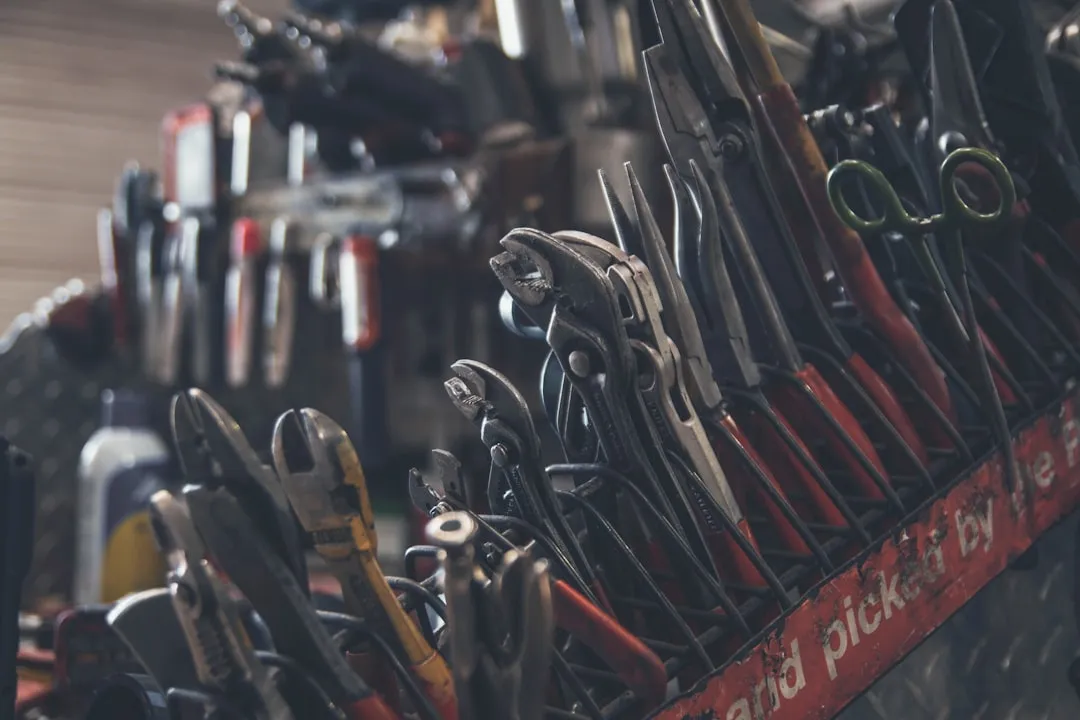
In addition to being proactive with cleaning and lubricating, it’s important to inspect tools during and after use to check for signs of damage, and if there is any damage, it should be addressed immediately. Old craftsmen checked handles for cracks, looked for bent jaws on pliers, and felt for looseness in striking tools before trusting them. A failed tool mid-job was not just inconvenient; it could be genuinely dangerous.
Checking for cracks, bent parts, or loose handles before starting work remains a core step in responsible tool care. Not regularly checking for damage or wear can lead to unexpected tool failure and potential safety hazards. Grandfathers treated this kind of inspection as automatic, the way a pilot checks an aircraft before takeoff. Nothing got used without a quick look-over first.
Never Storing a Damp Tool
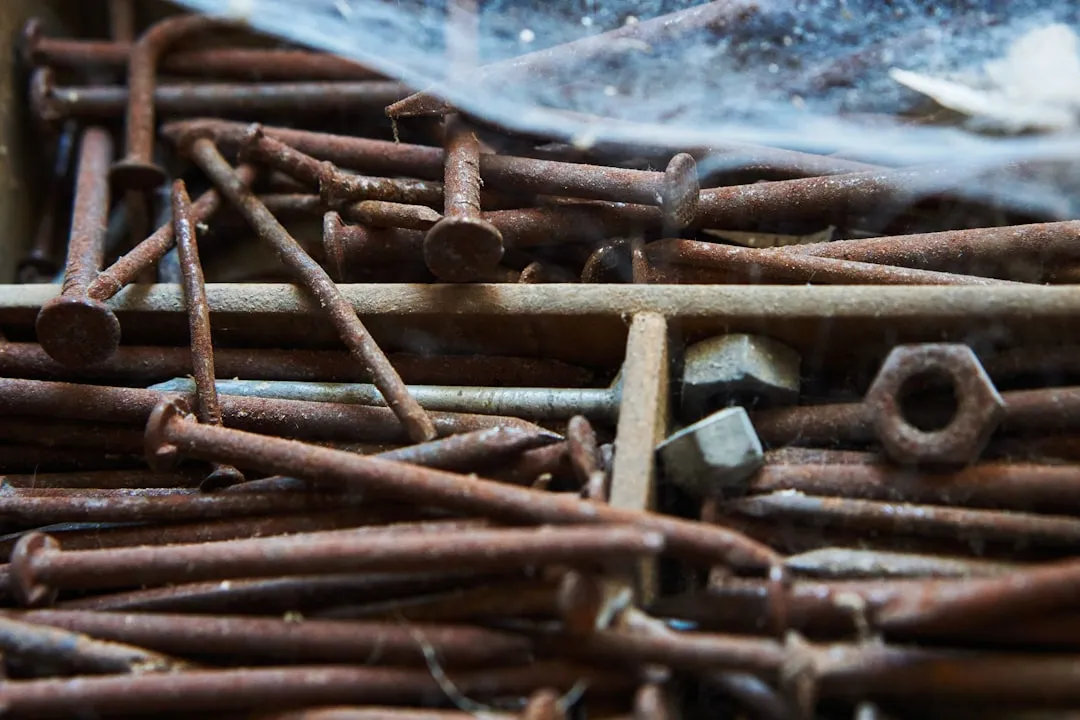
This was close to a commandment in most old workshops. Leaving tools damp before storage accelerates rust formation and deteriorates tool surfaces. Whether a wrench had been used around water or a shovel had come in from rain-soaked soil, it got dried before it went back in its place. No exceptions.
For tools used in wet environments, ensuring complete drying before storage is essential to prevent corrosion. This is especially relevant for mechanics who work in areas where fluids are everywhere. Failing to clean tools after use allows debris and moisture to accumulate, promoting rust and reducing efficiency. The physics of oxidation haven’t changed. Metal left wet in air will rust. It was true in 1955 and it’s true now.
Keeping Tools Calibrated and Reset After Use
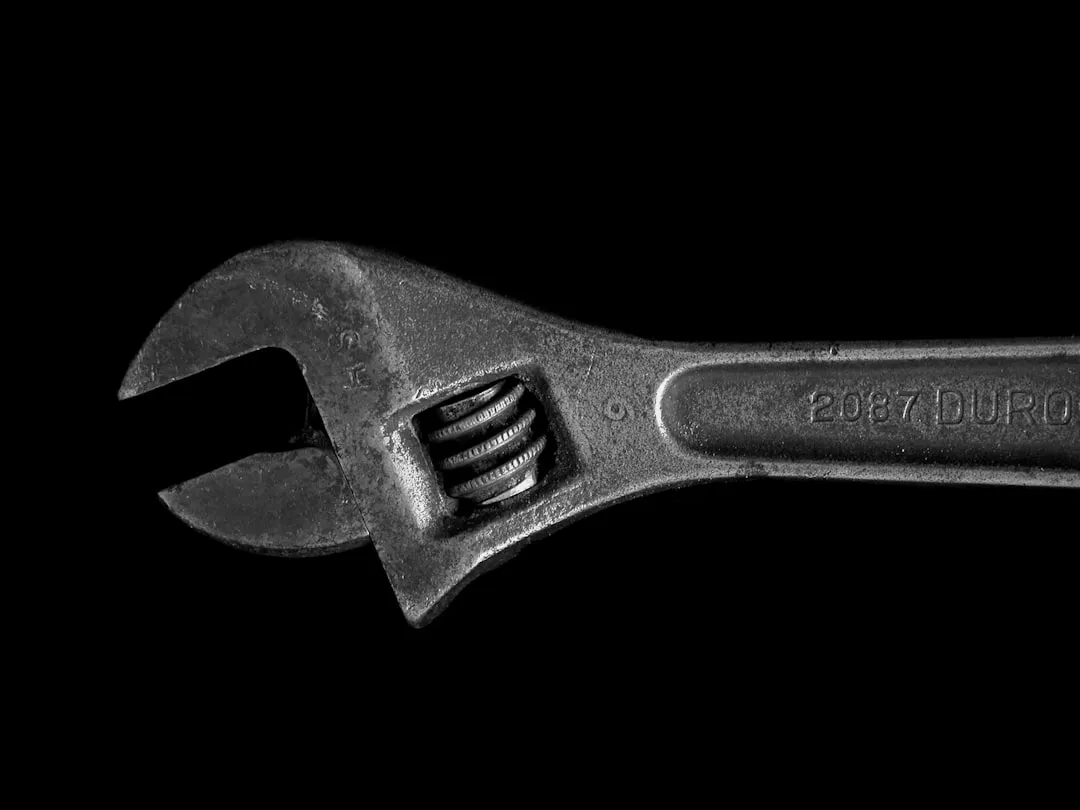
Grandfathers who worked with torque-sensitive or precision tools had a habit of returning adjustable instruments to their lowest or neutral settings before storage. They may not have known the engineering behind it, but the instinct was right. A standard click-type torque wrench, for example, shouldn’t be left at a loaded setting because the spring that controls the torque setting, when left under tension, weakens over time and loses its retention, so the wrench needs to be left unset after each use.
Technicians can help keep their tools calibrated not just by checking them regularly, but by treating them well, and taking good care of tools minimizes inaccurate performance mid-repair and the need for unscheduled calibrations. Maintaining service records for each tool, including purchase date, service history, and performance issues, helps predict failures and optimize replacement schedules. That last habit is decidedly modern, but it echoes the old discipline of knowing every tool you own.
The Enduring Logic of the Old Workshop
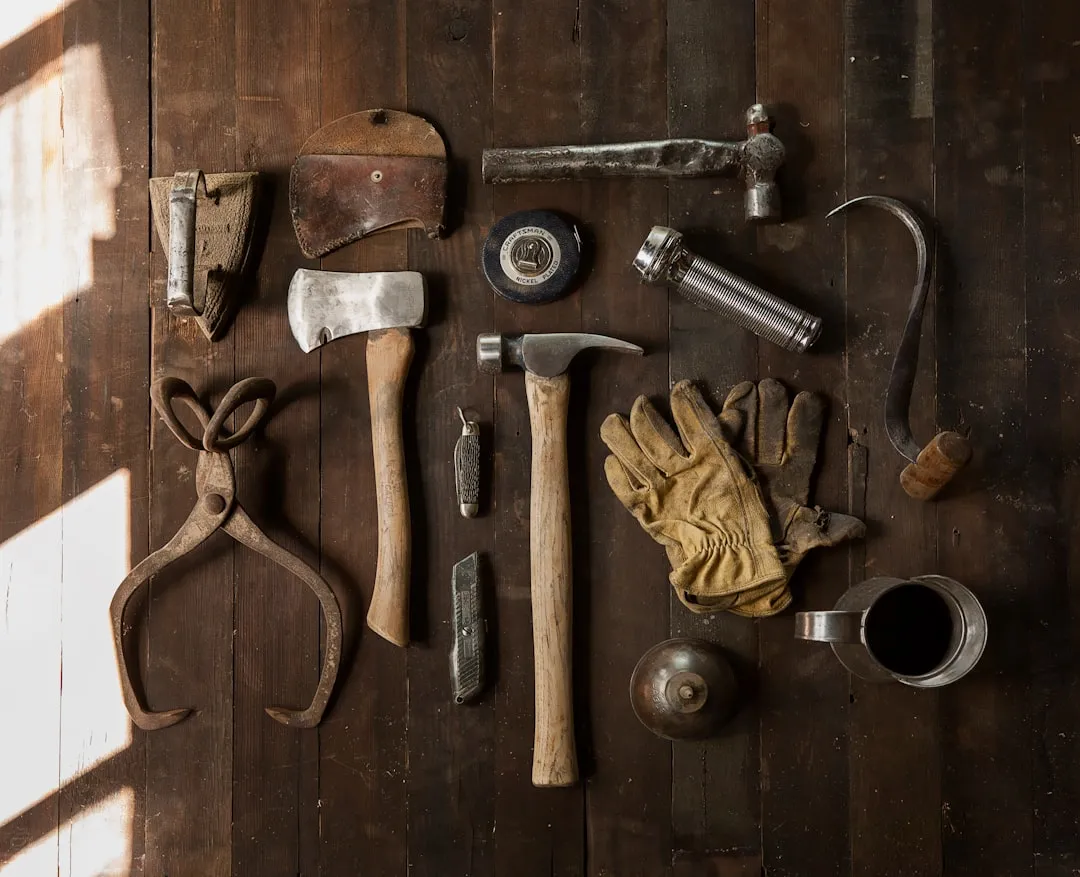
What makes these practices so durable is that they were never really about sentimentality. They were practical responses to real problems: rust, wear, dullness, and breakage. Proper tool maintenance is more than keeping tools looking shiny; it’s about preserving their functionality, accuracy, and longevity. That framing would have made perfect sense to any grandfather who ever handed down a set of tools still in working order after forty years of use.
Preventive care reduces breakdowns and extends the lifespan of tools and machinery. The ritual wasn’t complicated. Clean, dry, oil, store, inspect. Repeat. Hand tools are a crucial part of any professional’s toolkit, and their longevity depends on regular, proactive maintenance, with consistent cleaning, lubrication, sharpening, and storage practices ensuring they remain reliable and effective for years.
There’s something worth sitting with in all of this. The same methods that kept a 1950s mechanic’s tools in top condition are the ones fleet maintenance experts and shop managers now put in their training guides. Sometimes the old way isn’t outdated. Sometimes it just took a few decades for everyone else to catch up.
AI Disclaimer: This article was created with the assistance of AI tools and reviewed by a human editor.