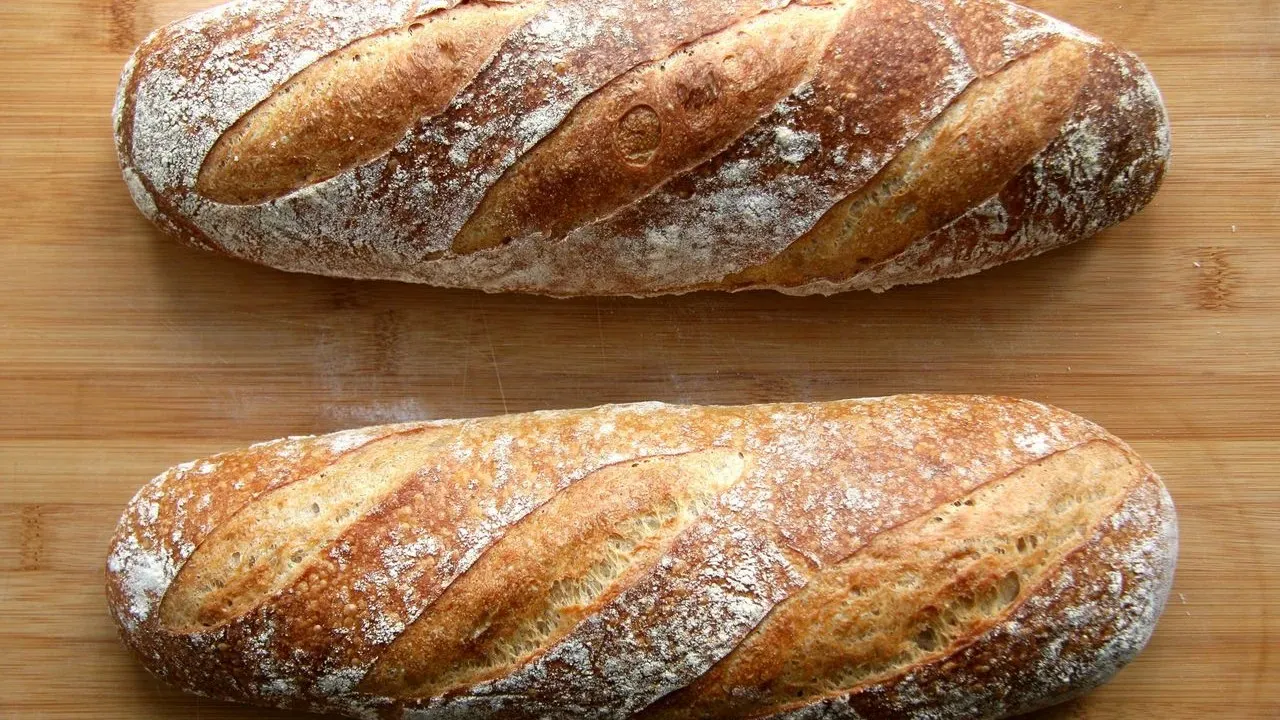

Many households pour sour milk down the drain without a second thought. Yet this everyday occurrence in the kitchen can become the foundation for two loaves of tender, enriched yeast bread. The approach turns what seems like waste into a practical, money-saving bake that fills the home with the scent of fresh bread.
A Practical Response to Everyday Waste
Throwing out milk that has turned sour represents a small but repeated loss in many kitchens. Home bakers who keep a close eye on their pantry often find themselves with extra sour milk on hand, especially after a gallon passes its prime before the printed date. Rather than discarding it, the liquid works directly in a yeast dough without any special warming or treatment.
This method aligns with broader efforts to reduce food waste at home. It requires no exotic ingredients and produces bread with a soft crumb and delicate crust that tastes far more substantial than typical store loaves. The result rewards the small effort with both flavor and economy.
Proofing Yeast With Minimal Fuss
The process begins by dissolving two packets of dry yeast in half a cup of warm water along with a teaspoon of sugar. The mixture sits until bubbles appear, signaling that the yeast is active. Temperature matters here, and testing the water on the inside of the wrist helps avoid overheating that could kill the yeast.
Once the yeast is ready, the remaining ingredients combine in a single bowl. Sour milk, the rest of the sugar, salt, oil, and roughly four cups of sifted flour come together with a wooden spoon. Additional flour is added gradually until the dough reaches a soft, pliable consistency that feels right to the touch.
Shaping, Rising, and Baking
The dough rests under a towel in a warm spot for about an hour. After the first rise, it is punched down, divided, and shaped into loaves that fit either two standard loaf pans or a larger baking dish. A second rise of roughly another hour follows before the pans enter a 350-degree oven.
Baking takes approximately 30 minutes, depending on the oven. The loaves emerge golden brown and are left to cool in their pans for at least five minutes. This timing produces two full loaves that slice well for toast, sandwiches, or simple buttered servings.
Benefits That Extend Beyond One Bake
Homemade bread of this kind offers clear advantages over commercial alternatives. It avoids the additives and airiness common in packaged loaves while delivering better flavor and satisfaction per slice. The recipe also demonstrates how one ingredient can serve multiple purposes, stretching a single gallon of milk further than expected.
Once the habit of baking with sour milk takes hold, it becomes a reliable response to future batches that sour unexpectedly. The same dough can adapt to different pan shapes, and the finished bread freezes well for later use.
Key points to remember:
- Use sour milk straight from the carton.
- Adjust flour gradually based on dough feel and weather.
- Two rises produce the best texture.
- Store cooled loaves wrapped to maintain freshness.
Baking with what might otherwise be discarded reinforces a steady rhythm of self-reliance in the kitchen. The loaves that result taste like care and intention rather than compromise.
AI Disclaimer: This article was created with the assistance of AI tools and reviewed by a human editor.