
Most home gardeners spend real effort choosing their tomato varieties, amending their soil, and watching for pests. Then they grab a stake and some string, tie the plant up in about two minutes, and consider it done. That quick afterthought is where the damage starts.
Tomato staking seems straightforward until your plants start falling over or developing problems from poor support. These common mistakes can ruin an otherwise healthy crop, but they’re easy to avoid once you know what to watch for. The tricky part is that most of the damage happens slowly and invisibly, well before you notice anything wrong.
The Real Root of the Problem: Staking Too Late
This is probably the first common tomato staking mistake people make, and sadly it’s also one of the most damaging. By the time you notice your tomato leaning or getting floppy and calling out for support, it’s often too late to stake safely.
Driving a stake into established soil inevitably severs lateral roots, some extending twelve or more inches outward from the stem. These fine feeder roots absorb water and nutrients. Disturbing them post-planting stresses the plant, delays establishment, and increases transplant shock.
The best time to stake is at planting time, or at least within the first week of transplanting. This lets you position stakes without damaging established root systems. It also means the tomato grows up with its support system instead of having to adapt to one later.
Girdling: The Silent Killer Inside Your Tie
A tomato stem is a living pipeline, moving water and nutrients up from the roots and sugars down from the leaves. Anything that constricts that flow is like putting a clamp on a garden hose. When you use thin string or wire and tie it too tightly, you risk girdling the stem. As the stem thickens, the tie cuts into it, strangling the plant and creating a weak point.
Tomato stems expand up to 1.2 mm daily during warm, humid growth spurts. Rigid or constrictive ties induce vascular compression, stunting nutrient flow and inviting fungal entry at the wound site.
Tying the stem too tightly can cause girdling, which strangles the plant by cutting off the flow of water and nutrients, leading to a weak, unproductive plant or even death. A telltale sign of a tie that’s too tight is the stem bulging around it.
Using the Wrong Tie Material
Using the wrong material can be a real problem. Plastic ties on heirloom varieties, for instance, can be a disaster. They slice through delicate stems as the plant grows and shifts in wind.
This creates wounds that invite disease and weaken the plant structurally. Soft ties are essential when staking tomatoes. Cloth strips or specialized ties move with the stems and distribute pressure over a wider area.
Tomato ties are soft, flexible strips specifically designed to support tomato plants without damaging stems. Unlike string or wire, they stretch as plants grow, preventing cuts and breakage. Jute, wide fabric strips, or purpose-made tomato clips are all far safer choices than thin twine or zip ties.
Stakes That Are Too Short or Too Shallow
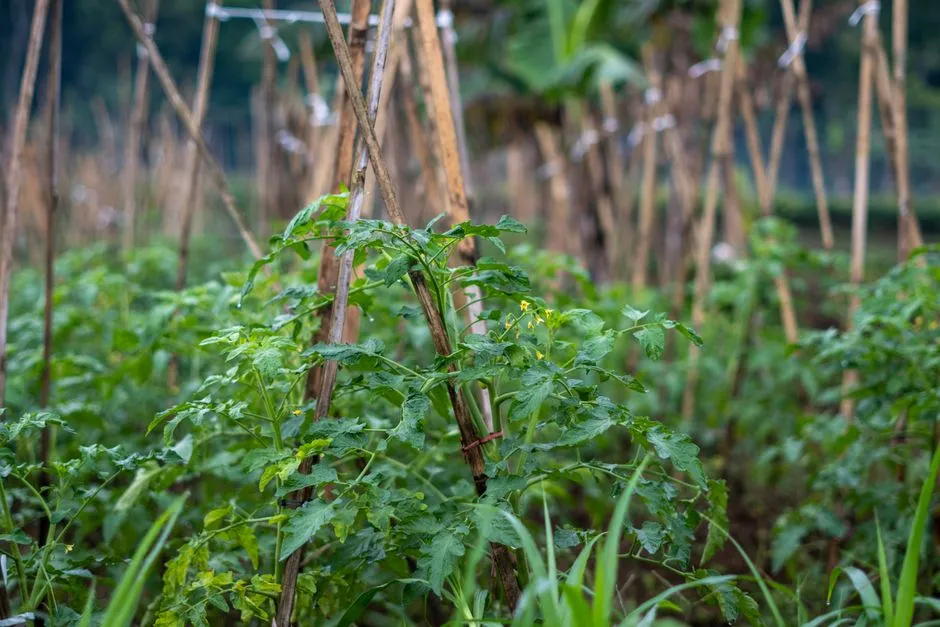
Stakes must be driven at least 12 inches deep, and 18 inches is ideal for indeterminate varieties or exposed sites. Shallow stakes of 8 inches or less pivot under wind load or fruit weight, causing stem abrasion and root rocking.
Use sturdy wooden or metal stakes 6 to 7 feet long for indeterminate varieties and 4 feet for determinate varieties. A stake that looks tall enough in spring can feel embarrassingly inadequate by August when a vigorous indeterminate vine is still pushing upward.
Using flimsy stakes that can’t hold the weight of mature plants results in snapped stems and lost harvests. It’s one of those mistakes that only becomes obvious when the damage is already done and the season is already half over.
Driving the Stake Too Close to the Stem
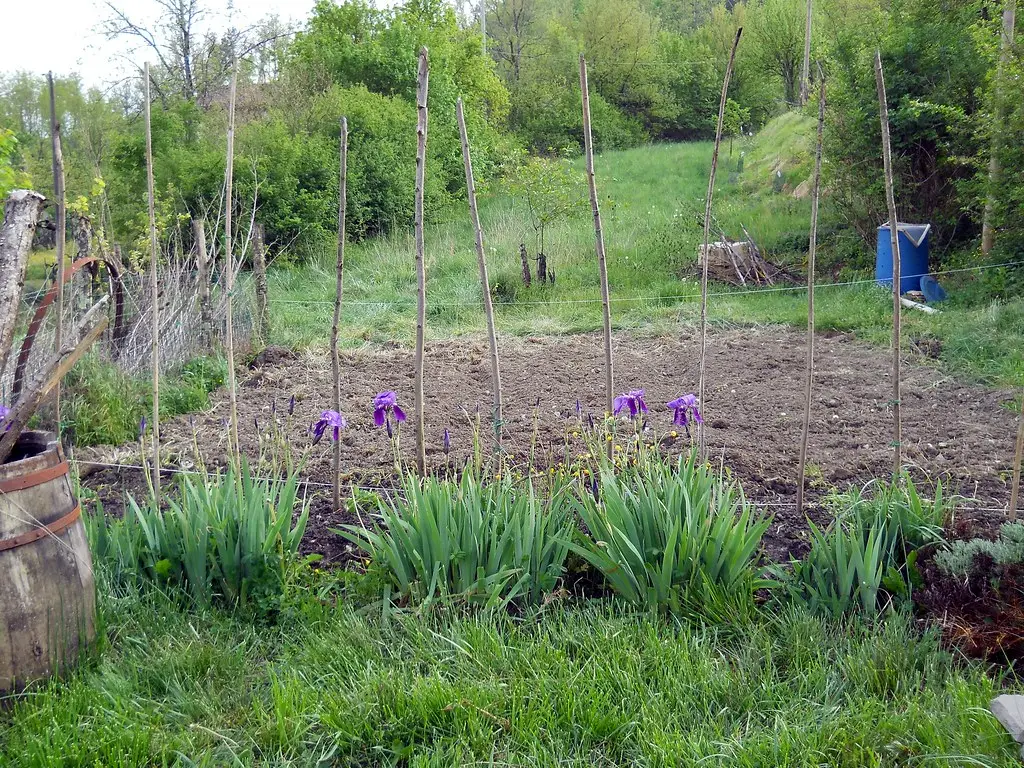
Stakes should go behind each plant, about 4 to 6 inches away from the base of the tomato plant, so you don’t risk damaging the roots. Many gardeners instinctively push the stake right next to the main stem for a tighter connection, which is exactly the wrong move.
Place the stake 3 to 4 inches from the base of the plant on the side away from the first bloom cluster, to keep from trapping the fruit between the plant and the stake. This small positioning detail actually affects both root health and fruit development at the same time.
Strong gusts can snap stems or cause them to rub against supports, creating wounds. Similarly, improper staking or cages can chafe stems, or heavy fruit loads can cause stems to buckle. Keeping a little distance between stake and stem helps avoid both of these outcomes.
Ignoring Indeterminate Growth Patterns
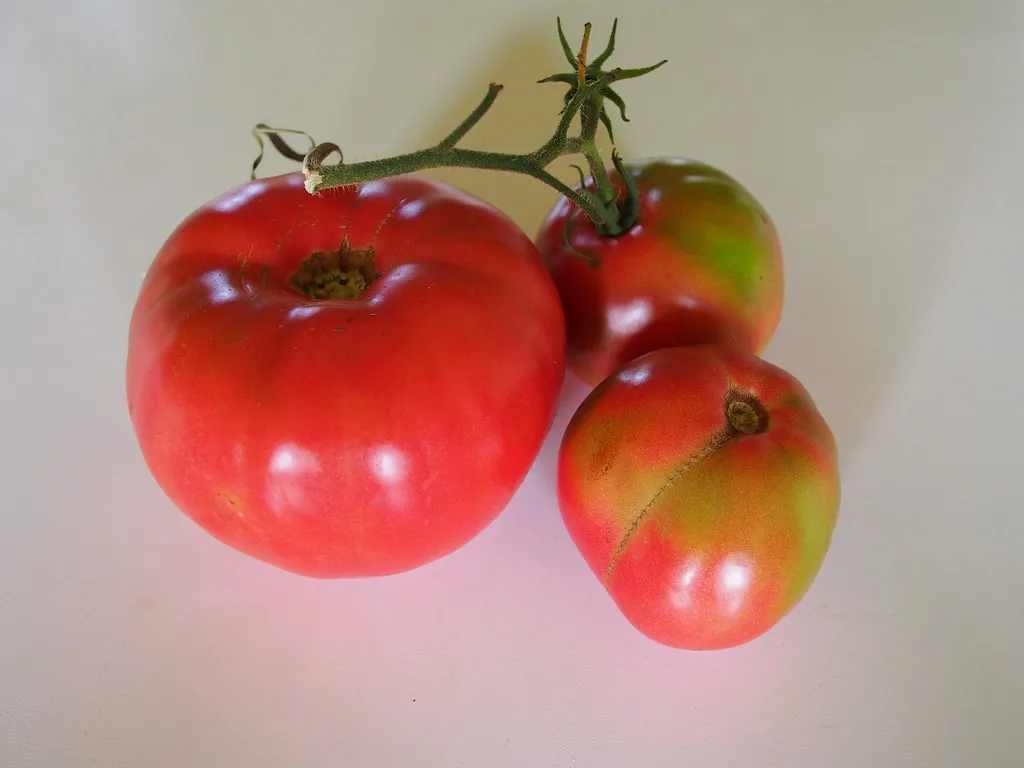
Indeterminate tomatoes grow in a taller, vining manner and produce fruit slowly throughout the growing season. Indeterminate varieties require a support structure, otherwise they will eventually end up on the ground. Heavy vines are also very susceptible to breaking off and bending, causing additional damage.
Indeterminate tomatoes add 2 or more inches weekly. Ties should be checked every 7 to 10 days. Most gardeners set their ties once and walk away, not realizing how fast the plant outgrows that initial setup.
Never stake after fruit sets or when vines are already leaning, and never skip staking indeterminate varieties entirely. They’ll collapse, rot, and yield significantly less without support. With indeterminates, staking is not optional. It’s the foundation of the whole growing strategy.
Assuming Determinate Tomatoes Don’t Need Support
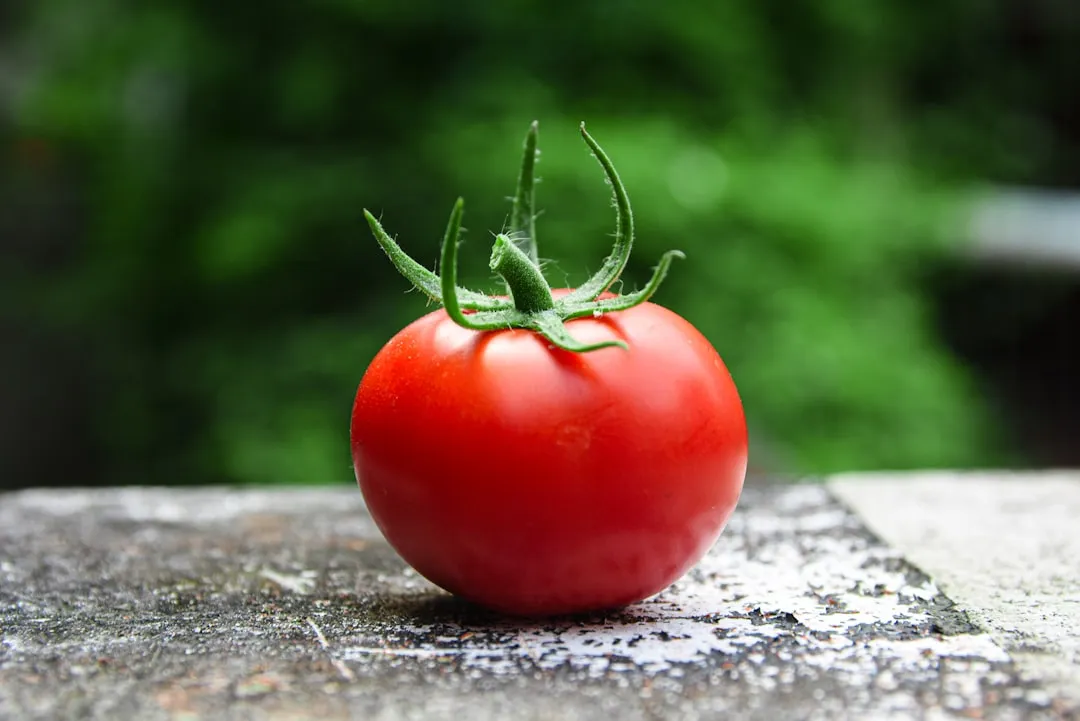
Many gardeners wrongly assume that determinate varieties don’t need staking. While they won’t vine endlessly, their dense fruit load causes basal branches to buckle, crushing lower trusses and inviting pests. Trials in Ohio State Extension plots showed unstaked ‘Roma’ lost 28% of its harvest to soil rot and insect damage versus staked controls.
Determinate tomatoes tend to grow a dense canopy, and doing some light pruning is beneficial in allowing more air and sunlight into the plant. Staking determinate tomatoes provides an extra layer of security to prevent the plant from accidentally tipping over from excess weight or wind.
The compact shape of determinate varieties fools a lot of people. They look sturdy right up until a heavy rain or a full truss of ripe fruit tips the whole plant sideways.
Overcrowding Plants Into a Single Cage
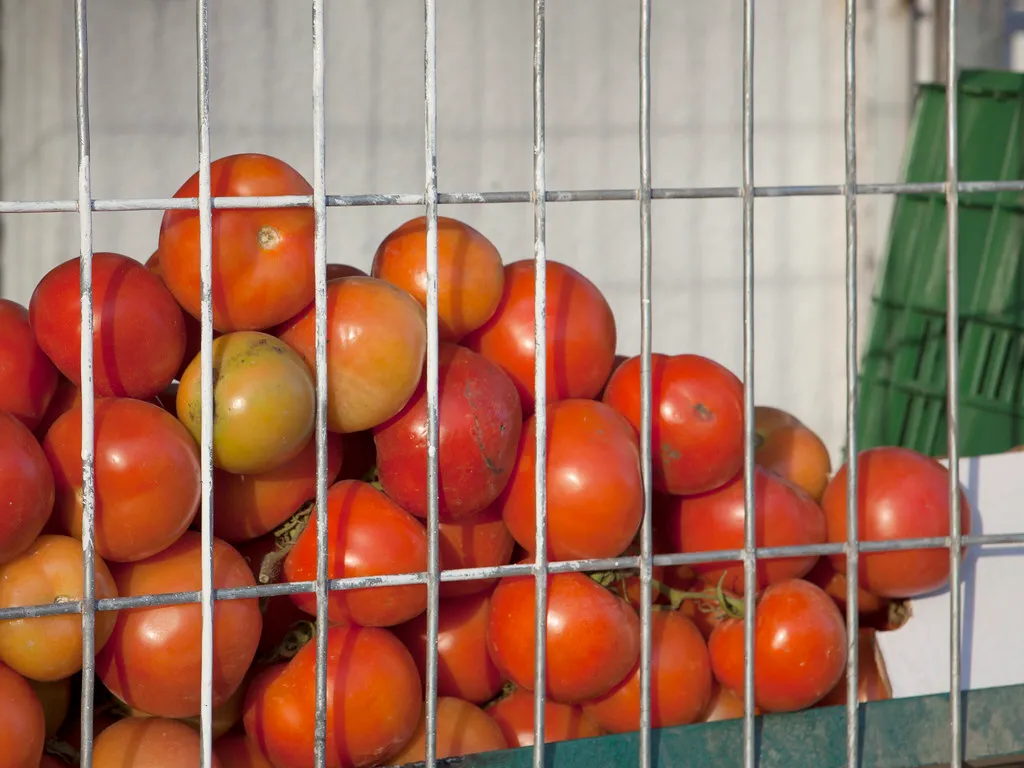
Overcrowding plants in a single cage restricts airflow and leads to fungal diseases. For proper support, opt for sturdy tomato cages at least 3 feet tall, or adjustable stakes that can be modified as the plant grows. For larger plants, use cattle panels or A-frame trellises to distribute weight evenly.
Tomato cages can condense your plants, causing foliage to become too thick and bushy. This creates problems with both airflow and sunlight access, and it can be hard to get to the inside to trim them down. Tomato cages can also be flimsy, and if you’re growing large tomatoes, the plants and their fruit can quickly drag them down.
Avoid placing multiple plants in one cage, as this creates competition for resources and increases disease risk. One cage, one plant. It really is that straightforward, and making that change alone can visibly improve air circulation within a week.
Never Adjusting Ties as the Plant Grows
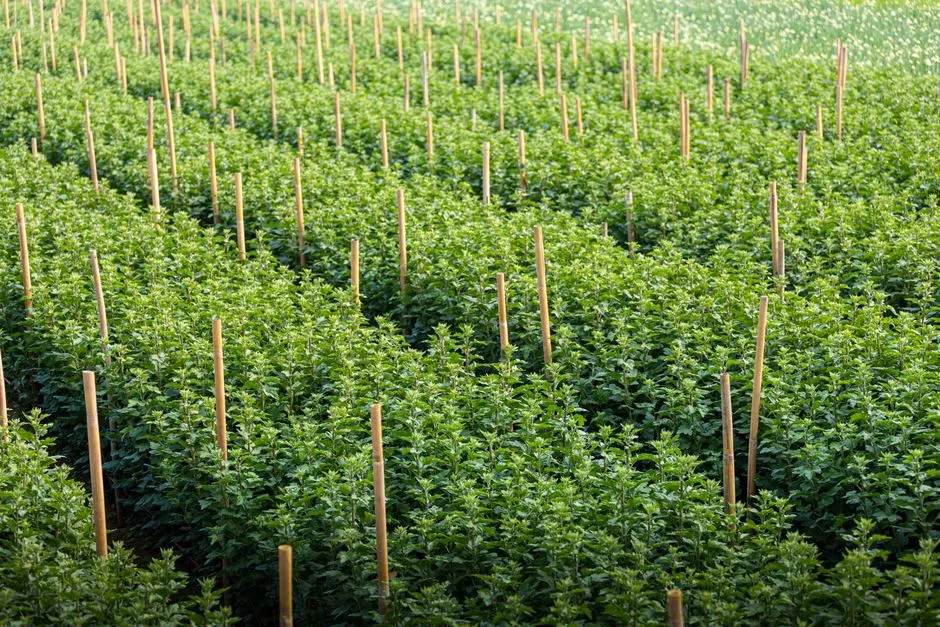
It is crucial to regularly inspect your ties to prevent them from becoming too tight and girdling the expanding stem. Plan to check your ties at least once a week, perhaps while watering or harvesting. Look for any signs of constriction where the tie is cutting into the stem. If a tie becomes too snug, simply untie it and re-fasten it more loosely to allow for more growth.
As the plant grows vertically, you must also add new ties every 6 to 8 inches up the stake to support the new growth and the increasing weight. This continuous adjustment ensures your support system remains effective and doesn’t harm the very plant it’s meant to protect.
Check daily for signs of rubbing or constriction, especially after rain when stems swell. If you notice any marks, loosen or replace the tie immediately to prevent tissue damage that can invite disease. Staking is not a one-time task. It’s an ongoing practice throughout the season.
Skipping Pruning When Using Single Stakes
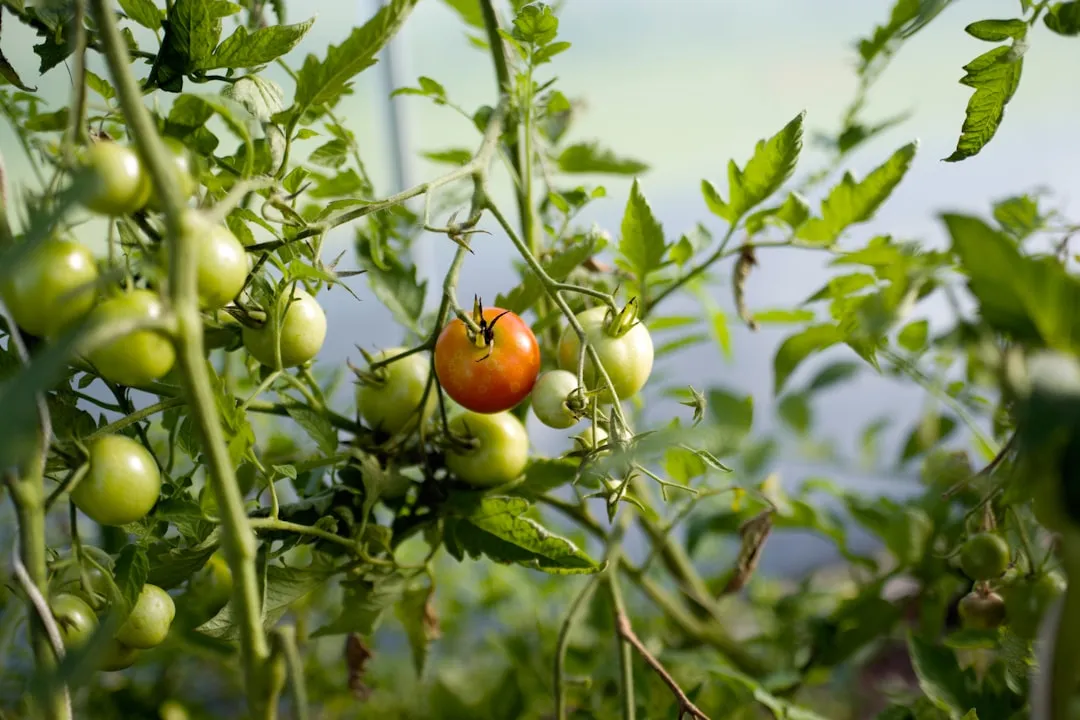
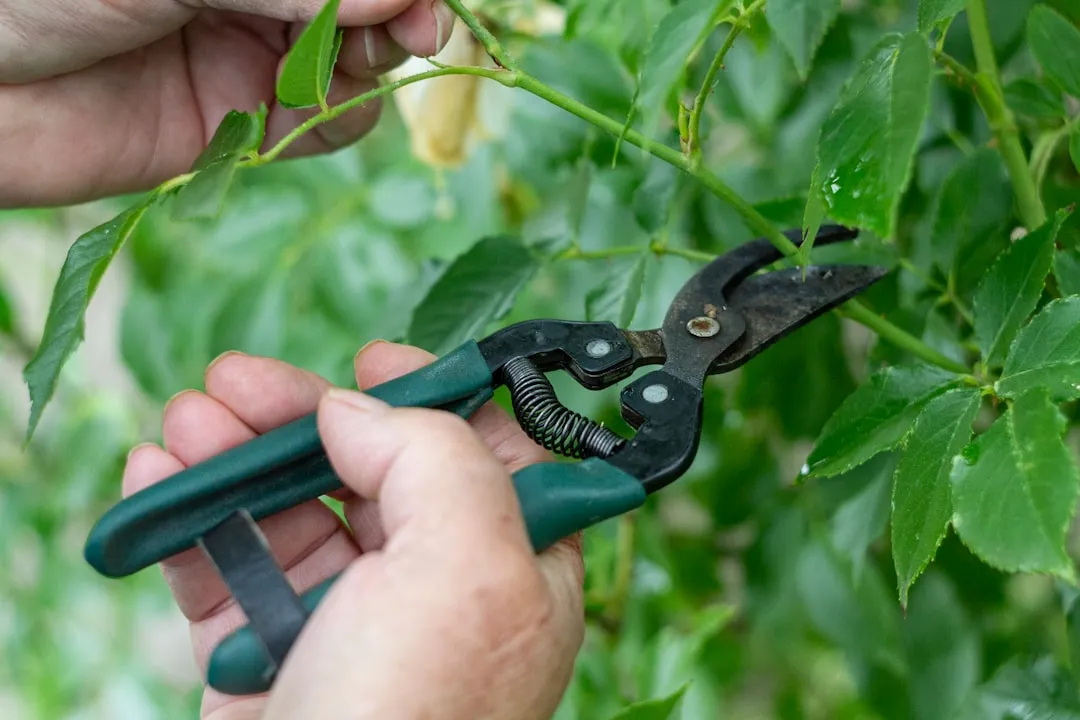
To get the best results with single-stake systems, maintain one or two main stems and cut suckers when they reach 2 to 4 inches long using clean pruners. Remove yellowing lower leaves to improve air circulation. The sweet spot is maintaining 3 to 5 feet of productive foliage at any time.
Removing too many lower branches to encourage upward growth can leave the plant vulnerable to sunscald and reduced fruiting capacity. Practice strategic pruning by removing only weak or diseased branches. Keep the bottom 12 to 18 inches of foliage intact to protect the stem from direct sunlight. Use clean, sharp tools to prevent spreading infections, and prune during dry weather to minimize moisture-related diseases.
Proper tomato staking increases fruit yield by up to 30% while reducing disease incidence by 50% compared to unstaked plants, according to University of California agricultural research. That margin is the difference between a mediocre harvest and a genuinely productive one, and much of it comes down to a handful of habits that are easy to build once you understand why they matter.
Getting It Right From the Start
AI Disclaimer: This article was created with the assistance of AI tools and reviewed by a human editor.