


Rose bushes are genuinely forgiving plants in many ways. They push through neglect, bounce back from harsh winters, and reward even inexperienced gardeners with blooms that feel like a small triumph. Yet there’s a particular kind of damage that accumulates quietly, season after season, rooted not in drought or pests but in the pruning decisions made with the best of intentions.
Rose pruning looks straightforward until you start seeing problems develop after cutting. These common mistakes can weaken plants, invite disease, and reduce flowering for years to come. Understanding exactly where things go wrong is the fastest way to fix them.
1. Pruning at the Wrong Time of Year
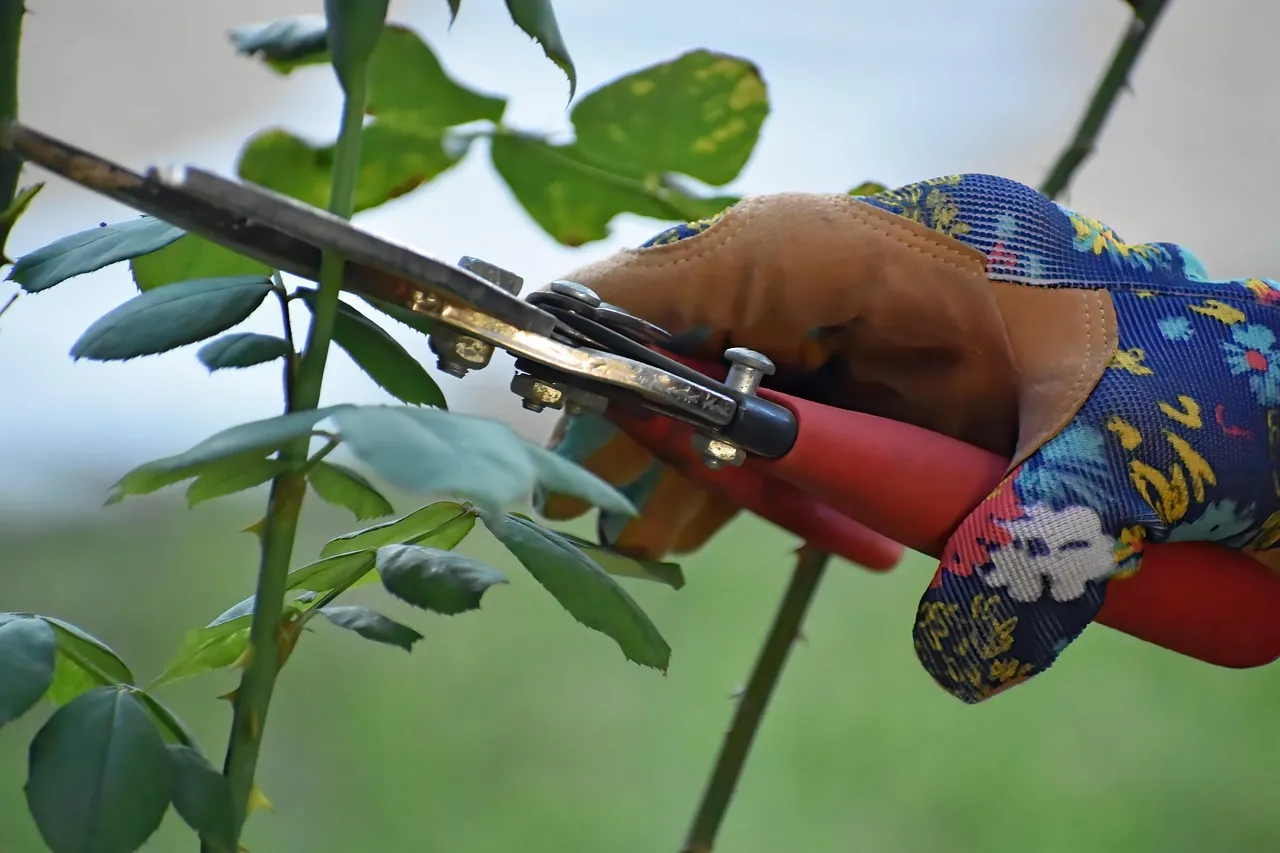
One of the most common rose pruning mistakes is pruning them at the wrong time of year. If you prune any rose in early summer, for example, you will remove the first flower buds, reducing their blooming potential.
Texas A&M AgriLife Extension recommends pruning roses before they break winter dormancy, typically between January and March depending on location. The timing window matters more than most gardeners realize. Prune too early, and new growth gets hit by late frosts. Prune too late and you miss the optimal growing window for the season.
Late heavy pruning is particularly problematic in cold climates. Cutting roses back heavily right before frost exposes canes when plants should be preparing for dormancy. This tender growth has no chance of hardening off before winter arrives, making plants more susceptible to cold damage.
2. Using Dull or Dirty Tools
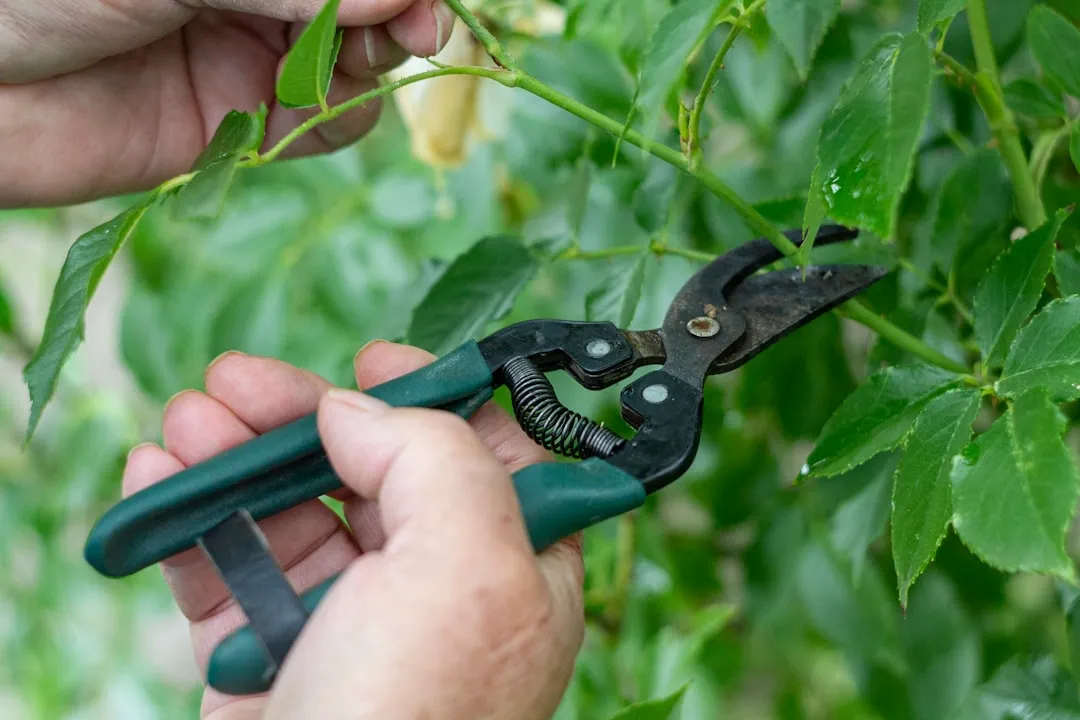
One of the main causes of rose pruning problems is using blunt pruning tools that haven’t been cleaned since their last use. This includes blades with sap and the remnants of woody material smeared over them. Dull blades don’t cut cleanly; they mash the wood, leaving rough and straggly ends that are an excellent entry point for roses pests and diseases.
Using dirty, sticky blades when you prune is the easiest way of spreading rose diseases from plant to plant. This is not a minor inconvenience. It’s one of the most direct pathways for fungal spores to travel across your entire garden.
Sterilise between plants, or between major cuts on a diseased plant. A 70% isopropyl alcohol solution is the standard recommendation, applied to blades and allowed at least 30 seconds of contact time before proceeding. A 10% bleach solution is an equally effective alternative.
3. Pruning Rambling Roses in Winter
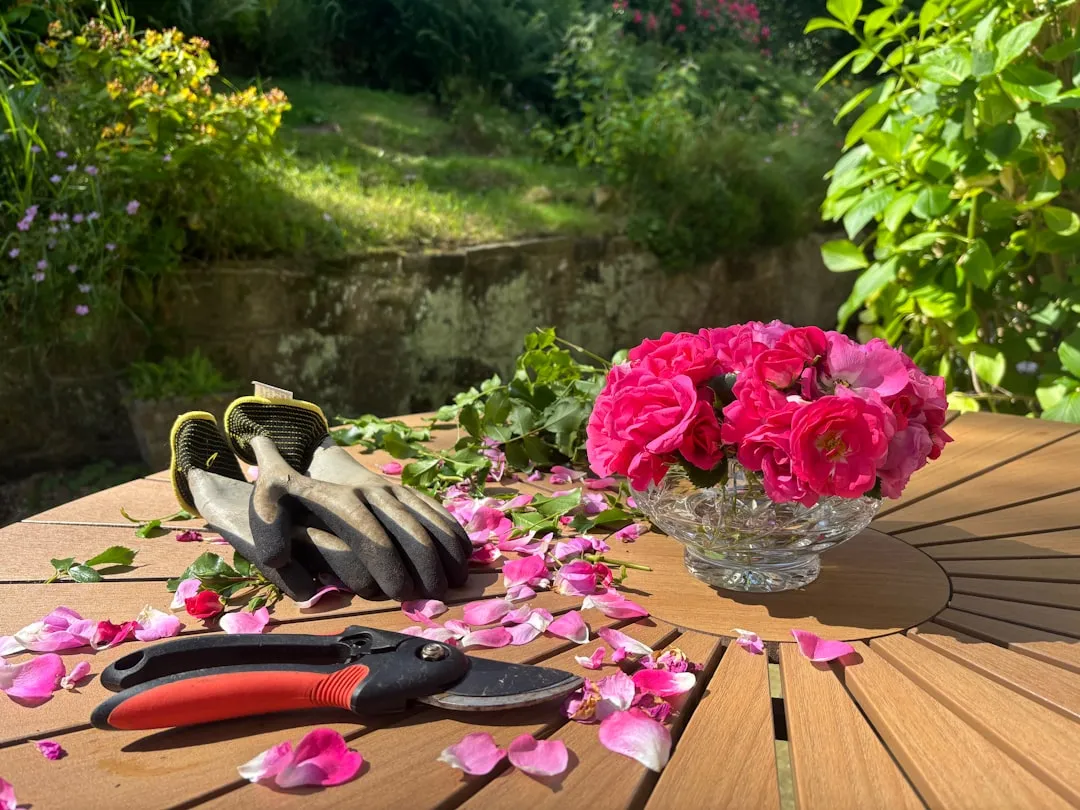
Rambling roses flower on old wood, the stems grown in the previous year, and every one of those dormant flower buds got cut off in the winter tidy-up. It’s one of the most common errors seen in gardens, and it results in a full season with no blooms at all.
Ramblers produce their flowers on wood grown in the previous year. Winter pruning removes every dormant bud the plant has set. The rose will grow vigorously and produce nothing. If you’ve done this, the only option is to train this summer’s new growth carefully across the support and wait until next year.
Rambling roses are vigorous scrambling roses that bloom once a year in midsummer on wood grown the previous year or two. These should be pruned once a year after flowering, otherwise you risk losing a year’s worth of buds.
4. Making Cuts at the Wrong Angle and Distance

Make a clean 45-degree cut on a downward slant, away from the bud, about a quarter inch above an outward facing bud. Cutting on an angle helps water run off. Leaving a quarter inch of cane above the bud ensures the wound can heal properly.
Cut closer than 3mm and the bud itself may be damaged or desiccated by the cut. Cut further than 8mm above the bud and you leave a stub of stem between cut and bud that the plant can’t support. The vascular connections don’t extend that far, and the stub dies back, creating a dead zone that invites infection.
The basic logic behind making the cut slope down and away from the eye is that the excess natural sap that will rise to seal the cut can pour down the opposing side of the cane and not interfere with the developing eye. According to the American Rose Society, mastering this simple technique shapes your spring growth for the rest of the year.
5. Cutting to Inward-Facing Buds
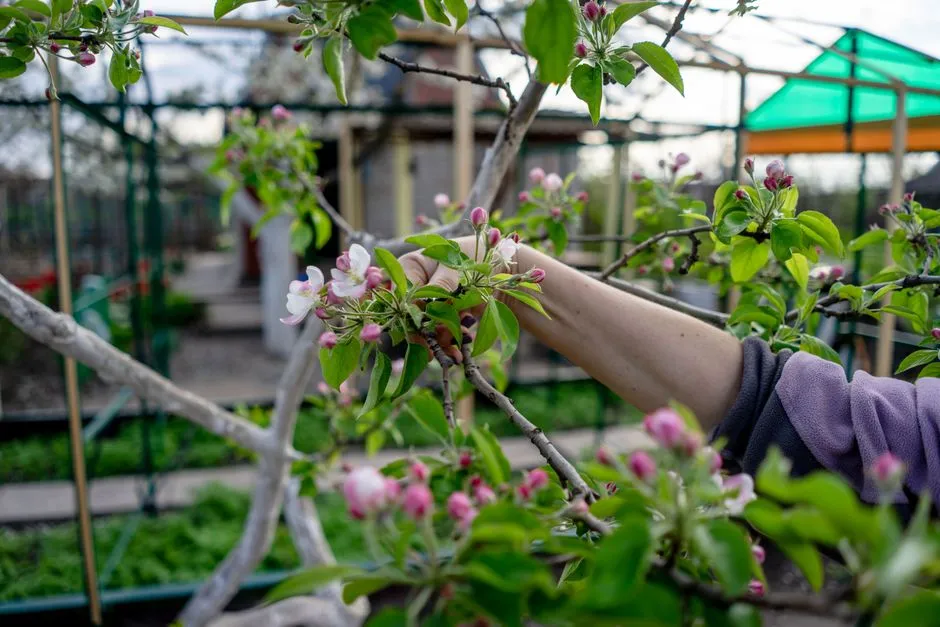
By choosing an outward-facing bud as your cut point, you’re directing that new shoot to grow away from the centre of the plant. The new shoot follows the bud’s orientation. This creates the classic open, vase-shaped structure that allows air to circulate freely through the canopy.
Reduced humidity inside the plant structure is one of the most effective cultural defences against black spot and powdery mildew, both of which thrive in still, humid air. Cutting to inward-facing buds reverses all of that, pushing new growth toward the center and trapping moisture right where you don’t want it.
Prune by cutting a quarter inch to half an inch above an outward-facing bud eye, a small bump found where a leaf would meet the stem. New stems grow in the direction of the bud and the goal is to encourage them to grow outward, not inward.
6. Failing to Sterilize Tools Between Plants, Spreading Rose Rosette Virus
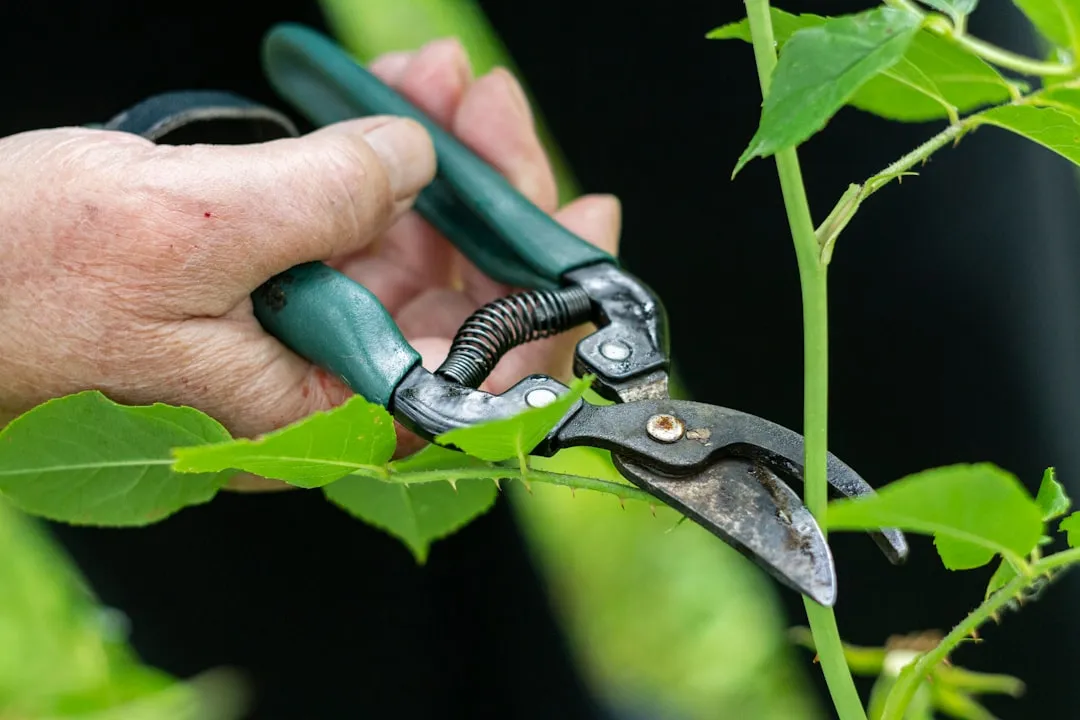
Rose rosette virus is systemic and will move throughout all parts of the plant, including the roots, and cannot be pruned out of the plant. Pruners used on infected roses should be disinfected before use on other roses to prevent spreading the virus. Remove and bag any plant material, including roots, in the landscape to prevent spreading it to healthy roses.
Many gardeners and landscape contractors do not sterilize their tools after each bush or yard is pruned. As a result, the disease is likely to rapidly spread from rose bush to rose bush. This matters enormously, because one of the primary downsides to rose rosette disease is that there is no cure for the disease. With a positive diagnosis, you’ll want to dig up and remove the plant from your landscape.
The reality is that there is currently no successful treatment or cure for rose rosette. Once infected, plants have an average lifespan of about 22 months. This makes tool sterilization not just best practice, it’s the difference between a thriving garden and a dying one.
7. Ignoring Dead Wood and Leaving Diseased Debris Behind

Rose cankers are caused by various species of fungi, including Botryosphaeria, Leptosphaeria, Coniothyrium, and Cryptosporella. These fungi enter healthy canes through wounds caused by winter injury, improper pruning, wind, hail damage, or flower cutting. Cankers can enlarge until they surround the cane or reach the base of the plant, spreading to other canes or killing the plant.
One of the most common ways that roses develop canker is through pruning cuts, especially if you do not clean your pruners regularly. Open pruning cuts are a magnet for fungal infections, so it is extremely important to disinfect your tools after each use.
Proper cleanup means removing all pruned material from the garden area. Don’t compost diseased debris unless your compost gets hot enough to kill disease organisms. When in doubt, dispose of rose prunings rather than risking disease spread.
8. Skipping the Sealing of Cut Cane Ends
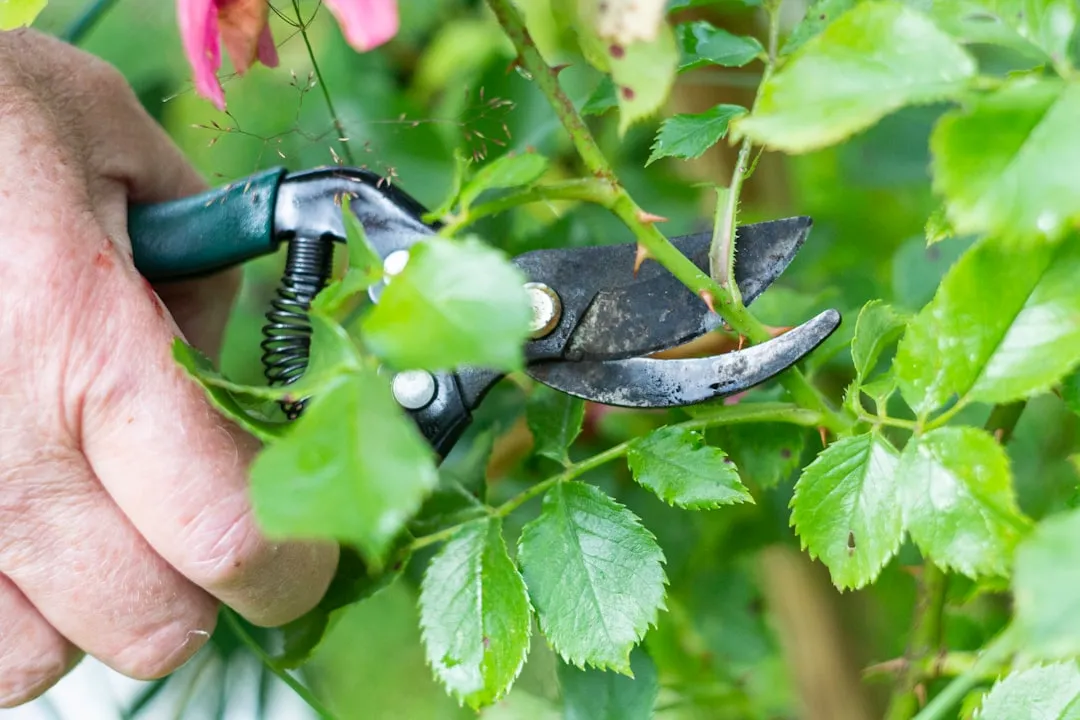
The vulnerable exposed soft wood provides an easy entry point for harmful pests. In some cases, a boring insect can bore down far enough to kill the entire cane and sometimes the rose bush. This is a threat that’s easy to forget because the damage happens invisibly, well below the surface.
Using Elmer’s glue, not school glue, which washes off quickly in the rain, seal the ends of all canes three-sixteenths of an inch in diameter and larger. The glue forms a barrier that helps prevent cane-boring insects from boring into the canes and causing damage to them.
Make cuts at a 45-degree angle sloping away from the bud, allowing water to run off. Protect freshly cut canes from rot and rose borers by sealing the wounds with a pruning sealer compound. The step takes seconds and protects weeks of future growth.
The Takeaway
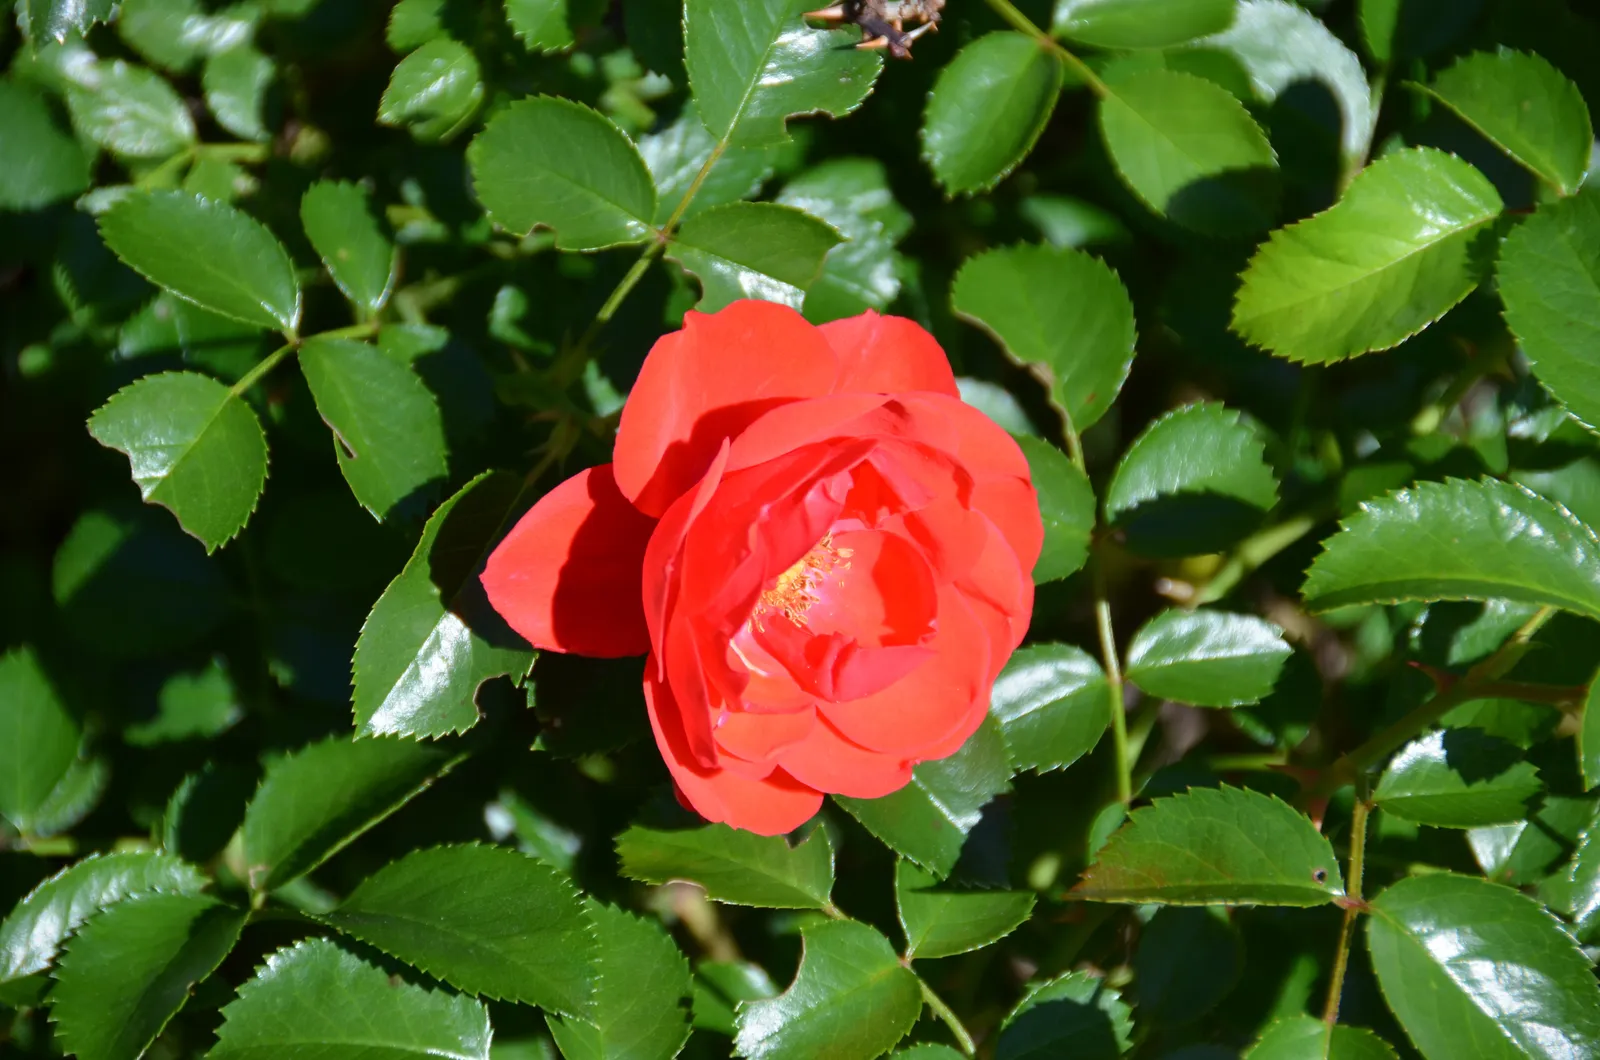
Most of these mistakes share a common thread: they’re invisible in the short term. Make the wrong cuts and you can set your roses back for an entire season or longer. The good news is that each mistake has a clear, practical fix that doesn’t require special expertise.
Roses aren’t just a garden favorite – they’re a powerhouse in the ornamental horticulture industry. According to the U.S. Department of Agriculture, garden roses contribute approximately $168 million in wholesale value and are a cornerstone of the multibillion-dollar landscape and shrub industry. That speaks to how much people love them.
Treat your pruning sessions with the same care you give to planting or feeding. Pruning does more than shape your roses – it helps promote growth, improves air circulation and sun exposure, in addition to reducing incidence of fungal diseases like black spot. Get the basics right, and those blooms will keep coming back, season after season.
AI Disclaimer: This article was created with the assistance of AI tools and reviewed by a human editor.