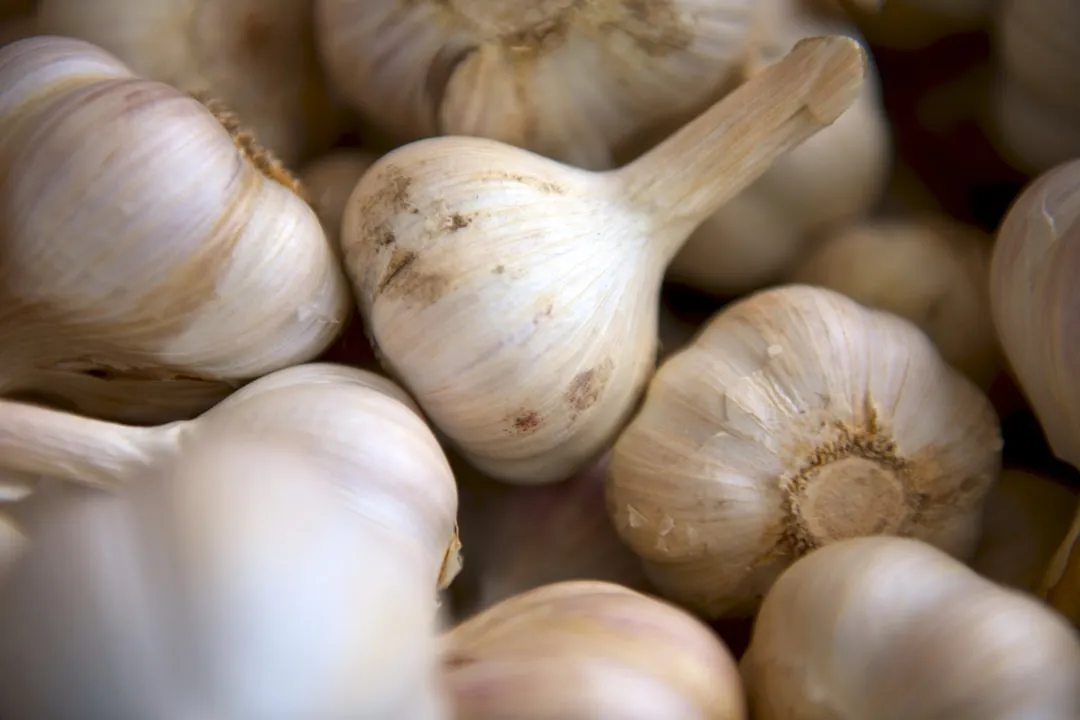

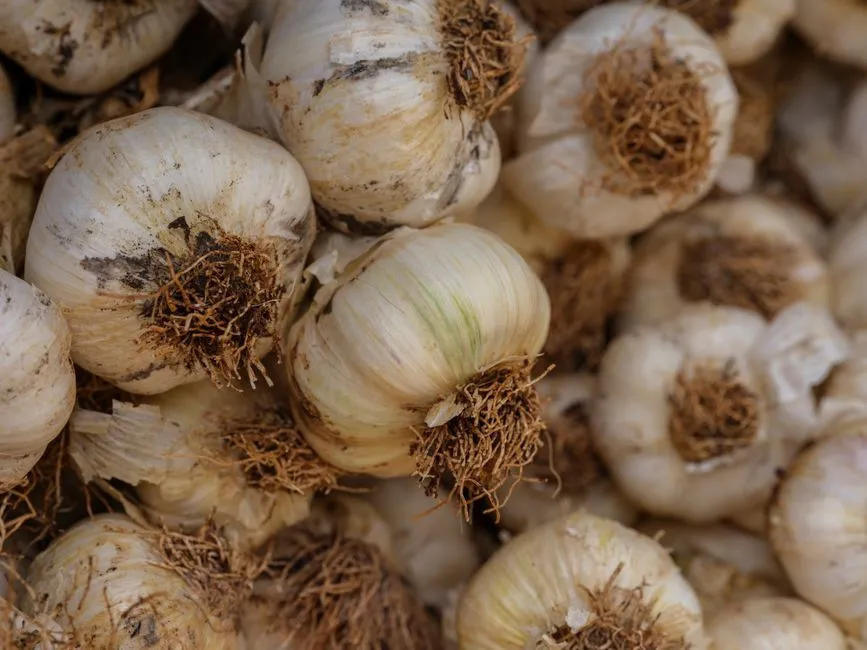
Most vegetables need a warm start to perform well, but garlic works the other way around. It thrives on cold, and the gardeners who understand that principle are the ones pulling up plump, deeply flavored bulbs weeks before anyone else in the neighborhood. The trick isn’t complicated, but it does require a bit of advance planning and an understanding of what garlic actually needs underground during those quiet winter months.
Overwintering garlic means planting the cloves in autumn so they establish roots before winter, ensuring a strong, healthy harvest the following summer. Getting there, though, involves choosing the right variety, preparing your soil carefully, timing your planting correctly, and managing the bed through the cold months. Each step matters.
Why Garlic Needs Winter in the First Place
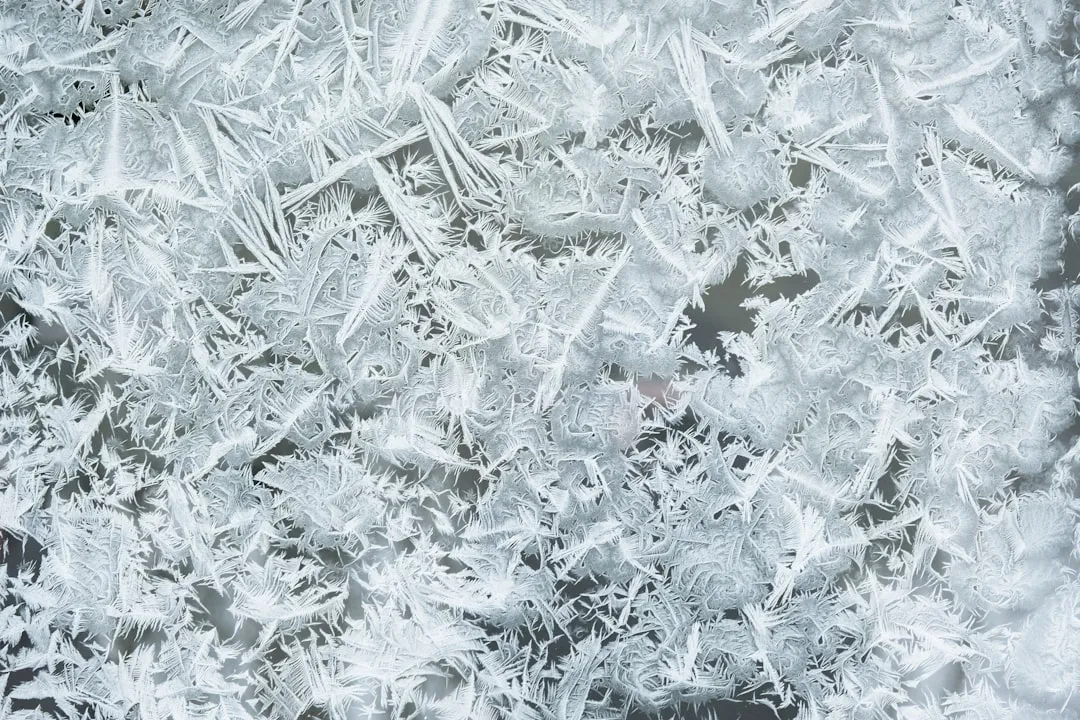
Garlic is not like tomatoes. It doesn’t just tolerate cold. It genuinely needs it. Garlic develops bulbs due to a combination of day length, temperature, and vernalization, which is the process of cold exposure during winter. Skip the cold period and the plant simply won’t bulb properly.
This physiological trigger is essential for breaking dormancy and stimulating bulb formation. Without adequate cold exposure, garlic may produce smaller bulbs or fail to develop fully, leading to reduced yields.
Unlike spring planting, autumn sowing allows garlic to benefit from the natural cold period, generally producing larger, more flavorful bulbs. That flavor difference, for anyone who has tasted properly grown homegrown garlic, is genuinely noticeable.
Choosing the Right Variety for Your Climate
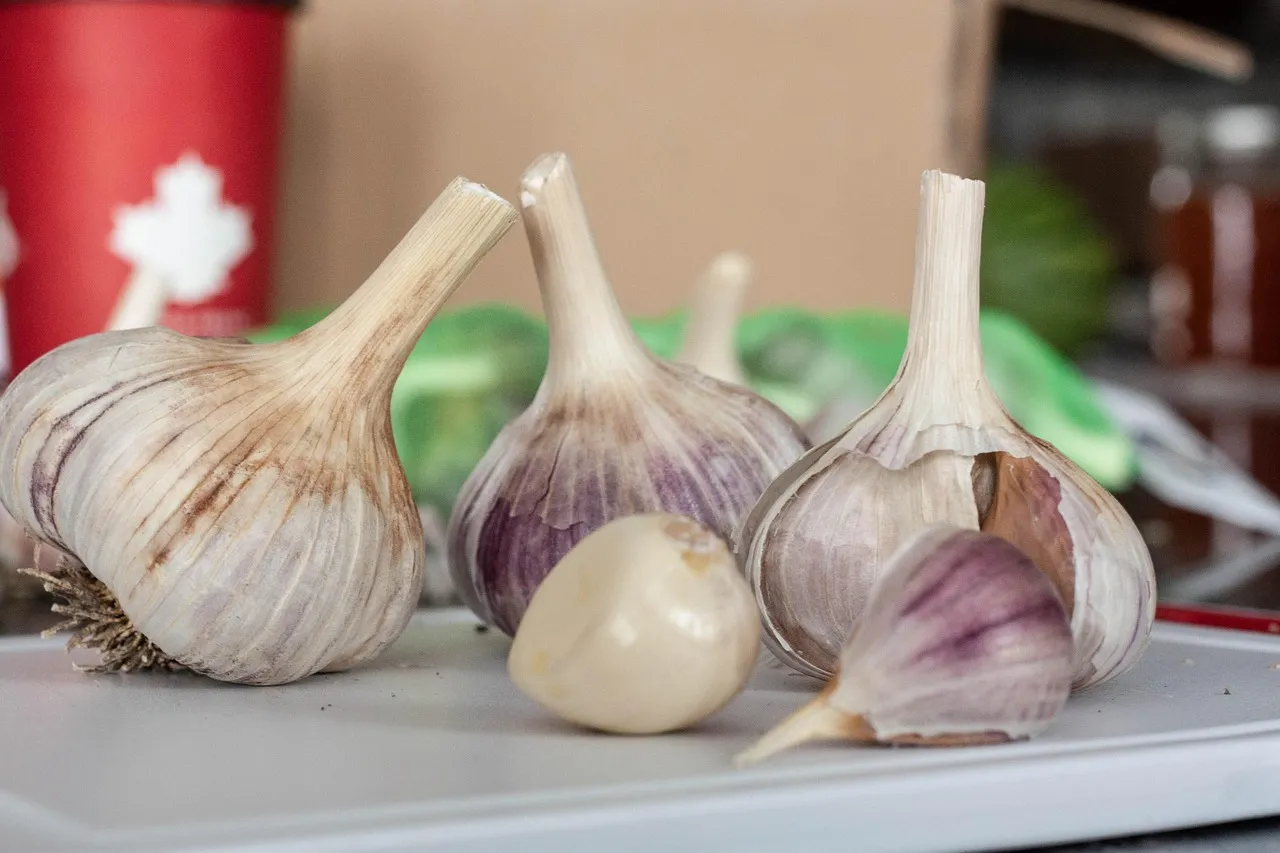
Choosing the appropriate garlic variety is crucial for successful overwintering. Hardneck varieties tend to perform best in colder climates, while softneck types are suitable for milder winters or greenhouse cultivation.
Hardneck garlic is typically favored for bold, complex flavor and colder-winter growing, while softneck garlic is usually the best option for long storage, warmer climates, and braiding. Both have their place, but they are not interchangeable.
Softneck garlic, more adaptable to milder climates, requires less cold exposure, often as little as 20 to 30 days, to produce healthy bulbs. For gardeners in colder zones, hardneck varieties such as ‘Music’ or ‘German Red’ require the cold period to form their characteristic large bulbs and flavorful cloves.
The Science Behind Cold Stratification and Bulb Size
Cold stratification is more than a gardening tradition. There is measurable evidence behind it. The duration and consistency of cold stratification directly correlate with bulb size and yield. Research shows that garlic exposed to 10 to 12 weeks of cold temperatures produces bulbs up to roughly a third larger than those with shorter cold periods.
Planting hardneck types in late fall, around 6 to 8 weeks before the ground freezes, ensures they receive the necessary chill. This period allows the roots to establish while the cloves remain dormant, preparing for spring growth.
Gardeners in warmer zones can simulate this by refrigerating cloves for 4 to 6 weeks before planting, a technique known as artificial cold stratification. It’s not quite as effective as a genuine winter, but it can meaningfully improve bulb development in mild-climate gardens.
When Exactly to Plant for the Best Timing
In an ideal situation, garlic would be planted early enough in the fall that it has time to develop a root system and begin to form a shoot, but not so early that the shoot emerges above the soil. That balance is the sweet spot every garlic grower aims for.
This sweet spot for planting is typically within two weeks of the first frost. Too early, and the foliage pushes up and becomes vulnerable. Too late, and the roots don’t have enough time to anchor in before the ground hardens.
Autumn planting your garlic means this aromatic allium is well set for strong early growth during the spring and will be ready to harvest earlier in the summer. That early summer harvest window is the real payoff of getting the timing right from the start.
Soil Preparation That Sets the Foundation
Garlic is not forgiving of waterlogged soil. Garlic likes well-drained fertile soil in a warm, sunny spot. Heavy clays, which are prone to waterlogging, can rot garlic in the ground, especially when planting in the cooler, wetter months.
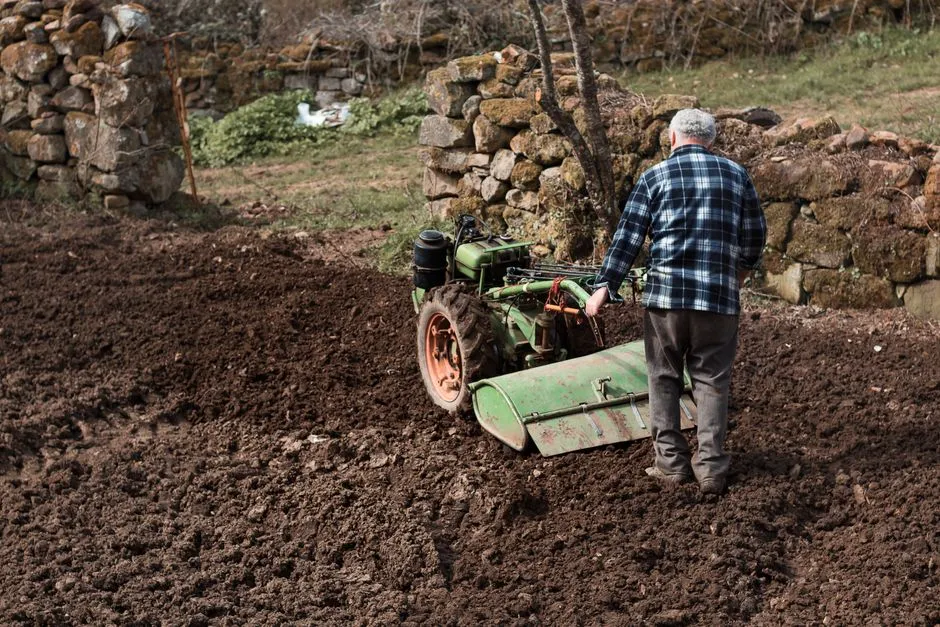
Prepare the soil by loosening it to a depth of 6 to 8 inches and amend with compost to improve fertility and drainage. Well-broken, airy soil allows roots to push down freely and also discourages the moisture pooling that leads to rot over winter.
Check the soil pH level, aiming for a range between 6 and 7.5. Amend with compost, bone meal, and wood ash as needed. Garlic fed from the soil up, rather than forced along with synthetic inputs, tends to develop stronger structure and better-keeping bulbs.
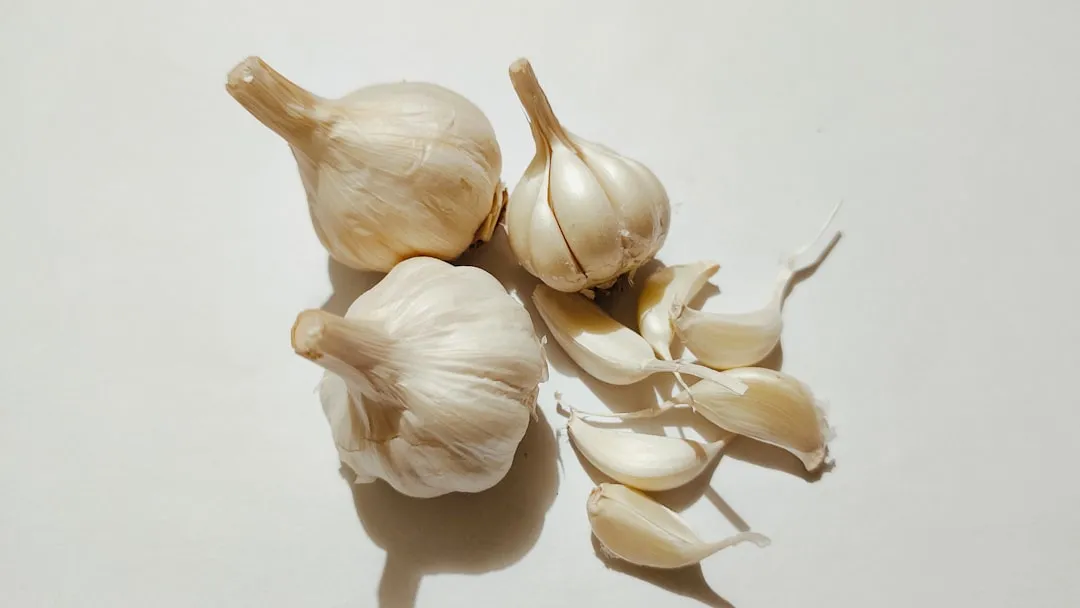
Planting Depth and Spacing Done Correctly

Getting depth and spacing right is one of those details that experienced growers take seriously. The standard guideline is to plant garlic cloves 2 to 3 inches below the soil surface, spaced 4 to 6 inches apart within rows, with rows 12 to 18 inches apart.
Plant cloves with the pointed end facing upward. This orientation encourages upward shoot growth and helps roots establish downward efficiently. It sounds like a small thing, but reversing the clove can set the plant back noticeably at the start.
Maintaining consistent spacing also improves airflow, reducing the risk of fungal diseases and pest infestation. Crowded beds are more prone to disease, particularly in wet winters, and the bulbs simply can’t expand as freely when they’re competing for space.
The Role of Mulch During the Winter Months
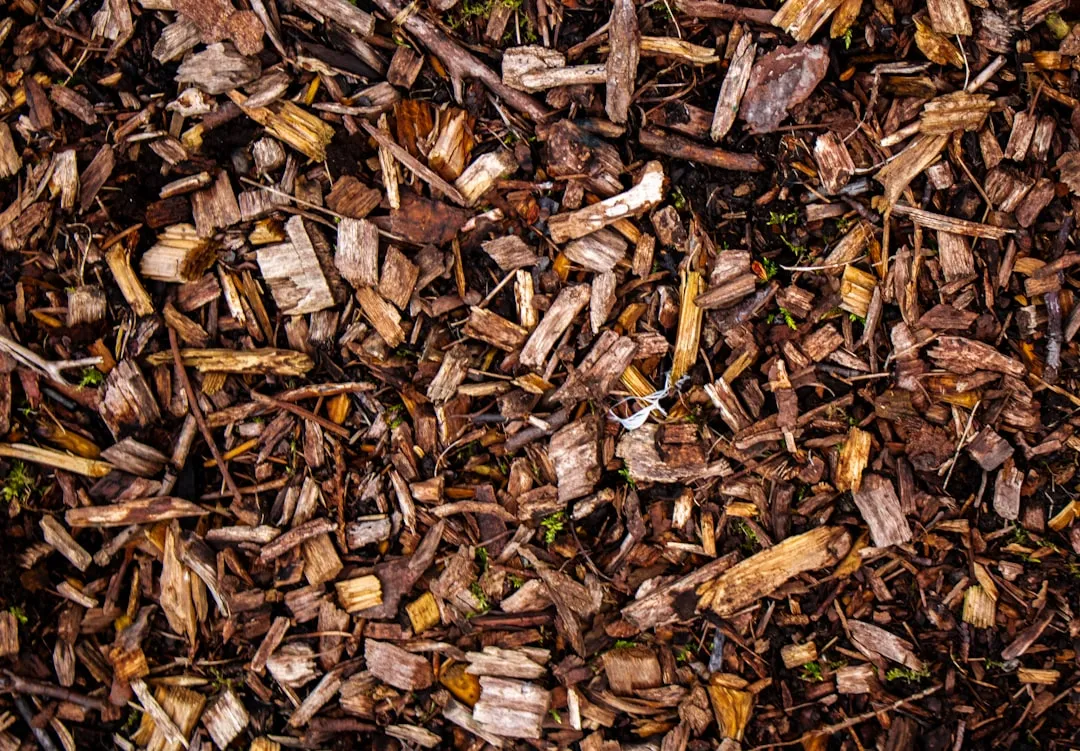
Mulch reduces temperature swings, helps hold moisture, and blocks weed competition. After planting, apply a 3 to 4 inch layer of clean straw or leaves. That layer acts as a thermal blanket through the coldest months, keeping soil temperature far more stable than bare ground can manage.
Gardeners in areas where the ground freezes should mulch garlic beds heavily with straw or leaves to ensure proper overwintering. In consistently cold regions, this step is simply not optional.
As temperatures rise in spring, remove mulch gradually to allow soil warming and reduce excess moisture around emerging shoots. Pulling mulch back too quickly in a cold snap can leave young growth exposed. Doing it gradually gives the plants time to adjust.
Spring Care: Feeding and Weeding for Big Bulbs
In early spring, once you see the first sprouts, begin fertilizing your garlic. Apply fertilizer every 10 to 14 days from when sprouts appear until roughly one week before garlic scapes emerge, for large healthy garlic bulbs.
In early spring as growth resumes, side-dress with compost and a nitrogen-forward organic fertilizer. As bulbing begins in late spring, taper nitrogen so plants shift energy into bulb development. The timing of that nitrogen taper is something a lot of home growers miss.
Bulb size is reduced if garlic has to compete with weeds, so it’s best to tackle weeds while they are small. The weeds rob nutrients from the bulbs. A few minutes of weeding every couple of weeks through spring pays back in noticeably larger bulbs come summer.
The Scape: Remove It and Reap the Reward
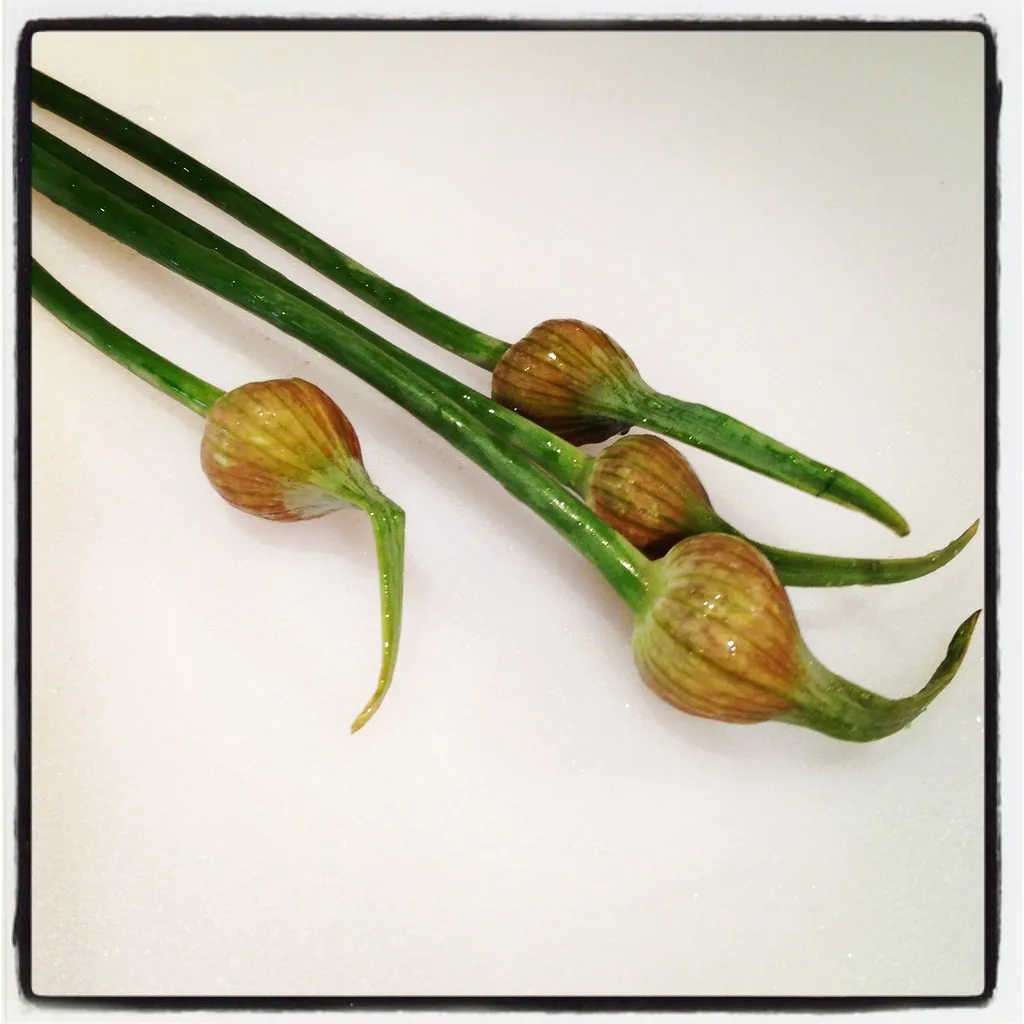
Hardneck garlic sends up a distinctive curling flower stalk in late spring called a scape. Most gardeners cut it off, and there’s a compelling reason to do so. According to University of Saskatchewan extension, removing scapes can increase bulb size by up to 30 percent in some varieties.
The ideal time to harvest is when the scape has formed one or two full curls or loops. At this stage, the scape is tender, packed with flavor, and hasn’t yet drawn too much energy from the developing bulb.
By removing the scapes, the plant redirects that energy back into the bulb underground, which usually means larger, plumper cloves. Cutting scapes also gives you a supplementary harvest weeks before the bulbs are ready. Think of scapes as a bonus crop rather than a chore.
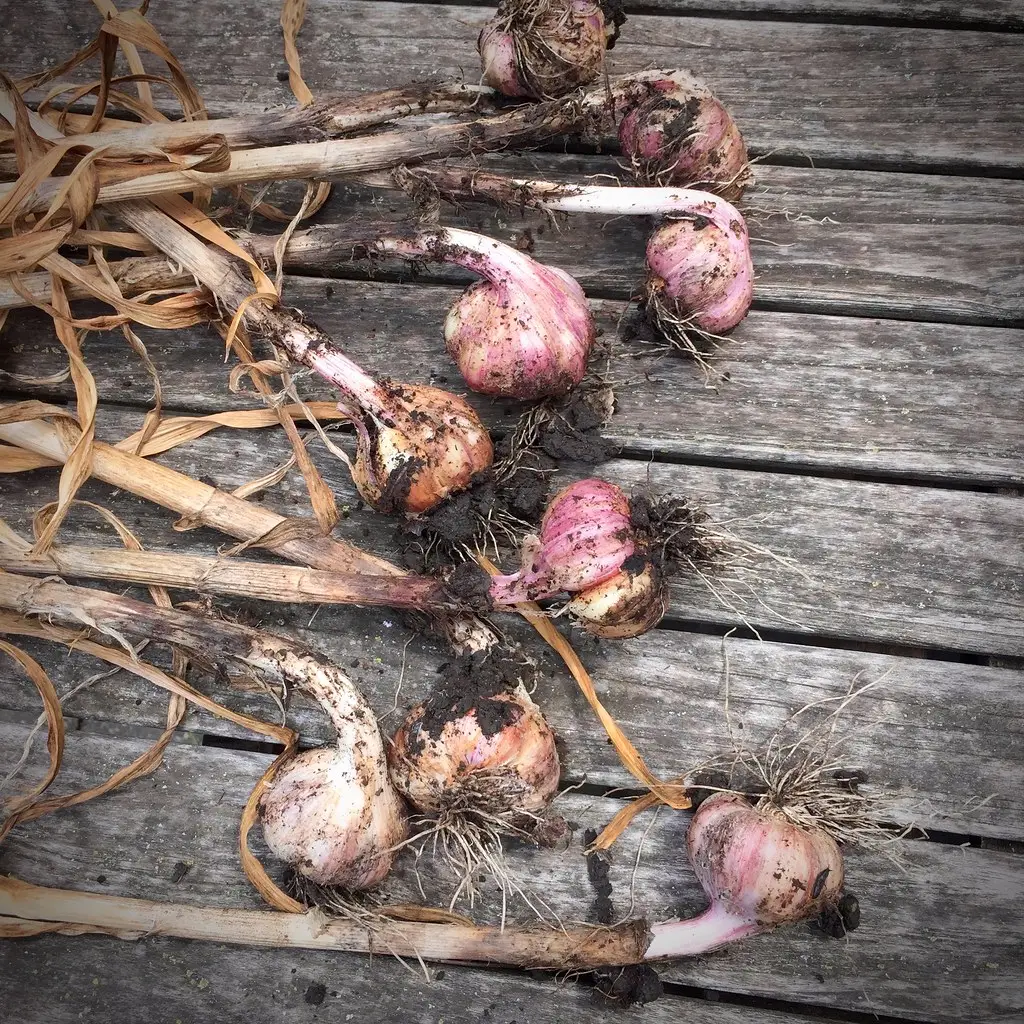
Knowing When and How to Harvest
Timing the harvest is where patience pays off. Timing is critical; harvesting too early yields small bulbs, while waiting too long risks splitting skins or decay. Observe lower leaves – when half have turned yellow-brown but upper leaves remain green, it’s time to harvest.
In southern climates, fall-planted garlic may be ready to be pulled up as soon as May or June. In colder northern regions, harvest typically runs from late June through July, depending on the variety and the specific season.
Loosen soil gently with a fork rather than pulling bulbs directly by hand to avoid damage. Cure harvested bulbs by laying them out in a dry, airy spot away from direct sunlight for two weeks before trimming roots and tops. Skipping or rushing the curing step dramatically shortens how long the bulbs keep in storage.
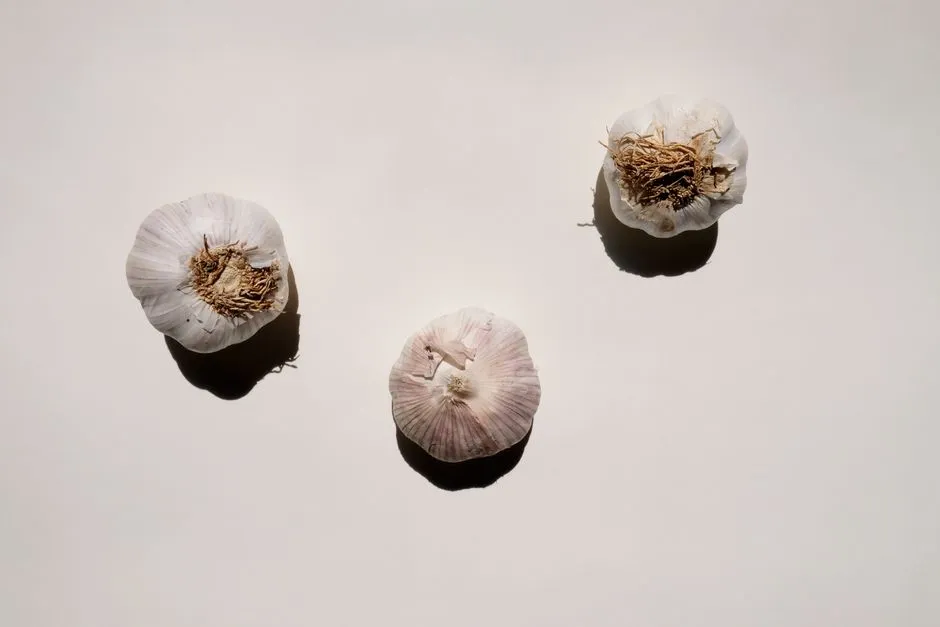
Curing, Storing, and Saving Seed Stock
Cure your garlic for around two to four weeks or until the stems are completely brown and dry. The curing process allows the outer papery layers to harden off, which helps significantly with storage longevity.
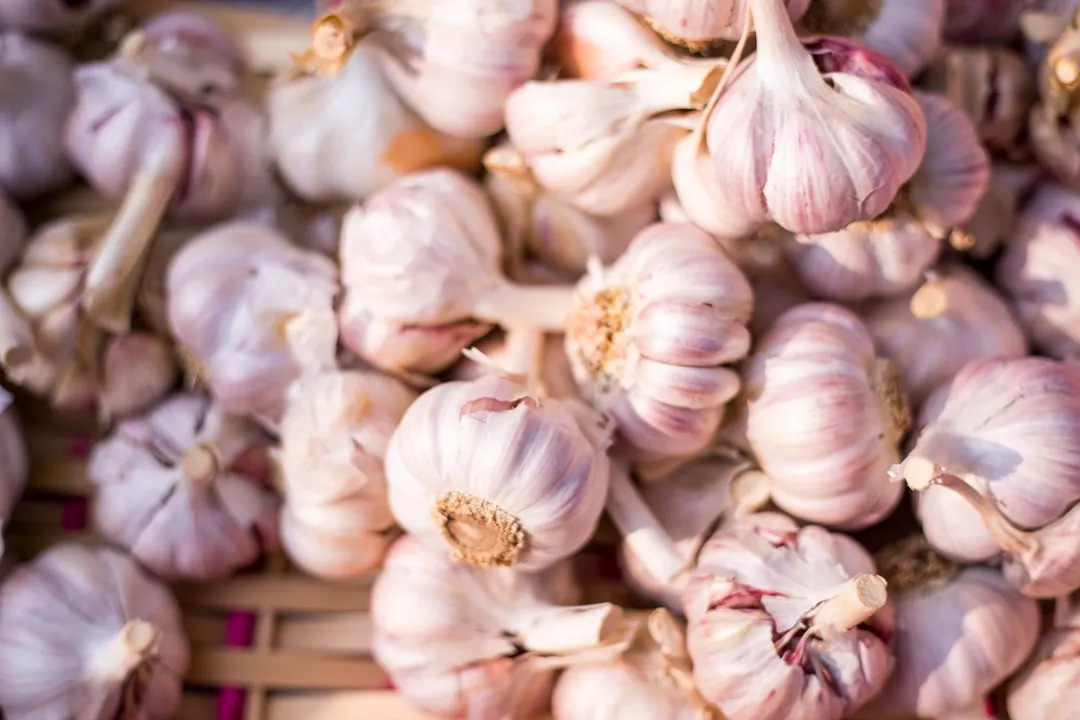
Generally, softneck varieties can be stored from 10 to 12 months and hardneck varieties from 4 to 8 months. Heads of garlic can last for a long time when properly cured and stored, so they can be used in the kitchen and enjoyed for months longer than many other vegetables from the garden.
Select the largest bulbs from your harvest as seed stock for next year’s crop, continuing the cycle of improvement in your garden. Over several seasons of selecting the biggest, healthiest bulbs, many growers notice the overall size and quality of their harvest quietly improving year after year.
Conclusion
Overwintering garlic is, at its core, a practice of working with nature rather than against it. The cold isn’t a problem to manage. It’s the very thing that drives the result you’re after. Plant at the right time, protect the bed through winter, feed in spring, remove the scape, and dig when the leaves tell you to.
The return is a harvest that arrives earlier than most garden crops, keeps well through summer, and tastes nothing like what you find in a grocery store. It’s one of those rare areas in the kitchen garden where patience and a little forward planning genuinely translate into something you can taste.
AI Disclaimer: This article was created with the assistance of AI tools and reviewed by a human editor.