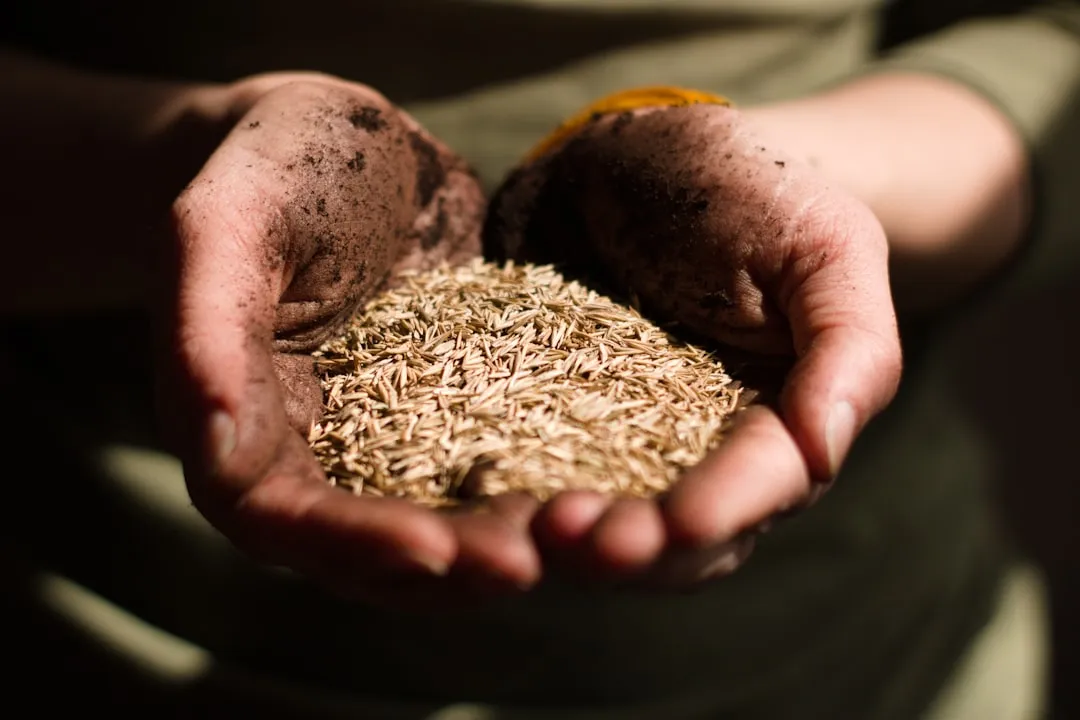

Seed saving is one of those practices that sounds simple until you actually try it. Pull a seed from a tomato, let it dry on a paper towel, toss it in an envelope – easy enough, right? In reality, the difference between seeds that sprout vigorously in spring and ones that rot in the envelope comes down to a handful of decisions made in late summer and autumn, most of them surprisingly straightforward once you know what to look for.
Roughly more than half of American households engage in gardening activities, and interest in growing food from saved seed has been growing steadily alongside that broader trend. Whether you’re working a backyard plot or a small balcony container garden, knowing how to carry this year’s best plants into next year is a genuinely useful skill.
Start With the Right Plants: Open-Pollinated and Heirloom Varieties Only
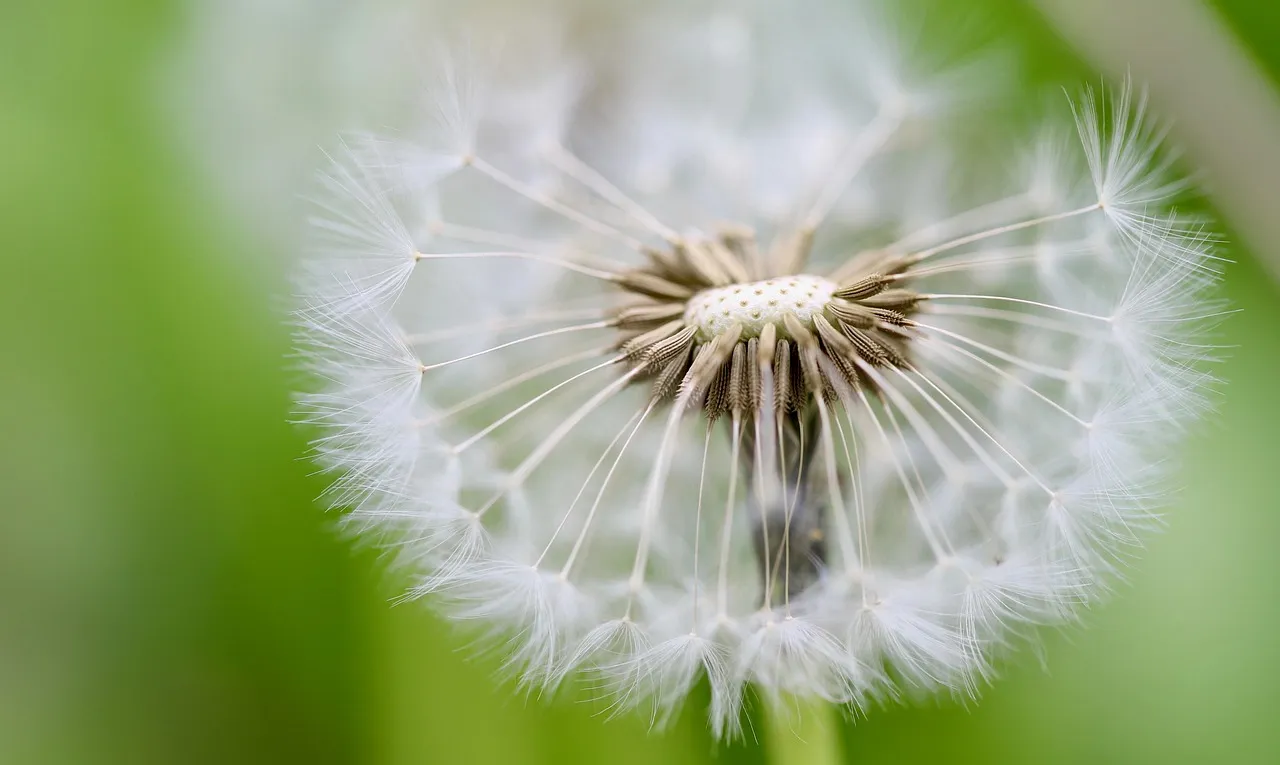
Not every plant in your garden is worth saving seed from, and this matters more than most beginners realize. Hybrid plants are grown from seeds of two pure parent lines; these parent plants are combined to create desirable traits such as disease resistance, increased vigor, and uniformity, but the result of these crosses usually only lasts one generation, so seeds harvested from hybrids may produce disappointing results.
Open-pollinated varieties, when pollinated by the same variety, produce offspring with consistent, true-to-type characteristics, allowing gardeners to save seeds from one season for planting the next. These are the seeds worth collecting. Great options for harvesting seeds are self-pollinated or open-pollinated plants such as beans, herbs, lettuce, okra, peas, and tomatoes.
Choose Only the Best Plants to Save From
Be selective and save seeds from only the best plants or fruits. This single rule shapes the quality of every future crop you grow from those seeds. It sounds obvious, but under the pressure of a busy harvest season, it’s easy to grab seeds from whatever is handy rather than from the plant that outperformed everything else in the bed.
Choose the healthiest plants – save seeds only from strong, disease-free, and high-yielding plants. If a plant struggled with pests, wilted early, or produced small or misshapen fruit, it’s simply not a good genetic candidate. You preserve the seeds that performed best in your specific conditions, ensuring a more successful, already-adapted future crop.
Know the Difference Between Dry-Seed and Wet-Seed Crops
The single biggest mistake new seed savers make is treating all seeds the same. They fall into two broad categories that require completely different handling. Dry-seed crops such as beans, lettuce, carrots, and brassicas form seeds in pods or flower heads; allow them to dry on the plant as much as possible before cutting, collecting, or bringing indoors to finish drying.
Wet-seed crops such as tomatoes, cucumbers, melons, and peppers have seeds embedded in fruit; harvest when fully ripe, and some, like tomatoes and cucumbers, benefit from fermentation to remove germination inhibitors. Knowing which category your crop falls into before you harvest saves a lot of frustration later.
Harvesting at the Right Time Is Non-Negotiable
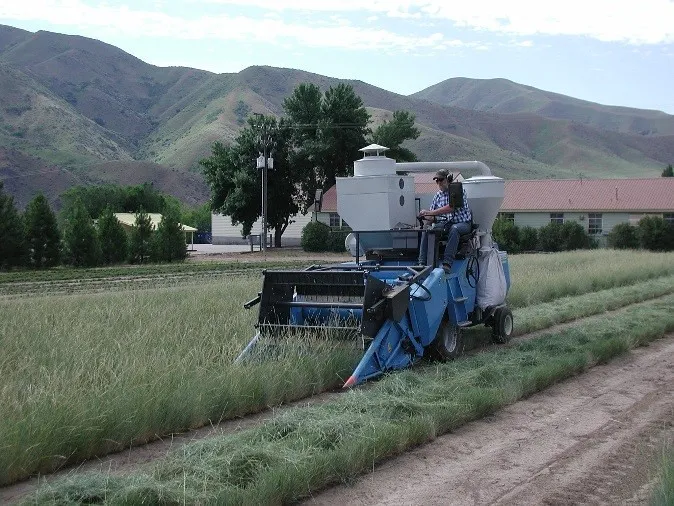
The most important rule is to let seeds fully mature before harvesting. Timing is the one factor that directly determines whether a seed will germinate at all next spring. To harvest seeds, wait until the fruit is ripe and the seeds are mature.
For example, we eat cucumbers when they are green, but to harvest seeds, let them turn yellow. Most peppers tend to turn red when they are fully ripe. For dry crops, wait until seed pods or flower heads are completely brown and dry on the plant. Patience at this stage pays dividends come spring.
The Fermentation Process for Wet Seeds
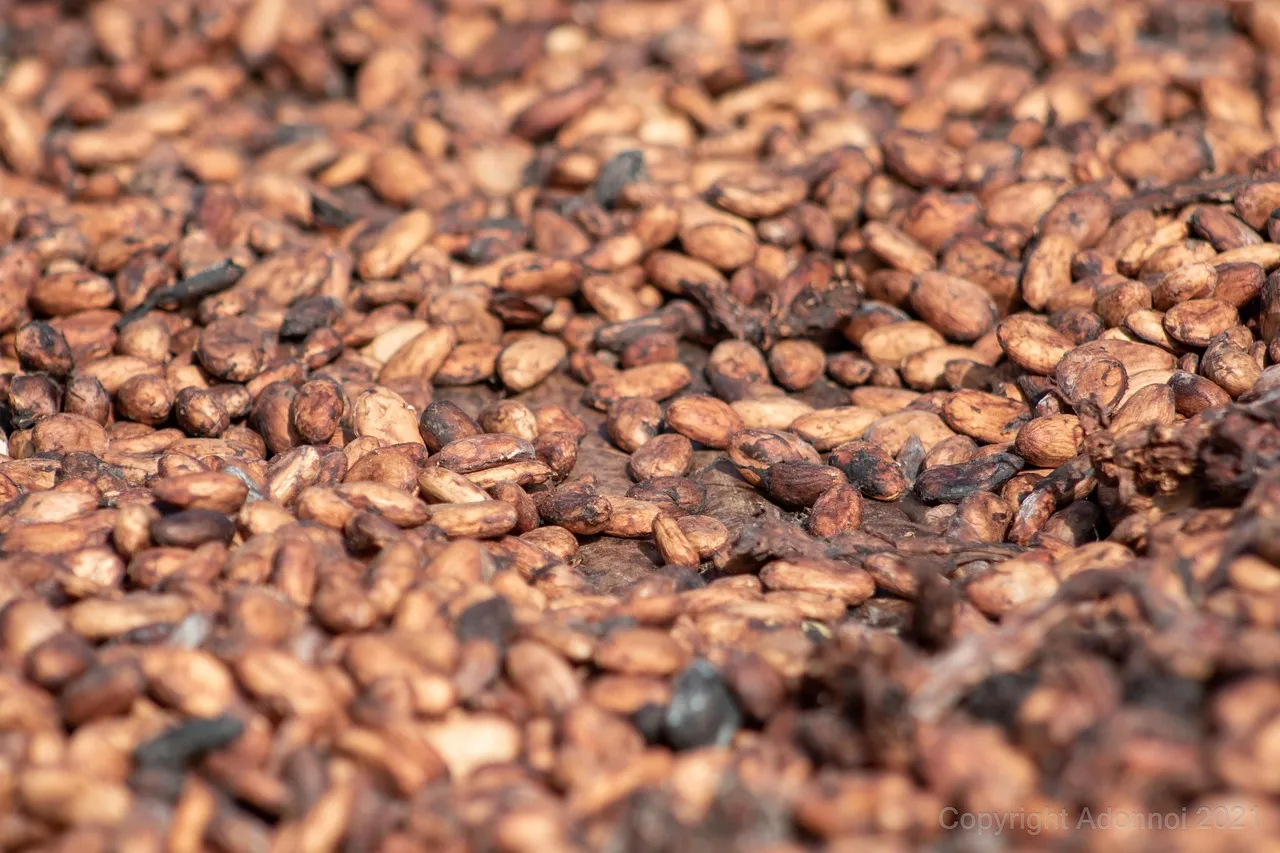
For tomatoes and cucumbers in particular, simply rinsing seeds under water isn’t enough. Lacto-fermentation removes the germination-inhibiting substance on the seed coat, that gooey gel sac that surrounds each seed. Skipping this step creates problems down the line. If you haven’t fermented your tomato seeds before saving them, your germination rate will be reduced because they still contain that natural sprout inhibitor.
Fermenting tomato seeds effectively removes the gelatinous coating that inhibits germination, reduces the risk of transmitting soilborne diseases to seedlings, and improves seed viability and germination rates. The process itself is low-tech: scoop seeds into a small jar with a little water, leave them at room temperature for two to three days, then rinse well and spread to dry. The fermentative extraction method is simple and commonly used to produce high-quality, non-dormant, and disease-free seeds.
Proper Drying Is the Foundation of Good Storage
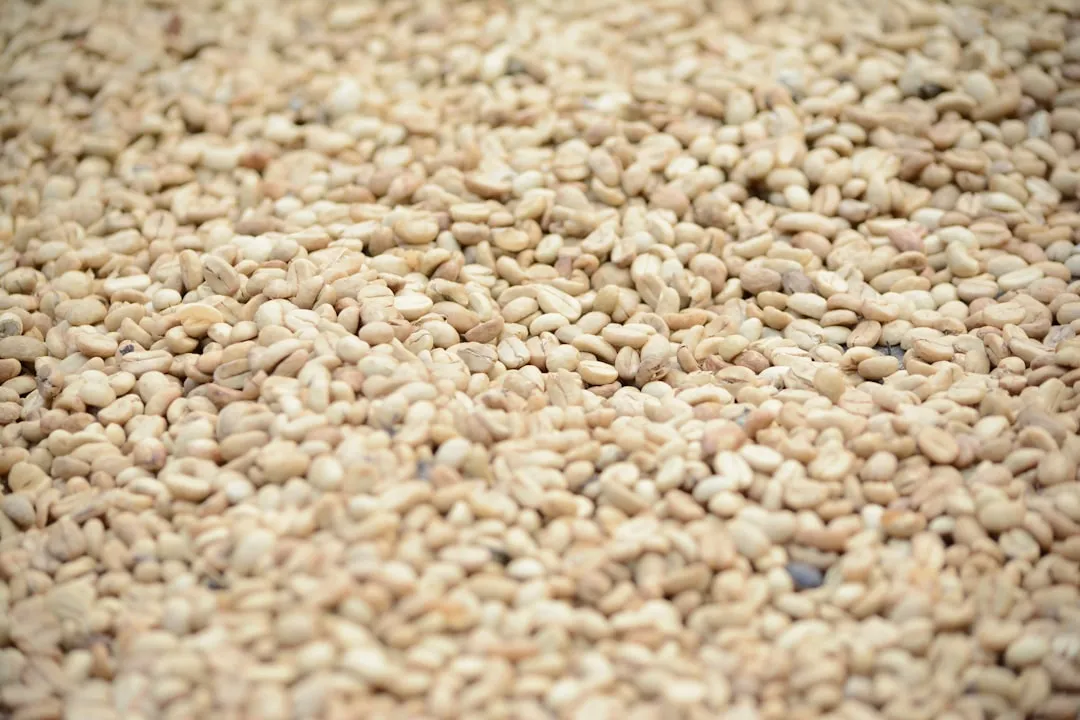
Once seeds are cleaned, they need to dry completely before going into any container. Spread seeds in a single layer on a plate or screen in a warm, dry place out of direct sunlight; this may take several days to a week. Rushing this step is one of the most common causes of seed loss over winter.
The best way to accomplish this is to dry seeds on small frames with a nylon mesh screen; the screen allows air to circulate freely around the seeds and keeps them from developing mold; let the seeds sit in a cool, dry area for about one week before storing. For pod-type crops like beans and peas, they should dry at least two weeks before shelling, or you can leave the seeds in the pods until planting time.
Storage Containers: What Actually Works
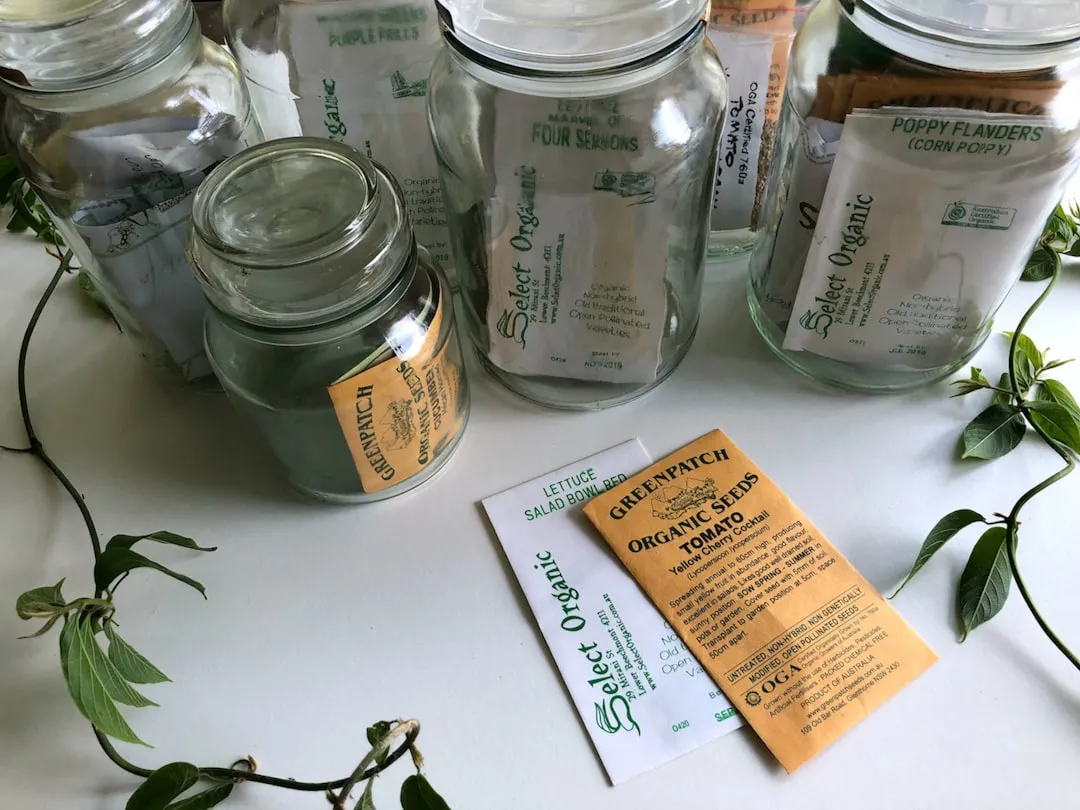
Store seeds in tightly sealed glass containers; you can store different kinds of seeds in individual paper packets in one large container; keep seeds dry and cool. Glass jars with tight lids are widely regarded as the most reliable option for home storage because they don’t absorb moisture and are easy to inspect.
Even slightly damp seeds can mold and spoil. That one fact alone explains why so many saved seeds fail to germinate in spring – the seeds looked fine going into storage, but residual moisture did invisible damage over the winter months. As long as seeds are kept in a cool, dry, dark place, they can be stored in plastic or glassine bags, plastic containers, or glass jars.
Temperature and Humidity: The Science Behind Longevity
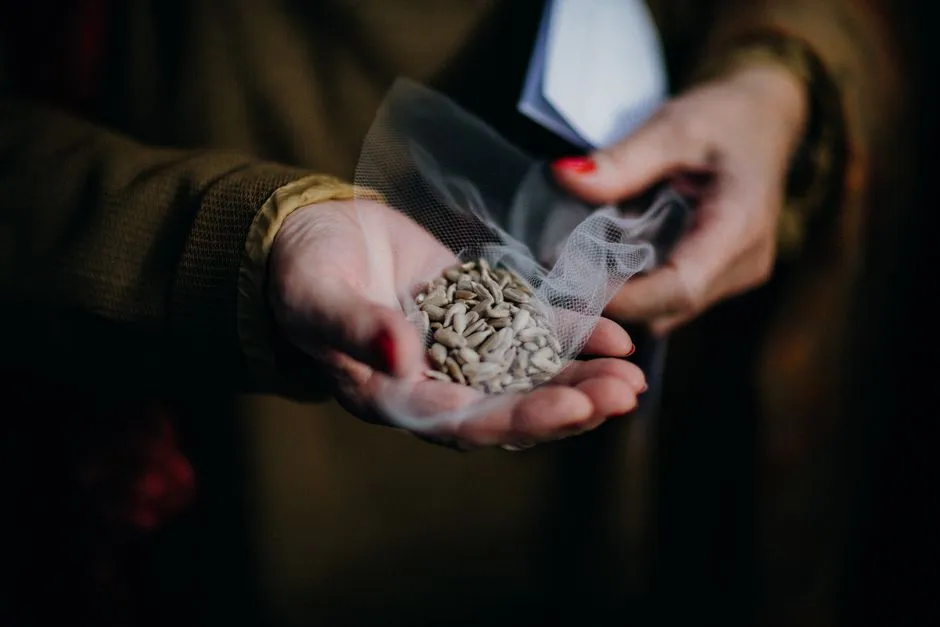
Storage conditions aren’t just about convenience – they directly control how long a seed stays viable. The rate of loss of vigor and viability of orthodox seeds depends mainly on temperature and seed moisture content; the lower the moisture content and storage temperature, the longer the longevity. This relationship is well-established in seed science research.
Relative humidity and temperature are the two atmospheric properties that most influence seed longevity. Research has found that for each 10-degree Fahrenheit decrease in temperature, the storage life is doubled. Keeping seeds in a cool pantry, a basement shelf, or even a refrigerator can therefore meaningfully extend how long they remain usable. Put them in sealed jars in a cool, dark place and sow them again within a couple of years for best results.
Labeling: The Step Everyone Forgets Until Spring
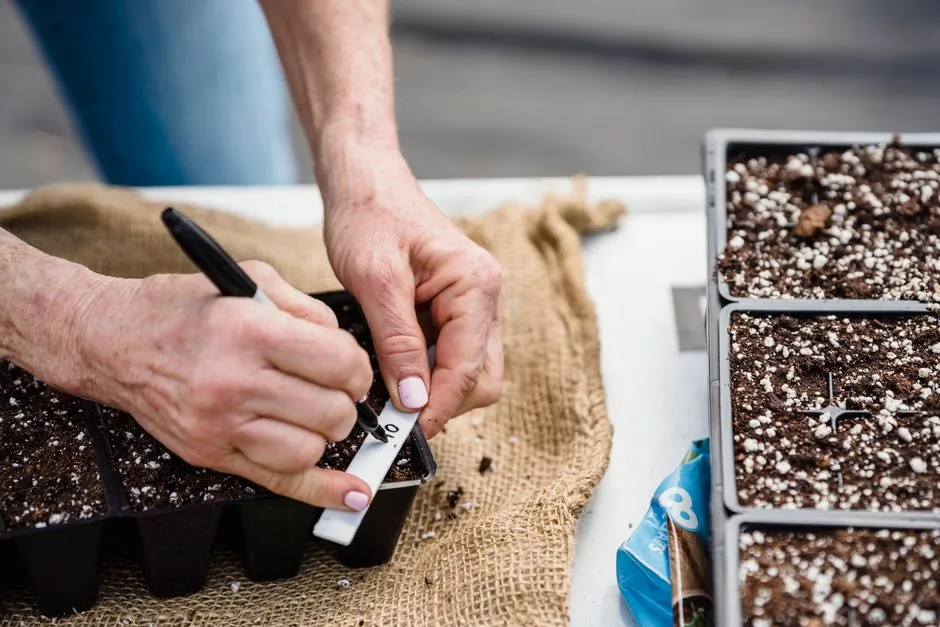
Always label with plant name and harvest year and store in a cool, dark, and dry location. It seems unnecessary in the moment – you’ll surely remember what you saved – but by the time March arrives, a jar of unlabeled small brown seeds becomes a genuine mystery. It is important to write down the date and type of seed as these details can be forgotten easily by the next planting season.
A reliable labeling system doesn’t need to be complicated. A simple paper label inside the jar or a piece of masking tape on the outside with variety name, harvest date, and any notes about that plant’s performance is more than enough. Treat it the same way you’d label a jar of homemade jam – future you will be grateful.
Testing Germination Before You Plant in Spring
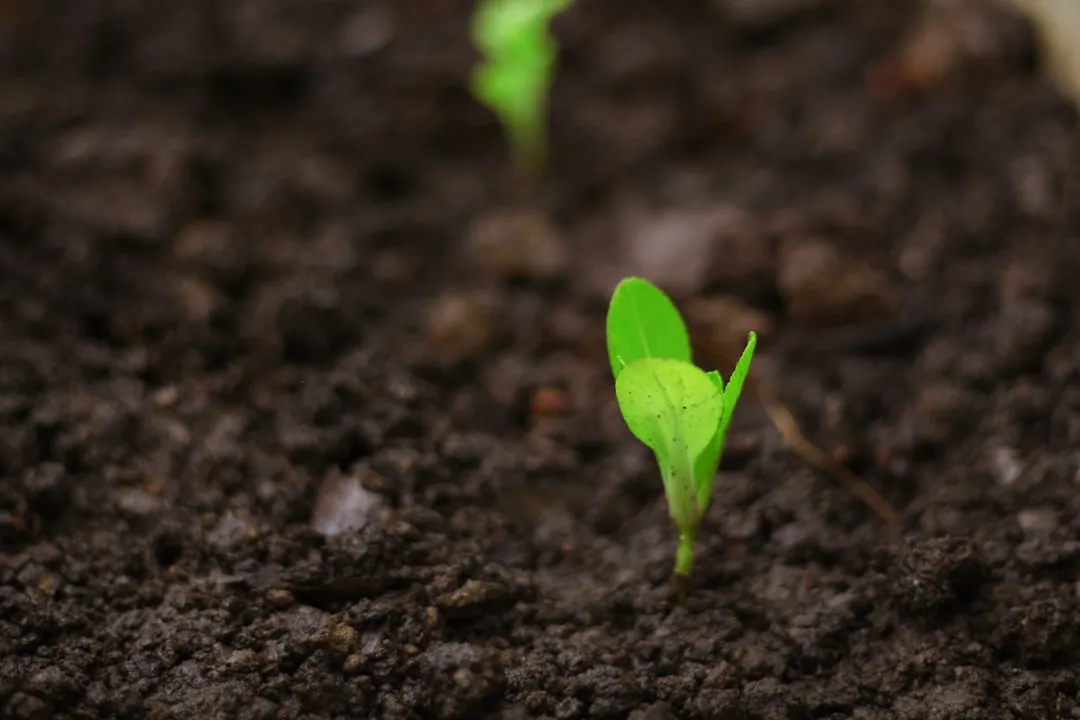
Before committing an entire bed to saved seeds, it pays to test their viability first. Before planting next year, sprout ten seeds on a damp paper towel to check viability. This takes less than two weeks and gives you a clear picture of what to expect. After five to ten days, count how many sprout – your germination percentage is your viability estimate, so seven sprouts out of ten seeds equals roughly seventy percent viability.
If your saved seeds are under seventy percent viable, don’t discard them – just sow more heavily next spring to make up the difference. For beginners who want to keep things simple, starting with easy crops like beans, peas, lettuce, or marigolds is a good approach, as they require little processing and store well; as you gain confidence, you can branch out into more challenging seeds like squash, cucumbers, or biennial crops such as carrots and beets.
Conclusion
Seed saving connects this year’s garden to the next in the most direct way possible. It’s practical, it reduces cost, and over time it produces plants that are genuinely adapted to your soil and your climate. Preserving the seeds that performed best in your specific conditions ensures a more successful, already-adapted future crop – something no commercial seed packet can offer.
The fundamentals are not complicated: choose open-pollinated varieties, select your strongest plants, dry seeds thoroughly, store them cool and dark in labeled containers, and test viability before the growing season begins. The rest is practice. A garden grown from seeds you saved yourself carries a different kind of satisfaction – one that compounds, quietly, year after year.
AI Disclaimer: This article was created with the assistance of AI tools and reviewed by a human editor.