

Most gardeners have dozens of plastic bottles sitting around with nowhere useful to go. Turns out, a two-liter soda bottle and a nail can solve one of the most common summer garden problems: keeping plants hydrated between waterings without wasting a drop.
This simple DIY method has been quietly gaining traction in the gardening world, and there’s solid reasoning behind why it works so well. DIY watering systems use slow-release water delivery methods that provide consistent moisture to the soil, mimicking natural irrigation and letting roots absorb water gradually, which prevents both overwatering and underwatering. Here’s everything you need to know to build one yourself.
Why Slow-Release Deep Watering Actually Works
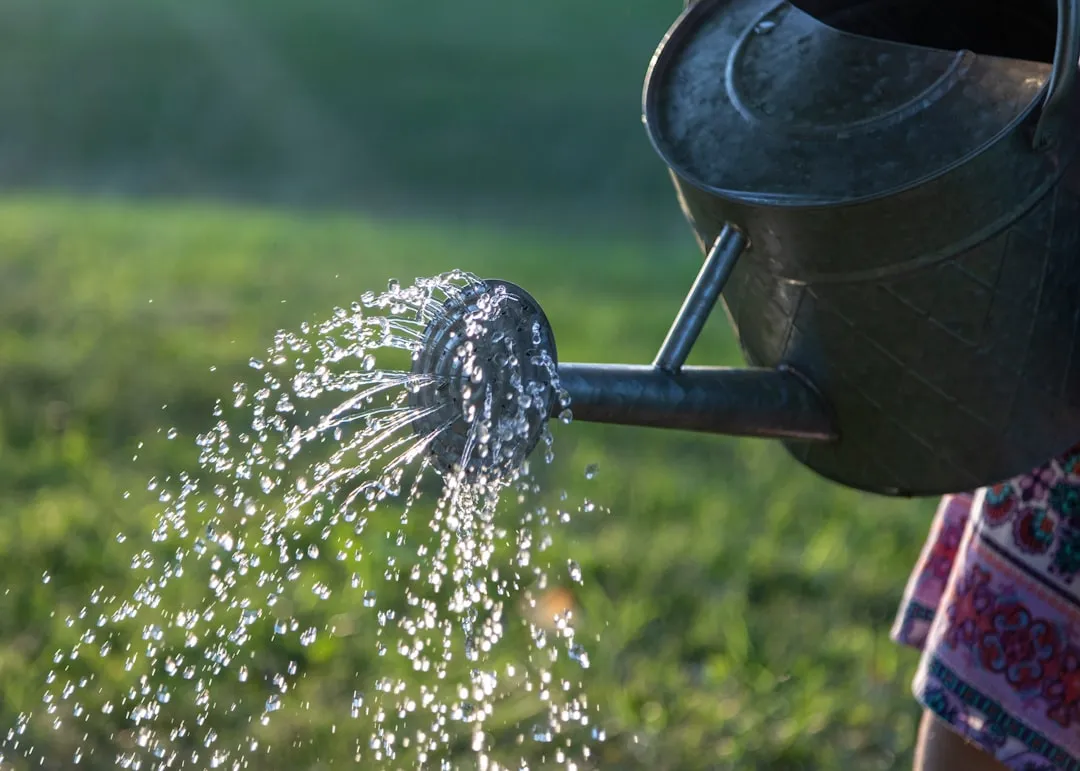
Slow, consistent water delivery is actually better for most plants than a heavy watering all at once, because it keeps their moisture level stable rather than constantly switching between too wet and bone dry. That rhythm matters more than most gardeners realize.
This approach also encourages roots to grow deeper, since roots follow moisture down into the soil. Deeper roots mean a more resilient plant overall. Releasing water deep into the ground encourages plant roots to grow down into the soil instead of coming up towards a surface water source, leading to healthier and stronger plants.
The soil also loses less water to evaporation when the water is held deeply in the ground. In a hot garden bed during summer, that distinction is enormous.
The Water Savings Behind the Idea
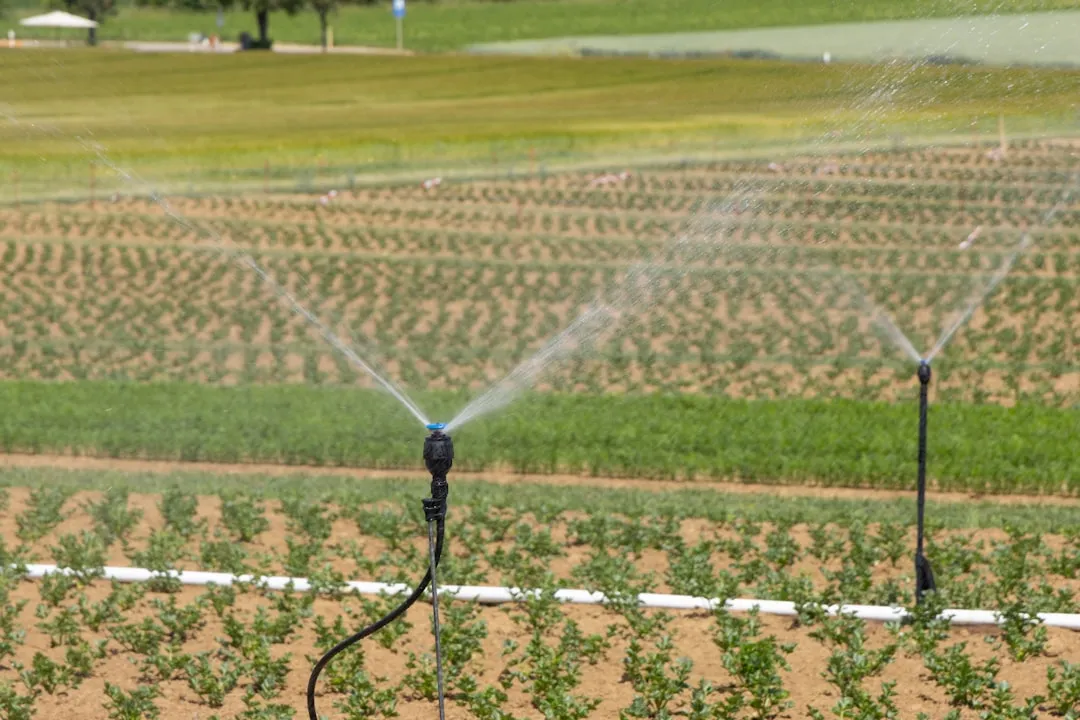
The bottle spike method is essentially a miniaturized version of drip irrigation, and the water savings from that principle are well documented. Unlike overhead sprinklers, which can lose up to half of their water, drip systems achieve up to 95% efficiency, saving between roughly a third and more than two thirds of water.
Most homeowners apply double the irrigation their plants actually need, whereas drip irrigation can be 90% efficient, reducing water loss and waste significantly. A buried bottle spike operates on the same principle at a fraction of the cost.
Studies consistently show savings of 30 to 50 percent compared with traditional sprinkler systems when drip-style delivery is used. For a backyard gardener, those numbers translate directly into lower water bills and happier plants.
What You’ll Need to Get Started
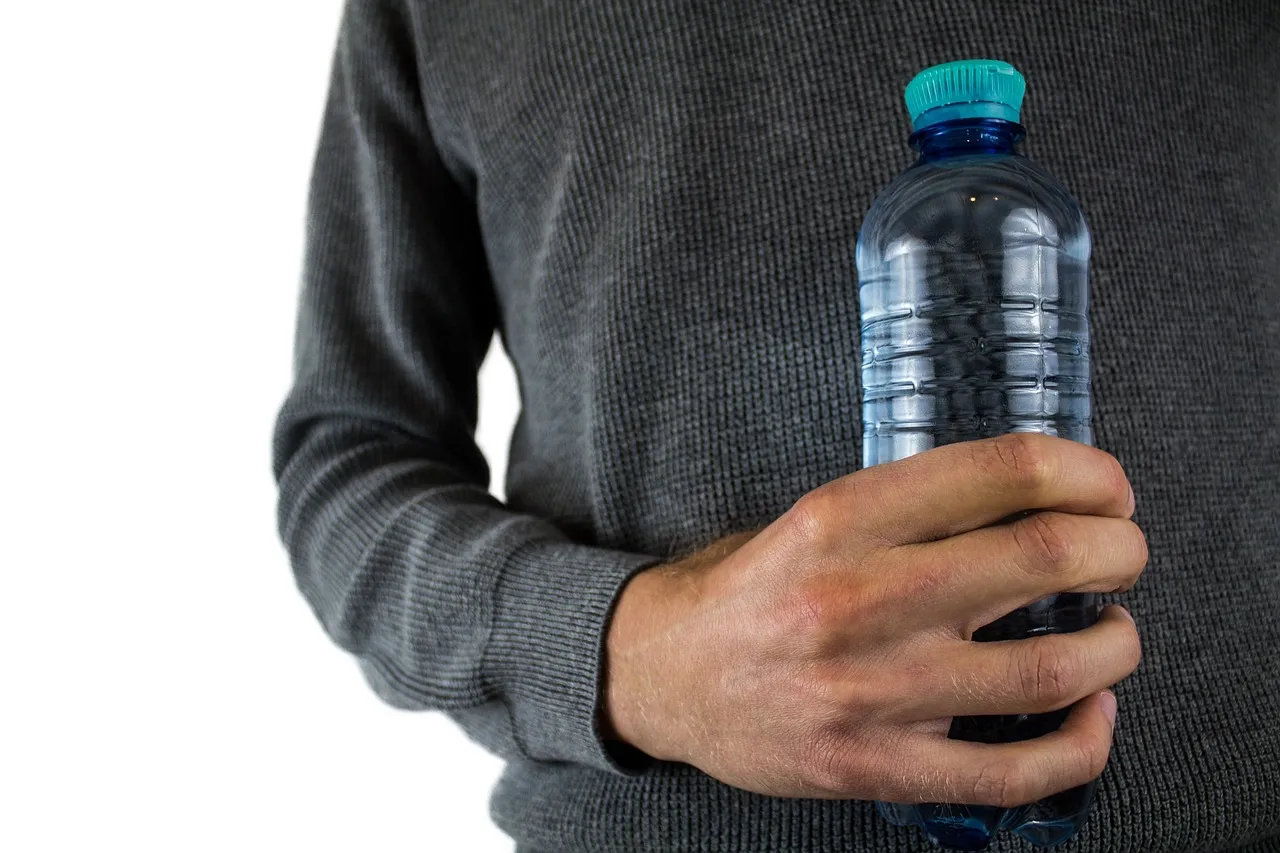
This method is super easy to make and costs next to nothing. All you need is an old plastic water bottle. A one-liter or two-liter bottle both work well depending on the size of your plant.
Beyond the bottle, the basic tools are minimal: a small nail or thin drill bit, a hammer, and optionally a rubber band and a piece of old nylon or stocking fabric. You can also mix one cup of bleach with nine cups of hot water to make a ten-percent bleach solution and use it to completely sterilize the bottle before use.
If you’d rather skip the sterilization step entirely, at minimum rinse the bottle thoroughly with clean water. Starting clean prevents algae and mold from building up inside the spike over time.
How to Pierce the Cap Correctly
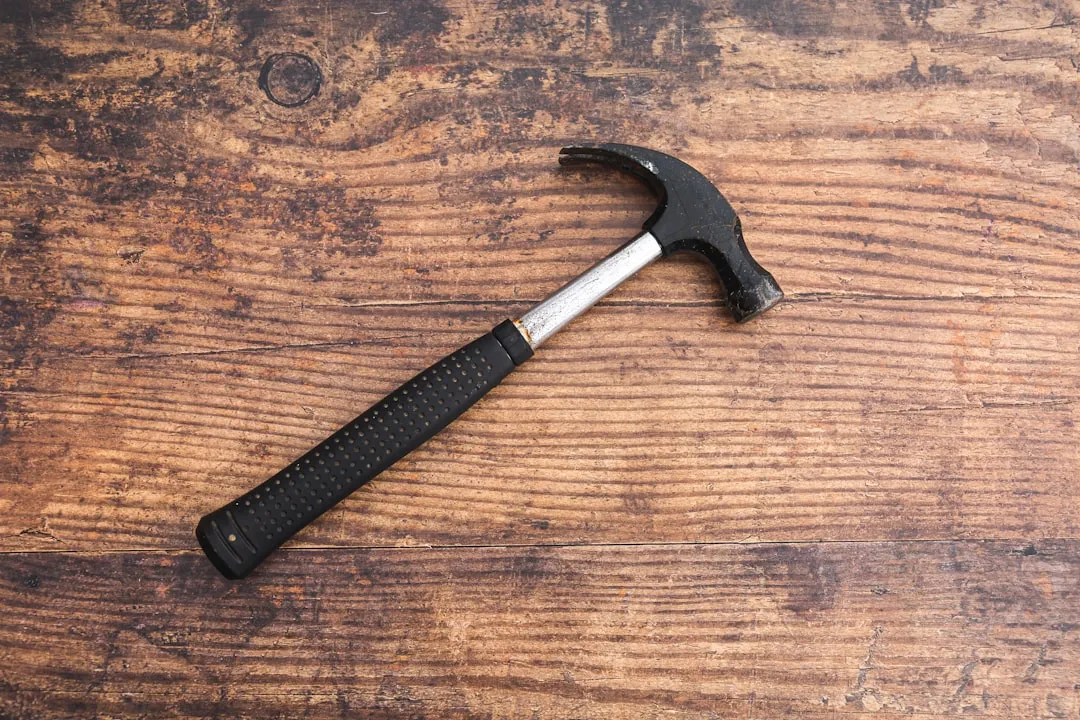
Flip the cap over and place it on a piece of wood, then use a hammer and small nail to punch two small holes on either side of the cap’s interior. Push the nail through and wiggle it slightly to make sure the holes are clear of plastic debris, but don’t make them too big or the water will pour out too fast.
The size of the holes is the single most important variable in this whole project. Too small and the spike may barely drip at all; too large and the bottle will empty in hours rather than days. Two small nail-sized holes is a reliable starting point.
Spacing any holes evenly creates more consistent flow, and you can test it with water to see if the drip rate is right before installing it. A quick test over a sink takes about thirty seconds and saves a lot of guesswork in the garden.
Adding a Filter to Prevent Clogging
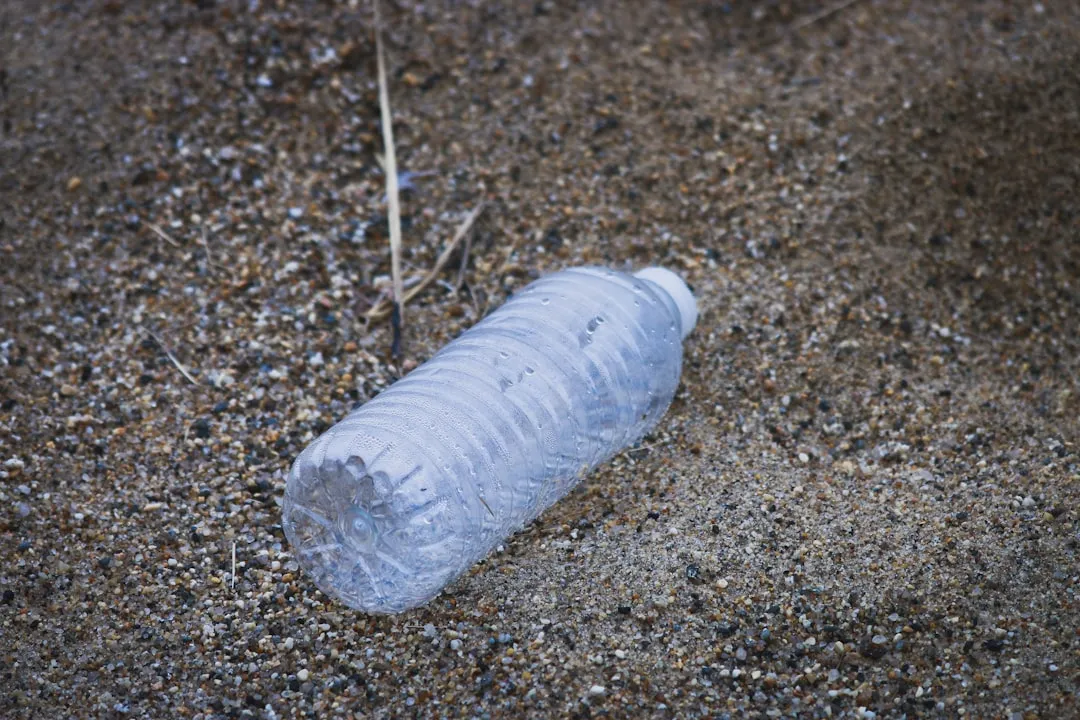
One of the most common problems with buried bottle spikes is soil particles working their way up through the cap holes and blocking the flow entirely. The fix is simple. For better flow, slip a sock or nylon over the mouth of the bottle before capping to act as a filter, preventing soil particles from sneaking in and blocking up the whole system, and secure it with a rubber band to keep it in place.
An old section of nylon stocking works particularly well for this. It’s fine enough to block grit but loose enough that it won’t restrict the flow noticeably. Most gardeners who skip this step end up regretting it after the first week.
Burying the Spike at the Right Depth
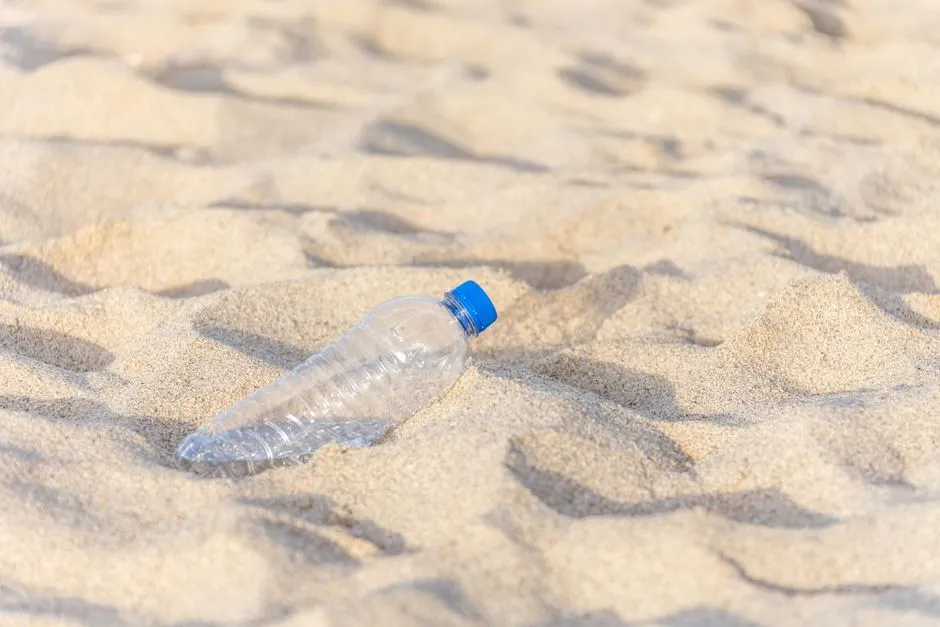
Dig a hole about four inches deep near the plant’s roots and bury the bottle upright up to its neck, keeping it straight. The cap should sit just at or slightly below soil level so water releases directly into the root zone.
Generally, deep watering means saturating the soil to about an eight-inch depth. Healthy plants usually grow their roots down deep, and some plants grow roots that are nearly two feet long for optimal nutrient and moisture uptake. Getting the water below the surface is the whole point.
For larger garden plants like tomatoes or peppers, positioning the buried cap about three to four inches from the base of the stem gives the best results. Avoid placing it directly against the stem, as constant moisture near the crown can encourage rot.
Filling the Bottle and Setting the Air Hole
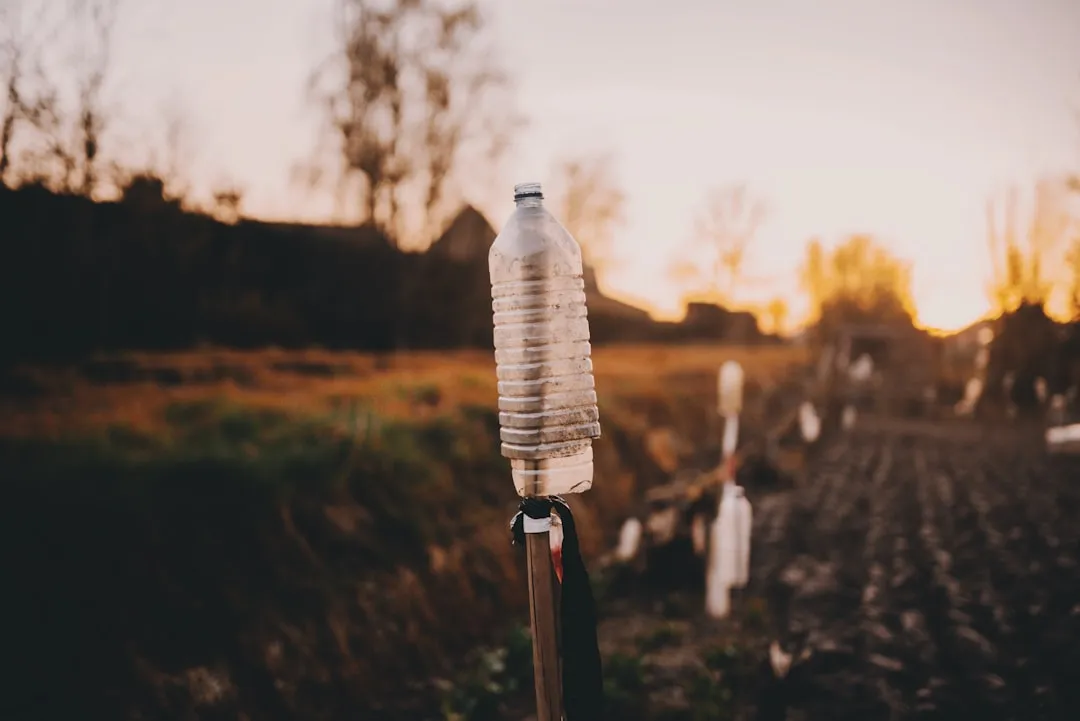
Fill the water bottle with water and screw the cap on. If you’re watering a smaller pot, you don’t need to fill the bottle all the way; just enough to give your plant a good drink without flooding it.
One critical and often overlooked step: the bottle needs a small air hole at the base so water can actually flow out. Without it, a vacuum forms inside and the drip stops almost immediately. Making an air hole at the bottom of the bottle helps control the flow rate. A single small pinhole at the base of the bottle is usually sufficient.
Once filled, cap it, flip it, place the cap into your pre-dug hole, and pack the soil lightly around the neck. The bottle should stand upright with little to no wobbling.
How Long One Bottle Lasts
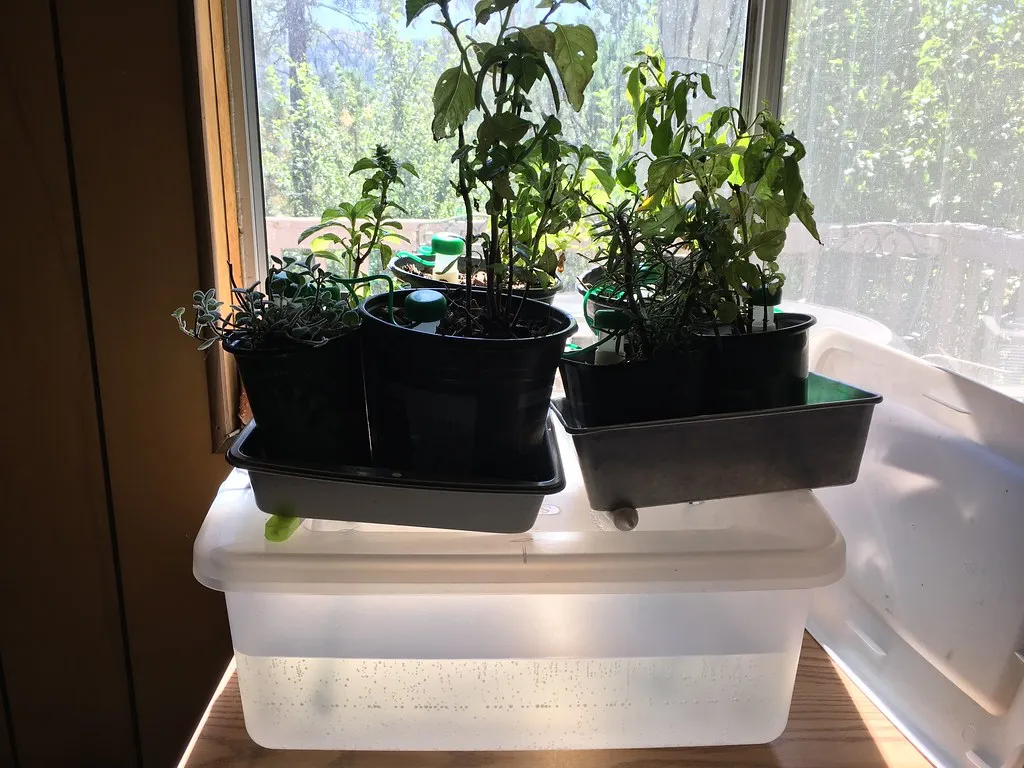
While it depends largely on soil type, plant type, and how much water is in the spike, a self-watering bottle spike will generally last a couple of weeks before needing a refill. Sandy soils drain faster, clay soils hold moisture longer.
A one-liter bottle of water can last between seven and ten days under typical conditions with small nail-sized cap holes. Warmer weather and thirstier plants will shorten that window noticeably.
This makes the bottle spike an ideal solution for short trips away from home or for busy weeks when daily watering simply isn’t happening. It saves money on a plant sitter and finds a handy way to reuse a plastic bottle at the same time.
Maintenance and When to Clean the Spike
Like any small irrigation device, bottle spikes do need occasional attention. Once a month, pull the bottle, rinse it, and stick it back in. That keeps mold away and the water clean. If you notice the drip has slowed significantly, clogging is the most likely culprit.
Remove the cap, rinse both the cap and the filter fabric, and check that the nail holes are still clear. A thin wire or toothpick can unclog a blocked hole in seconds. In winter, store bottles inside so they don’t crack from frost expansion.
It’s also worth checking the bottle periodically for discoloration or algae buildup, especially in sunny spots. Swapping in a fresh bottle every season is a sensible habit that costs nothing extra.
Which Plants Benefit Most and Which to Avoid
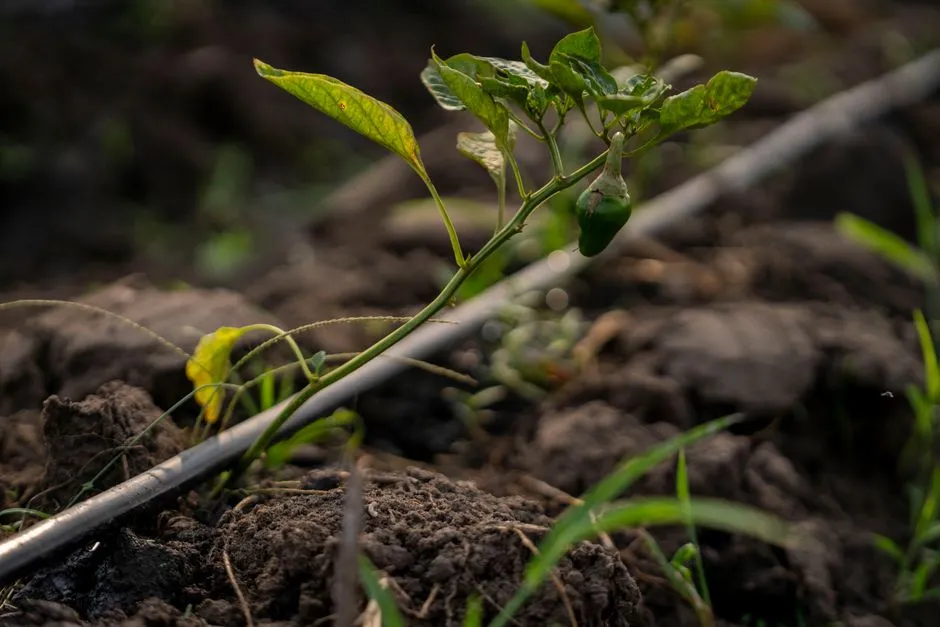
Bottle drip stakes are great for outdoor or vegetable gardens needing uniform watering. Tomatoes, cucumbers, peppers, zucchini, and most leafy greens are ideal candidates because they prefer consistent soil moisture throughout the growing season.
On the other hand, plants like lavender, Mediterranean herbs such as rosemary or thyme, and succulents prefer to actively dry out between waterings, so it’s better to save your spikes for plants that actually appreciate the consistent moisture.
Container plants on balconies or patios benefit especially well from this approach, since pots dry out considerably faster than open garden beds. Bottle spikes provide consistent deep watering directly to roots, are ideal for medium to large potted plants, and are long-lasting and low-maintenance.
Conclusion
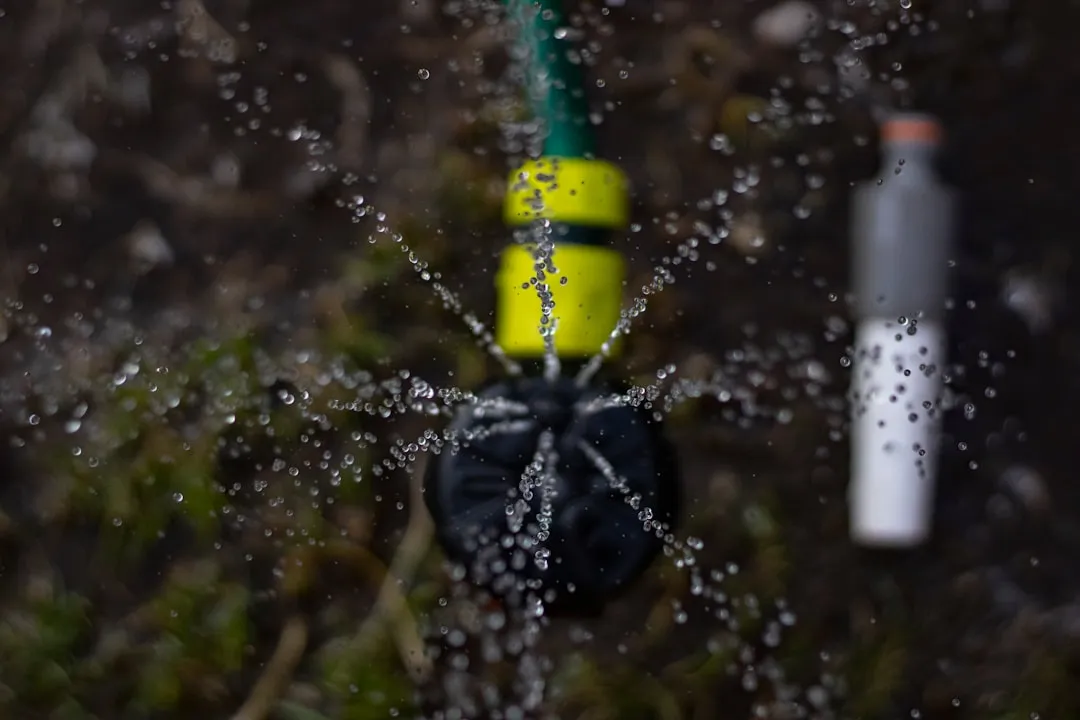
The plastic bottle spike won’t replace a full irrigation system, and it doesn’t need to. For the average home gardener, it fills a genuinely useful gap: steady, targeted moisture delivery with zero cost and almost no effort. Drip-style irrigation has gained significant popularity in modern horticulture due to its water-efficient and cost-effective nature, delivering water and nutrients directly to plant roots and reducing waste while promoting healthier growth.
The bottle spike puts that same principle within reach of anyone with a bottle and a nail. Given that landscape irrigation accounts for roughly 60% of household water use, even small changes in how we deliver that water add up meaningfully over a season.
Sometimes the best garden tools are the ones already waiting in the recycling bin.
AI Disclaimer: This article was created with the assistance of AI tools and reviewed by a human editor.