
There’s a moment every backcountry hiker eventually faces: the phone screen goes dark, the GPS signal drops, and the trail ahead looks nothing like the simplified route image you memorized before leaving the car. It’s unsettling, even for experienced hikers. The problem isn’t the terrain. It’s the gap between digital dependency and the actual skill of reading the land.
In 2019, the National Park Service analyzed five years of search-and-rescue data across 417 national park units and found that roughly three quarters of SAR incidents involving lost or disoriented hikers occurred in individuals who were actively using GPS devices. That’s not an argument against technology. It’s a reminder that knowing how to read a topographic map is a different and more fundamental skill than following a blue dot on a screen.
Why a Topo Map Beats a Phone When It Counts
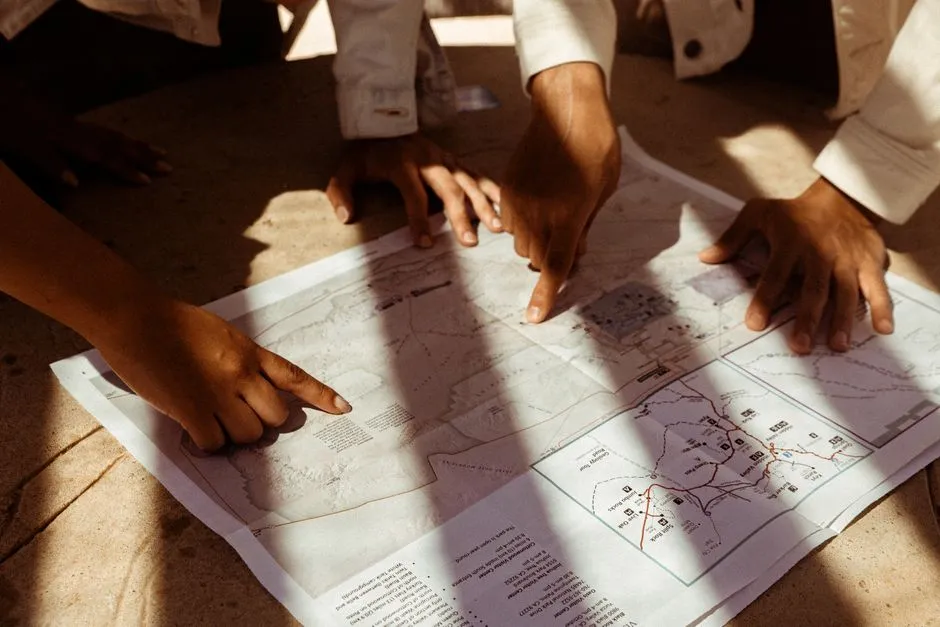
If you spend enough time in the backcountry, your electronics will fail, or you will get temporarily misdirected. Learning basic navigation skills and remaining calm are vital for any adventurer. A phone depends on battery life, signal, and software. None of those are guaranteed once you’re deep in remote terrain.
A physical map and compass provide a reliable, no-power-needed backup. A paper map also gives you a wide-angle view that small phone screens simply cannot replicate, which is essential for understanding your route’s big picture.
Digital navigation tools like GPS devices and phone apps have made exploring trails easier, but relying on them exclusively can be risky. Batteries drain quickly in cold weather, devices can break if dropped or exposed to water, and satellite signals often disappear in dense forests. These issues can leave you stranded with inaccurate positioning, sometimes off by as much as several hundred feet.
Understanding What a Topographic Map Actually Shows
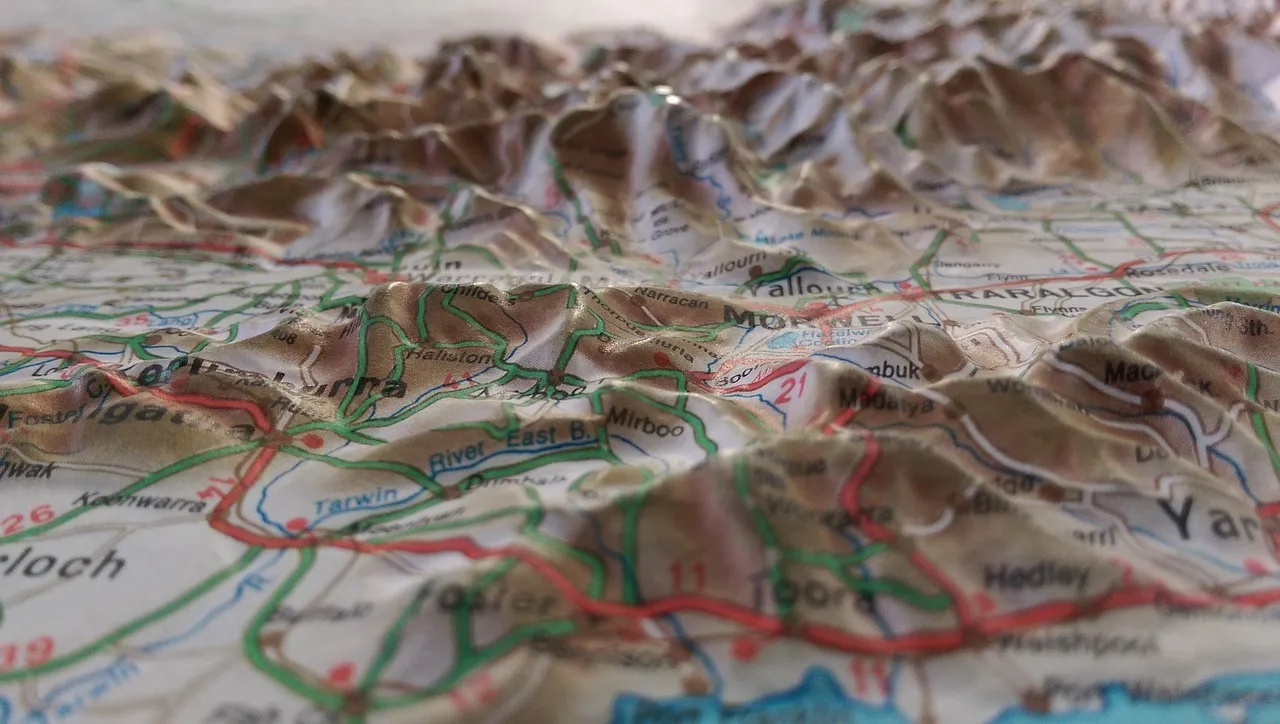
A topographic map represents three-dimensional landscapes on a two-dimensional surface. These maps are characterized by their detailed depiction of the Earth’s surface, showing not only roads and boundaries but also elevations, terrains, and water bodies through the use of contour lines.
While GPS apps and digital navigation tools dominate the modern hiking scene, topographic maps remain the gold standard for truly understanding the land beneath your boots. They don’t just tell you where a trail goes – they reveal the rise and fall of mountains, the depth of valleys, the course of rivers, and the hidden passes that might not appear in simplified maps.
Topo maps allow you to visualize the rise and fall of the land and “see” the depths of canyons, the location of boggy meadows, and the height and shape of mountains. Learning to read and understand them well takes genuine time and practice.
Decoding Contour Lines: The Core Skill
At the heart of every topographic map are contour lines – those winding, looping marks that can look like abstract art until you know their secrets. Each line represents a specific elevation above sea level, and the spacing between them tells you whether the land is steep or gentle. Close together means you’re facing a steep ascent or descent, while wide spacing signals a flat or gradual slope.
There are three kinds of contour lines you’ll see on a map: intermediate, index, and supplementary. Index lines are the thickest contour lines and are usually labeled with a number at one point along the line, telling you the elevation above sea level. Intermediate lines are the thinner, more common lines between the index lines, and they usually don’t have a number label. Typically one index line occurs for every five intermediate lines.
The change in elevation from one contour line to the next is always the same within the same map. Many maps have either a 40 or 80-foot contour interval, meaning each contour line is that many vertical feet away from the next closest line. You find the contour interval listed in the map’s legend.
Reading Terrain Shapes: Peaks, Ridges, Valleys, and Saddles
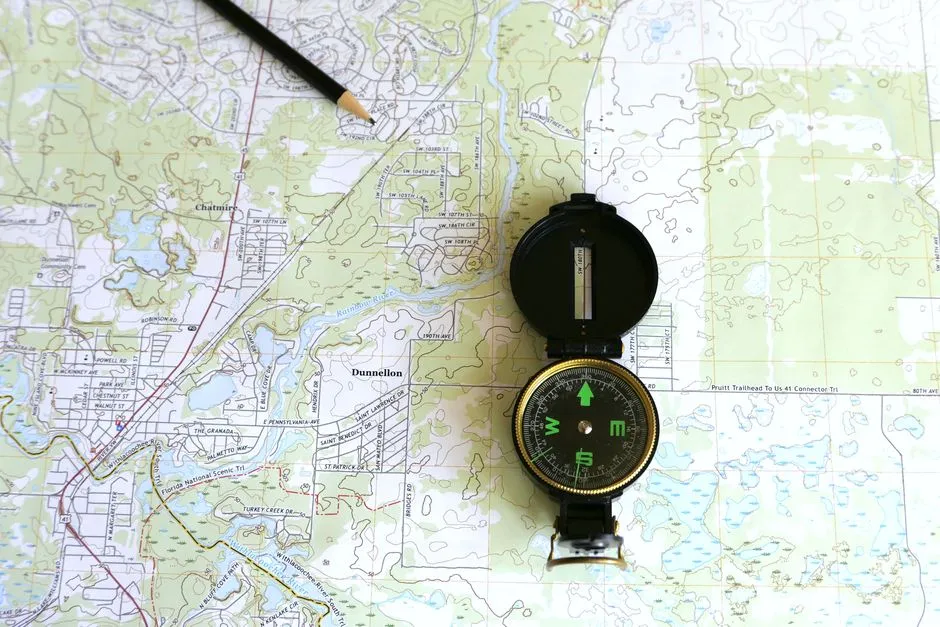
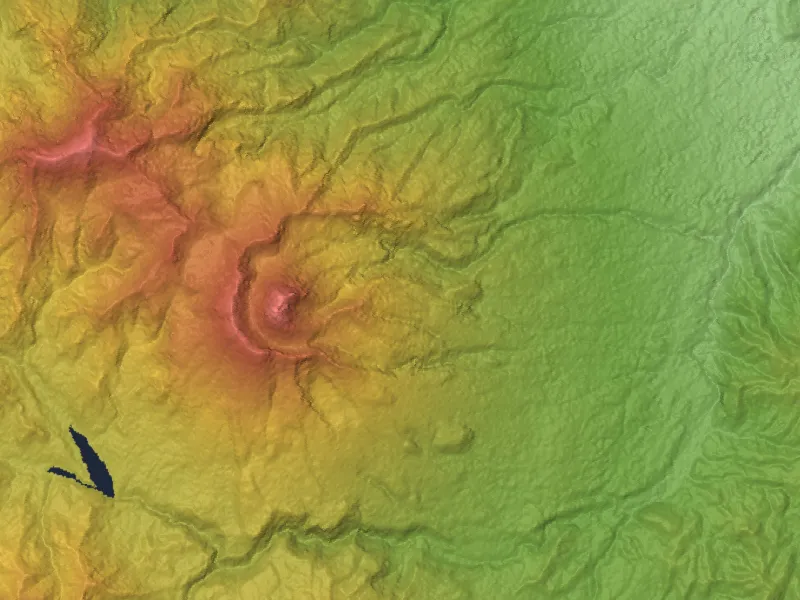
Contour lines will form shapes that define terrain features. Knowing these features and how they are typically depicted by contour lines is the key to extracting the most information from a topo map. Once you recognize these shapes, you stop seeing random squiggles and start seeing actual geography.
Contour lines in a pattern of Vs and Us pointing downhill indicate ridges and spurs. Large circles with smaller and smaller circles within them indicate peaks, and the smallest inner ring represents the highest point, the summit.
When contour lines cross a valley or a stream, they make a sharp pointed V or U-shape. Rivers are represented by blue lines that run through the center of the V-shape. You can also use a topographic map to determine the direction the river is flowing. Because water flows downhill, the V-shape always points in the opposite direction that the water is flowing – this is called the “Rule of V’s.”
How to Read the Map Legend and Color Codes
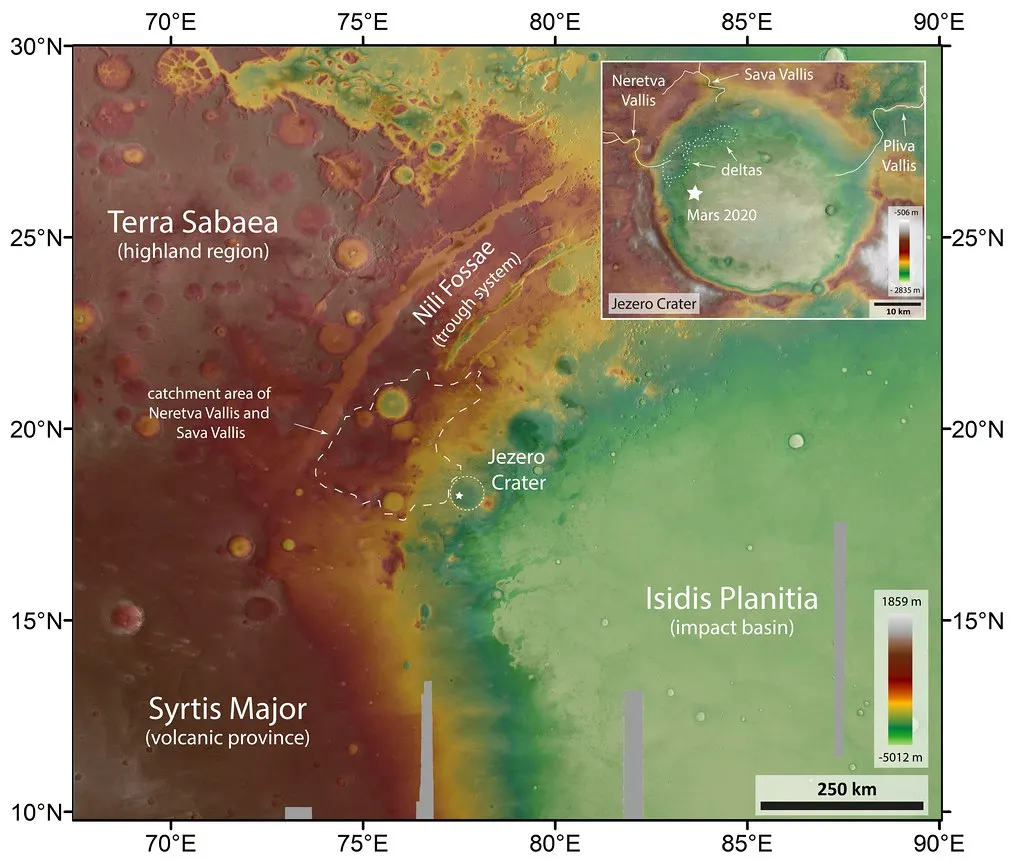
Look closely at the map legend – it’s loaded with map-reading clues and navigational data. Start by studying what each line, symbol, and color means. Generally, green indicates denser vegetation, while light or colorless areas suggest open terrain. Streams and lakes are shown in blue.
Brown is used for topographic and surface features such as contour lines. Green is used to show vegetation features such as woods. Blue is used for water features such as rivers, streams, lakes, and swamps. Red is used for main roads such as highways.
The legend also lists key data like the map’s scale, contour and index-line intervals, grid systems used for more advanced navigation, and magnetic declination needed to set up your compass. Never skip the legend – it’s the decoder ring for everything else on the sheet.
Understanding Map Scale and Distance
Understanding the scale is crucial for using a topographic map effectively. The scale indicates the relationship between the map’s distances and the actual distances on the ground. For example, a scale of 1:25,000 means that one inch on the map equals 25,000 inches in reality.
Many GPS devices include only basic 100K base maps, which lack the detail necessary for safe navigation in the backcountry. For better accuracy, 24K topographic maps are essential. The USGS produces 1:24,000 scale topographic maps, widely regarded as the standard for hiking in the United States.
Use medium-scale maps in the range of 1:25,000 to 1:50,000 for route planning, and a larger-scale map or recent aerial photo for tricky terrain. Choosing the right scale before you set out is a small decision with large consequences in the field.
Orienting Your Map to the Real World
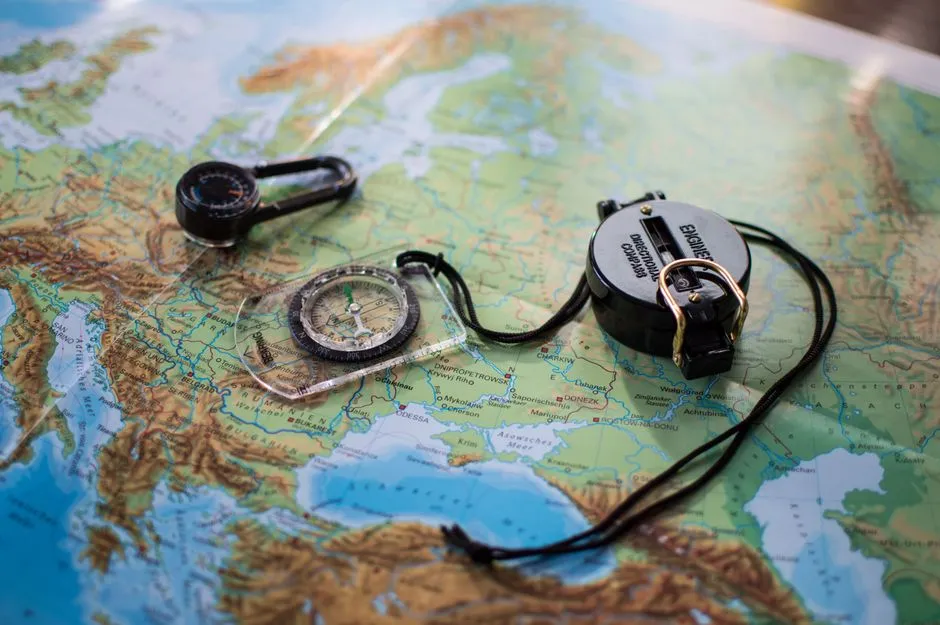
Topographic maps are oriented to true north. If you’re holding the map in front of you and the letters and numbers are right-side up, then the direction of true north is located at the top of the map. This is important because when you are in the field, you’ll need to orient the map to true north to bring the map in line with the land features around you.
When the map is oriented to true north in the field, all the surrounding features will line up with the contour lines on the map. This is the time to practice picking out ridges and peaks on the skyline and matching them up with distinctive contour lines on the map.
Practice “orienting” your map to the land by rotating it so the map’s north aligns with true north in your environment. Then match visible landmarks with those on your map. It’s a quick way to ground yourself wherever you are.
Magnetic Declination: The Detail Most Hikers Ignore
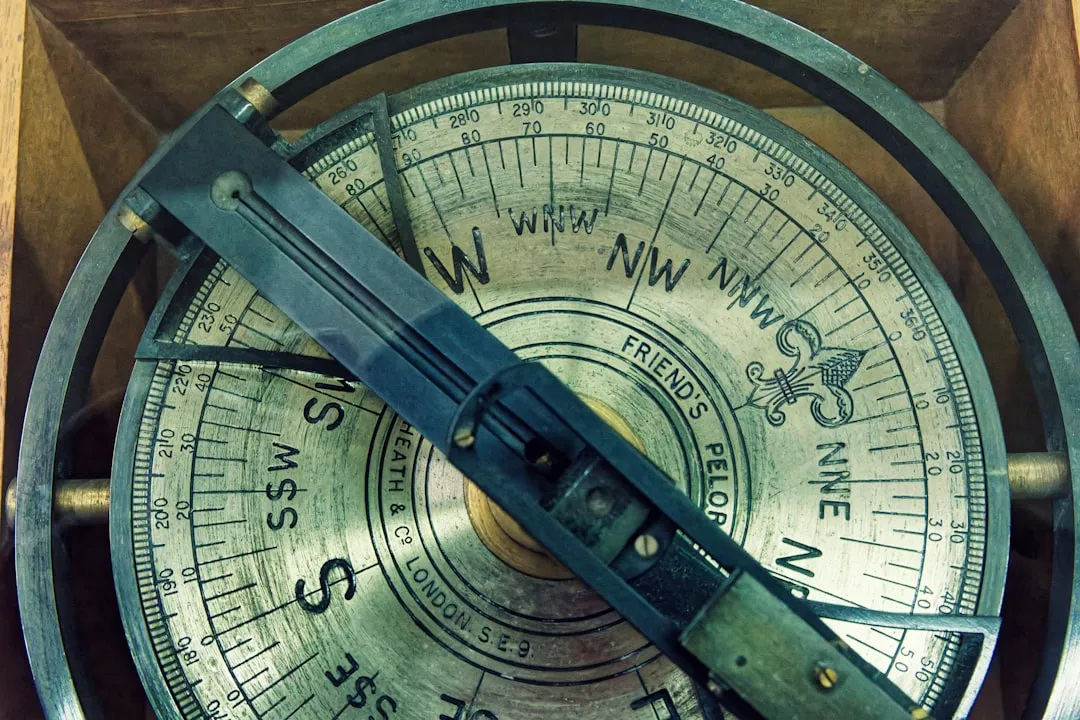
What we think of as the top of the globe is referred to as “true north.” Magnetic north, where your compass needle actually points, is a function of Earth’s magnetic fields and its core elements, which fluctuate in complicated ways. Currently, magnetic north is roughly north of Hudson Bay in Canada.
The difference between magnetic north and true north is “magnetic declination.” Topographic maps list declination in the legend, but an added complication is that declination in a given location also changes slowly over time. Ignoring this difference can send you well off course, especially over long distances.
A single one-degree error results in drifting roughly 92 feet off course for every mile traveled. In the continental US, this magnetic variation can be extreme. On the West Coast, you might face a 16-degree east declination, while Maine navigators deal with a 16-degree west difference. Always verify current declination values for your specific location before heading out. The current World Magnetic Model, WMM2025, was released in December 2024 and remains valid through the end of 2029.
Terrain Association: Matching the Map to What You See
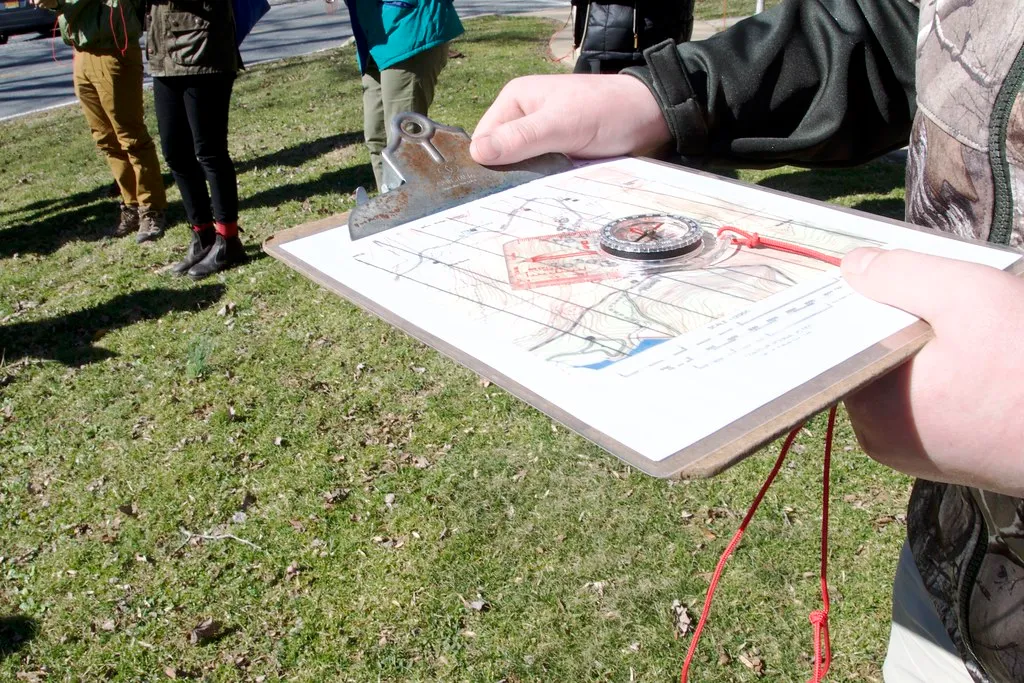
Mastering topographic map reading, taking accurate compass bearings, and understanding terrain association – matching what you see in the landscape to the map – are the most critical skills for backcountry navigation.
The technique of moving by terrain association is more forgiving of mistakes and far less time-consuming than dead reckoning. Instead of relying purely on compass bearings and pace counts, you continuously compare what you see around you to what the map predicts you should see.
Once an error has been made in dead reckoning, you are off the track. Errors made using terrain association are easily corrected, however, because you are comparing what you expected to see from the map to what you do see on the ground. Errors are anticipated and will not go unchecked. You can easily make adjustments based upon what you encounter.
Dead Reckoning: Estimating Your Position When Landmarks Disappear
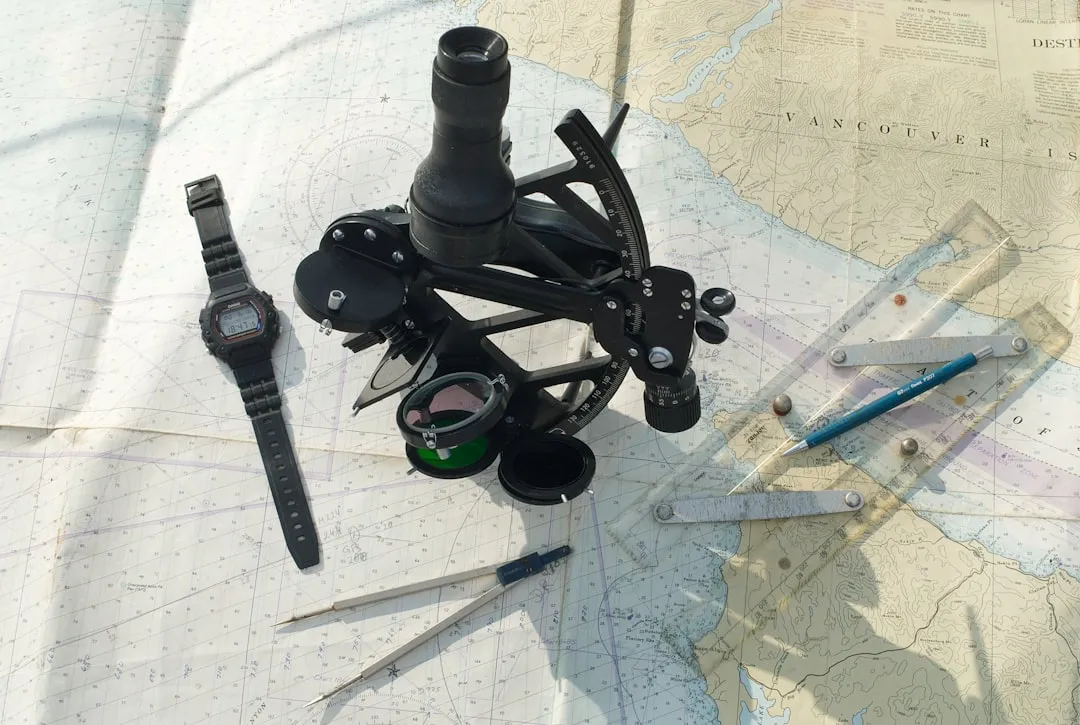
Dead reckoning consists of two fundamental steps. The first is the use of a protractor and graphic scales to determine the direction and distance from one point to another on a map. The second step is the use of a compass and some means of measuring distance to apply this information on the ground.
One of the most reliable ways to measure distance on foot is by counting your steps, a technique called pacing. To get started, measure out a distance of 100 meters on flat ground and walk it at a natural pace. Count every time your right foot touches the ground. That number becomes your personal pace count for 100 meters.
Solar weather events can also degrade GPS accuracy for hours or days. In 2024, a significant geomagnetic storm caused widespread GPS disruptions across North America. Dead reckoning with a topo map and compass isn’t affected by any of that. It keeps working regardless of what’s happening above the atmosphere.
Building the Habit: Practice Before You Need It

Make it a habit to check your location on your physical map every 30 minutes or whenever you reach a trail intersection. The more regularly you do this, the faster your mental model of the terrain becomes, and the less likely you are to get truly disoriented when conditions change.
Practice map reading on local trails you already know. Compare the contour lines on the map to the hills you see every day. This builds the muscle memory needed for high-stakes situations.
Learning the STOP method – Stop, Think, Observe, and Plan – is the gold standard for responding to disorientation in the backcountry. Panic is what turns a navigational challenge into a genuine emergency. The map is only as useful as the person calm enough to read it.
What to Carry and Where to Get Topo Maps

Use USGS (United States Geological Survey) maps or high-quality trail maps from reputable brands, and ensure the scale is appropriate for your travel. A 1:24,000 scale is considered standard for hiking in the US.
Many public lands areas, including national parks, national forests, and state parks, produce maps to cover the land inside their boundaries. Check their websites to see if they offer printed or downloadable topographic maps for backcountry users.
Always carry a paper topographic map and a baseplate compass as backups. Download offline maps before heading out, switch your phone to airplane mode to save battery, and invest in a portable charger and a durable case. These aren’t redundancies – they’re your actual safety net.
—
Reading a topographic map is one of those skills that feels abstract until the moment it isn’t. The lines, symbols, and scales that seem academic at home become urgent, practical, and deeply reassuring the moment your screen goes dark in the middle of nowhere. Hikers who know how to read topographic maps can adapt to changing conditions – rerouting around flooded rivers, choosing alternative passes, or identifying safe campsites far from crowds. The paper doesn’t need charging. It doesn’t lose signal. It just needs you to know how to use it.
AI Disclaimer: This article was created with the assistance of AI tools and reviewed by a human editor.