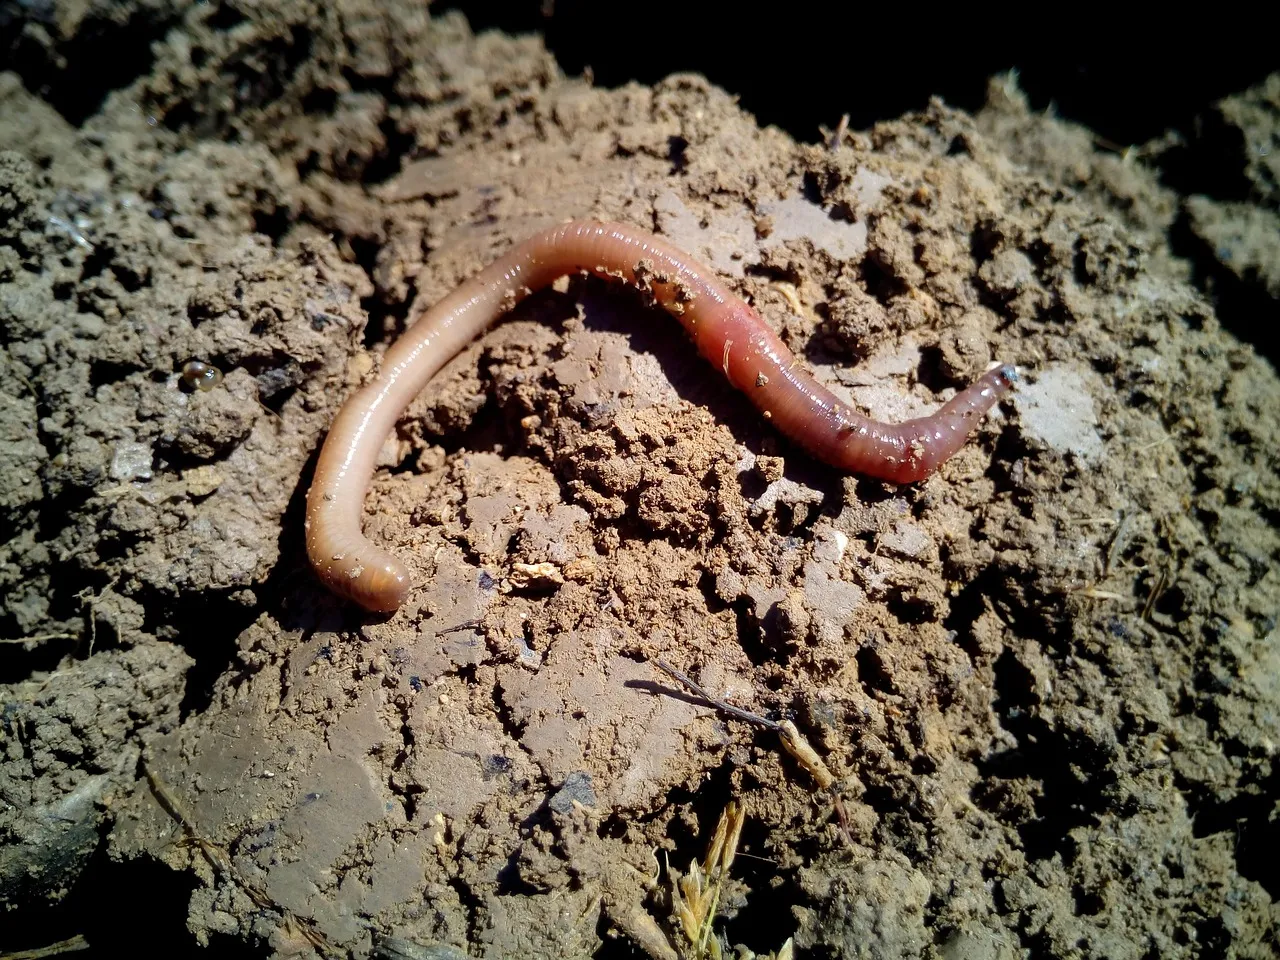

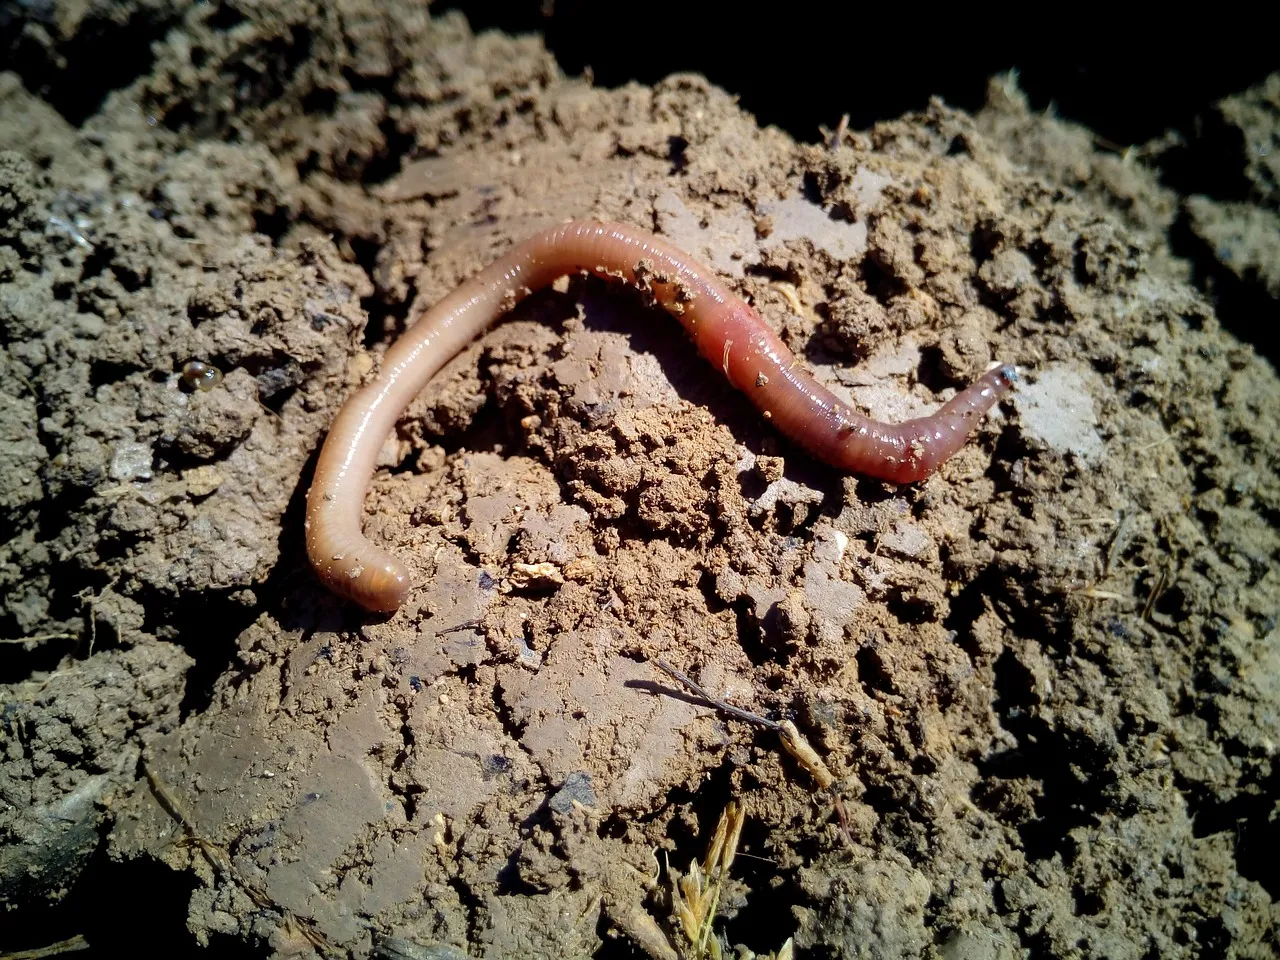
Most people assume keeping worms under their kitchen sink is messy, strange, or guaranteed to stink. It’s none of those things when done right. A well-managed worm bin smells like forest soil, stays compact enough to fit in a cabinet, and quietly converts your daily food scraps into some of the richest fertilizer you’ll ever get your hands on.
In the US alone, roughly 66 million tons of wasted food were generated in the residential and food service sectors in a single year, yet only about five percent of that wasted food was composted. A small worm bin under your sink won’t solve that problem alone, but it’s a genuinely practical start. Here’s how to do it properly.
Why Worm Composting Makes Sense for a Small Space
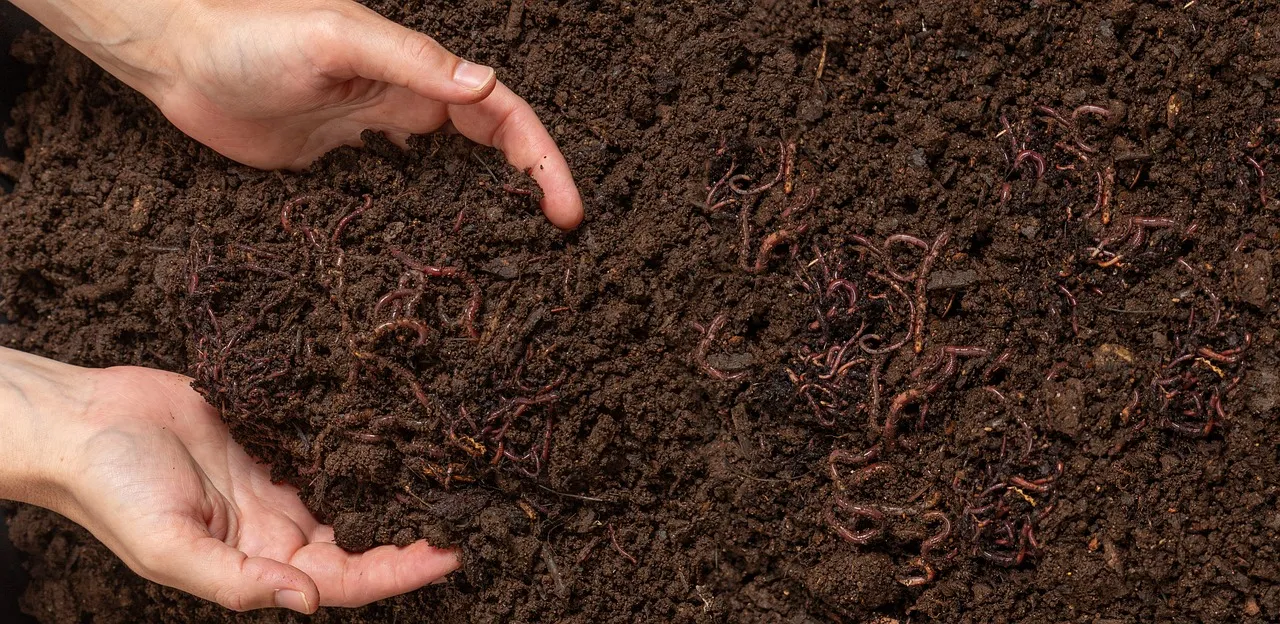
Kitchen worm composting takes up very little space, and the best varieties for turning scraps into what gardeners call “black gold” are red wigglers, which can eat their body weight in food daily. That’s a serious processing rate for something living under a cabinet.
New techniques including vermicomposting allow for faster and more odor-free decomposition of food waste, and these solutions are more suitable for urban settings. You don’t need a backyard, a garage, or even a patio to make this work.
Kitchen scraps are the single largest component of U.S. residential trash, yet food waste is also the easiest material to recycle on-site. A bin under the kitchen sink puts the solution exactly where the problem originates.
Choosing the Right Bin for Under-Sink Use
A simple vermicompost bin takes up about a square foot of space and fits under most kitchen sinks. That’s roughly the footprint of a shoebox, which means most standard kitchen cabinets can accommodate one without any rearranging.
An 18-gallon tote works well: drill small holes a few inches apart on all sides and the lid, then add a catch tray underneath to collect any liquid. You don’t need a specialty product. A plain plastic storage bin from any hardware store does the job.
Worm bins are containers with holes for ventilation and moisture, and the best part about making your own is that you can customize it to fit the exact space you have in mind. Stackable tray systems are also available commercially and are especially tidy for indoor use.
Picking the Right Worm Species
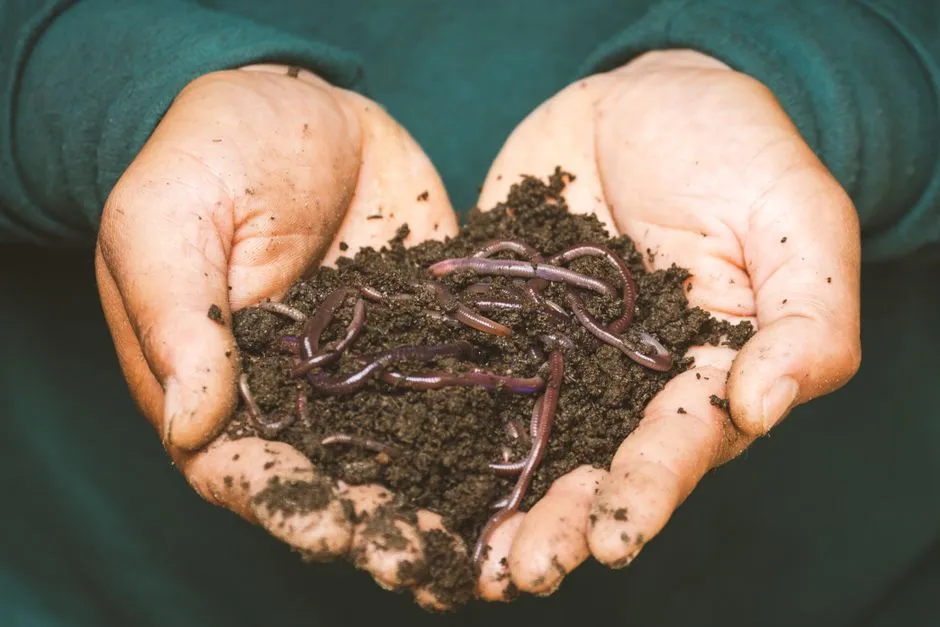
Red wigglers are the best variety for turning kitchen scraps into rich fertilizer, and they can eat their body weight in food daily. That efficiency makes them the standard choice for indoor systems worldwide.
Red wiggler compost worms are most happy and active at temperatures ranging from 55 to 85 degrees Fahrenheit. Outside of that temperature range they will slow down, eating and reproducing less. Most indoor kitchens stay comfortably within that window year-round.
A reliable rule of thumb is one pound of worms per half square foot of surface area, which is roughly 1,000 worms. Starting with too few worms just means a slower system early on. They’ll multiply given good conditions.
Setting Up the Bedding Correctly
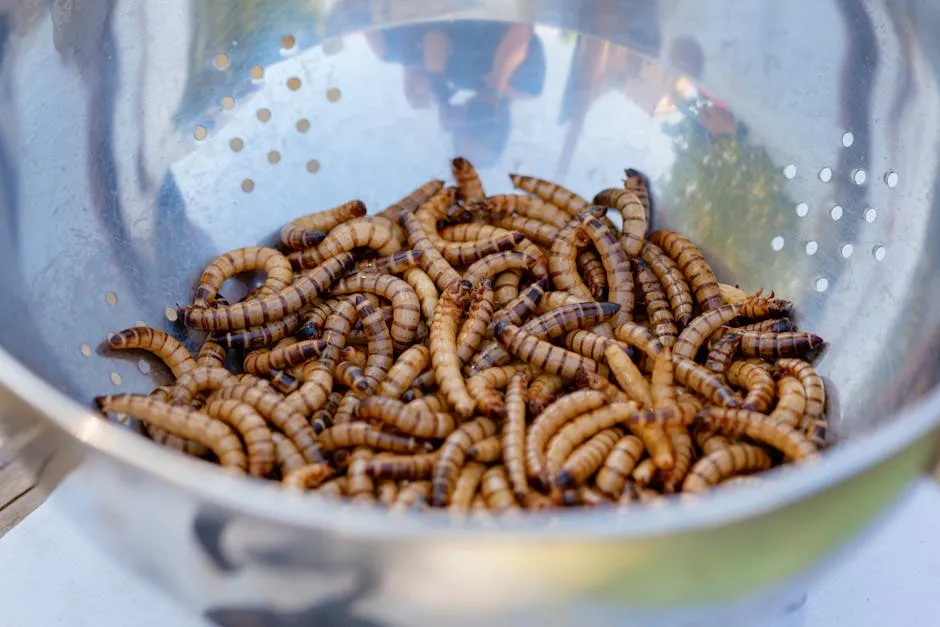
A worm’s environment begins with its bedding, which forms the foundation of the ecosystem inside the bin. Ideal bedding materials are lightweight, absorbent, and rich in carbon. Common choices include shredded newspaper or cardboard, and bedding should be moistened until it feels like a wrung-out sponge.
Carbon-rich bedding materials, or “browns,” should make up roughly two-thirds of the system, while nitrogen-rich food scraps, or “greens,” supply the remaining third. This balance keeps the microbial community active and prevents souring or compacting.
You’ll need bedding that fills the bin from one-third to one-half full when you first set it up. Once the worms are added, they’ll begin working through it within a few days. The bedding breaks down slowly alongside the food scraps, keeping everything stable.
The Odor Secret: Carbon, Nitrogen, and Balance
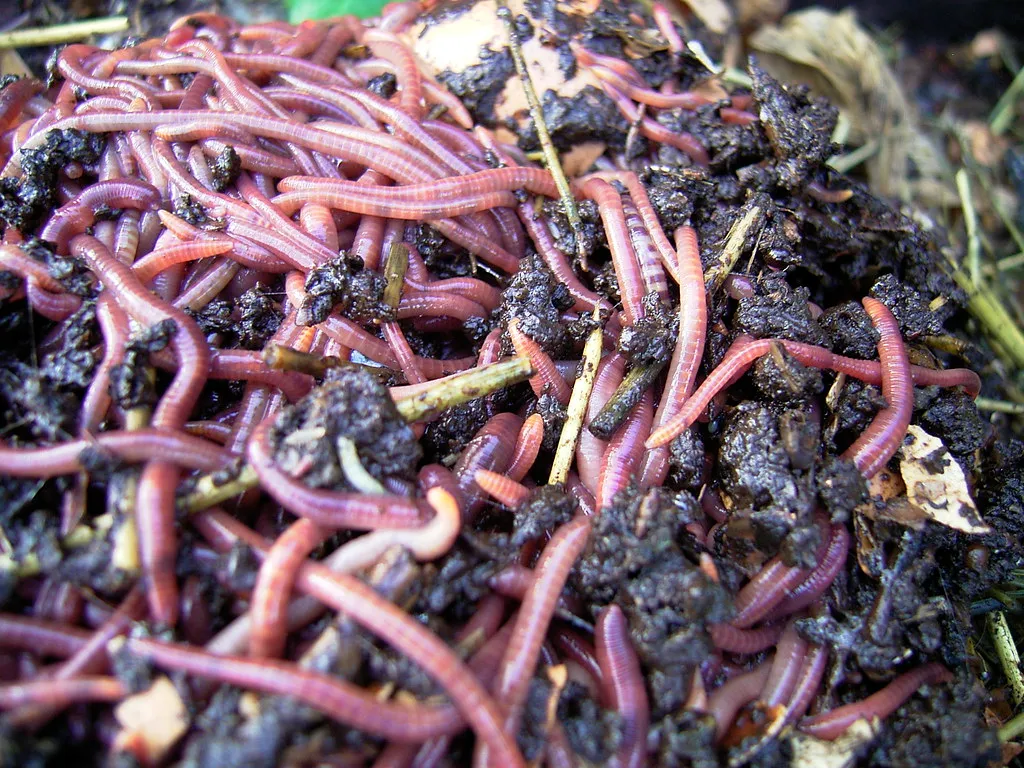
The most common cause of odor in a worm bin is an unbalanced carbon-to-nitrogen ratio. Your bedding should contain a good mix of carbon-rich “brown” and nitrogen-rich “green” materials. Get this balance right and smell ceases to be an issue.
A healthy bin smells like forest soil. Odors mean excess food or water. That’s the short version. If something smells off, it’s almost always one of those two things.
Fluffing the bedding every week or two to keep air moving can alone prevent most worm bin odor issues. Oxygen is the key ingredient. Where airflow exists, anaerobic bacteria, which create the sulfur-like smells people associate with rot, simply can’t take hold.
What to Feed Your Worms (and What to Avoid)

Worms will eat just about any type of kitchen waste including vegetables, fruits, coffee grounds, tea bags, and crushed eggshells. Do not add meat or meat byproducts. Dairy products and oily foods should also stay out. They break down too slowly and attract pests.
For fastest decomposition, chop the food scraps into smaller pieces before adding them. Smaller pieces mean more surface area for microbial activity, which means faster processing and a healthier, more active bin overall.
If you add more food than your worms can eat in a reasonable amount of time, it will rot and go anaerobic. That results in a stinky, problematic bin. With time, you’ll learn to judge how much your worms can eat in a week.
Managing Moisture Without Creating Problems
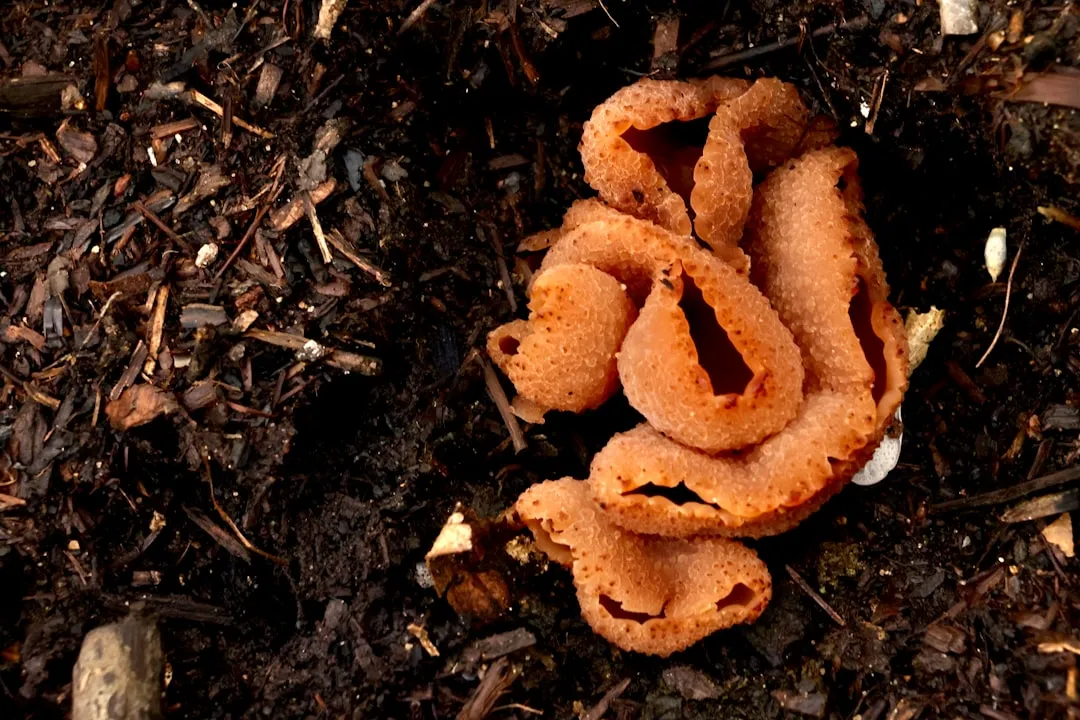
Sopping wet bedding is not good for worms. Worms breathe through their skin and can drown in wet bedding. Make sure the bedding is as moist as a wrung-out sponge. Squeeze a handful to test it. If water drips out freely, it’s too wet.
If the bedding becomes too wet, add shredded newspaper, cardboard, or pure peat moss and gently mix it into the bedding. This will soak up excess moisture and restore pH balance. It’s a quick fix that works reliably.
Placing the bin on top of blocks or upside-down containers allows for drainage. You can use the lid of a second bin as a tray to catch any moisture that drains through. This liquid, sometimes called “worm tea,” is a useful liquid fertilizer.
Feeding Rhythm and Bin Maintenance
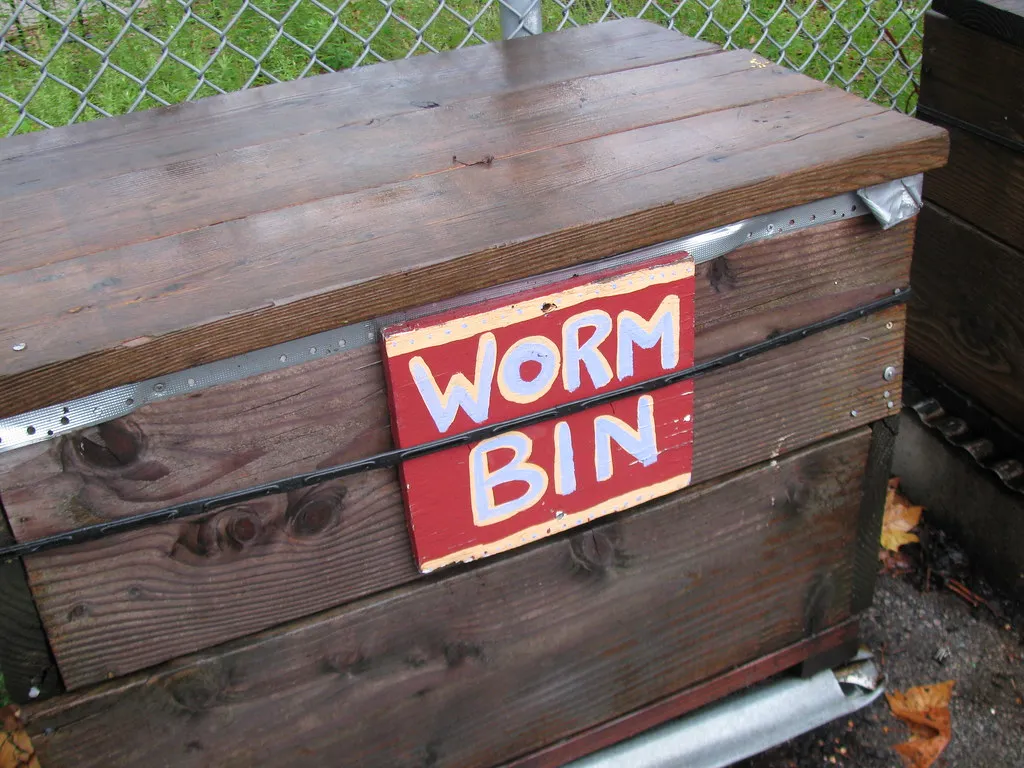
Before adding food each week, carefully stir and fluff all of the contents of the worm bin to introduce air, assess how much food has been eaten since last week, and generally check the condition of the bin. This simple habit catches problems early and keeps the bin running smoothly.
Gently bury the food in a different section of the bin each week, under the cardboard layer. The worms will follow the food scraps around the bin. Burying the food scraps also helps keep fruit flies away.
If the bin smells sour, add crushed eggshells. They help balance acidity and add grit that worms need for digestion. A small handful is enough to make a noticeable difference within a day or two.
Harvesting Worm Castings: The Payoff
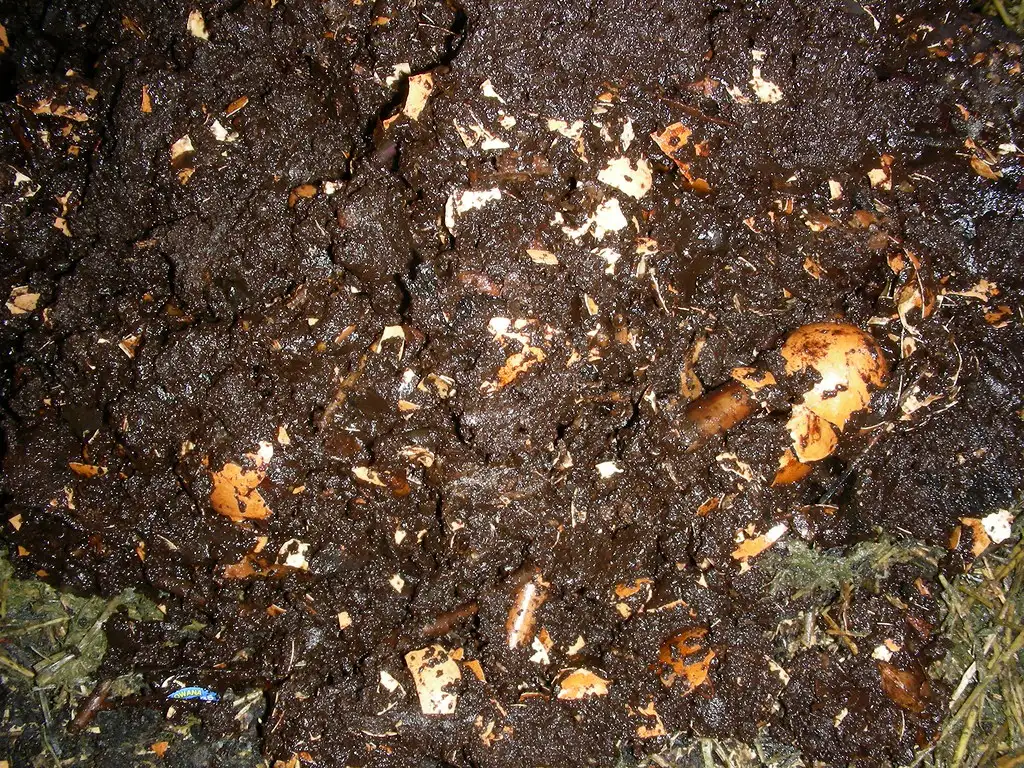
After about three months, you’ll notice that the volume of materials has dropped substantially and the original bedding is no longer recognizable. That dark, earthy material is finished vermicompost, and it’s ready to use.
Scientific research has shown that earthworm castings are particularly high in nitrogen, phosphorus, and potassium, as well as iron, calcium, sulfur, and humic acid. Those are the core nutrients that plants draw on for growth, disease resistance, and root development.
Research conducted over several years at The Ohio State University Soil Ecology Laboratory found that worm castings enhance seed germination, plant growth, flowering, and fruit production. For apartment gardeners and houseplant keepers especially, this is a steady, low-cost supply of high-quality organic fertilizer produced right inside the home.
Troubleshooting Common Problems
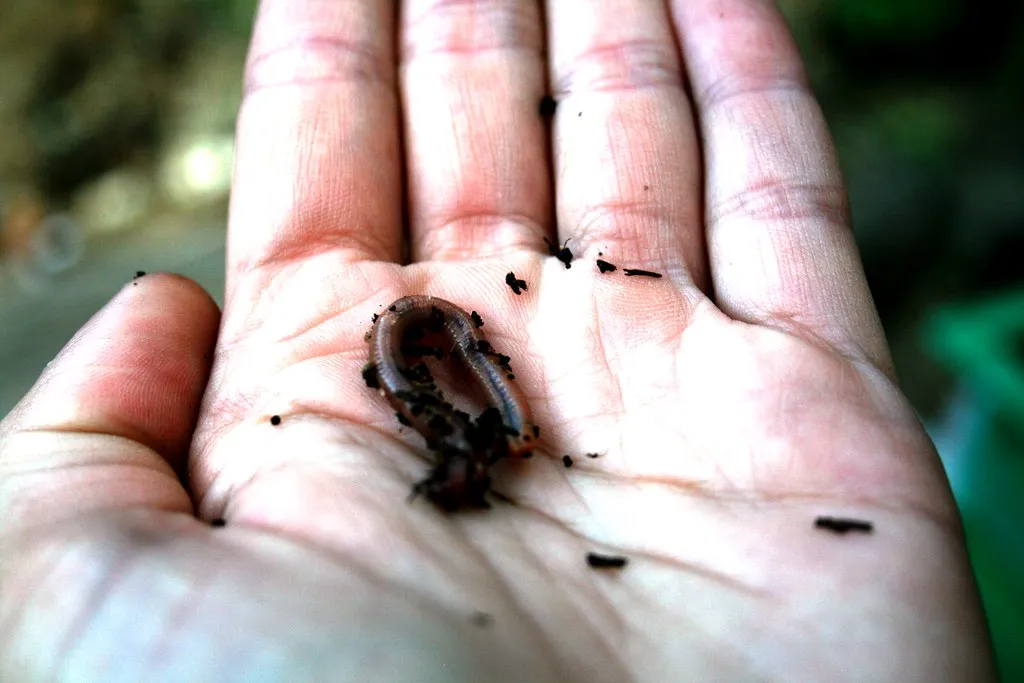
An ammonia smell typically signals too much nitrogen, so add more carbon-rich bedding. A rotten egg smell likely indicates anaerobic bacteria, so check for and remove any overly wet areas or decomposing spoiled food. These are the two most common problems beginners face, and both are fixable within a few days.
In extreme cold or heat, worms may die. Freezing temperatures below 35 degrees Fahrenheit or hot temperatures over 95 degrees Fahrenheit can kill your compost worms. Under a kitchen sink, temperature rarely becomes an issue, but it’s worth knowing the limits if you ever consider moving the bin.
Worms are very good at fixing their environment when given the chance, and once conditions improve, smells usually disappear within a few days. Most problems correct themselves quickly once you identify the cause and adjust the bedding or feeding schedule.
The Bigger Picture: Why It’s Worth Doing
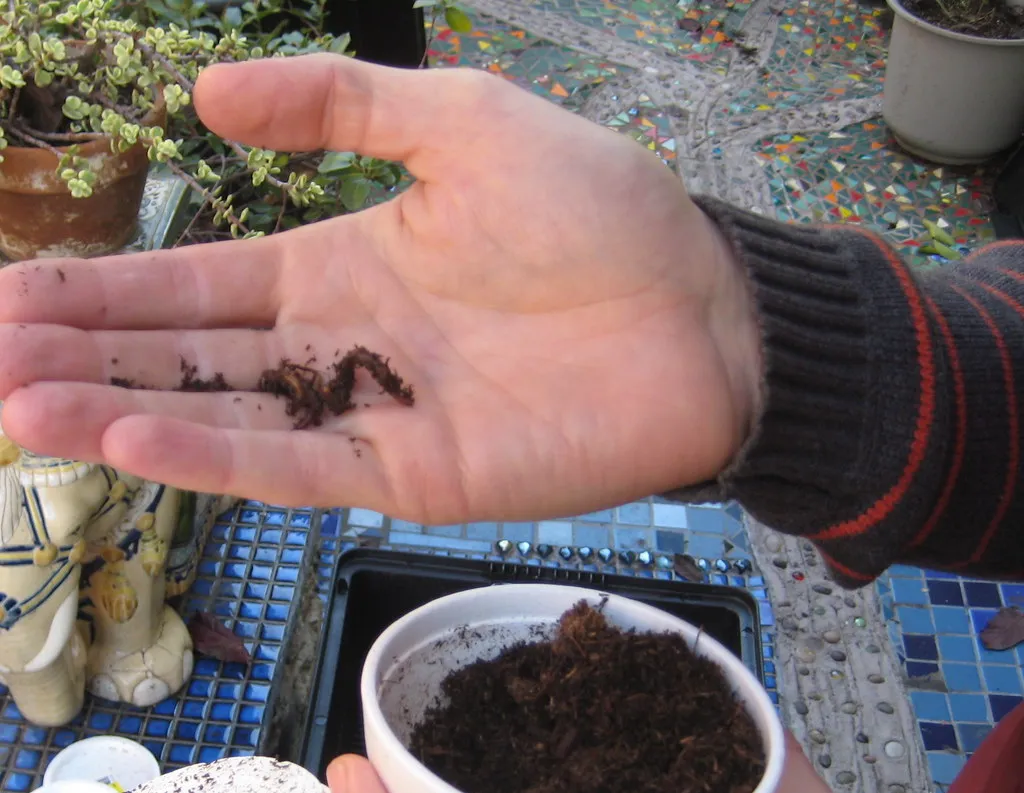
Vermicomposting systems use red wigglers to decompose waste, and composting in the US already diverts roughly 23.5 million tons of organic waste from landfills annually. Every kitchen bin adds to that total in a small but real way.
Composting reduces methane emissions from landfills, which matters more than it might seem. Wasted food is responsible for a significant share of landfill methane emissions, and keeping organic material out of landfills is one of the most direct ways households can reduce their environmental footprint.
The nutrients in worm castings are bound within organic compounds and release slowly into the soil to improve water-holding capacity and long-term fertility. Research from Cornell University also shows that vermicompost suppresses soil-borne pathogens, making it a valuable amendment for soil health. That’s a meaningful return on what is, essentially, zero investment beyond time and attention.
Starting a worm bin under your kitchen sink is less about being adventurous and more about being practical. The system is quiet, compact, and forgiving. Give the worms the right conditions and they’ll do all the work. What you get back in a few months is something genuinely useful for your plants and noticeably lighter in your trash bag. It turns out the smallest composting system in the house can also be the most consistent one.AI Disclaimer: This article was created with the assistance of AI tools and reviewed by a human editor.