

September is one of the most rewarding months for perennial gardeners. The summer blooms may be winding down, but the soil is still warm, and cooler air temperatures mean plants can adjust to changes without the stress of scorching sun. This makes it the perfect time to divide and transplant your perennials! If you’ve ever noticed clumps getting too crowded or blooms becoming smaller year after year, that’s your signal—it’s time to give them a fresh start. Dividing perennials not only rejuvenates plants but also gives you free new additions for other areas of the garden or to share with friends.
I know how easy it is to put this task off. It can feel intimidating to dig up an established plant and start cutting it apart. But trust me, perennials are tougher than they look, and most actually thrive after a good division. Many of these plants come from regions where natural disturbances—like grazing animals, frost heaving, or even flooding—break up clumps and spread them around. We’re simply giving nature a helping hand. Let’s dive into the details of how to divide and transplant your perennials successfully this September.
Why September is the Best Month

September strikes the balance between warm soil and cool air, creating perfect conditions for root growth. While spring is also a common time to divide, fall divisions give plants a head start because roots continue developing even as the top growth slows down. This means by springtime, your perennials are already settled and ready to burst with fresh energy.
In many regions, rainfall also picks up in September, which helps transplants establish without as much supplemental watering. It’s such a relief knowing you’re not battling summer droughts while trying to get divided plants to settle in. And since most perennials enter dormancy after frost, dividing now ensures they can rest and rebound beautifully next season.
Signs Your Perennials Need Dividing
Perennials often “tell” us when they’re ready to be divided. If the center of the plant starts to die out, leaving a ring of growth around the outside, that’s a classic sign. Another clue is when blooms become fewer or smaller than in previous years.
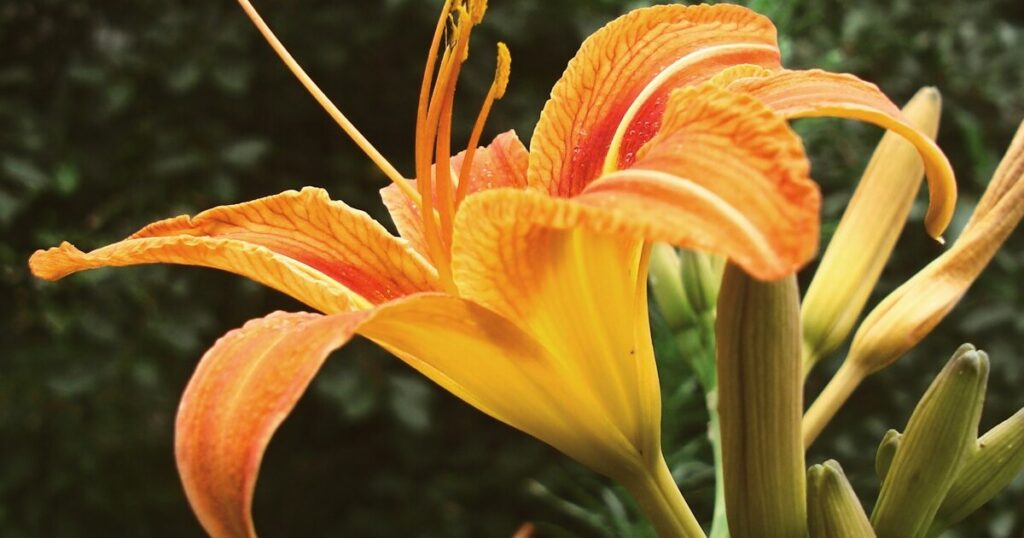
Plants like hostas, daylilies, and coneflowers are particularly vocal about this. Their native habitats—whether shady woodlands or open prairies—are full of natural cycles that thin and spread them. In our tidy beds, they rely on us to do the work. Dividing not only refreshes the plant but also helps control its spread if it’s starting to dominate the space.
Preparing the Plant Before Digging

A little prep work goes a long way. Water your perennial thoroughly the day before dividing so the soil is moist and easier to work with. This helps reduce transplant shock and makes lifting the root ball less stressful for the plant.
In their native environments, perennials often experience rainfall before a disturbance like grazing or frost shifts them. Mimicking this natural rhythm by hydrating the roots first gives your plant a buffer as you dig and divide. I’ve found that divisions made after a deep watering always bounce back quicker.
Digging Up the Clump
When it’s time to dig, start wide around the plant to avoid cutting into roots prematurely. Use a sharp spade or garden fork to gently lift the entire clump out of the soil. You may be surprised at how large the root system is, especially with long-established perennials.
It helps to rock the plant gently as you lift, loosening the soil while keeping as many roots intact as possible. Many perennials evolved with tough, resilient roots that can handle disturbance, so don’t be afraid to dig deep. Watching a clump come free always feels like uncovering hidden treasure beneath the soil!
Splitting the Roots Safely
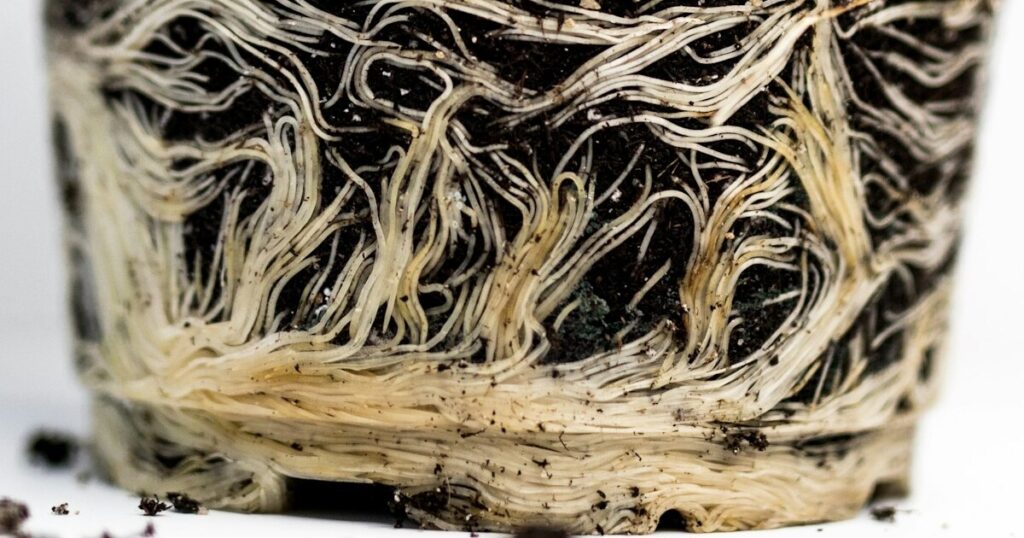
Once the clump is out, examine the roots. You can usually split the plant into smaller sections by pulling them apart with your hands, but for tougher roots, a knife or spade may be needed. Each division should have healthy roots and at least two to three shoots above ground.
In their natural ranges, perennials often divide themselves as roots break apart over time. We’re just speeding up the process. By ensuring each division has enough root mass, you’re giving it the best chance to establish quickly. This is one of my favorite steps—there’s something exciting about seeing how many new plants you can get from just one clump.
Preparing the New Site
Before replanting, prepare the soil where the divisions will go. Loosen it deeply and mix in compost to provide nutrients. September planting gives the roots time to explore, so giving them rich, airy soil now makes the transition smoother.
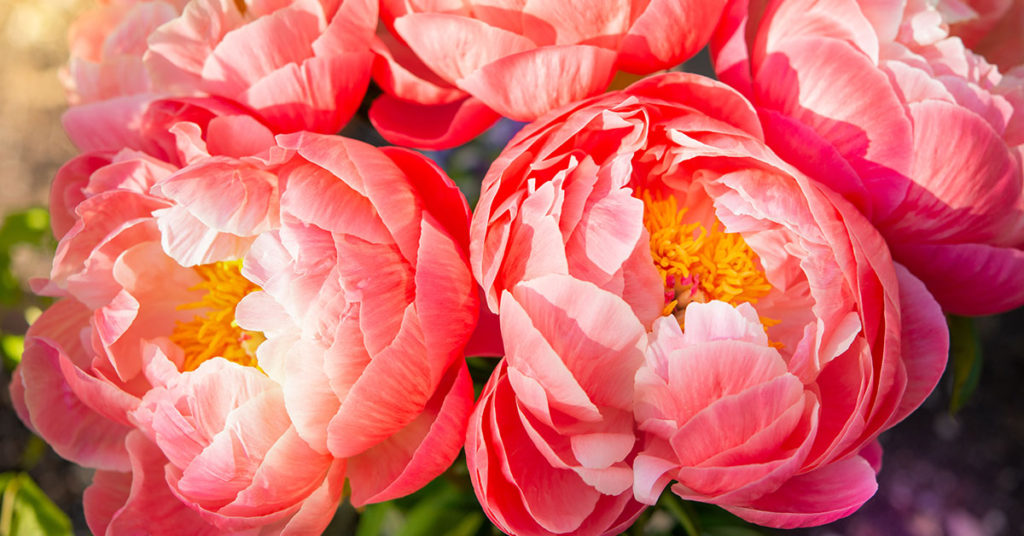
Plants like phlox, black-eyed susans, and peonies all originated in areas with fertile soils that were constantly replenished by decaying plant matter. By adding compost, you’re recreating those conditions. Healthy soil ensures that the divisions won’t just survive but will thrive for years to come.
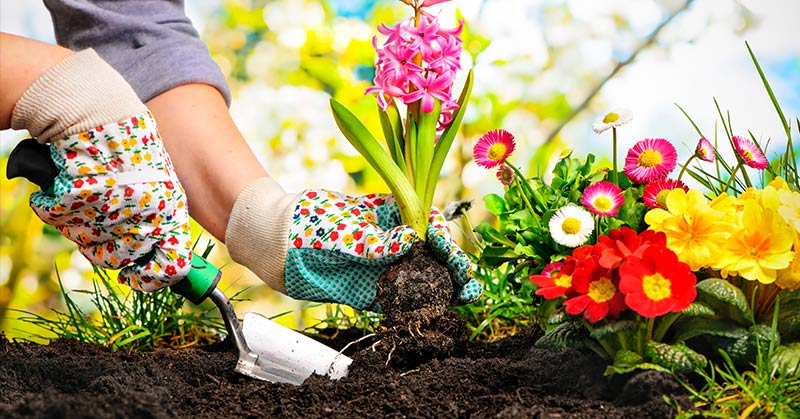
Planting the Divisions
Set each division into its new home at the same depth it was growing before. Firm the soil gently around the roots and water thoroughly to eliminate air pockets. Space them properly, since crowding now just means you’ll be dividing again sooner than necessary.
This step is where your creativity as a gardener comes in. You can rearrange divisions to create symmetry in a border, fill gaps, or even expand into new beds. It feels like painting with plants, and the results the following year are so rewarding.
Watering After Transplanting

Newly divided plants need consistent moisture while they establish. Water deeply right after planting, then keep the soil evenly moist for the next several weeks. September rains may help, but don’t rely on them alone—check the soil and water when it feels dry.
Perennials in their natural habitats often rely on fall rainfall to recover from stress before winter. By supplementing with your hose, you’re ensuring they get exactly what they need to put down roots before dormancy. A well-watered plant now is a stronger plant come spring.
Mulching for Protection

Mulching around your new divisions helps retain moisture and regulate soil temperature as the weather cools. Apply a layer of organic mulch, but keep it a few inches away from the crown to prevent rot.
This mulch layer replicates the natural leaf litter that perennials would receive in the wild. Not only does it protect the roots from fluctuating temperatures, but it also provides shelter for overwintering insects. It’s like tucking your plants in for a restful winter sleep.
Caring for Wildlife in the Process
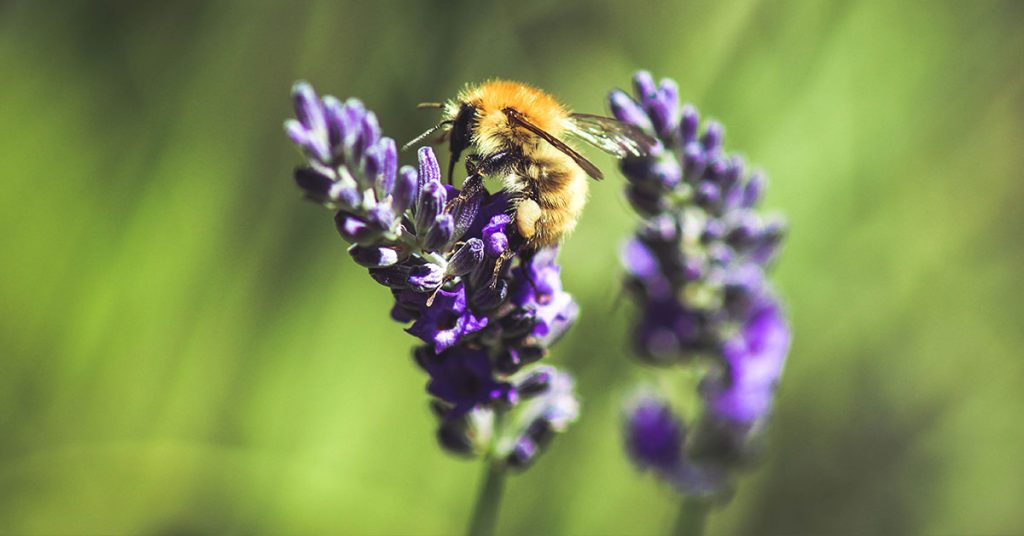
Dividing perennials isn’t just about your plants—it’s about the creatures that call your garden home. Birds, bees, and beneficial insects all rely on healthy perennials for nectar, seeds, and shelter. By rejuvenating your beds, you’re also ensuring these visitors continue to find what they need.
For example, echinacea seeds left after division provide food for goldfinches, while salvias continue to attract late-season pollinators. Keeping these relationships in mind makes dividing even more meaningful—you’re contributing to an entire ecosystem, not just a single plant.