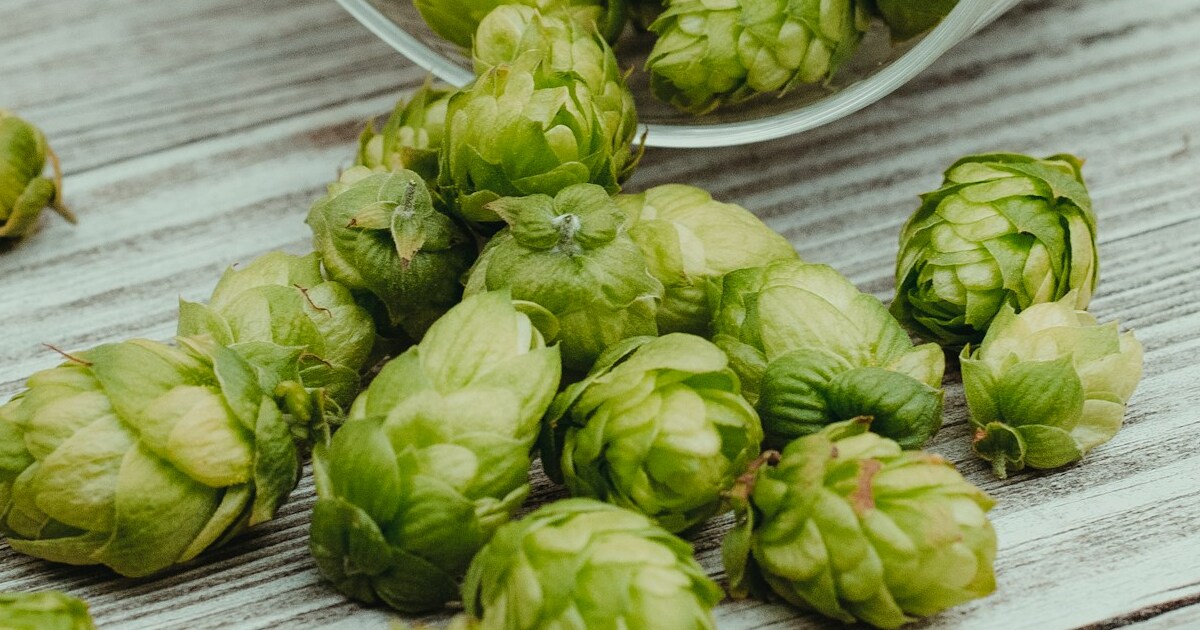

If you’ve ever dreamed of brewing your own beer or simply growing a plant that looks spectacular while offering real utility, hops are the perfect choice. These climbing vines, known for their aromatic cones, are not only beautiful in the garden but also incredibly rewarding when it comes time to harvest. Many gardeners assume hops are best planted in spring, but September planting actually sets you up for a much stronger harvest the following summer. By giving the plant time to establish roots before winter, you’re essentially giving it a head start that pays off in a big way when warm weather rolls around.
I know the feeling of hesitation—planting something right before frost feels counterintuitive. But hops, with their hardy root systems and perennial nature, thrive when allowed to settle into the soil during the cooler months. Their origins in Europe and Asia, where they’ve adapted to seasonal cycles of growth and dormancy, make them perfectly suited to fall planting. Once you understand how to give them the right support and conditions, hops practically leap out of the ground come spring. Let’s go through everything you need to know about planting hops in September for a bountiful summer harvest!
Choose the Right Spot
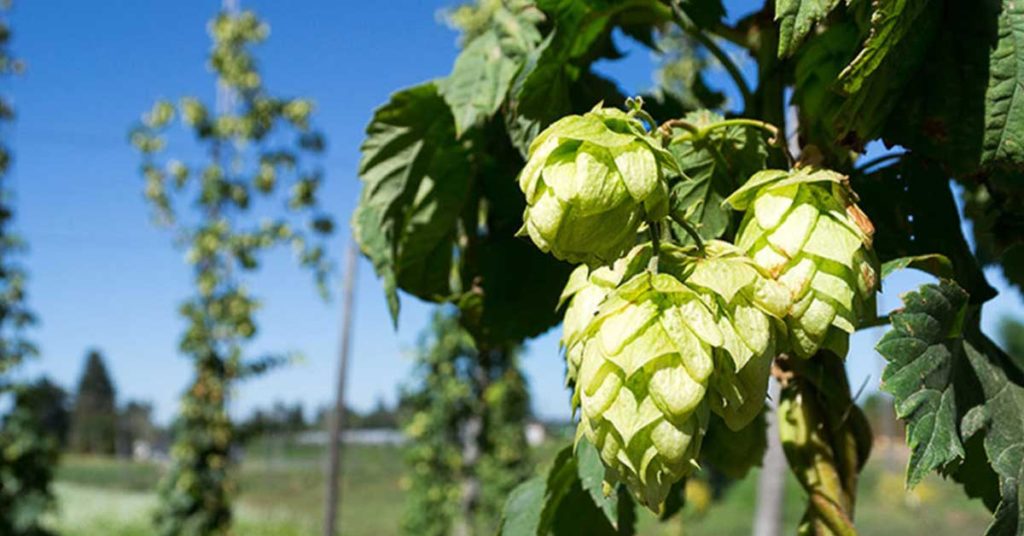
Hops are vigorous climbers, often stretching 15 to 20 feet in a single season, so choosing the right location is crucial. They crave full sun—at least six to eight hours per day—and prefer rich, well-draining soil. Giving them space and vertical support, like a trellis or sturdy pole, will allow them to grow to their full potential without overwhelming nearby plants.
In their native habitats, hops grow along woodland edges where they scramble up trees toward the light. They’re not considered invasive in most regions, but their aggressive climbing behavior can quickly shade or smother smaller plants if you don’t plan accordingly. By dedicating a spot just for hops, you’ll avoid headaches while creating a striking vertical feature in your yard.
Planting Rhizomes in Fall

September is an excellent time to tuck hop rhizomes into the soil. These fleshy root cuttings, which look like little sticks, are the foundation of your future hop bines. Plant them horizontally about two inches below the surface, with the buds facing up, and space them at least three feet apart to give them room to spread.
Because hops are perennial, the real action is happening underground during fall and winter. The rhizomes will quietly develop a strong root system while the top growth goes dormant. This early establishment means when spring warmth arrives, the plant can focus its energy on rapid vertical growth and cone production, rather than struggling to get rooted.
Provide Strong Support Early
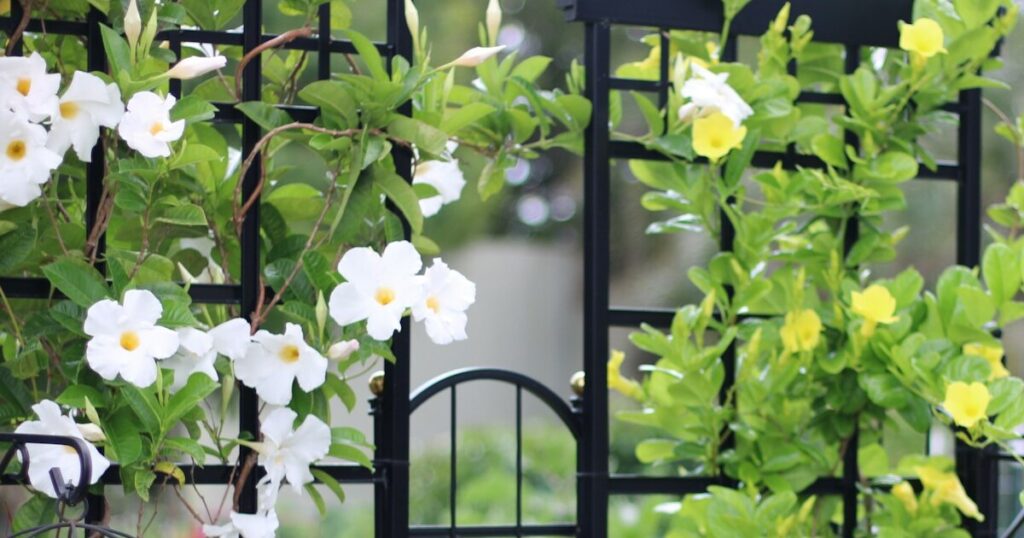
One of the most important things to do when planting hops is to install their support system right away. Don’t wait until spring, because once these vines start growing, they’ll shoot up so fast you’ll be scrambling to give them structure. Poles, wires, or tall trellises are ideal, and they should be firmly anchored to withstand the plant’s weight and summer winds.
Hops naturally twine clockwise as they climb, and watching them spiral up is one of the joys of growing them. In the wild, they cling to hedges and trees, which is why giving them a man-made “tree” to scale feels so natural. With the right support in place now, you’ll avoid damaging delicate new shoots later.
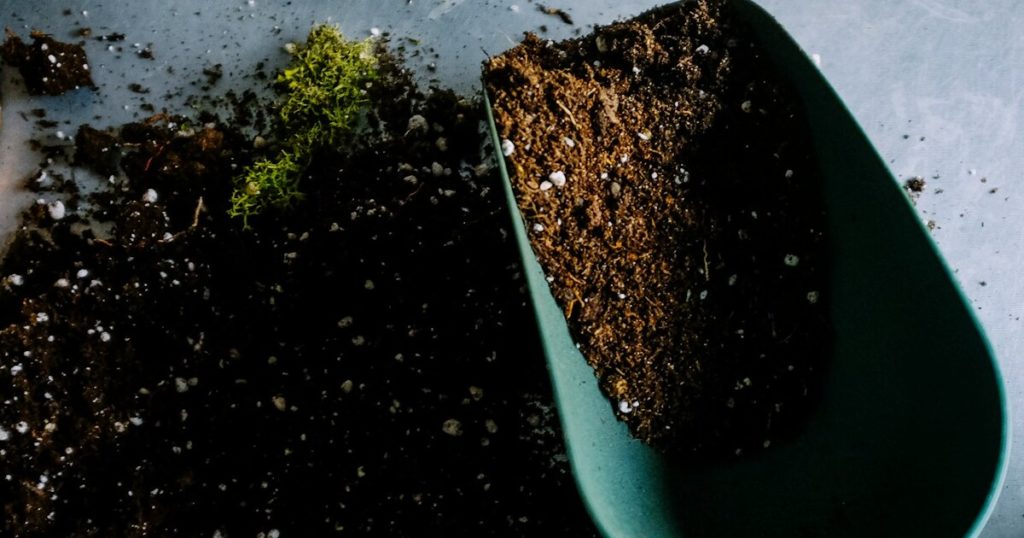
Improve Soil With Organic Matter

Before planting, enrich the soil with compost or well-rotted manure. Hops are heavy feeders, requiring plenty of nutrients to produce large, resinous cones. By amending your soil in September, you give time for organic matter to integrate before the plant begins rapid growth.
Native to fertile floodplains of Europe and Asia, hops thrive in nutrient-rich soils that mimic those conditions. A strong root system depends on having food available right away. This step also boosts microbial life in the soil, which creates a healthier underground ecosystem where roots and beneficial organisms support each other.
Mulch for Winter Protection

After planting, add a thick layer of mulch around the base of the hop plant. This will help regulate soil temperature and protect the rhizomes from harsh winter freezes. Organic mulches like straw or shredded leaves will also slowly break down, feeding the soil over time.
Mulch also creates a little ecosystem of its own, providing shelter for overwintering insects and earthworms. In nature, hops benefit from fallen forest litter that covers their roots, and by mulching, you’re replicating that natural cycle. It’s a simple step that pays off in healthier, more resilient plants come spring.
Water Deeply Before Frost

Even though hops go dormant in winter, they need adequate water leading up to it. In September, focus on deep, infrequent watering to encourage roots to grow downward. A well-hydrated root system going into winter ensures the plant can survive periods of freezing and thawing.
This practice mimics the natural cycle in their native regions, where autumn rains soak the soil before winter. Be careful not to overwater, though, as soggy soil can cause rhizomes to rot. Balanced moisture helps the plant ease into dormancy with strength.
Prune Back Old Growth
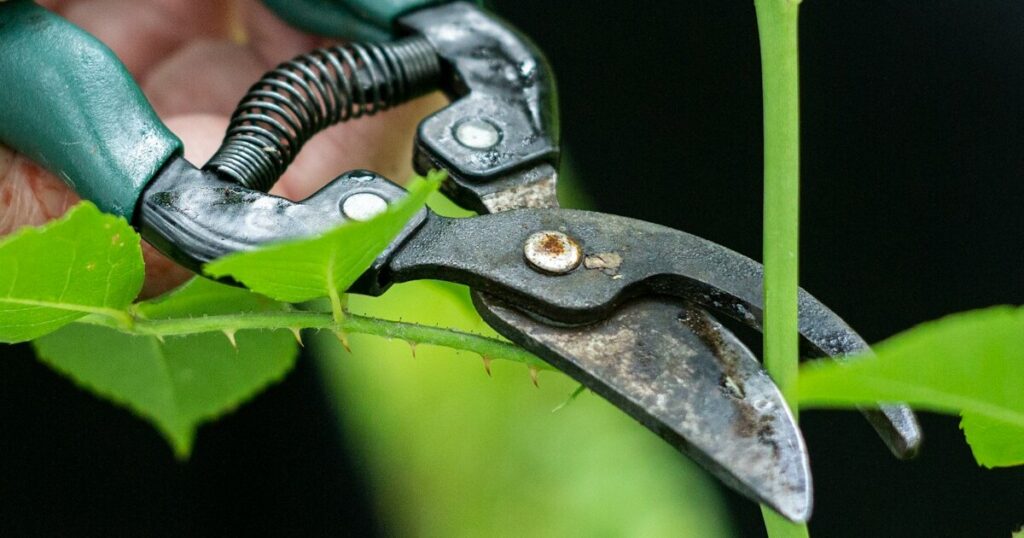
If you’re planting hops in a bed that already contained older plants, September is the time to cut back dead bines. Trim them down to just a few inches above the soil line. This keeps pests and diseases from overwintering and allows fresh growth to emerge unimpeded in spring.
Hops naturally die back each fall, leaving behind woody stems. Clearing them out not only tidies your garden but also reduces hiding spots for fungal spores or insects. Plus, I’ve found that pruning in fall saves a ton of cleanup work when the rush of spring arrives.
Fertilize Lightly in Fall

Unlike the heavy feeding you’ll do in spring and summer, fall calls for a lighter touch. A balanced, slow-release fertilizer can be added in September to give the rhizomes a little energy boost before dormancy. This ensures roots stay healthy without triggering unnecessary top growth.
Hops evolved to take advantage of nutrient flushes from decomposing plant matter in fall. Mimicking this process at home strengthens the underground network without overstimulating the vines. It’s about giving just enough nourishment to set the stage for next year’s success.
Watch for Wildlife Visitors

Planting hops isn’t just about beer-making—it’s about welcoming life into your yard. The dense foliage provides nesting spots for birds, while pollinators love the small, inconspicuous flowers that eventually form cones. I’ve even noticed beneficial insects sheltering in the leafy canopy during hot summer days.
Because hops are not invasive in most regions, you can enjoy this wildlife activity without worrying about them taking over. Their presence adds vibrancy to the garden, creating a little microhabitat where nature feels at home alongside your crops.
Plan for Harvest Storage
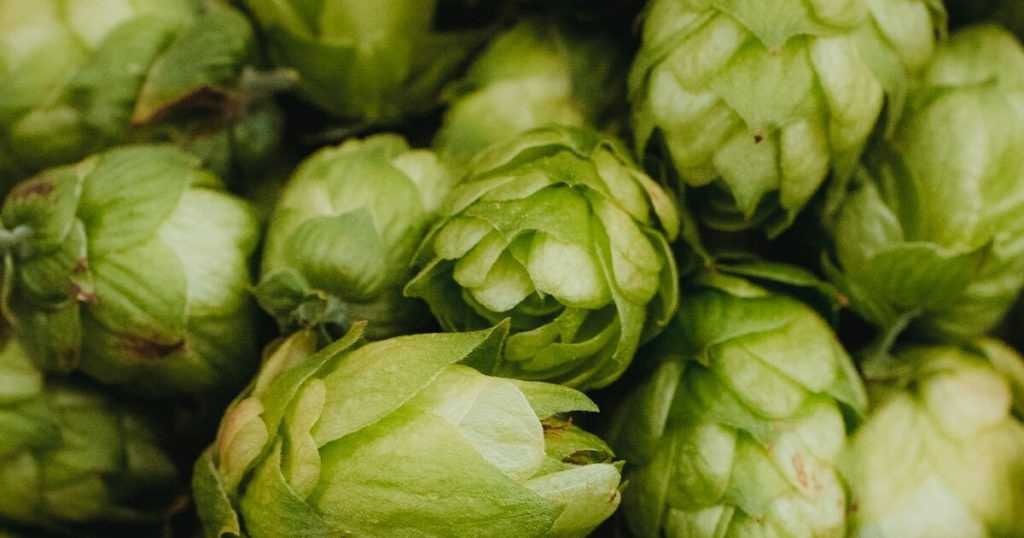
It may seem early, but planting in September is also the perfect time to think ahead about harvest. Once hops start producing cones the following summer, you’ll need a way to dry and store them. Having a plan now means you won’t lose quality when the harvest comes in fast and heavy.
In traditional growing regions, like Germany and the Czech Republic, hops were carefully dried in special kilns to preserve their brewing qualities. At home, a dehydrator or even a warm, airy space can do the trick. Preparing ahead ensures that all your work pays off with the best possible end product.
Enjoy Their Ornamental Value
Even if you never brew a drop of beer, hops are worth growing simply for their beauty. The bines create lush green walls and their papery cones dangle like ornaments in late summer. They can turn a plain fence into a showstopper or add privacy to an outdoor space.
I’ve always loved how hops transform an ordinary trellis into a living curtain. Their quick growth makes them one of the most rewarding plants to watch, and their seasonal cycle adds drama and interest to any yard. Growing them in September just sets you up for a spectacular display sooner.