

Red onions (Allium cepa) trace their lineage to the foothills of Central Asia, where early farmers cultivated them for their mild, sweet flavor. Over centuries, they’ve adapted to diverse climates without becoming invasive, thriving in well‑drained soils rich in organic matter. One of my favorite things about red onions is how, when allowed to bolt, their umbrella‑shaped flower heads attract an array of pollinators—honeybees, solitary sweat bees nesting in nearby bare soil, and even hoverflies that patrol the garden for aphids!
Yet coaxing bumper crops of those ruby‑hued bulbs can be a bit of a puzzle. It’s such a bummer when uneven watering leads to split skins or when overcrowded sets produce spindly bulbs. In these twelve tips, we’ll explore everything from soil preparation to harvest timing, guiding you toward plump, flavorful onions and a healthy ecosystem beneath the beds!
Test and Amend Your Soil for Optimal Fertility

Red onions thrive in slightly acidic to neutral soil—ideally with a pH between 6.0 and 7.0. Before planting, I always perform a simple soil test to pinpoint any nutrient imbalances. In temperate zones, where onions originally may have graced mountain valleys, soils tend to be rich and loamy; if yours skews too sandy or heavy clay, work in well‑aged compost and a light dusting of lime or sulfur to adjust pH precisely!
Incorporating compost doesn’t just feed your onions—it also encourages earthworms to tunnel through the beds, aerating the soil and creating channels for water and roots. These wriggling gardeners further enrich the mix, breaking down organic matter and fostering a living soil that sustains high yields year after year!
Select High‑Quality Sets or Transplants
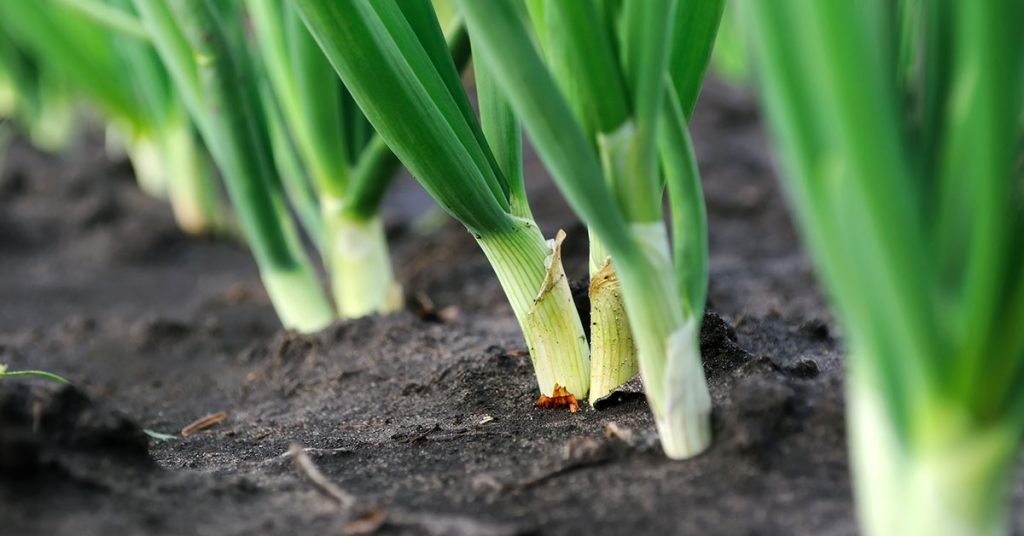
While sowing red onion seed allows for more variety, many gardeners prefer sets—small juvenile bulbs grown for a season—because they establish quickly and reduce weed competition. Choose firm, evenly sized sets without soft spots or green shoots, ideally purchased from a reputable supplier to avoid invasive pathogens slipping into your garden!
If you start from transplants, opt for robust seedlings with fleshy stems and well‑developed root systems. I always examine roots for signs of overcrowding or circling, gently teasing them apart before planting. Healthy starts translate into vigorous growth, meaning fewer issues with bolting or stunted development later on!
Time Your Planting for Daylength Sensitivity

Red onions come in short‑day, intermediate‑day, and long‑day varieties, named for the hours of daylight required to trigger bulb formation. Plant short‑day types in southern regions in late fall or early winter, and long‑day varieties in northern areas as soon as soil can be worked in spring. Matching daylength preferences to your latitude is crucial to prevent premature bolting or undersized bulbs!
I recall one year planting a long‑day variety too early in my southern garden—bulbs formed poorly, and foliage lingered in the heat. Now, I track sunrise and sunset times, aligning planting dates with each variety’s needs. That timing tweak alone boosted my onion yields substantially!
Provide Consistent Moisture Without Waterlogging
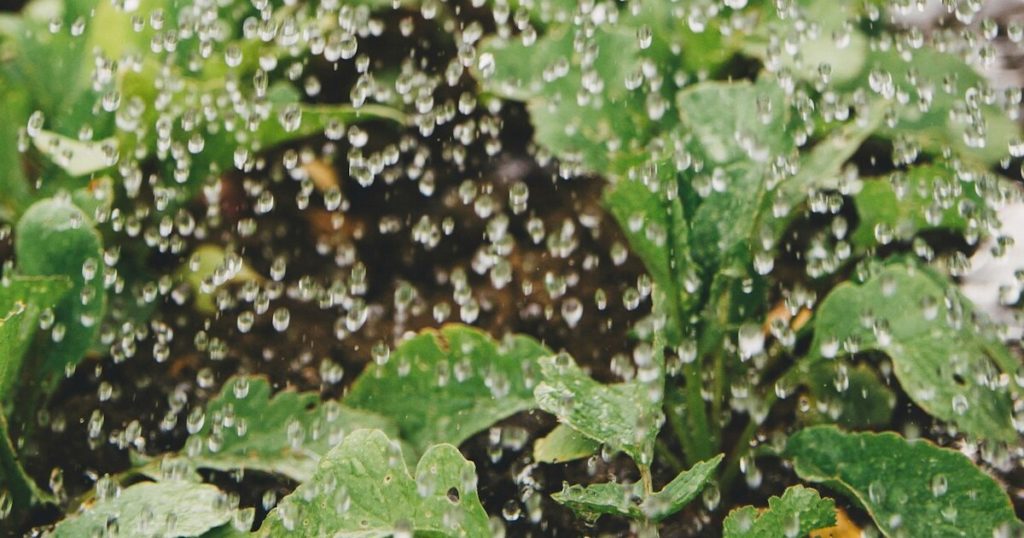
Onions demand steady moisture during bulb development, but soggy feet invite fungal diseases like pink root or neck rot. I install drip irrigation or soaker hoses to deliver water directly to the root zone, then monitor with a finger test—if the top inch of soil is dry, it’s watering time!
Mulching with straw or shredded leaves helps retain moisture and prevent rapid evaporation on hot days. That mulch also offers shelter for ground‑nesting bees and predatory beetles, which help keep onion‑loving pests like thrips and onion maggots in check!
Space Bulbs for Proper Airflow and Room to Grow

Crowding sets too closely leads to small, misshapen bulbs and slows air circulation, encouraging disease. I space red onion sets about 4–6 inches apart in rows 12–18 inches apart, allowing each bulb to expand fully and foliage to dry quickly after rain or irrigation.
This generous layout also creates nesting nooks in the soil margins where solitary bees sometimes nest, boosting local pollinator populations. Watching them busily ferry pollen between neighboring flowers is a delightful bonus when you’re tending your onion beds!
Fertilize with Balanced Nutrients at Key Stages
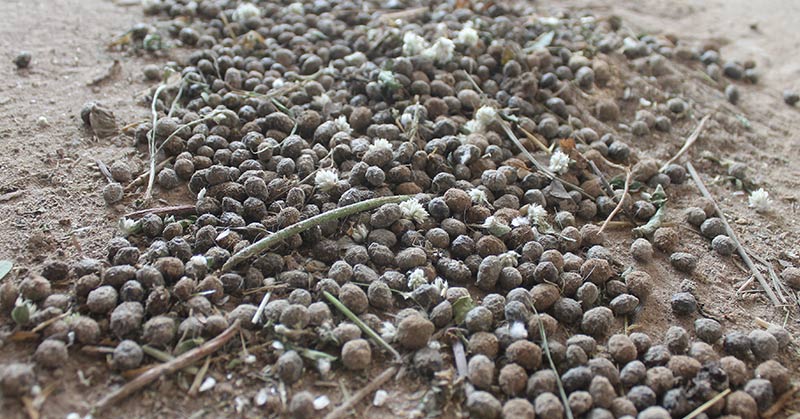
Once sets are planted, side‑dress with a balanced organic fertilizer—look for a formula with equal parts nitrogen, phosphorus, and potassium. During the bulb‑swelling phase, reduce nitrogen slightly and boost potassium to support skin formation and storage life.
I mix in well‑composted manure or a fish emulsion around midseason, avoiding direct contact with bulbs to prevent rot. This steady nutrient supply helps red onions develop firm, sweet bulbs without overly leafy tops that can steal energy from the bulbs below!
Rotate Your Allium Crops Annually

Planting onions, garlic, and other alliums in the same spot year after year invites soil‑borne pests and diseases to build up—onion maggots, nematodes, and white rot are especially problematic. Rotate alliums to a new bed every 3–4 years, following legumes or brassicas to restore soil structure.
I keep a simple garden diary to track rotations—this habit prevents me from accidentally replanting onions where garlic once prevailed. The result is healthier bulbs and fewer fungal outbreaks, saving time on organic sprays or remedial measures!
Weed Religiously to Minimize Competition
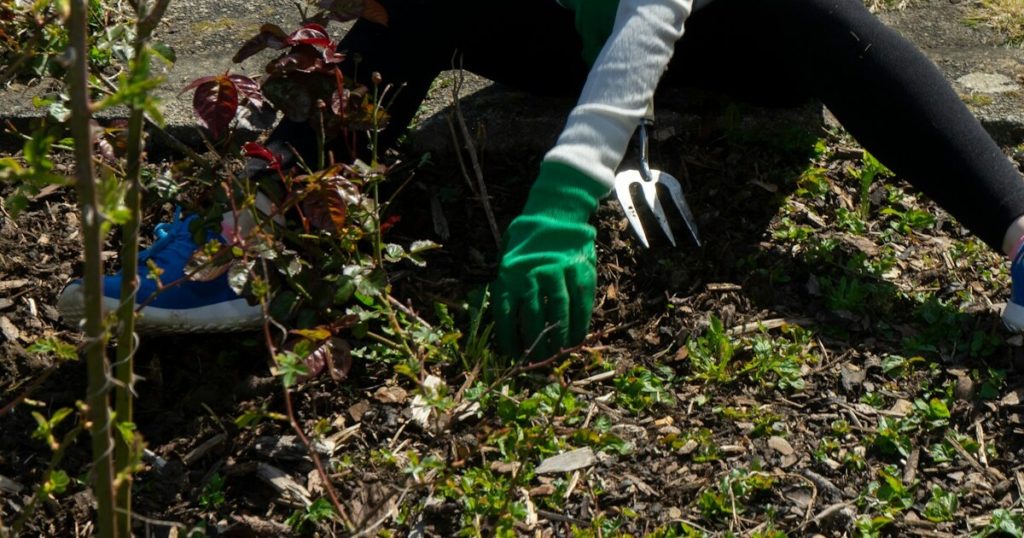
Young onion seedlings struggle when smothered by aggressive weeds. I weed by hand or use shallow cultivation tools to lift weeds without disturbing onion roots. A light mulch layer also suppresses weed seeds from sprouting, cutting down on labor and preventing unwanted competition.
Weed‑free beds also allow you to spot emerging pests—such as tiny aphids clustering on fresh shoots—before populations explode. Early detection means you can introduce beneficial predators, like lacewings eggs tucked under leaves, to keep pest levels manageable!
Monitor and Manage Pests Organically
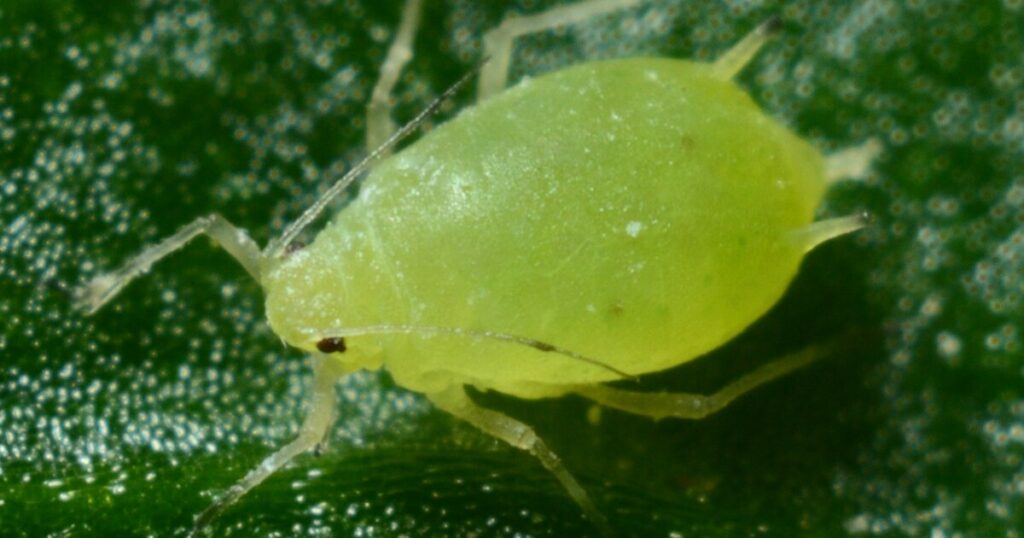
Red onions can attract thrips, onion maggots, and aphids, each of which can nest or feed in the tight folds of foliage. Weekly inspections of leaf undersides and around necks help catch early signs of infestation. I use yellow sticky traps to monitor flying pests and apply neem oil or insecticidal soap when necessary—always in the evening when beneficial pollinators are resting!
Encouraging predatory insects is equally important. Ladybugs, lacewings, and ground beetles help patrol your onion beds, feasting on soft‑bodied pests. I plant small strips of buckwheat nearby to attract these allies, knowing they’ll stick around to nest in sheltered soil areas near my onions!
Fertilize Lightly After Bulb Swelling
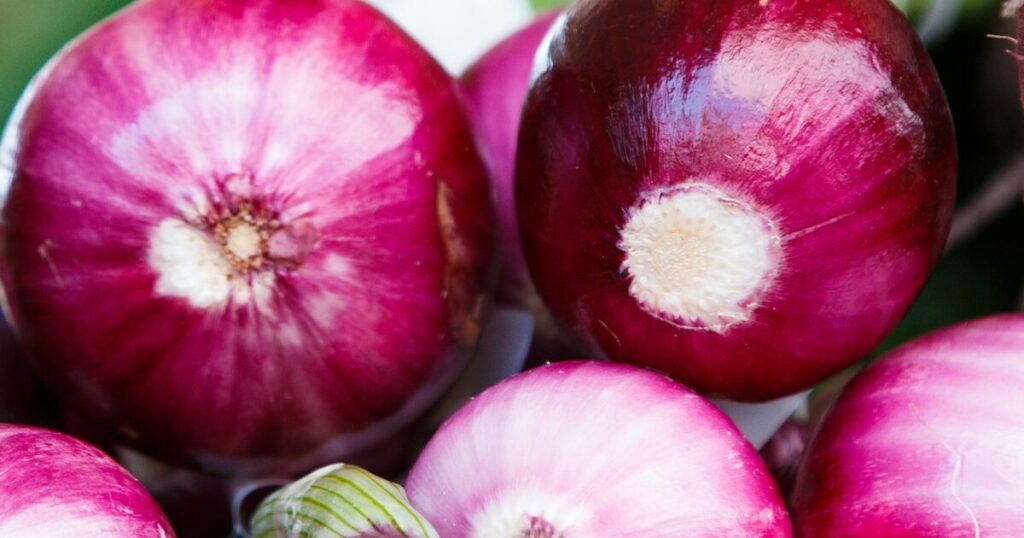
Once bulbs reach about two inches in diameter, switch to a low‑nitrogen, high‑potassium feed to firm up skins and improve storage potential. Excess nitrogen at this stage can prolong green top growth and delay maturity.
I apply a thin layer of wood ash or kelp meal around each row—both sources of potassium and micronutrients. This finish line boost helps red onions develop tight, colorful skins and delicious flavor, ensuring they’ll store well through winter!
Harvest and Cure for Maximum Shelf Life
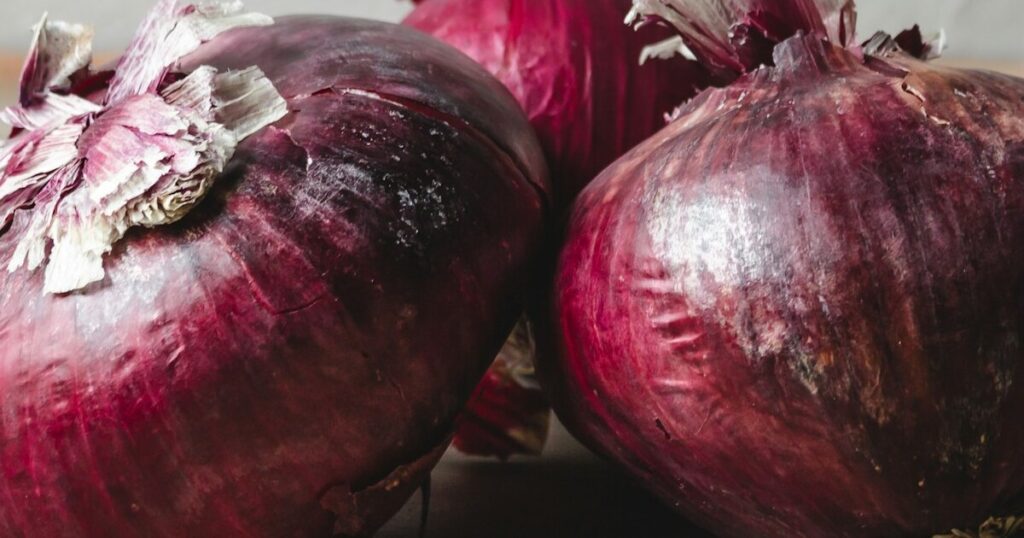
Timing your harvest is key: when three‑quarters of the tops flop and begin to yellow, it’s time to lift bulbs. Pull them gently, brush off excess soil, and lay them in a single layer under a shaded, airy structure. Good air movement prevents rot and speeds curing—neck tissues dry, sealing in flavor and longevity!
After two to three weeks, when necks feel snug, trim tops to about one inch and clip roots. Store cured red onions in mesh bags in a cool, well‑ventilated spot. I relish reaching for those jewel‑toned bulbs throughout winter, knowing they owe their crisp, sweet taste to careful curing and storage!