

It’s such a thrill to harvest your very own butternut squash—those smooth, tan-skinned gourds packed with sweet, nutty flesh always make me beam with pride! If you’ve ever felt the disappointment of misshapen fruit or plants that petered out before setting even one squash, you’re not alone. Butternut squash (Cucurbita moschata), native to Mesoamerica and long cultivated by Indigenous peoples, isn’t invasive in most home gardens—but it does revel in generous space and rich soil.
I know how frustrating it is when summer seems endless but your vining beauties languish, leaves yellowing without a single bloom. With a little know-how—from nurturing soil microbes to beckoning squash bees to nest nearby—you’ll be slicing into those golden orbs come autumn with pride. Let’s dive into a dozen tips that’ll have your butternut patch thriving!
Encourage Pollinators by Planting Early Flowers

I’ve found that sowing strips of calendula, zinnias, or borage alongside your squash beds creates a vibrant welcome mat for pollinators. Early in the season, these blooms serve as vital nectar sources, drawing in honeybees, bumblebees, and especially native squash bees, which actually nest in bare ground near cucurbit patches!
By supporting these beneficial insects, you’re ensuring abundant pollination of both male and female squash flowers. A strong pollinator presence directly translates to more plump, well-shaped butternuts, since each fruit results from a successfully fertilized bloom.
Provide Deep, Nutrient-Rich Soil

One of my favorite secrets is to amend planting trenches with generous amounts of well-aged compost and aged manure. Butternut squash develops long, fleshy roots that crave loose, organic-rich soil. I once rescued a struggling patch by double-digging trenches and folding in compost—within weeks, the vines exploded with new growth!
Those organic layers not only feed your squashes but also foster earthworms and beneficial microbes that aerate soil and boost nutrient cycling. Healthy soil biology means your plants are better able to resist diseases and drought stress.
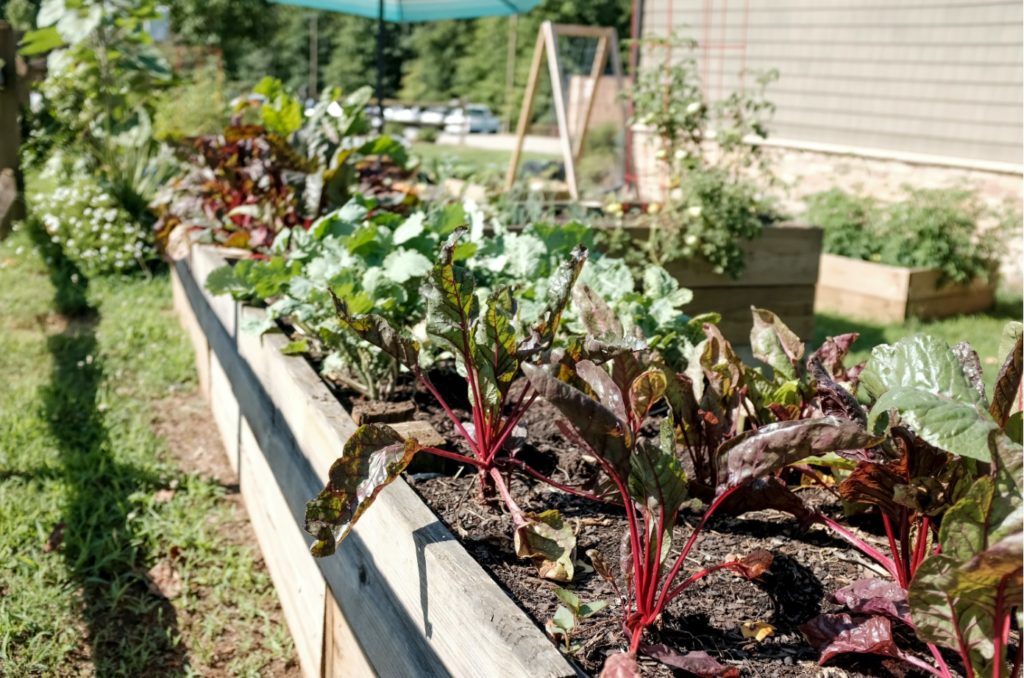
Space Vines Generously
Unlike compact bush varieties, butternut squash vines can sprawl up to 10 feet if left unchecked! I know the temptation to cram more plants into a small bed, but giving each vine at least 4–6 feet of clearance prevents shading and improves air circulation. Less damp foliage means fewer fungal issues and more vigorous yields.
If space is tight, consider training vines up sturdy trellises or cattle panels. Supported vines keep fruit off the ground (reducing rot risk) and create an eye-catching vertical feature on your garden’s edge.
Use Mulch to Regulate Moisture and Temperature

Maintaining consistent soil moisture is key for squash that’s neither waterlogged nor thirsty. A thick layer of straw, leaf mulch, or grass clippings around the base of each plant keeps moisture levels even and suppresses weeds vying for water.
Mulches also moderate soil temperature, protecting roots from midday heat and chilling nighttime breezes. Over time, organic mulches break down, enriching soil and supporting the tiny nest-building tunnels of squash bees and other ground-nesting pollinators.
Succession Planting for Extended Harvest

One of the best ways to avoid a single glut is to sow butternut seeds in two or three waves, spaced about three weeks apart. I love watching each wave take off in turn—early plants feed summer feasts, while later ones extend your harvest into frost’s first blush.
Because each generation flowers and sets fruit at staggered times, you’ll have more manageable picking (instead of a towering heap all at once) and fresher squash for longer. Plus, rotating sow dates helps you sidestep heatwaves or late blight outbreaks.
Monitor and Manage Squash Vine Borers

Nothing’s more heartbreaking than finding your once-robust vines wilting suddenly—often a sign of squash vine borer caterpillars tunneling inside. I check stems weekly for small sawdust-like frass and slit the stem to extract any larvae. While tedious, this hands-on rescue keeps plants alive to fruit!
You can also apply floating row covers early in the season to block adult moths from laying eggs. Once flowers appear, remove covers briefly to allow pollinators to do their dance.
Fertilize at Key Growth Stages

While rich planting soil gives your squash a running start, side-dressing with balanced organic fertilizer when vines reach 12 inches and again at first bloom can make a huge difference. Nitrogen supports leaf and vine growth, while phosphorus and potassium encourage flowering and fruit development.
I’ve found that a liquid fish emulsion or compost tea foliar spray during bloom amplifies pollinator visits, since the mild scent attracts bees. Just be careful not to burn foliage—dilute according to package directions!
Harvest at Peak Ripeness
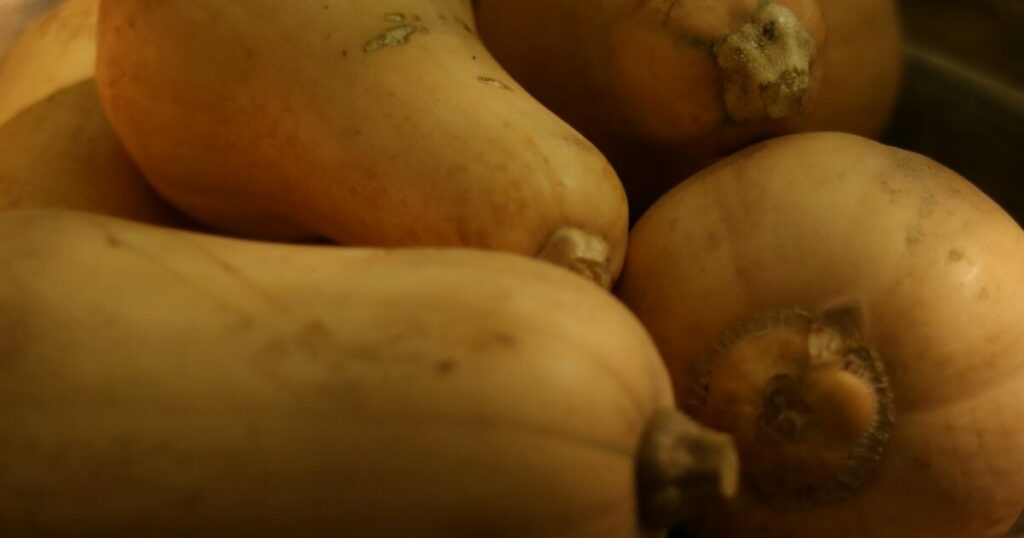
Knowing exactly when to pick is crucial: underripe squash can be bland and prone to storage issues, while overripe fruits may crack or attract pests. Look for a hard rind that resists fingernail pressure and a deep, tan color. The stem should be corky and brown, indicating maturity!
Cut fruit with a short bit of stem intact—this natural “nest” edge helps prevent moisture loss during curing and storage. Once harvested, cure butternuts for 10–14 days in a warm, airy spot to allow skins to toughen and sugars to concentrate.
Rotate Crops Annually
Squash share soil pathogens with other cucurbits, so planting butternuts in the same spot year after year risks disease buildup. I rotate my squash beds with legumes or brassicas every season—this break interrupts pest life cycles and balances soil nutrients.
Legumes, in particular, enrich soil by fixing nitrogen—giving your next squash crop a nutrient boost without extra fertilizer.
Start Seeds Indoors in Cool Climates

In regions with short growing seasons, give your butternut a head start by sowing seeds in biodegradable pots 3–4 weeks before last frost. Transplant carefully once soil warms above 60°F, taking care not to disturb tender roots.
Those pots can be planted directly into the ground, minimizing root shock. Early starts often yield more fruit before the first autumn chill hits, satisfying those itch-for-fresh-squash cravings!
Watch for Powdery Mildew and Act Early
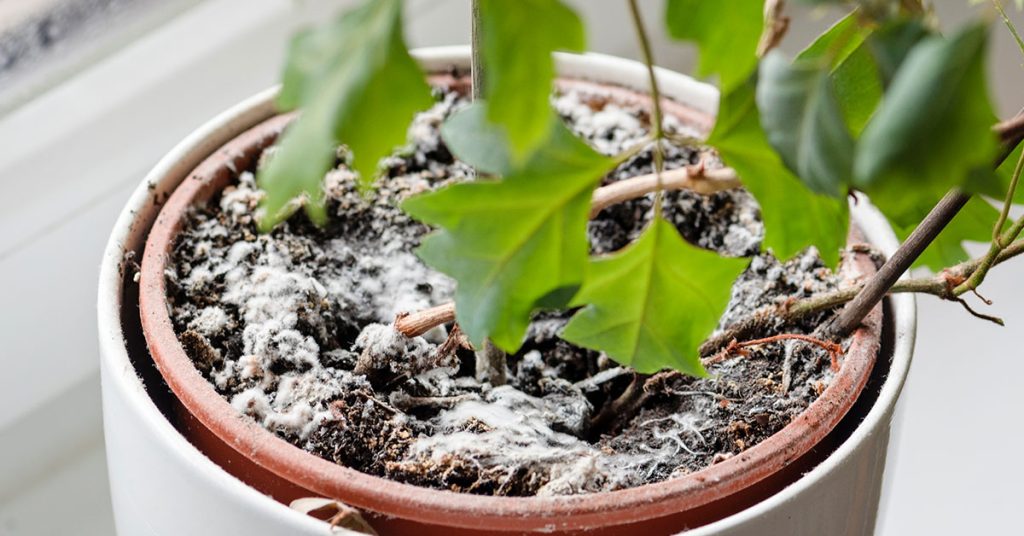
Powdery mildew often shows up as white, dusty patches on older leaves. To combat it, improve air circulation by trimming lower leaves, ensure adequate plant spacing, and apply a homemade spray of milk (1:9 ratio with water) once weekly.
Milk proteins have antifungal properties that help reduce mildew without harsh chemicals. Healthy leaves mean more energy channeled into fruit rather than disease defense!
Support Young Fruit to Prevent Breakage

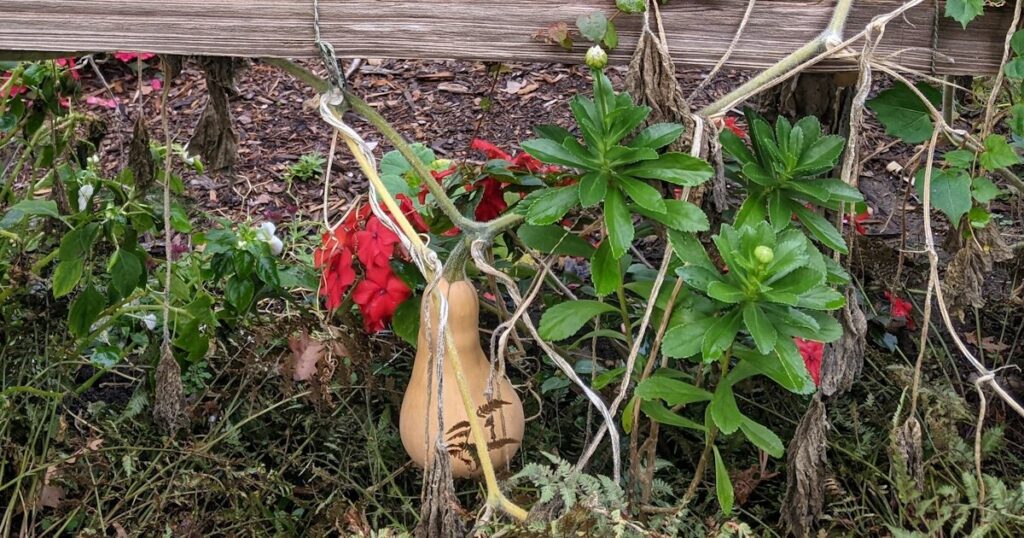
When butternuts set on long vines, heavy fruit can tug vines down or rest on wet soil, inviting rot. I gently cradle developing squash in slings made of mesh or pantyhose tied to overhead supports.
These improvised nests shield fruit from ground moisture and evenly distribute weight, preventing stem breakage. Plus, you’ll show off those sculptural gourds like garden art!