

I’m thrilled to share these twelve essential tips for cultivating lush, towering rosemary hedges that will infuse your garden with fragrant beauty! Native to the sun-baked scrublands of the Mediterranean, Rosmarinus officinalis evolved to cling to rocky soil, enduring heat and drought while rewarding passing pollinators—like solitary bees and hoverflies—with nectar-rich blooms. I know how exciting it is when those tiny bees find shelter in your hedge and how frustrating it can be when stems stay spindly instead of filling out. With the right approach, you’ll transform sparse rows into aromatic, wildlife-friendly barriers in no time!
Whether you’re aiming for a fragrant kitchen screen or a structural border that hums with insect life, these tips—drawn from hands-on successes (and a few trials)—will guide you through variety selection, site prep, pruning, and beyond.
Prep the planting site thoroughly

Rosemary demands full sun—at least six hours a day—and soil that drains like its native Mediterranean hillsides. I always dig trenches about a foot deep, blending in coarse sand or grit to mimic rocky slopes and prevent waterlogging. This foundation ensures your hedge won’t suffer root rot when heavy rains arrive.
It’s such a bummer to see young plants languish in soggy ground, so testing soil pH (ideally 6.0–7.5) and amending with lime if it’s too acidic can make all the difference. Once you’ve set the stage properly, your rosemary will reward you with strong establishment and rapid growth!
Select an upright, vigorous variety
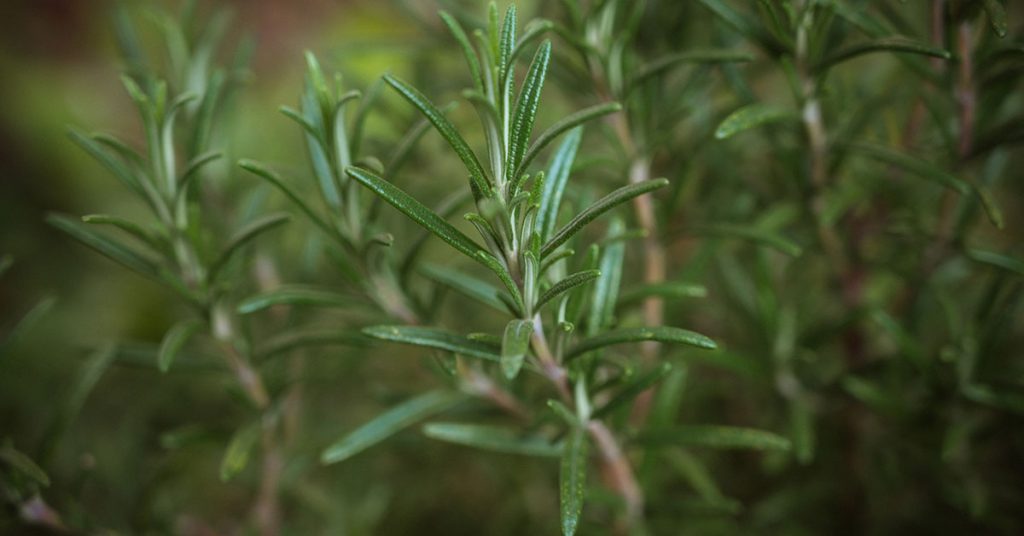
Not all rosemary cultivars grow into tall hedges—some trail along the ground, while others remain compact. For a grand, evergreen screen, I reach for robust types like ‘Arp’ or ‘Barbecue’, known for hardy, upright habits and cold tolerance down to 10°F. Understanding each variety’s native origin—from coastal Spain to mountainous Turkey—helps you choose one that fits your climate.
Keep in mind that certain vigorous types can naturalize in warm zones, sending up volunteer seedlings. To prevent unwanted spread, remove spent flowers before they set seed and pull any rogue plants promptly. The right cultivar makes all the difference between a tidy border and a runaway patch!
Ensure proper plant spacing

Crowding may seem like a quick way to fill a hedge, but rosemary needs airflow between stems to avoid fungal trouble. I plant my hedges about 18–24 inches apart—wide enough for individual crowns to expand, yet close enough to form a continuous barrier within a year or two.
Spacing also allows each plant’s aerial roots to reach the well-draining soil beneath, mimicking how they cling to natural rock crevices. I know how disheartening it is to see inner stems die back from poor circulation, so giving your hedge room to breathe pays off in vigorous, bushy growth!
Use a well-draining soil mix
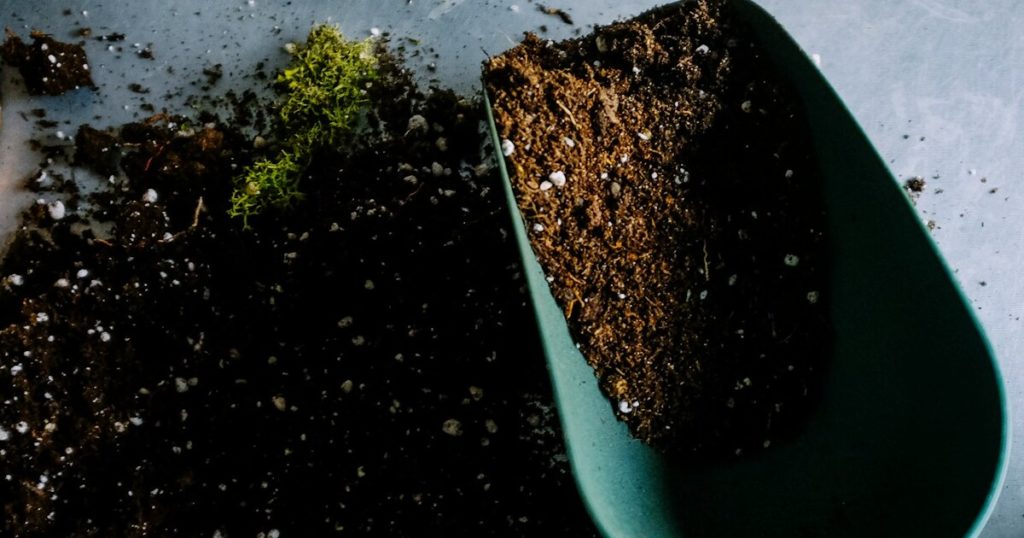
In its native habitat, rosemary thrives in gritty, poor soils. To replicate that, I blend garden loam with equal parts coarse sand, perlite, or small gravel. This mix prevents water from pooling around the roots, which is key to avoiding root rot—common when heavy clay or dense compost dominates the bed.
I’ve learned from experience that fresh, aerated soil encourages deeper rooting and better drought resilience. When you repot rosemary in pots, that same blend applies: think “Mediterranean scree” rather than rich potting soil. Your hedge will thank you with strong stems and abundant foliage!
Water deeply but infrequently

Rosemary is drought-tolerant once established, but young hedges need consistent moisture until their root systems spread. I water deeply—soaking the root zone—then allow the top two inches of soil to dry before the next irrigation. This rhythm trains roots to grow downward, seeking moisture rather than crowding at the surface.
Overwatering is such a common misstep—yellowing needles and drooping stems often signal soggy roots! If your area sees 1–2 inches of rain weekly, supplemental watering may be unnecessary. Paying attention to soil moisture ensures your hedge thrives without water stress.
Mulch with decorative gravel or sand

Instead of organic mulch that holds moisture, I use a layer of light-colored gravel or crushed oyster shell around young plants. This harks back to the rocky soils of Mediterranean cliffs and prevents weeds from competing for water. Plus, the reflective surface keeps the root zone slightly cooler during summer heat waves!
Beyond practicality, gravel adds a polished look that highlights the silvery foliage—an aesthetic win. Just keep the mulch a couple of inches away from the stem bases to avoid moisture trapping, and your rosemary will stay healthy and attractive!
Prune strategically for fullness
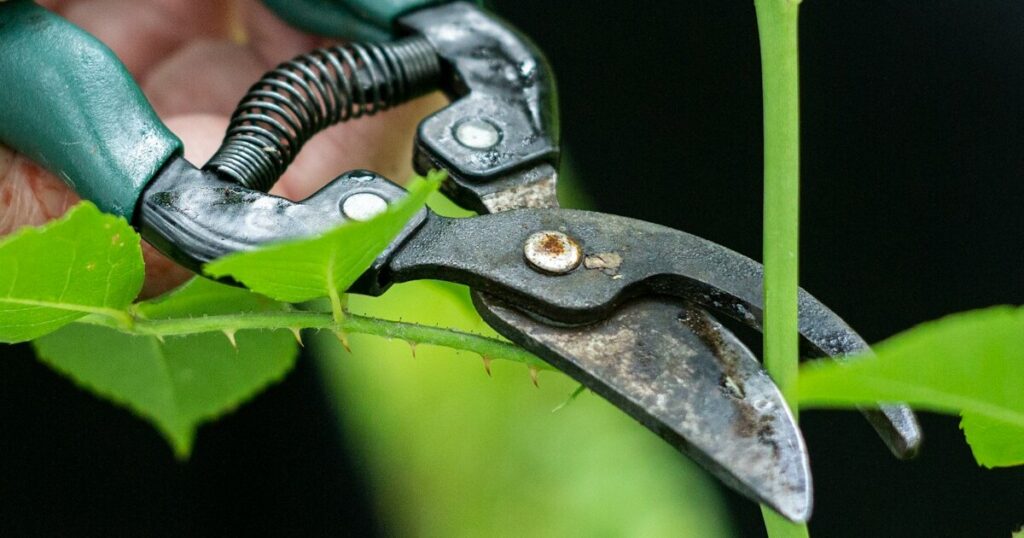
Regular pruning is the secret to a dense hedge: I trim the newest growth back by a third just after flowering to encourage branching. In spring, a light haircut helps maintain shape, while a more thorough trim in midsummer prevents legginess.
I always use clean, sharp shears and never cut into old, woody wood—rosemary doesn’t regenerate well from that. It’s such a thrill to watch those trimmed stems burst with bushy side shoots! Strategic pruning keeps your hedge compact, lush, and brimming with new growth for the next season.
Feed with a balanced fertilizer

Though rosemary tolerates poor soils, occasional feeding can boost hedge density and flowering. I apply a low-nitrogen, balanced granular fertilizer in early spring—this mimics slow nutrient flushes in its native terrain without spurring weak, floppy shoots.
If you notice pale or slow-growing plants, a light foliar spray with diluted fish emulsion or seaweed extract provides trace minerals that enrich leaf color and pest resistance. It’s such a joy to see those glossy leaves deepen in hue after feeding!
Monitor for pests and diseases
While rosemary is generally resilient, spider mites and powdery mildew can strike, especially in humid climates. I inspect undersides of leaves weekly—dusty webs or white patches are early warning signs. A gentle spray of water or horticultural oil usually keeps these issues at bay.
I know how discouraging it is to find your hedge under siege, so catching problems early is vital. Good airflow (thanks to proper spacing) and mulch that doesn’t retain moisture go a long way toward preventing outbreaks!
Train young plants with stakes
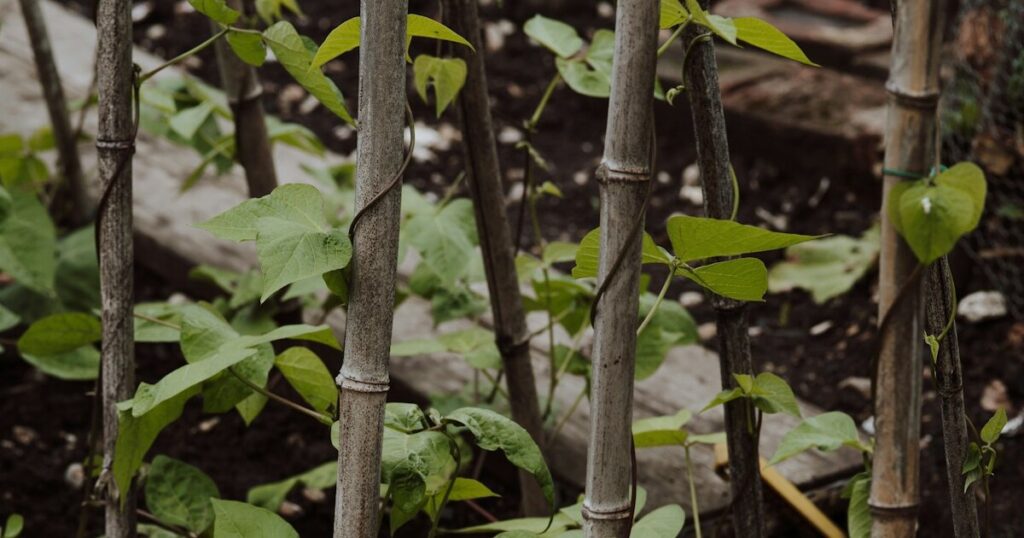
When first establishing a hedge, I sometimes use short stakes or bamboo canes to guide upright varieties, especially in windy sites. Tying the main stem loosely encourages straight growth until the plant roots deeply enough to stand on its own.
After the first year, remove the supports and let rosemary’s sturdy stems take over—they’ll be less prone to splitting or bending when trained early. Watching a once-swaying sapling grow into a steadfast shrub is so rewarding!
Protect from extreme cold

If you live in USDA zones 6 or below, even cold-tolerant varieties like ‘Arp’ need some shelter. I drape frost cloth over young hedges during hard freezes and pile a bit of leaf mulch around the root crown—for a lovely chimney-like effect that keeps critical buds safe.
Nothing stings more than seeing browned tips after an unexpected frost! Taking these precautions, especially in the plant’s first two winters, ensures your hedge bounces back beautifully each spring.
Propagate to fill gaps

Even the best-laid hedge lines sometimes show bare spots. I take stem cuttings in early summer—about 4–6 inches long, stripped of lower leaves, then stuck in a sandy mix under mist. Within weeks, new roots form, and I tuck those baby plants into holes alongside the main row.
It’s such a thrill to watch these cuttings establish and knit into the existing framework, creating an unbroken screen. Plus, propagating keeps costs down and ensures genetic uniformity—your hedge remains a cohesive, aromatic wall of green!