

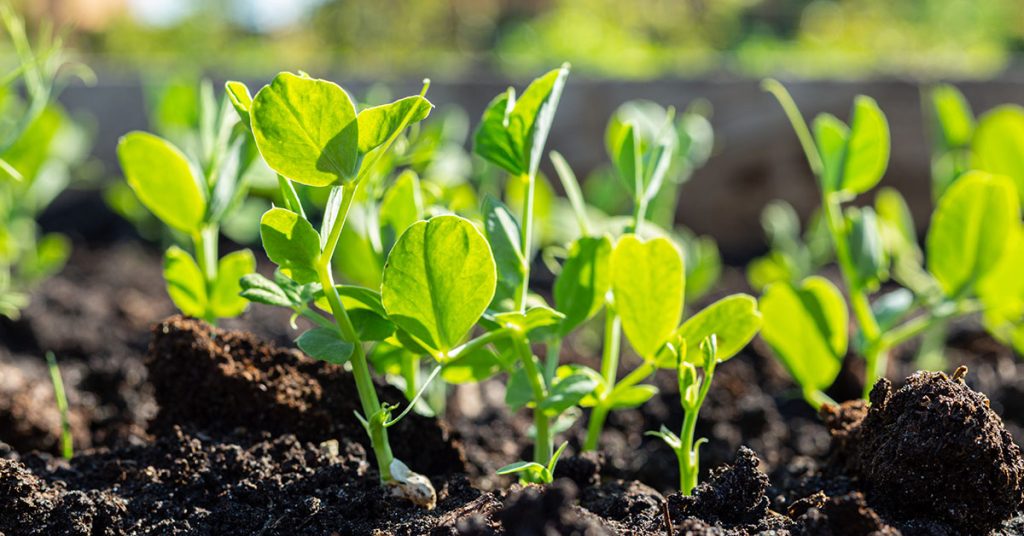
Microgreens—those tender, nutrient-packed seedlings of vegetables and herbs—have taken the culinary world by storm! Originating from the same diverse family of plants as full-grown lettuces, kale, radishes, and peas, these miniature greens trace their lineage back to centuries-old sprouting traditions in Asia and Europe. In a controlled indoor or sheltered outdoor setting, microgreens aren’t invasive, but they do require careful attention to thrive in their compact trays.
I know how frustrating it is when your eagerly sown seeds either rot, refuse to sprout, or sprawl into leggy, pale shoots. It’s such a bummer when your salad bowl ends up half-full of uneven, floppy greens! Drawing on countless planting sessions, I’ve distilled twelve essential tips to help you grow vibrant, flavorful microgreens that stand tall on your plate—and taste even better.
Foster Beneficial Microbial Life

While microgreens are typically grown in soilless mixes, incorporating a small amount of aged compost or worm castings can introduce beneficial microbes that enhance root development. These tiny organisms feed on organic particles, aerate the medium, and help convert nutrients into plant-available forms. I’ve watched springtails and beneficial fungi nestle into the growing medium, creating a living network that supports robust microgreen roots!
However, balance is key—too much organic matter can encourage mold or gnats. Aim for just 5–10% organic amendment in your mix and rinse your medium before sowing. You’ll see healthier, sturdier stems and leaves as a result, and your trays will hum with just the right kind of microbial activity—not the pesky kind!
Select High-Quality Seeds
The foundation of any stellar microgreen crop is the seed. Fresh, untreated, and certified disease-free seeds will germinate more uniformly and deliver more vigorous cotyledons. I once used year-old radish seeds and ended up with spotty germination and patchy coverage—so disappointing when you crave full, even trays!
Purchase seeds specifically labeled for microgreens or sprouting, and store them in a cool, dry place. When you sow fresh seeds, you’ll notice faster emergence and more consistent growth. Uniform seedlings mean easier harvesting and a beautiful, dense carpet of greens on your cutting board!
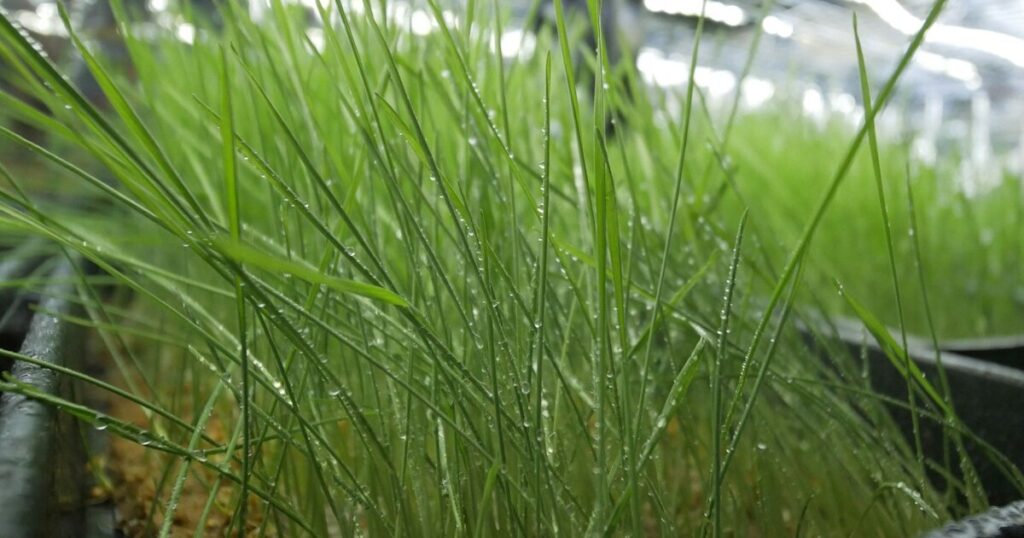
Maintain Consistent Moisture

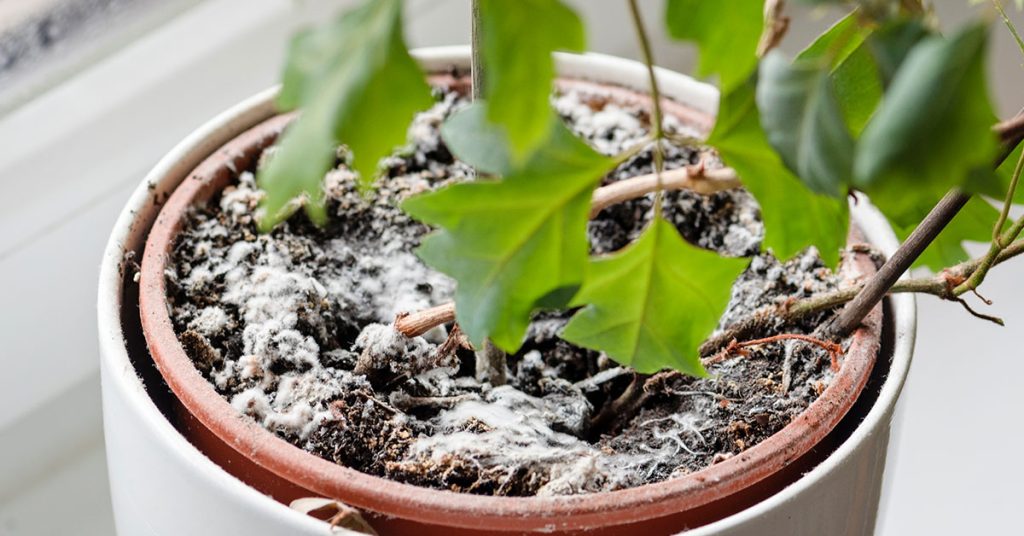
Microgreens require even moisture to germinate and grow—but standing water is a recipe for damping-off disease. I learned this after overzealously misting my trays and ended up with a fuzzy white mold overtaking delicate seedlings. To avoid that, water from below by setting trays in a shallow reservoir for 10–15 minutes, allowing the medium to wick up moisture.
Once seedlings appear, mist gently once or twice a day to keep the surface lightly moist without saturating. A clear spray bottle and a gentle hand will help you avoid dislodging young cotyledons. Consistent moisture helps roots anchor firmly and leaves unfurl fully, giving you lush, turgid microgreens ready for harvest!
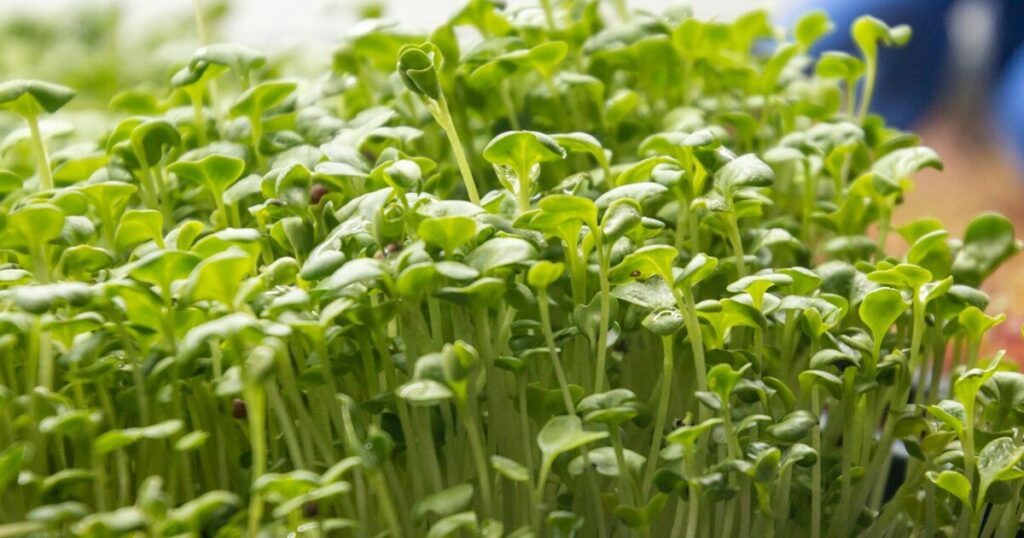
Harvest at the Peak
Timing is everything with microgreens—wait too long, and stems become fibrous; harvest too early, and you miss out on flavor intensity. The ideal window is when the first true leaves emerge, usually 7–14 days after sowing, depending on the variety. I once harvested basil microgreens a day too late, only to find them bitter and tough!
Use clean scissors to snip just above the soil level, harvesting in the morning when leaves are most turgid. This practice not only ensures the best flavor and texture but also gives beneficial leaf-dwelling mites and springtails a brief break, preventing overcrowding and encouraging healthy turnover in the tray ecosystem.
Optimize Air Circulation
Stagnant air encourages mold and mildew, which can devastate your microgreen beds. Position a small fan on a low setting near your trays, ensuring gentle airflow without blasting seedlings dry. I remember the relief when I first added a whisper-quiet fan—it was like opening a window to fresh spring breezes, and mold issues vanished!
Good circulation also strengthens stems, as seedlings respond to the gentle breeze by thickening their hypocotyls. These sturdier stems hold leaves upright, giving your microgreens that vibrant, upright look rather than a floppy tangle. And healthier, aerated trays discourage fungus gnat adults from nesting in the surface!
Experiment with Varieties
One of the joys of microgreens is the endless array of flavors—from spicy mustard greens to sweet pea shoots and aromatic cilantro. Don’t be afraid to test new seeds or blend two varieties in a single tray for colorful, flavor-packed mixes. I once combined beet and arugula seeds and ended up with magenta-tinted leaves with a peppery kick—so fun and delicious!
Keep detailed notes on germination times, harvest windows, and flavor profiles. Over time, you’ll build a repertoire of favorites and develop signature blends to impress guests. Plus, experimenting keeps your gardening practice fresh and exciting, avoiding the monotony of growing the same green day after day!
Ensure Proper Light Levels

Microgreens need bright, indirect light to develop rich color and robust flavor. In low-light corners, seedlings stretch toward the source, producing long, pale stems that fall over. I made this mistake with my first lettuce microgreens, only to wind up with a floppy, pale crop that tasted bland!
A sunny windowsill with filtered daylight or a dedicated LED grow light for 12–16 hours daily will give your greens the energy they need. Position lights 4–6 inches above the canopy and adjust as the plants grow. With the right light, you’ll see deeply pigmented leaves and crisp texture—exactly what makes microgreens so irresistible!
Use Sterile Growing Medium
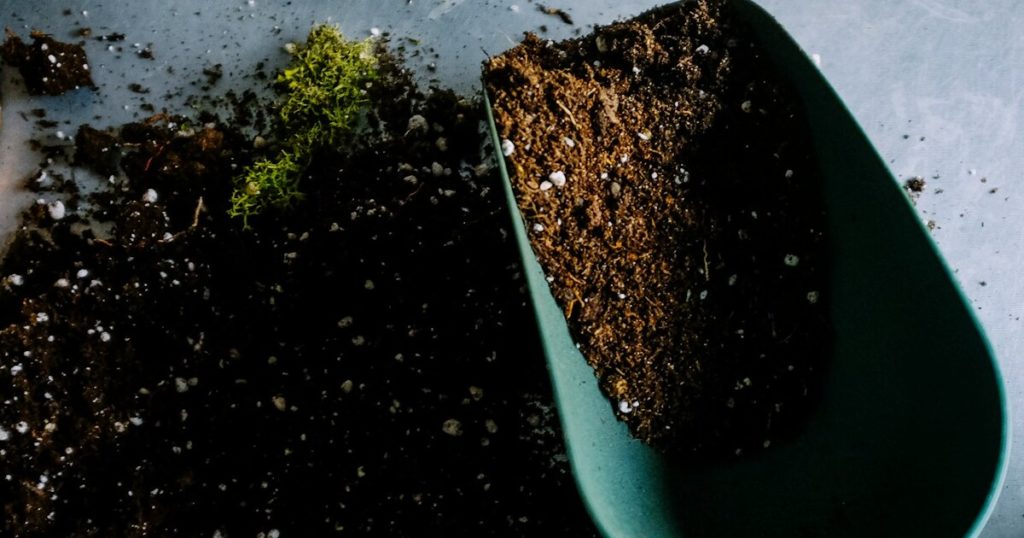
Starting with a sterile, peat- or coco coir–based potting mix minimizes the risk of pathogens. I once re-used old potting soil and paid the price with damping-off disease wiping out an entire tray of sunflower microgreens! Fresh, sterile medium provides a clean slate for seed germination.
Moisten and fluff the medium before sowing to ensure even moisture distribution. A light dusting of horticultural charcoal can further inhibit mold growth. When you start with a clean foundation, your microgreens get the best possible launch without unwanted microbial competitors!
Control Temperature

Most microgreens germinate best between 65–75°F, but cooler conditions slow growth and warmer temperatures can invite pests like aphids. I once placed trays above a heat vent, and while seeds sprouted quickly, the heat stressed them, resulting in patchy trays and limp stems.
Aim for stable, moderate indoor temperatures and avoid placing trays near drafty windows or direct heat sources. Keeping conditions comfortable for you (around 70°F) usually suits the greens too, resulting in uniform, vigorous growth that’s ready for harvest on schedule!
Choose Suitable Trays and Containers

Shallow trays—about 1–2 inches deep—provide the ideal environment for microgreens, allowing roots to anchor without waterlogging. I started with deep seedling flats and found they held too much moisture, leading to root rot and stunted growth.
Invest in trays with drainage holes and matching saucers to catch excess water. Reusable, BPA-free plastic or biodegradable fiber pots both work well. The right container keeps your greens healthy, prevents soggy roots, and makes cleanup a breeze, so you can enjoy hassle-free harvesting!
Sow Seeds Uniformly and Densely
Achieving that lush, carpet-like microgreen mat means sowing seeds close together but not piled on. Scatter seeds evenly across the surface, aiming for about 2–3 seeds per square inch, then gently press them into the moist medium. My first tray had bare patches where I sowed too sparsely—such a bummer!
A uniform seed layer ensures consistent germination and eliminates overcrowded clumps that compete for light and moisture. If seeds are too sparse, seedlings stretch; if too dense, stems can weaken and mold may take hold. Getting the density just right gives you a thick, even bed of flavorful greens!
Clean and Rotate Trays
After each harvest, wash trays with hot soapy water or a mild bleach solution to eliminate any lingering pathogens. I once skipped this step and discovered last season’s root fragments had fostered mold in my new batch—such a setback! A quick, thorough cleaning sets the stage for a successful next crop.
Rotate your trays in your light and airflow setup so each batch experiences fresh growing conditions. This simple habit prevents localized hotspots of pests or mold and keeps your microgreens production consistent. Clean, rotated trays mean fewer surprises and more delicious harvests!