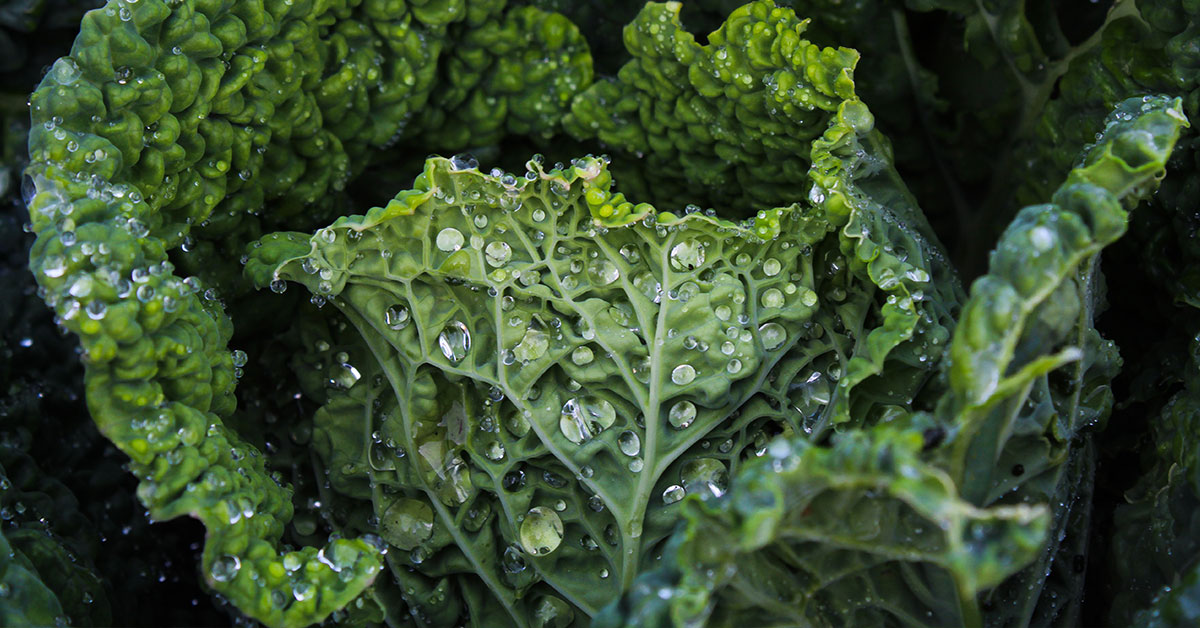

I’m absolutely delighted you’re turning your garden into a kale powerhouse this season! Kale (Brassica oleracea) originally hails from the eastern Mediterranean and Asia Minor, where ancient gardeners prized its hardy leaves long before it spread across Europe and beyond. It’s not typically invasive in home plots—unless you let it bolt and self-seed—but it does love cool weather and rich, moist soil. I know how disheartening it can be when your kale patch underperforms or falls victim to pests, so these eleven tips will help you cultivate robust, oversized leaves that practically glow with health!
From seed selection to harvest strategy, each step is a chance to boost leaf size, flavor, and nutrient content. I’ve had seasons where my kale struggled in compacted clay, and others where I watched giant, dark-green leaves unfurl after I tweaked one simple thing. Whether you’re wrestling with heat stress, battling cabbage loopers, or plotting successive sowings, this guide—peppered with personal insights and a gardener’s excitement—will set you on track for a bounty of beautiful, big leafy kale!
Succession Planting for a Steady Supply
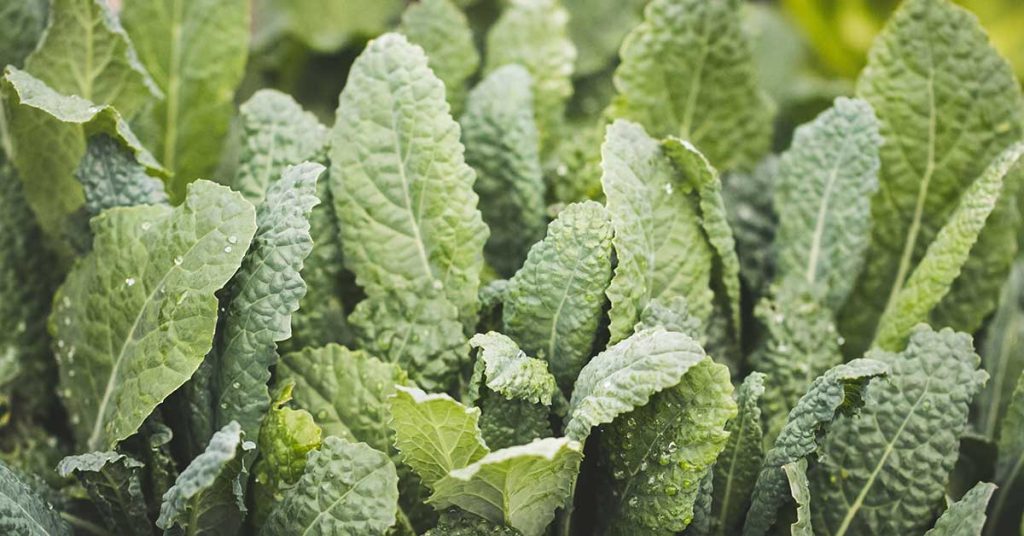
One of my go-to tricks is sowing kale seeds in small batches every two to three weeks from early spring into midsummer. This staggered planting means you’ll always have young, tender leaves ready for salads or smoothies, rather than one big glut that bolts all at once!
It’s such a bummer when your entire crop flowers and woody stalks shoot up at once. By spreading out sowings, you keep plants in their prime leaf-producing stage longer, and you can even extend harvest into late fall—especially once cooler weather hits and that sweet frost flavor kicks in!
Monitor and Manage Pests Religiously

Cabbage loopers, flea beetles, and aphids all adore kale almost as much as we do. I walk my beds every other day, handpicking caterpillars into soapy water and blasting aphids off with a strong jet from the hose. Early-season floating row covers can thwart many winged invaders until blooms appear.
I also interplant dill and fennel to attract parasitic wasps and lacewings—beneficial insects that naturally keep pest populations in check. Watching those tiny predators in action is endlessly satisfying, and it means fewer holes in your leaves and more energy channeled into growth!
Pick a Cold-Tolerant Variety

One of my favorite cultivars is ‘Winterbor’, bred in Scotland to withstand frosty nights and even light snow. Cold temperatures sweeten the leaves, so selecting a frost-hardy type gives you big, tender kale well into late autumn and sometimes beyond!
If you garden in a warmer zone, try ‘Red Russian’ or ‘Vates’—they tolerate light frosts but also handle warmer springs without bolting too quickly. I always note each variety’s maturity date on my seed packets so I can plan sowings around local frost schedules.
Provide Shade in Hot Climates
Kale thrives between 60–70°F; when temperatures soar above 75°F, leaves can become tough and develop an off-flavor. In hotter regions, I drape a 30–40% shade cloth over the beds during midday heat or plant kale on the north side of taller veggies like sweet corn.
I know how frustrating it is to see seedlings scorch under relentless sun! A little afternoon shade keeps leaves cool and lush, preventing premature bolting and ensuring those big, tender greens you crave.
Rotate Crops Annually
Planting kale in the same spot every year invites soil-borne diseases like clubroot and black rot. I rotate my brassicas—moving kale to a new bed every three seasons—and fill the old space with legumes or alliums to break pest and pathogen cycles.
It’s tempting to stick it where it grew best last year, but switching beds boosts soil health and gives your kale a fresh start. My harvests have jumped noticeably since I adopted this simple rotation plan!
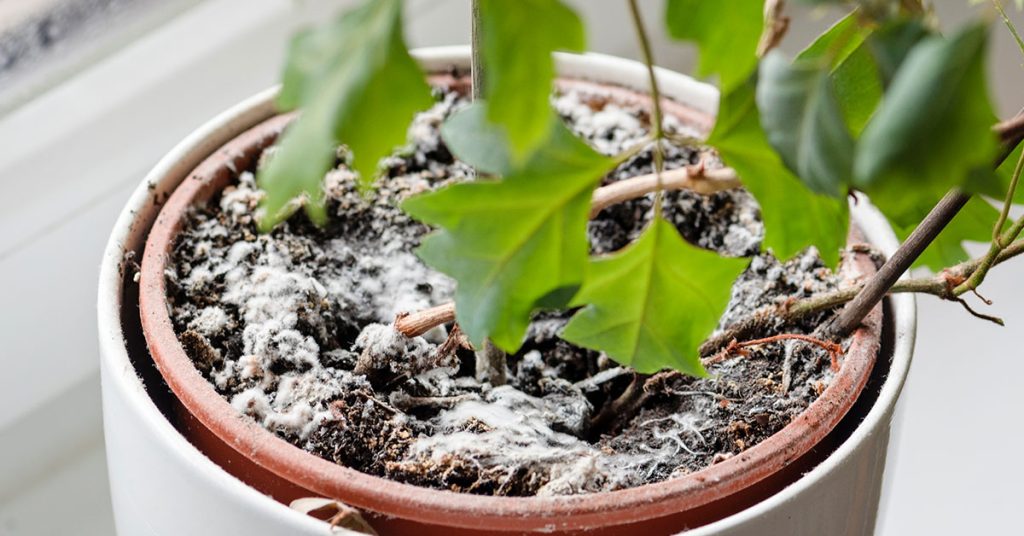
Prepare Deep, Nutrient-Rich Soil

Before planting, I dig in at least four inches of well-rotted compost and aged manure to enrich the bed. Kale’s hungry for nitrogen, so organic matter not only feeds the plants but also improves soil structure and moisture retention.
It’s such a bummer when clay suffocates young roots or sandy beds drain too quickly, leading to stunted leaves. By building a deep, friable soil, you empower the roots to go deep—and the tops to surge upward into big, vigorous growth!
Side-Dress with Balanced Fertilizer

Once your kale has about six true leaves, I side-dress each plant with a handful of organic granular fertilizer or compost. A mid-season boost—especially of nitrogen—pushes those leaves to expand in width and thickness.
I avoid overdoing it on nitrogen, though, since too much can make plants floppy and lure slugs. A balanced feed at the right stage ensures sturdy stems and dense foliage perfect for hearty harvests!
Mulch to Retain Moisture and Suppress Weeds

Maintaining even soil moisture is vital for producing broad, succulent kale leaves. I cover the bed with a two-inch layer of straw or shredded leaves, which keeps the soil cool, cuts back on weeds, and slowly releases nutrients as it decomposes.
I’ve seen beds choked with weeds that competed fiercely for water—stressing the young kale and halting leaf development. Mulch is my secret weapon to keep the focus on growth, not weeding!
Space Plants for Maximum Airflow

Crowding seedlings can invite fungal diseases like downy mildew. I plant my kale 12–18 inches apart, with rows two feet apart, ensuring each plant gets plenty of sun and breeze to dry out quickly after rain.
If space is tight, I’ll interplant low-growing herbs like thyme or oregano between the hills—these fit snugly without shading the kale and can even repel certain pests with their aromatic oils!
Ensure Consistent Watering
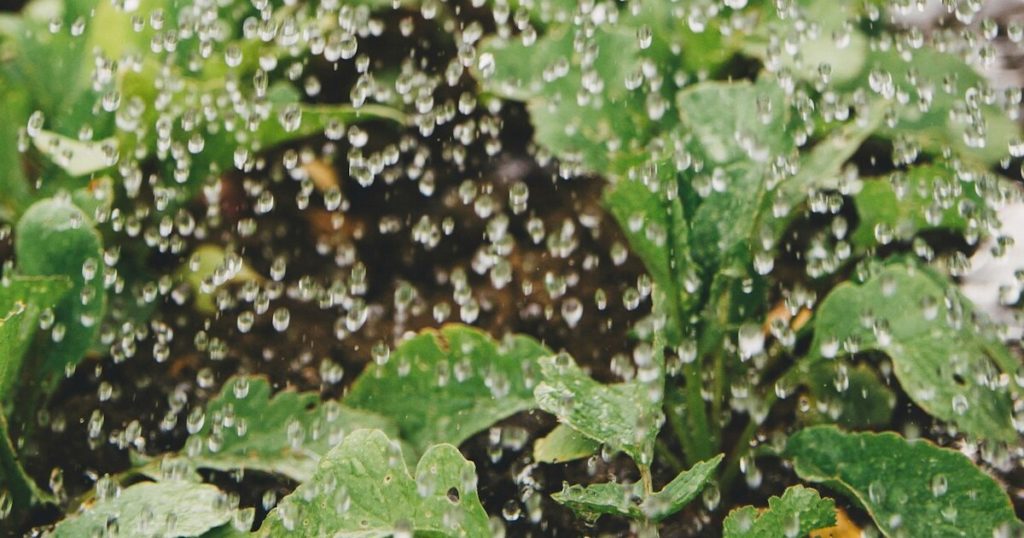
Fluctuating moisture levels can stress kale, causing bitter, tough leaves. I aim for about an inch of water per week, delivered evenly via drip irrigation or soaker hoses. Mornings are best—plants have moisture to draw on through the heat of the day.
On scorching afternoons, I’ll mist the mulch surface to keep humidity up without wetting the foliage. A well-hydrated kale plant will keep pushing out those big, lush leaves—even when the sun is relentless!
Harvest Smartly for Continued Growth
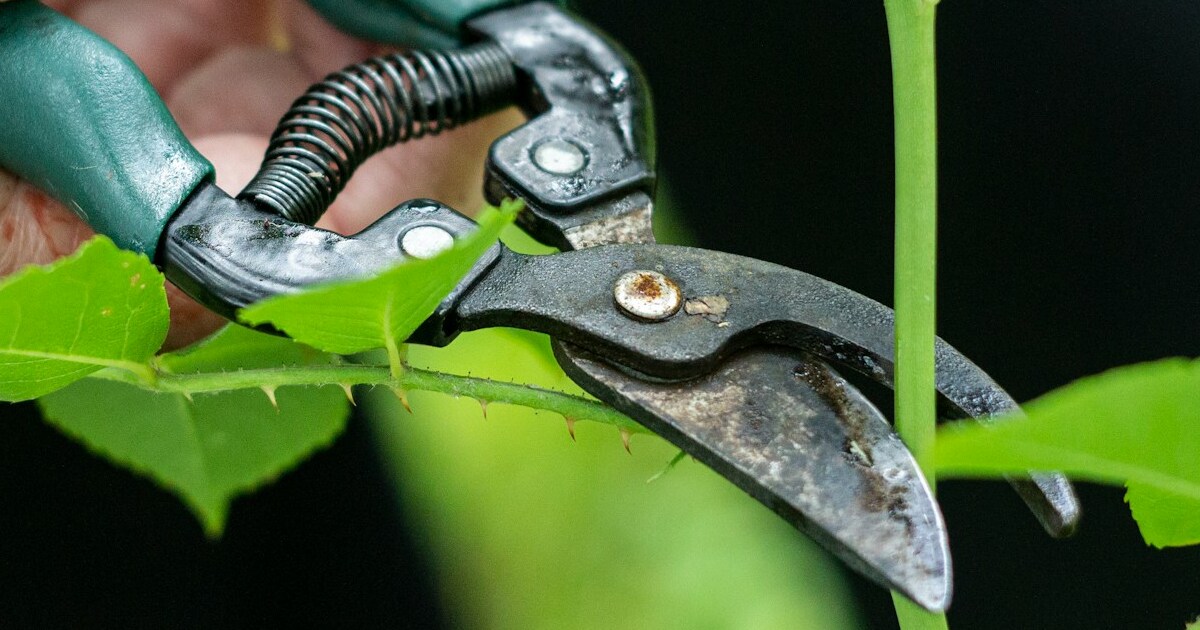
To encourage nonstop leaf production, I pick the lower, outer leaves first—snipping them near the base and leaving the central growing point intact. This selective harvest lets the plant keep generating fresh foliage for weeks on end.
It’s so rewarding to clip those vibrant green leaves straight into your basket! By harvesting regularly, you also prevent energy from shifting to flowering stalks, ensuring your kale patch stays leafy and productive all season long.