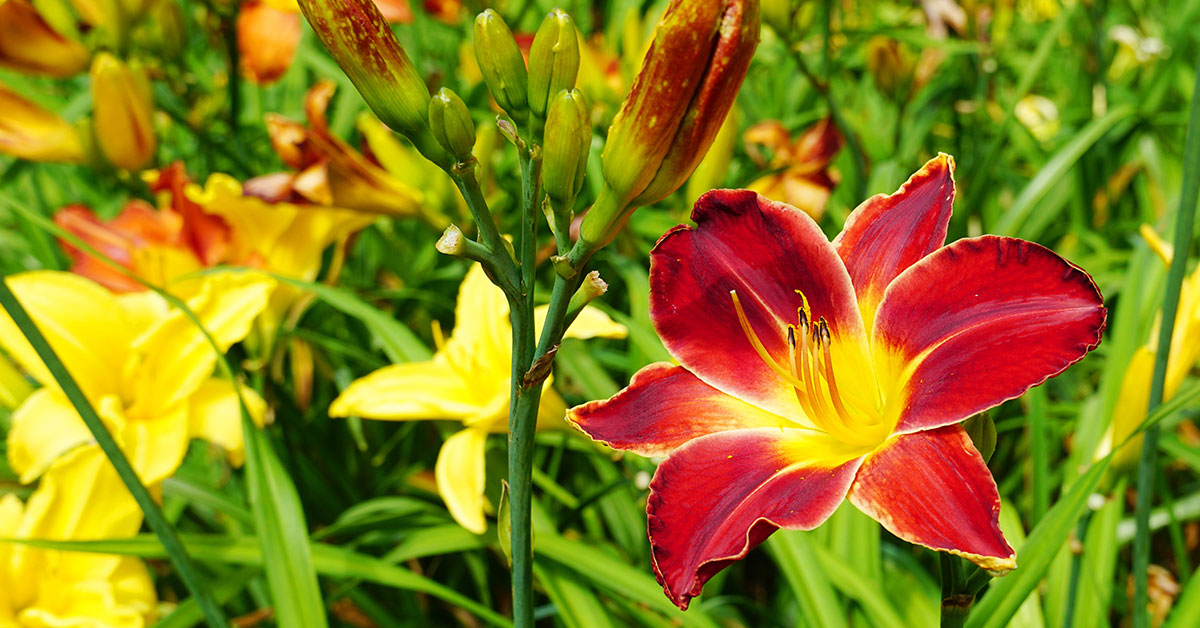

Daylilies (Hemerocallis spp.) are beloved garden workhorses known for their vibrant, trumpet-shaped flowers and incredible ease of care. Native to parts of Asia and introduced worldwide, they’re not considered invasive, though some older varieties can naturalize in generous clumps. Whether you’re aiming for massive 8-inch-wide blooms or a sea of color in your border, daylilies reward thoughtful cultivation with spectacular floral displays.
I know how frustrating it is to see so-so flowers when you dream of heads nearly as big as dinner plates! Over the years, I’ve experimented with everything from soil mixes to fertilizer regimens and pruning techniques to coax the biggest, most luscious daylily blooms possible. Below are ten randomized tips—each with plenty of detail—to help you grow daylilies that stop people in their tracks and keep your garden buzzing with life.
Divide Clumps Every 3–4 Years
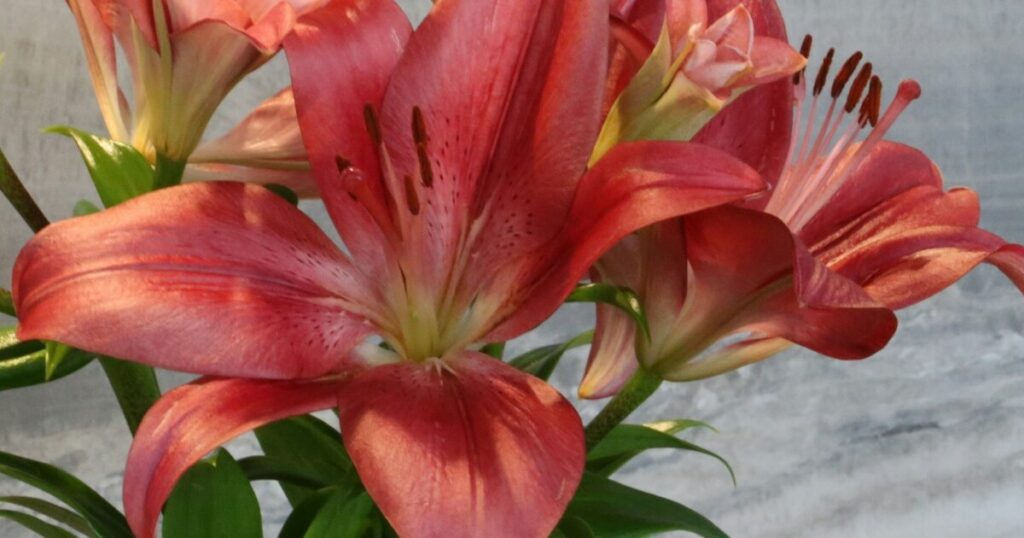
Daylilies perform best when their fans aren’t overcrowded. After a few seasons, you might notice smaller blooms and fewer flowering scapes—that’s a signal your clumps need dividing. I once left a patch untouched for six years and ended up with tangled roots and meager flowers!
In early spring or late summer, lift the entire clump, tease apart the fans, and replant divisions that have at least three fans each. Not only does this rejuvenate bloom size, but it also encourages those robust, outward-growing fans that display huge, showy flowers. Plus, ground-nesting bees often move into the loose soil between divisions, adding a bit of beneficial insect activity around your blooms!
Provide Consistent Moisture
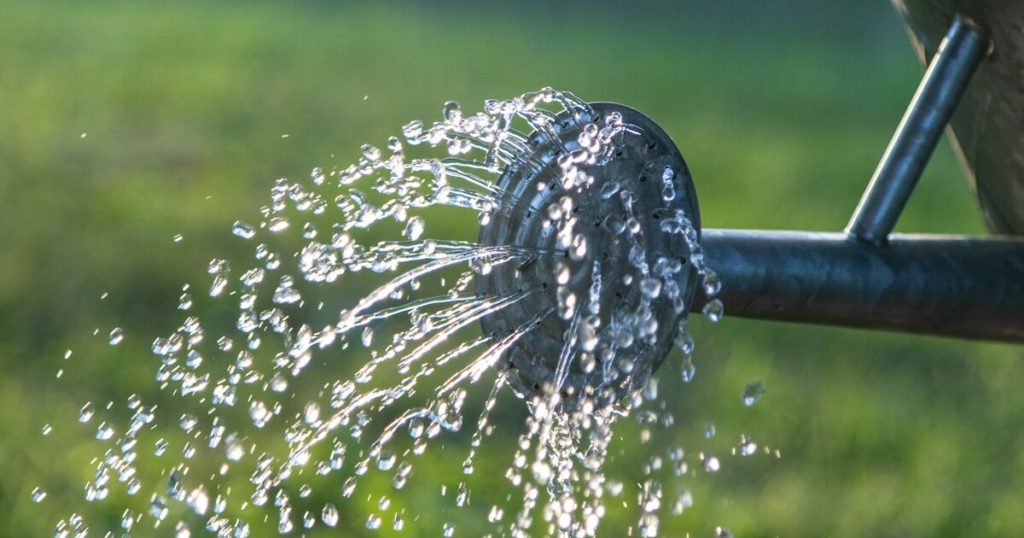
Daylilies thrive with regular watering—especially when forming those gigantic buds. My largest blooms have always come from plants I watered deeply once a week, ensuring the top 6–8 inches of soil stay evenly moist. During heat waves, I bump up to twice-weekly soaking to prevent bud blast and ensure full petals!
Mulching around the base helps lock in that moisture and moderates soil temperature. I apply a 2-inch layer of shredded bark or compost, which also feeds earthworms and soil microbes that support robust root systems. The result? More turgid buds that unfurl into extra-large flowers!
Choose Full Sun Locations

While daylilies tolerate partial shade, full sun—at least six hours daily—encourages the biggest, most prolific blooms. My sunniest patch, which bakes in morning light and stays bright through early afternoon, consistently yields the heftiest 6–8-inch flowers I’ve ever grown!
In shadier areas, flowers tend to be smaller and fewer. If your garden has patches of afternoon shade, consider planting sun-loving cultivars there for smaller accent blooms, and reserve your prime sunlit spots for the giant-flowered varieties you really want to show off.
Prepare Soil Deeply and Loosely

Huge daylily blooms start with strong root systems. When I first planted mine, I dug beds at least 12 inches deep, loosening clay or amending sandy spots with plenty of compost and aged manure. Loose soil allows roots to spread freely and access nutrients that feed those enormous flower buds!
In particularly compacted gardens, I even incorporate coarse sand or fine gravel to further improve drainage and aeration. Healthy roots resist rot and drought stress—and that means daylily fans can channel all their energy into producing the biggest, most vibrant scapes possible.
Fertilize with Balanced Nutrients

Heavy feeders like daylilies benefit from a balanced fertilizer regimen. I apply a granular 10-10-10 formula in early spring as new growth emerges, then again after the first flush of blooms to fuel the next round. For extra show-stopping size, a side dressing of bone meal or fish emulsion provides a boost of phosphorus for strong bud development!
Avoid high-nitrogen feeds that lead to lush foliage at the expense of flower size. Instead, aim for formulations that support both strong roots and robust blooms. Watching buds swell to two inches across before opening is an exhilarating sign your feeding program is on track!
Deadhead Spent Blooms Promptly
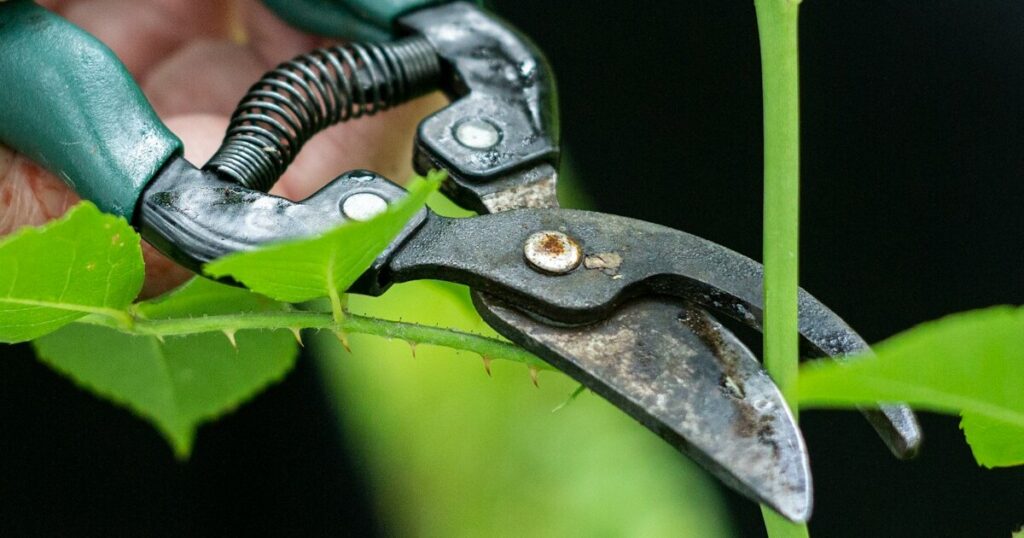
Removing faded flower stalks (deadheading) may seem minor, but it directs energy away from seed production and toward new scape formation. I make it a point to snap off spent blooms daily during peak season—my daylilies respond by producing more secondary buds, often yielding a second wave of big blooms!
It’s such a simple chore, yet it can be a game-changer for bloom longevity and size. Plus, removing old blooms reduces the risk of fungal spores lingering on decaying petals—a small step that keeps your plants healthy and vigorous.
Apply Mulch to Suppress Weeds and Moderate Temperature
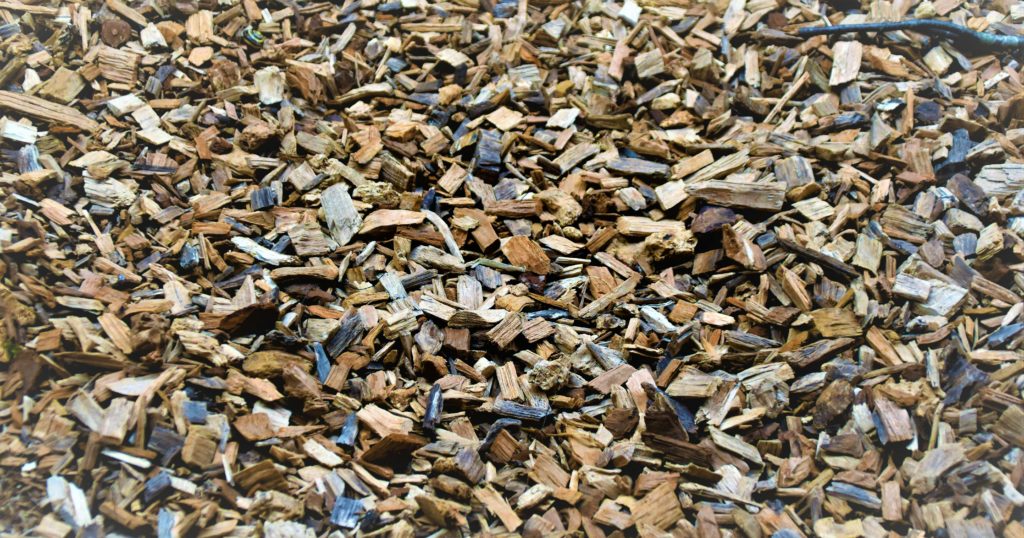
A thick mulch layer—about 2–3 inches—around daylily clumps does wonders for weed control and soil temperature regulation. I’ve noticed that my mulched beds rarely need hand-weeding, allowing my daylilies to focus on growth rather than battling intruders!
Mulch also protects the soil surface from baking in direct sun, keeping root zones cooler during hot spells. Cooler roots mean less stress and more energy devoted to inflating those giant buds, ensuring you get the fullest, healthiest blooms possible.
Select Large-Flowered Cultivars
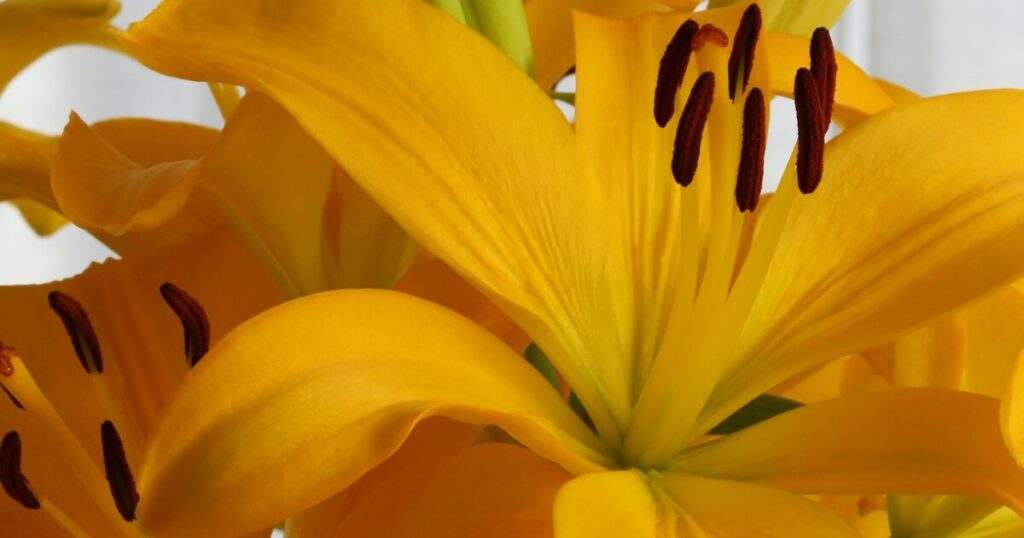
If massive blooms are your goal, start by choosing cultivars bred for size. Varieties like ‘Egor’, ‘Helen Field Fischer’, and ‘Gold Medal’ are renowned for consistently producing 6–8-inch flowers. I trial different introductions each year, and those with “giant” or “oddball” in their descriptions often deliver!
When purchasing, look for recent awards from daylily societies—these winners have been tested for bloom size, plant vigor, and overall performance. Planting a mix of proven giants gives you the best odds of a standout display!
Protect From Thrips and Bud Blast
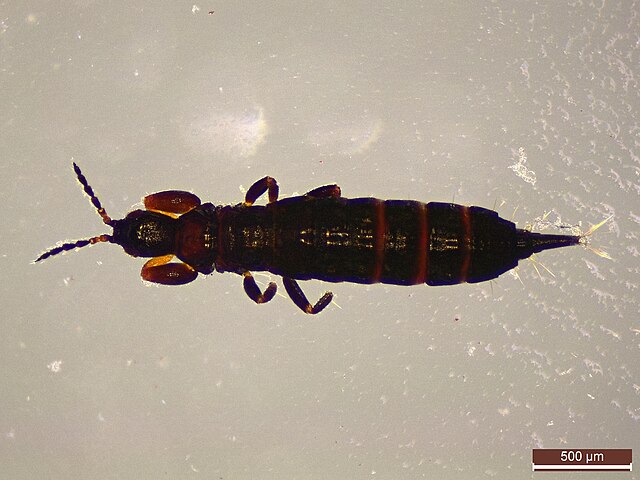
Tiny thrips can sabotage your daylily dreams by damaging buds before they open, leading to bud blast. I learned this the hard way when–despite perfect soil and sun–my buds shriveled before unfurling. A weekly spray of insecticidal soap at bud stage kept thrip populations down and saved my huge blooms!
Additionally, avoid wetting the foliage excessively, as moisture on buds can encourage fungal infections. Water at the base early in the day so leaves dry quickly, reducing disease risk and ensuring those big, bright flowers open unhindered.
Provide Winter Protection in Cold Zones
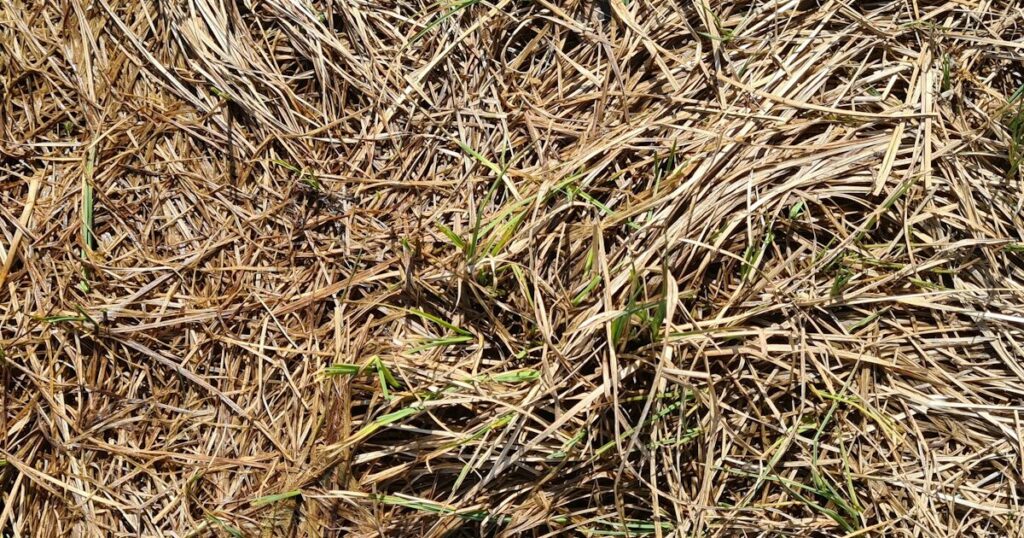
In regions with harsh winters, insulating daylily crowns helps prevent frost heaving and damage that can weaken next season’s blooms. I cover my clumps with a light mulch of straw or shredded leaves after the first hard frost, then remove it in early spring to let fresh shoots emerge.
Healthy crowns produce stronger fans and larger scapes. By shielding roots from extreme cold, you ensure your plants wake up vigorous and ready to develop those impressive flower buds you love!