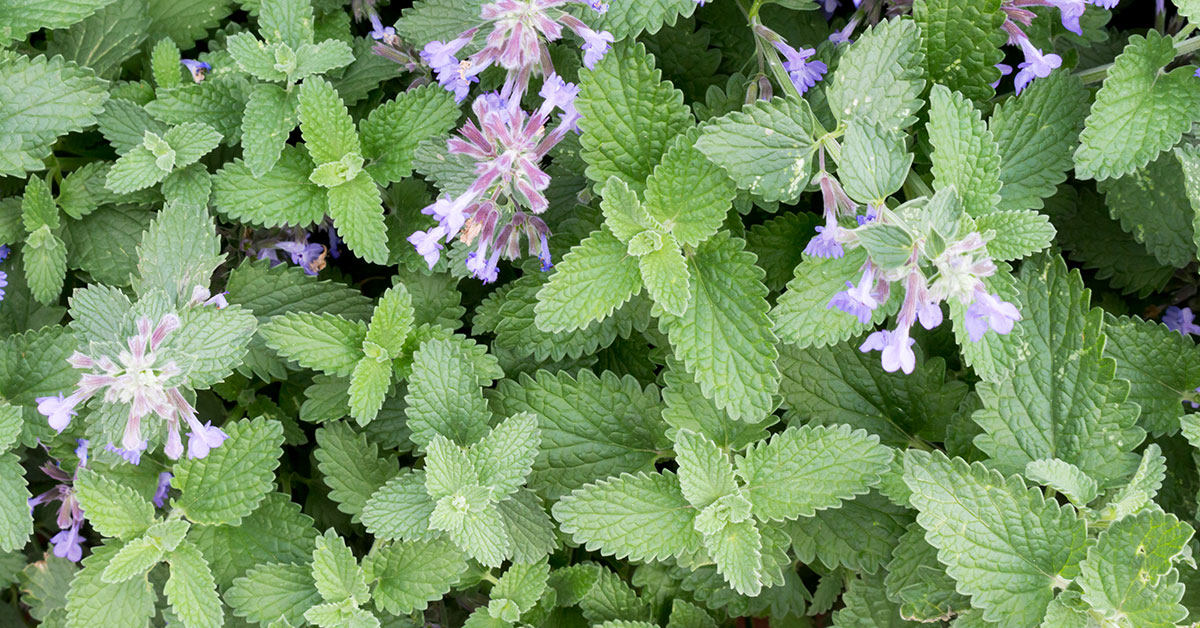

Catnip (Nepeta cataria) is one of my all-time favorite herbs to grow—not only because it drives our resident kitties wild, but also because its delicate lavender blooms attract a host of beneficial pollinators! Native to Europe and parts of Asia, catnip has naturalized widely in North America and can become invasive if left unchecked. But with the right techniques, you can cultivate a lush, bushy patch that delights both your feline friends and your garden’s ecosystem.
I know how tempting it is to toss seeds into a sunny spot and hope for the best, only to end up with sparse, leggy plants. Growing catnip takes a little forethought around soil, sun, and pruning—but trust me, once you get it right, you’ll be rewarded with a thicket of aromatic foliage that bees, hoverflies, and even nesting beneficial insects will love. Let’s dive into ten randomized, thorough tips to help you build the catnip garden of your dreams!
Pinch Back Regularly to Encourage Bushy Growth

One of the simplest—and most effective—ways to get fuller catnip plants is to pinch back the growing tips when they reach about 6 inches tall. I always snip just above a leaf node, which prompts two new side shoots to form. Before you know it, you’ve gone from a single, spindly stem to a delightful, bushy mound!
Not only does this topping technique boost density, but it also delays flowering. Since catnip puts energy into blooms and seed production, holding off on flowers helps the plant reinvest in leaf growth—perfect if you’re growing it for cat treats or fresh herbal tea. It’s such a bummer when a plant bolts too soon, so frequent pinching keeps your patch lush all season!
Choose a Sunny, Well-Draining Spot

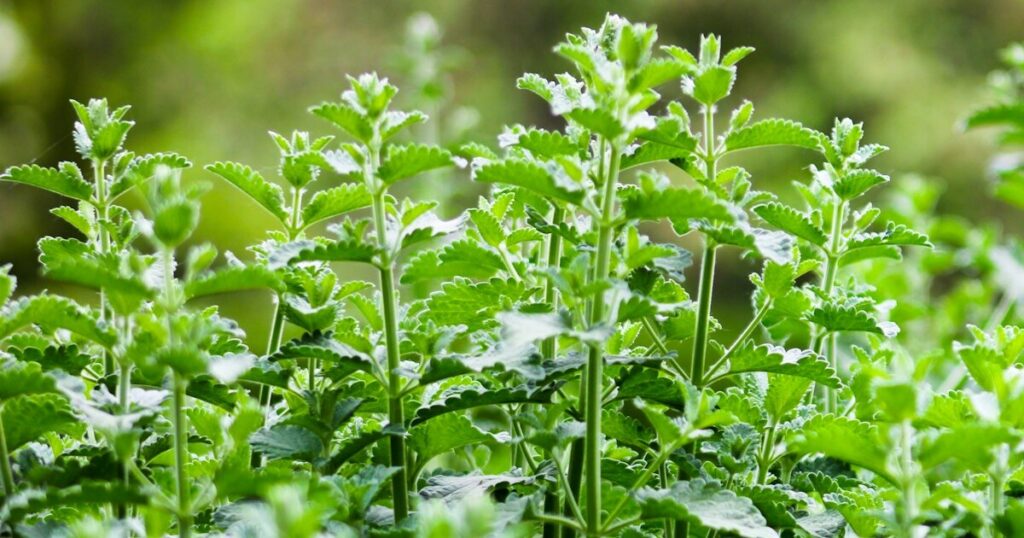
Catnip thrives in full sun—ideally at least 6–8 hours of direct sunlight per day. I learned the hard way that shade leads to lanky, weak stems and sparse foliage. Instead, pick a location that basks in morning and afternoon sun to get those compact, hearty plants!
Just as important is soil drainage. Catnip dislikes “wet feet,” so rich loam or sandy soil amended with coarse sand or grit helps excess water percolate away. Good drainage keeps root rot at bay and encourages deeper roots—plants with strong anchors are far less likely to flop over when pollinators come calling!
Sow Seeds Sparingly and Thin Seedlings
Catnip seeds can be slow to germinate—often taking up to three weeks—so resist the urge to sow a thick carpet of seed. I typically sprinkle seeds thinly on the soil surface, press them in lightly, and cover with a dusting of fine compost. This ensures better air circulation and reduces damping-off risk.
Once seedlings reach 2–3 inches tall, thin them to about 12–18 inches apart. Crowded catnip competes for nutrients and light, resulting in tall, spindly growth. Giving each plant its own personal space leads to robust, bushy specimens that fill in quickly and form a cohesive bed.
Mulch to Retain Moisture and Suppress Weeds

A light organic mulch—like straw or shredded leaves—works wonders around catnip. It helps soil retain moisture during dry spells and keeps competing weeds from stealing water and nutrients. I’ve watched baby ladybugs and parasitic wasp cocoons emerge from the mulch, ready to hunt any aphids that dare attack my catnip!
Just be careful not to smother young seedlings: a half-inch layer is perfect. As the season progresses, the mulch breaks down, feeding soil microbes and improving structure. It’s a win-win for both your plants and the little critters that make your garden healthier.
Harvest at Peak Bloom to Promote Regrowth
Picking catnip leaves just as flower buds begin to open is an ideal time for both aroma and flavor. I always snip entire stems in the morning, then hang them upside-down in a cool, dry spot to dry. Regular harvesting not only gives you more dried catnip for your pets but also encourages the plant to produce fresh foliage instead of going straight to seed.
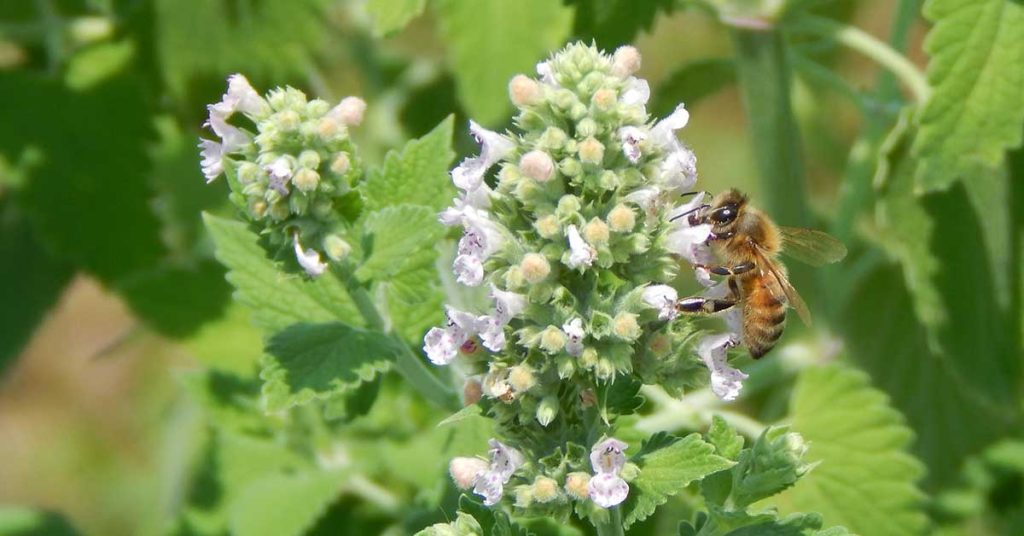
Plus, bees and other beneficial insects can still visit the fleeting flowers you let bloom—so I sometimes harvest only half the stems, leaving the rest as a nectar buffet. Your pollinator visitors will thank you, and the interplay between harvesting and flowering yields an abundant, bushy stand.
Divide and Replant Mature Clumps Every 2–3 Years

Catnip can become woody at the center after a few seasons, leading to sparse growth in the middle. To rejuvenate your patch, dig up several mature plants in early spring, split the crowns into smaller clumps with a sharp knife, and replant. I love this ritual—it practically doubles my catnip population overnight!
Dividing also checks invasive tendencies, since you’re transplanting portions rather than letting the original clump sprawl unchecked. New plantings quickly fill in bare spots, keeping your garden tidy and your kitties purring with delight.
Use Companion Planting to Attract Beneficial Insects
Catnip itself is a magnet for hoverflies, lacewings, and predatory wasps that prey on common pests like aphids and whiteflies. Pair it with other pollinator-friendly plants—like yarrow, dill, or fennel—to create a mini wildlife refuge. I frequently spot ladybugs nesting near catnip stems, ready for pest patrol duty!
These beneficial insects often lay eggs in the nook of catnip foliage, using the dense growth as a protective nursery. By fostering this vibrant community, you’ll reduce the need for chemical interventions, letting nature handle pest control—and keeping your catnip pristine!
Protect Young Plants from Overzealous Cats
If your feline friends are anything like mine, they’ll pounce, roll, and chew on every tender shoot—sometimes before it has a chance to mature! I solved this by setting up a temporary low fence around new plantings and offering a designated catnip patch in a nearby pot for them to enjoy.
Once catnip is established and bushy, it withstands a bit of roughhousing. But those first few weeks are critical. I empathize with the frustration when your best-laid plans get trampled—so a bit of protection early on ensures a fuller garden later!
Control Self-Seeding to Prevent Invasiveness
Catnip readily drops seed once flowering is done, and next thing you know, baby plants pop up everywhere! While I love seeing volunteers in unexpected spots, too many can lead to congestion and reduced vigor. After flowering, deadheading spent blooms prevents unwanted reseeding.
If volunteers do sprout beyond your desired area, I pull them gently or transplant them into dedicated rows. This keeps your catnip garden under control while still allowing you to share extras with neighbors (or stash them in additional pots)!
Provide Winter Protection in Harsh Climates

Although catnip is hardy down to about USDA zone 4, extremely cold winters can damage crowns. In regions with heavy snow or deep freezes, I place a 2–3 inch mulch of straw or shredded leaves over the root zone in late fall. This blanket helps moderate soil temperature swings.
Come spring, I fluff away the mulch gradually to let new shoots emerge. The result? Vigorous early growth that bypasses winter shock, giving you an even bushier display when the days grow long again!