

There’s something undeniably magical about a shady garden filled with ferns—the way their fronds unfurl like little green scrolls, how they sway ever so gently in a breeze, and that calming forest feel they bring to any space. If you’ve ever struggled to fill a shady patch in your yard, I completely understand. It’s such a bummer when sun-loving flowers fizzle out or when the soil seems too damp or poor for most perennials. But that’s where ferns shine—they thrive where many plants would pout. And once you see them in full, feathery glory, you’ll be hooked like I am!
Ferns have been around for over 300 million years, and they’re native to nearly every continent—ranging from the temperate woodlands of North America to the steamy understories of Southeast Asia. They’re generally non-invasive, although some like bracken fern (Pteridium aquilinum) can spread aggressively without boundaries. Many species make fantastic neighbors, providing shelter and even nesting areas for birds, frogs, and beneficial insects. Whether you’re tucking them under trees or building a whole shade garden around them, here are my top tips for growing a lush and vibrant fern paradise.
Match the Fern to the Right Conditions

Not all ferns want the same thing—some prefer damp, boggy ground (like cinnamon ferns), while others, such as Japanese painted fern or lady fern, are happier in humus-rich woodland soil. Choosing the right fern for your light and moisture conditions makes all the difference between a thriving patch and a sad collection of wilting fronds.
Before planting, take stock of your garden space. Is it consistently moist? Do tree roots steal the moisture? Is there filtered light, deep shade, or morning sun? One of my favorite discoveries was the autumn fern (Dryopteris erythrosora), which loves part shade and gives off a coppery glow as new fronds emerge. Matching plant to place is the first and most important step toward a lush fern-filled garden.
Improve Soil With Organic Matter

Ferns love rich, loose, and slightly acidic soil filled with organic matter—think of the forest floor with its constant blanket of leaf litter and decomposing bark. If your soil is heavy clay or nutrient-poor, amend it with compost, leaf mold, or even a bit of pine bark to lighten and enrich it.
I always make it a habit to mulch heavily around my fern beds in early spring with leaf mold or shredded leaves. Not only does it look natural, but it feeds the soil slowly over time, creating that spongy texture ferns crave. You’ll be amazed at how much better your ferns grow once their roots are surrounded by that soft, nutrient-rich earth they were built for.
Keep the Soil Evenly Moist

Consistent moisture is a must for most ferns—but they don’t want to sit in soggy soil. The key is even moisture, which can be a challenge during summer heat. I’ve found that a thick mulch layer really helps regulate moisture levels while keeping the ground cool.
If you’re planting in a dry-shade spot, consider pairing your ferns with companions like hostas or foamflowers, which help shade the soil and reduce evaporation. And remember—watering deeply but less frequently is better than shallow sprinkles. I water early in the morning so the plants can dry out before evening, which also helps prevent mold and mildew.
Layer Different Fern Varieties for Texture
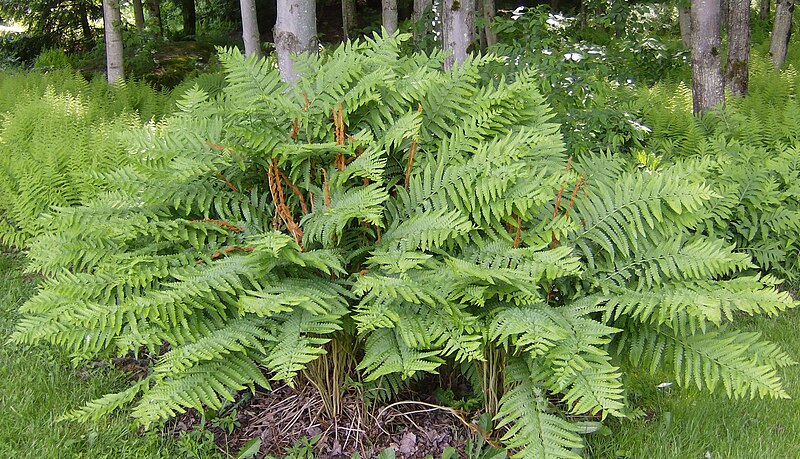
One of the best ways to make your fern garden feel full and lush is to use different species with contrasting textures, heights, and colors. Taller ferns like ostrich fern or royal fern can act as a soft screen or backdrop, while smaller varieties like maidenhair or hart’s tongue fern provide intricate detail at the front of beds.
I often mix deciduous ferns with evergreen types like Christmas fern (Polystichum acrostichoides) to ensure the garden still has structure during the colder months. The variety in shape—from lacy and airy to bold and leathery—adds a richness to the garden that feels layered and immersive, just like a forest floor should.
Start With Small Groups, Then Let Them Spread

Ferns are social plants—they look best in drifts or clusters. Instead of spacing individual plants far apart, start with small groupings of three to five, letting them fill in naturally over time. Many ferns spread slowly by rhizomes or spores, so you can gently encourage them to form colonies.
One of my favorite surprises is when a fern “wanders” and pops up in a neighboring shady nook! You can also divide mature ferns every few years to create new clumps and prevent overcrowding. This natural spreading not only helps the garden feel more established but also fills in bare areas without needing to purchase more plants.
Protect Young Fronds From Wind and Harsh Sun

Tender new fronds—especially those early spring fiddleheads—can dry out or burn if exposed to strong wind or sudden bursts of sun. If your garden is on the edge of full shade and part sun, consider planting a few shrubs or tall perennials nearby to offer some dappled protection.
I’ve had great success using small trellises or even logs to shield sensitive fern patches until nearby plants fill out. Think of it like giving your ferns a little umbrella while they get settled! Once they mature, many ferns become more tolerant of variable conditions, but in their early years, they’ll benefit from a sheltered start.
Clean Up Gently in Early Spring

Unlike some perennials that can be cut back in fall, ferns prefer a more natural approach. I let the old fronds remain over winter to help insulate the crown and protect developing fiddleheads from frost. Come early spring—before new growth emerges—I carefully clip back the browned fronds.
This also gives you a chance to clean up any leaf litter or debris without disturbing new growth. I like to do this just as the snowdrops or hellebores are blooming—it’s a perfect transitional task that sets the stage for the growing season. Just be gentle—new fiddleheads are delicate and can snap if handled too roughly!
Encourage Wildlife With Natural Plant Pairings

Ferns are excellent companions for native shade-loving plants like trilliums, wild ginger, or woodland phlox. These combos mimic natural forest ecosystems and provide layered habitat for birds, frogs, and beneficial insects. I’ve seen small toads make homes under dense fern clumps, and birds often nest nearby in shrubs or use the leaves for cover.
Planting for biodiversity also helps your ferns stay healthy. The surrounding plants can act as moisture retainers, shade-givers, or even pest deterrents. A fern bed isn’t just a visual delight—it becomes part of a living web that supports nesting, shelter, and pollination. It’s such a joy to see your garden become a haven for more than just your eyes!
Avoid High-Foot-Traffic Areas
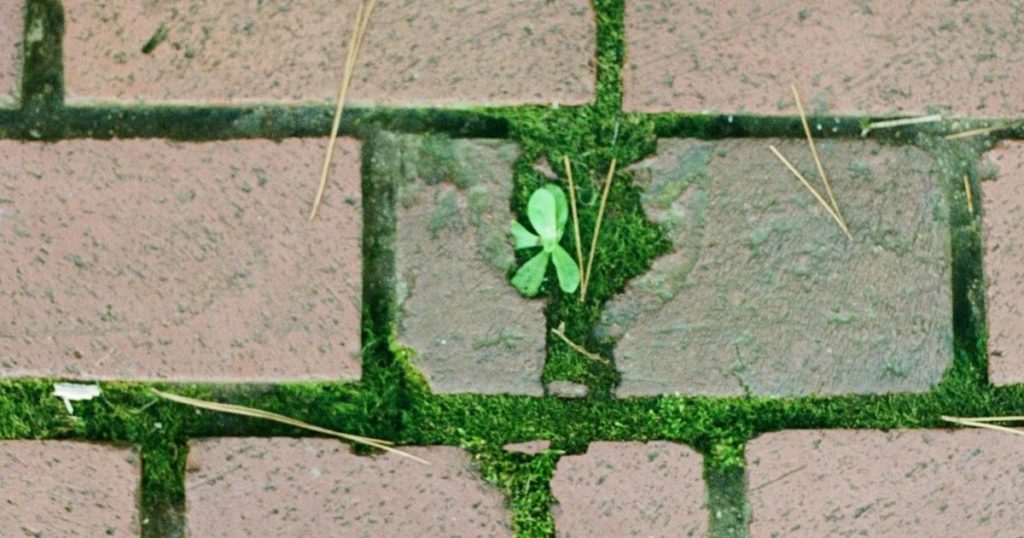
Ferns are tough in many ways, but their delicate fronds are easily damaged by foot traffic. Placing them too close to walkways or paths can result in broken foliage or compacted roots, especially if people or pets frequently brush by. Give them breathing room and protect their growing space with clear borders or low fencing.
I’ve learned to steer garden paths just far enough from fern beds to avoid the occasional snap of a new frond. That little extra distance also gives their beauty room to shine and ensures their airy texture isn’t crushed or cluttered. If you want ferns close to walkways, consider shorter varieties like dwarf maidenhair fern that won’t lean out and catch a boot.
Be Patient and Let the Garden Evolve
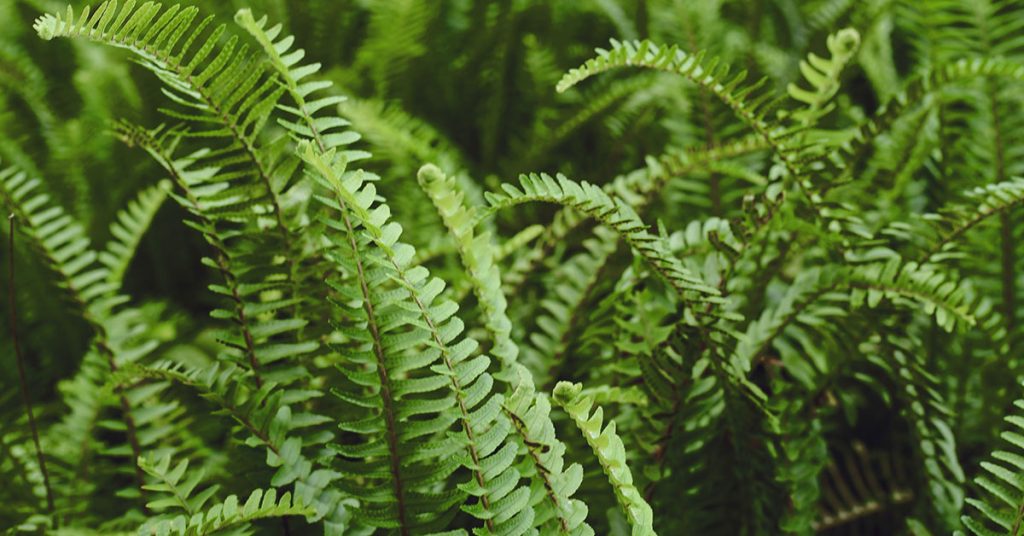
Ferns aren’t fast growers, especially in their first season—but once established, they become long-lasting, low-maintenance additions to the garden. It’s so tempting to expect immediate fullness, but I promise, giving them time to settle in will pay off in graceful drifts and thick green blankets in a year or two.
Some of the most enchanting fern gardens I’ve ever seen didn’t start out impressive—they were slow builds, allowed to evolve with the seasons and the soil. Be patient, observe, and let your fern garden become a living expression of shade and serenity. You’ll be rewarded with beauty that doesn’t just pop—it persists.