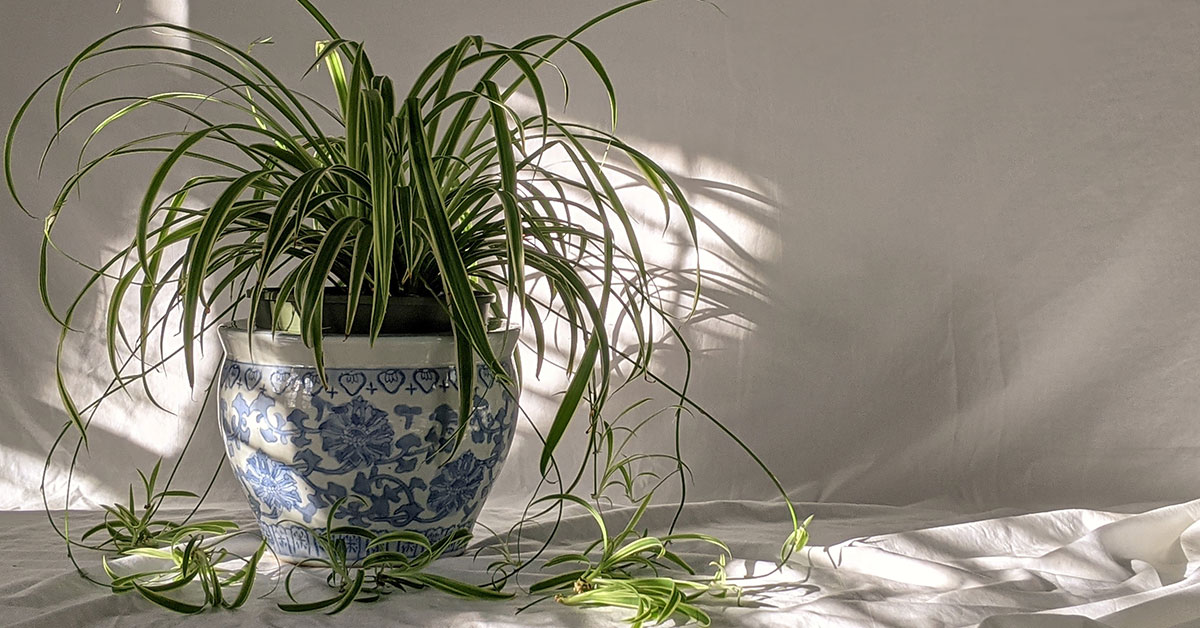

Spider plants (Chlorophytum comosum) have stolen my heart with their arching, ribbon-like leaves that seem to dance in any breeze, but I know how frustrating it can be when they refuse to bulk up. Native to the tropical and southern regions of Africa, these resilient houseplants have naturalized in many subtropical climates—and in some locales, they’re even considered invasive due to their rapid spread. Despite that tenacity, a spider plant kept in less-than-ideal conditions will often languish with sparse foliage, leaving bare spots at the base where you crave fluffy, cascading greenery instead.
In this article, I’ll share nine tried-and-true tricks that have transformed my leggy spider plants into lush, full-bodied showpieces. From dialing in the perfect light balance to tucking in nutrient-rich soil amendments, each tactic is grounded in the plant’s native preferences and my own hands-on experiments. Along the way, you’ll learn how to encourage beneficial insects to nest under those pot rims and discover why slight environmental tweaks can make all the difference. Let’s dive in and help your spider plant thrive like never before!
Encourage Consistent Moisture Without Overwatering

Spider plants relish even moisture in their soil—mimicking the lightly damp leaf litter of their African woodland homes—yet they absolutely despise being waterlogged. If you’ve ever drowned a spider plant by keeping the topsoil constantly soggy, you’ve experienced how quickly roots can suffocate and foliage can yellow at the tips. Instead, aim to water thoroughly once the top half-inch of soil dries out; this ensures roots get a good drink without lingering in a swampy environment that attracts root-rot pathogens and nesting fungus gnats.
I once rescued a Spiderette that had nearly collapsed because its previous owner overwatered it. By switching to a schedule of “thorough soak, then wait until slightly dry,” I saw new shoots emerge within weeks. To further optimize moisture, place the pot on a saucer filled with pebbles and water—this raises humidity gently around the plant, reminiscent of its native understory air—without risking a soggy soil baseline. Your spider plant will reward you with turgid, bright green leaves rather than limp, stressed-out foliage!
Trim Back Old and Yellowing Leaves

It’s common for older spider plant leaves to turn yellow or brown over time, especially when light levels shift or if dust builds up on the foliage. Leaving these spent leaves in place not only looks unsightly but also drains energy away from new, vigorous growth. By snipping away any yellowing or damaged leaves at the base—just above the soil line—you redirect the plant’s resources to develop fresh, strong shoots, resulting in a denser, bushier appearance.
I’ll never forget how shocking it felt the first time I saw how many wayward yellow leaves I’d missed on my own spider plant—I had been watering and fertilizing but neglecting basic grooming. Once those old fronds were removed, the plant immediately focused on producing bright new shoots at the crown. Plus, removing leaf litter from the soil surface helps prevent pests like springtails or fungus gnats from nesting in decaying plant matter, ensuring your spider plant’s root zone stays clean and healthy.
Repot Into a Slightly Larger Container

Even though spider plants are famously tough, they do appreciate fresh soil and a bit more room when their roots have outgrown their bucket. If your spider plant’s root mass is clutching the pot’s edges or poking out drainage holes, it’s time to step up into a bucket that is only one size larger—usually a one- or two-inch increase in diameter is plenty. In their native African soils, spider plant roots have space to sprawl but don’t become waterlogged, so replicating that in a well-draining potting mix encourages robust root expansion without drowning.
When I first repotted my adromous spider plant into a new five-gallon bucket filled with a mix of peat moss, perlite, and compost, I noticed an immediate uptick in new leaf production. Fresh potting mix provided vital nutrients, and the extra room let roots branch out rather than coil into a tight tangle. A gentle tease of the root ball loosens spiraled roots, encouraging them to stretch into the new soil. The result? A fuller, more vigorous spider plant that seems to practically leap out of its pot with vitality!
Provide Bright, Indirect Light

Spider plants flourish in bright, indirect light—just as they would in the dappled understories of their African woodland origins. If you’ve ever seen that leggy, pale look of a plant desperate for sun, you know how critical proper illumination is. Place your spider plant near an east- or north-facing window where morning sunlight can filter in, or sit it a few feet back from a south- or west-facing window to avoid direct sun that could scorch the leaves. Under these conditions, chlorophyll production skyrockets, giving each leaf a rich, vibrant hue and encouraging fuller, denser growth.
When I moved one of my spider plants from a dim corner to a bright windowsill—but just out of direct rays—I was amazed at how quickly it responded: new leaves unfurled every few weeks, each showing lush green coloration and broader dimensions than before. In fact, hummingbirds and small native bees have even taken to hovering around those leaves during bloom time, attracted by the pale white flowers that emerge when light levels are ideal. Sufficient brightness not only yields more leaves but also occasional blossoms that add charm and invite beneficial pollinators right to your window ledge!
Feed with Balanced Organic Fertilizer

While spider plants aren’t heavy feeders, they do appreciate a balanced boost of nutrients during active growth periods—typically spring through early autumn. A gentle dose of a balanced organic fertilizer (for instance, a 5-5-5 NPK formula) every six to eight weeks helps supply nitrogen for lush foliage, phosphorus for strong root development, and potassium for overall plant vigor. Overdoing it, however, leads to fertilizer burn: crispy leaf tips, brown margins, and potentially even root damage. I like to use a diluted fish emulsion or worm castings tea—both slow-release and low-strength choices that spider plants adore.
There was a season when my spider plant struggled to thicken out despite ideal sunlight and proper watering—it was simply starved of nutrients. Once I introduced monthly feedings of organic, compost-based fertilizer, leaf count soared, and even my succulents around it benefited from the runoff. Plus, healthy, well-fed spider plants are more pest-resistant; the denser foliage made it harder for weevils or mealybugs to take up residence. The key? Consistency without excess. Your spider plant will reward you with robust new growth rather than the thin, stringy shoots of nutrient-deficient times!
Encourage Air Circulation Around Leaves
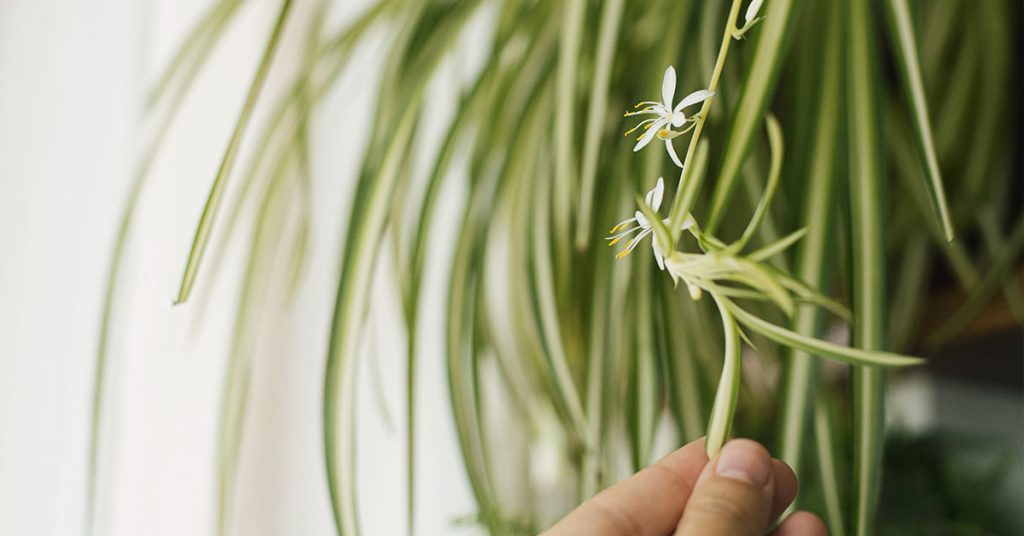
In the wild, spider plants benefit from gentle breezes that circulate around their leaves, preventing fungal diseases and keeping the foliage glossy and pest-free. Indoors, stagnant air can invite problems like powdery mildew or spider mites that thrive in still, high-humidity conditions. To encourage airflow, avoid cramming your plant tightly among other houseplants. Instead, give it a bit of elbow room—at least a foot between adjacent pots. If your home is prone to high humidity, a small oscillating fan set on low can mimic natural drafts and reduce moisture buildup under leaves.
One steamy summer, my spider plant developed faint white spots—early signs of powdery mildew—due to nearly zero airflow in the stuffy room. After moving it to a breezier spot by a ceiling vent and running a small fan for a few hours each day, I saw those spots dissipate. Meanwhile, occasional gentle breezes encouraged tiny hoverflies to check out the foliage, searching for leaf-eating aphids or whiteflies—nesting natural pest controllers that keep spider plants healthy and verdant. Improving air circulation isn’t just about relaxing drafts; it actively shapes a better micro-ecosystem for your plant to grow full and strong.
Prune Dead Tips to Stimulate New Growth

Those adorable arching leaves sometimes develop pesky brown tips from minor stressors—fluctuations in watering, overfertilization, or even airborne chemicals. Trimming these dead tips not only improves appearance but also signals the plant that energy should redirect to fresh growth. I recommend using clean, sharp scissors to snip off just the browned areas at an angle, following the leaf’s curve. This clean cut helps prevent secondary infections while promoting vigorous, new leaf emergence. Over time, consistent tip-trimming ensures that leaves remain broad and vibrant, contributing to an overall denser crown.
I once had a spider plant whose leaves all developed brown tips after a string of humid days and a watering mishap. Rather than pinching off entire leaves, I carefully removed only the damaged portions. Within days, new leaves sprouted from the crown, each wider and healthier than before. That process also curtailed potential nesting sites for tiny root mealybugs, which are drawn to decaying plant material. A tidy, pruned spider plant is less likely to harbor pests—when you maintain clean foliage, you’re both boosting fullness and ensuring long-term health!
Divide Overcrowded Roots and Replant
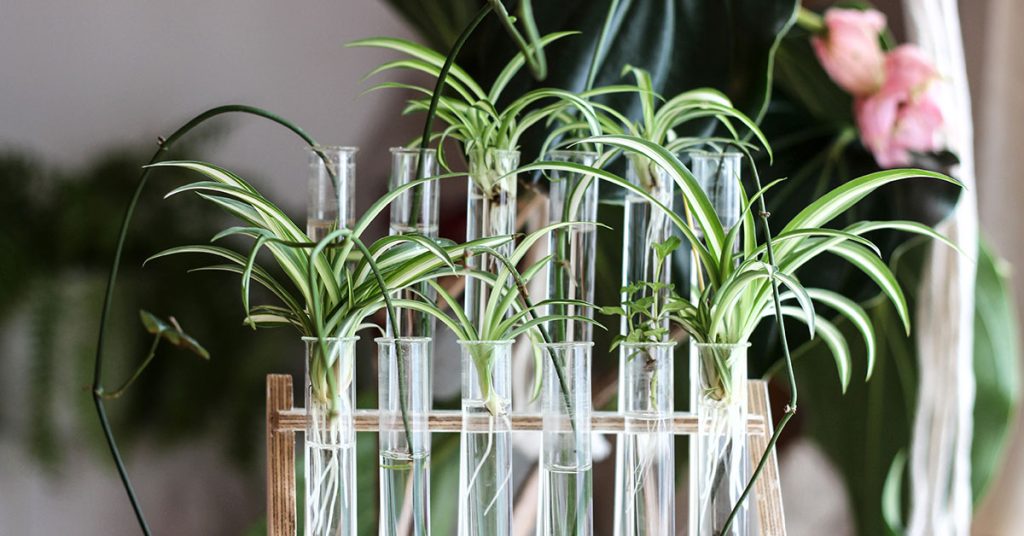
Spider plants readily produce offsets—little “spiderettes”—that, if not removed, keep the root ball crowded and can lead to fewer new shoots. When the roots fill a bucket and begin circling the pot’s edges, it’s time to lift the plant, divide it into two or three sections, and replant each portion in its own fresh, airy potting mix. This division not only refreshes the soil with nutrients but also gives each new plant room to develop multiple crowns, resulting in fuller rosettes. In my own indoor jungle, I’ve split a single crowded spider plant into four specimens—each went on to form thick, mounded foliage that eventually competed for best-dressed status!
Divide in early spring—when new growth is just kicking off—to minimize transplant shock. Watch for tiny leaf buds at the base: these signal readiness to flourish as standalone plants. Separating them liberates energy so each segment can focus on producing fresh shoots rather than merely sustaining a crowded root network. Plus, dividing keeps your spider plant’s invasive tendencies in check; instead of runners creeping under nearby pots or into soil beds, these sections stay contained in their pots. In a matter of weeks, you’ll see lush new leaves bursting forth, doubling or tripling the plant’s overall fullness!
Apply a Balance of Mulch and Pebbles

In their native habitat, spider plants flourish in forest floors shaded by leaf litter that retains moisture yet allows good aeration. Mimic this by applying a thin layer of organic mulch—like shredded bark or compost—over the soil, topped by decorative pebbles or clay pebbles. The mulch insulates the soil, helping maintain even moisture and cool roots, while the pebble top layer repels fungus gnats from laying eggs. I love how this combo not only keeps the soil environment stable but also looks tidy: a tidy pot encourages fuller foliage since the plant isn’t stressed by temperature fluctuations or pest invasions.
Over winter, when indoor air can become bone-dry, the mulch beneath pebbles helps retain enough humidity around the root zone to prevent leaf edges from crisping. Meanwhile, the pebbles reflect light back onto the leaves, gently brightening those inner rosettes that sometimes languish in low lighting. Combined, these layers foster robust root health, which is the foundation for lush, cascading foliage. The result? Spider plants that fill their containers—and perhaps even overflow—delivering the thick, arching leaves you’ve been dreaming about!