
It’s such a thrill to envision a sprawling patch of plump pumpkins glowing in autumn’s light, but getting there takes more than just planting seeds and hoping for the best! A truly bountiful pumpkin patch thrives on careful planning, consistent care, and a few well-timed interventions. Whether you’re aiming for pie pumpkins or record-breaking giants, these eleven strategies will help you coax those vines into producing hefty, healthy fruits that will have neighbors knocking on your gate for tips.
I know how disappointing it can be to nurture seedlings all summer only to see wilted vines or stunted fruits—especially if pests or disease sneak in unannounced! As a gardener who’s wrestled with everything from squash bugs to powdery mildew, I’m excited to share these tried-and-true tips. Let’s dive in and set you up for an epic fall harvest that’s as satisfying as pumpkin pie itself!
Provide Full Sun

Pumpkins (Cucurbita pepo) evolved under North American skies and demand at least six to eight hours of direct sunlight every day. They aren’t invasive, but they do need that full-sun energy to fuel photosynthesis, ramp up vine growth, and build up the sugars that translate into big pumpkins!
I once relegated my patch to a partially shaded corner—and my fruits were pale and undersized. Moving them to a south-facing spot transformed my harvest into show-stoppers! If your garden has shade challenges, consider reflective walls or rotating containers to make the most of every sunbeam.
Mulch Around the Base

A two- to three-inch layer of straw, shredded leaves, or grass clippings works wonders to conserve soil moisture, keep temperatures steady, and suppress pesky weeds around your pumpkin vines. Mulch also creates a clean barrier between the fruits and damp ground, cutting down on rot and slug damage.
I love watching earthworms bustle beneath my mulch—nature’s little tillers! Plus, the sheltered edges become cozy nesting sites for ground-nesting bees, bolstering pollination right in my patch. It’s like an underground hotel that also throws a garden party above!
Space Plants Adequately

Those sprawling vines can easily stretch 10–20 feet, so give each hill plenty of elbow room—six to eight feet in every direction is ideal. Cramped plants compete for light, nutrients, and airflow, which often leads to smaller pumpkins and higher disease pressure.
I once shoved six hills into a tiny bed and ended up with scrawny gourds and tangled vines—it was such a bummer! Now I treat my pumpkins like VIPs, giving them the space they deserve. Better airflow also keeps powdery mildew at bay, so your leaves stay lush and your fruits grow big.
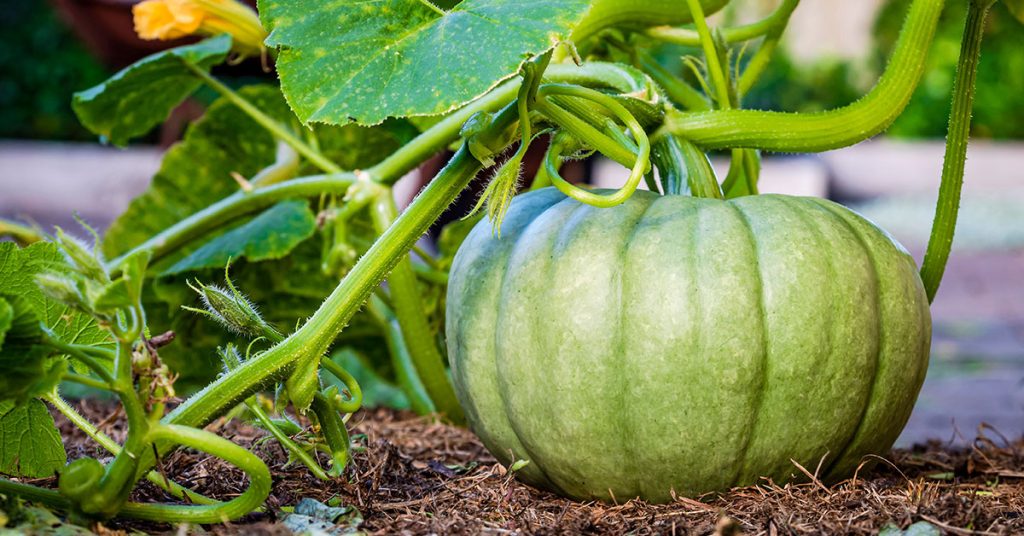
Support Pollinators
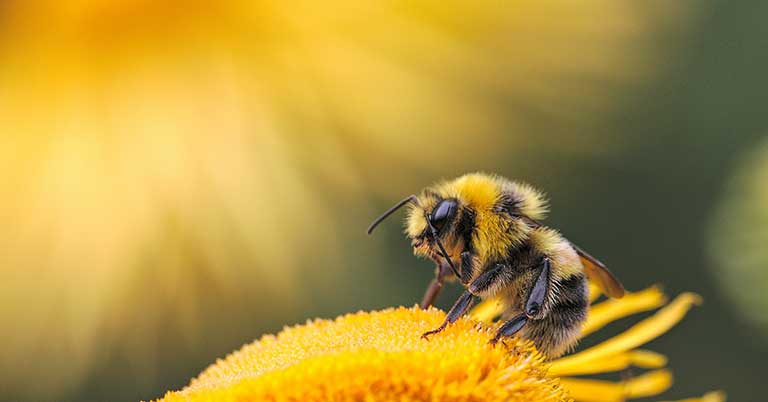
Pumpkin flowers are unisexual—male blooms open first, followed by female blossoms featuring the tiny fruit at their base. Without bees or other pollinators doing their morning rounds, those female flowers won’t set pumpkins! Attract pollinators by planting companions like borage, bee balm, or marigolds.
One of my favorite garden sights is a native squash bee nesting right at the vine’s edge, emerging each day to forage. If pollinator visits lag, grab a small soft brush and hand-pollinate by transferring pollen from male flowers to female blooms—no fruit left behind!
Prep Rich, Well-Drained Soil
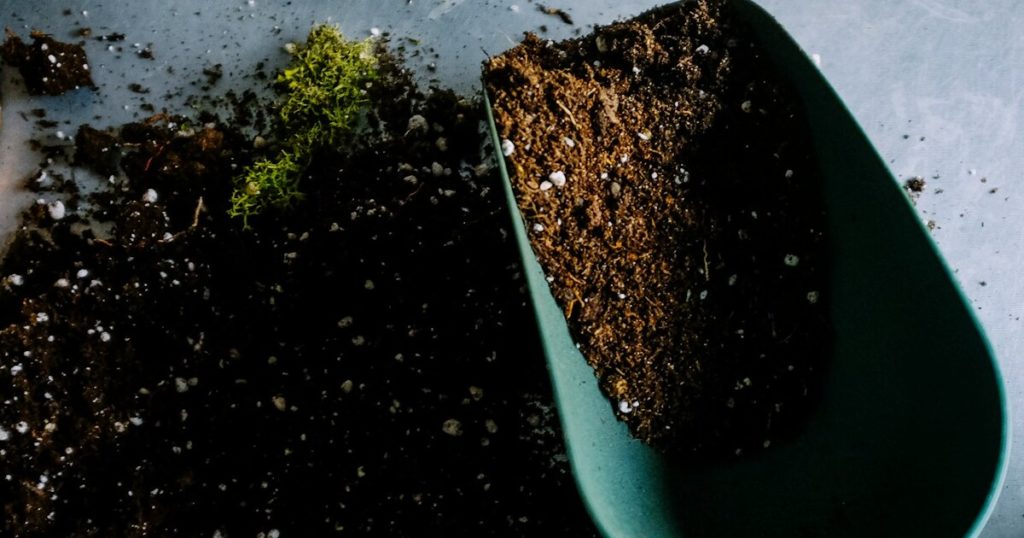
Pumpkins thrive in loamy soil enriched with organic matter. Before planting, work in several inches of well-aged compost or manure to boost fertility and improve drainage. A pH between 6.0 and 6.8 is ideal for nutrient uptake.
Upgrading my beds from plain topsoil to compost-rich mixes was like flipping a switch—vines exploded with vigorous growth, and buds formed within weeks! Good drainage also prevents root-rot pathogens from wreaking havoc under wet conditions.
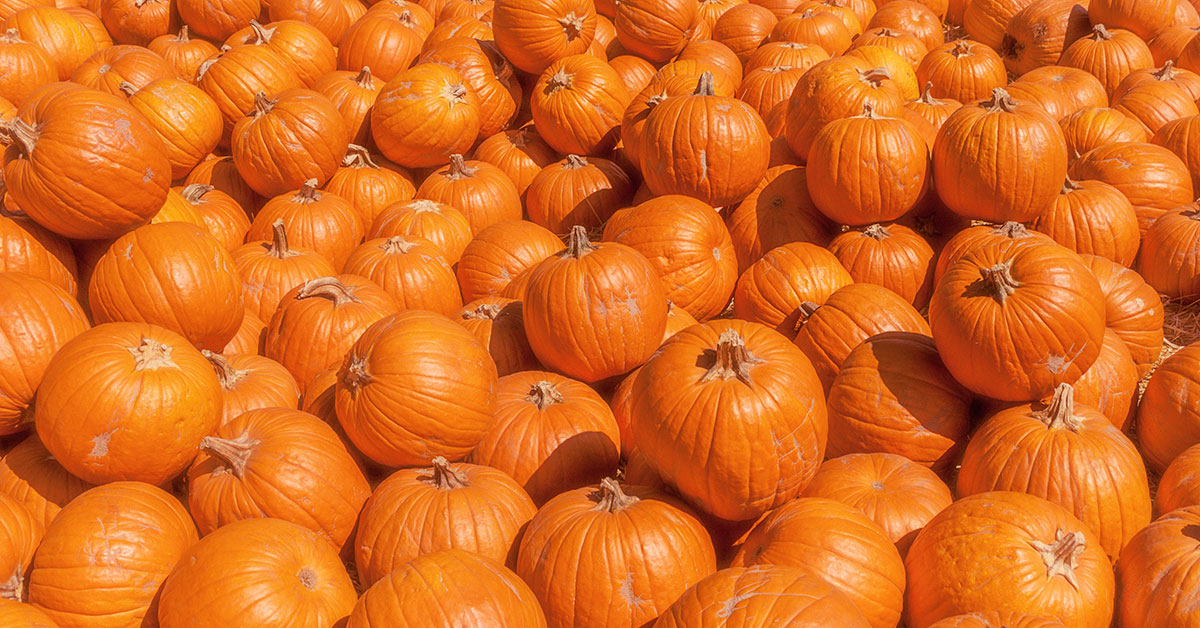
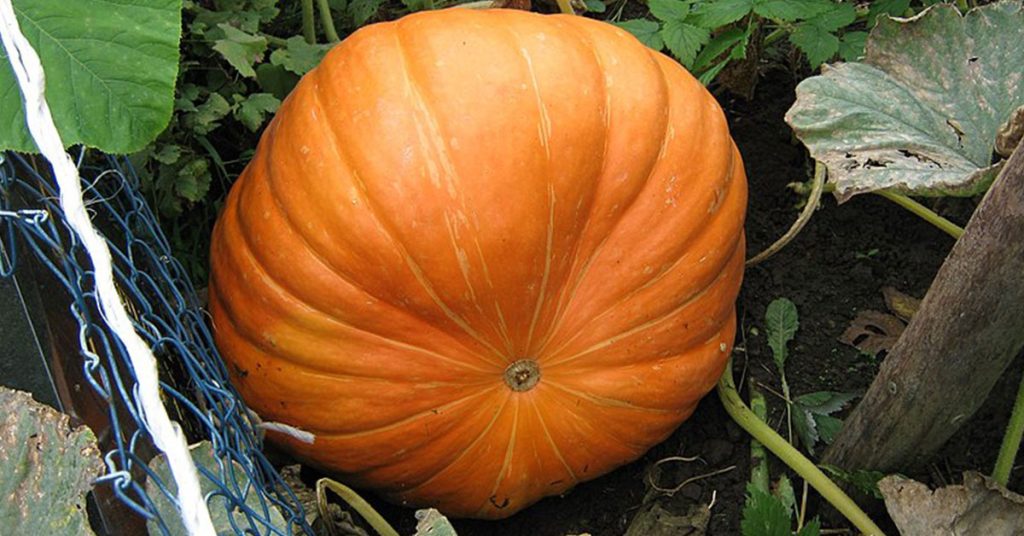
Monitor for Ripeness and Harvest Properly

Knowing when to pick makes a huge difference: ripe pumpkins sport a hard rind that resists thumbnail pressure, and the vine stem dries and browns where it meets the fruit. Under-ripeness leads to chalky interiors, while overripe gourds can begin to rot.
I once harvested in early excitement only to slice open a hollow, pale flesh—so disappointing! If frost threatens, you can pick them a bit early and cure indoors at 80–85°F for 10–14 days, letting sugars develop and the rind toughen up.
Provide Adequate Water
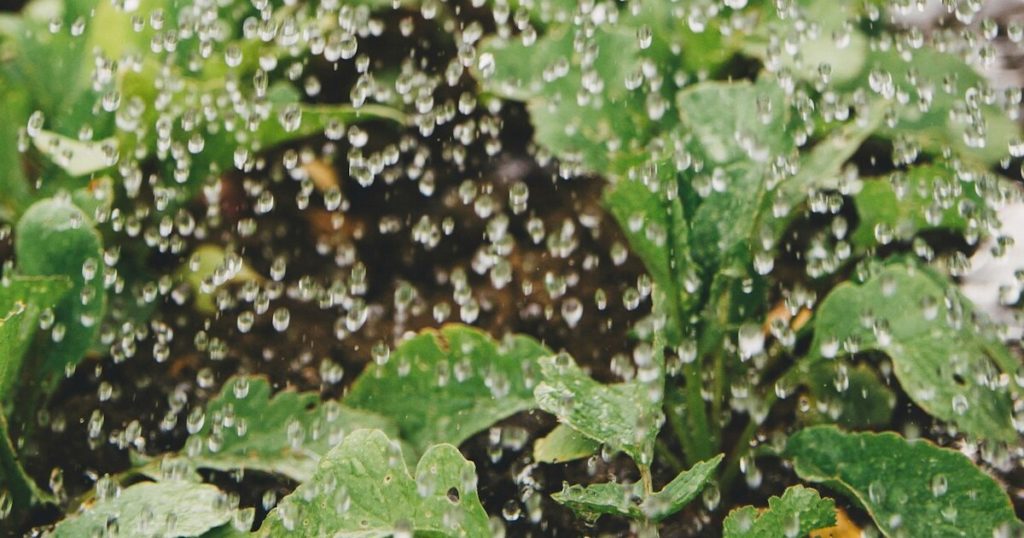
Pumpkins need consistent moisture—about 1–2 inches per week—to keep vines thriving and fruits swelling. Drip irrigation or soaker hoses are ideal for delivering water directly to roots without wetting foliage, which can lead to mildew.
During a dry August stretch, my patch wilted by midday until I mulched and began deep, infrequent watering. The roots plunged down into cooler soil, making plants more resilient in late summer’s heat—a simple change that saved my harvest!
Implement Succession Planting
To stretch your harvest window, sow early-maturing varieties first, then follow up with later-season pumpkins two to three weeks later. This staggered approach means you’ll have fresh, ripe fruits over an extended period rather than all at once.
I remember discovering perfect specimens in mid-October, long after my first planting had succumbed to frost. Succession planting keeps pie pumpkins coming for Thanksgiving baking and jack-o’-lanterns ready for Halloween decorating!
Choose the Right Variety
From petite 4-pound ‘Jack Be Little’ to colossal ‘Atlantic Giant,’ pumpkins come in all sizes. None are invasive, but volunteer seedlings can appear if you let old fruits decompose in place. Pick varieties suited to your region’s frost-free days and desired fruit weight for the best results.
One season, I planted a short-season mini variety—and ended up wanting more! Switching to a 120-day pie pumpkin delivered 8–10-pound beauties that baked into the most delicious pies. Always check “days to maturity” and average fruit size on your seed packet before selecting.
Control Pests and Diseases
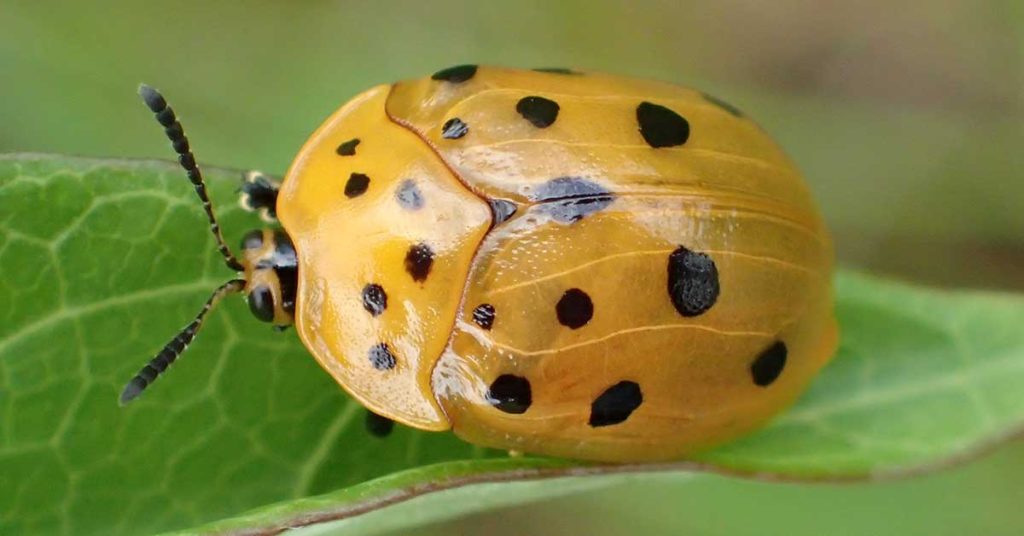
Squash bugs, cucumber beetles, and powdery mildew can decimate a pumpkin patch if left unchecked. Inspect the undersides of leaves early for egg clusters and nymphs, then pick them off by hand or apply organic sprays as needed. Remove any infected foliage promptly.
It’s such a relief catching powdery mildew at the first white flecks—spritzing with a homemade milk-water mix keeps it at bay without harsh chemicals! Companion plants like nasturtiums and dill can attract ladybugs and lacewings, offering natural biocontrol for your vines.
Fertilize Strategically

Pumpkins are heavy feeders: side-dress with a balanced organic fertilizer or compost tea when vines have six true leaves, then switch to phosphorus-rich feeding once flowers appear to encourage fruit set. Too much nitrogen early on can mean lush foliage at the expense of fruit size.
I learned the hard way that a single heavy nitrogen boost led to giant vines and puny pumpkins—so keep an eye on your plant’s growth stage! Timing your feedings ensures all that energy gets funneled into developing those big, beautiful gourds you’ve been dreaming of.