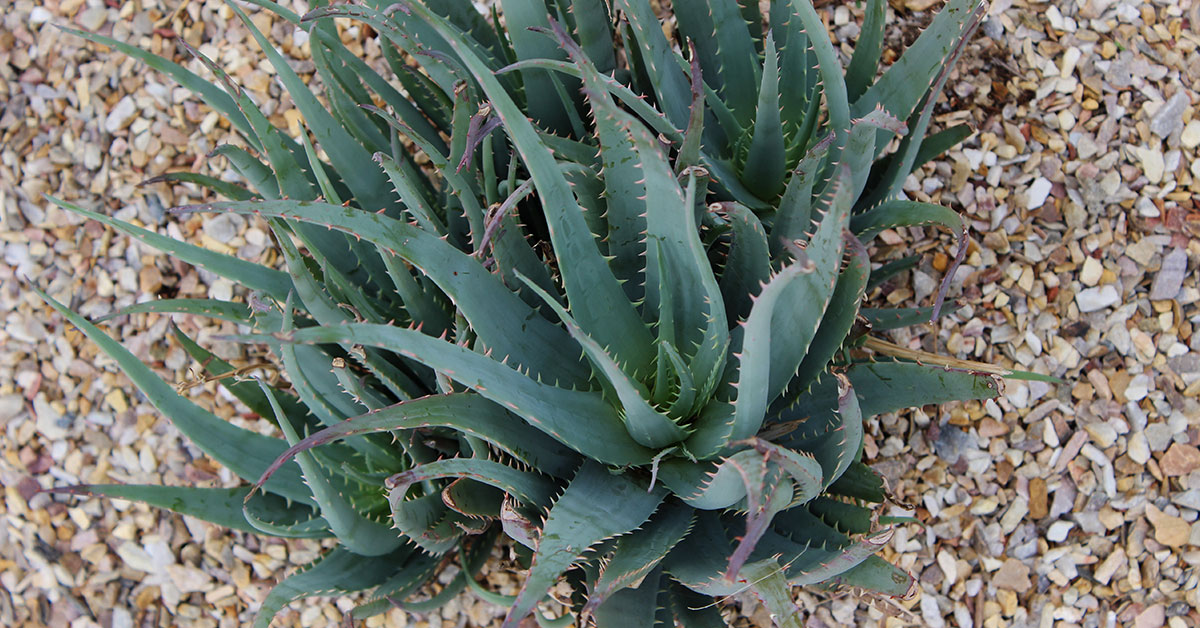

Cultivating a sprawling aloe vera garden is one of the most satisfying projects for any succulent enthusiast! Imagine rows of robust rosettes, their plump leaves glistening with healing gel—ready to soothe sunburns or add a refreshing boost to your skincare routine. I know how tempting it is to rush in and plant a dozen pups at once, only to watch them wither in soggy soil or shade. With the right approach, though, you’ll soon enjoy an aloe empire that thrives and multiplies year after year.
Whether you’re working in containers or carving out dedicated beds, success hinges on understanding aloe’s desert heritage and mimicking those conditions. I’ve weathered too many lessons—frost-bitten foliage, floppy rosettes, and fungal flare-ups—to skip the planning stage. Let’s dive into these eleven essential strategies so you can grow a breathtaking aloe garden that’s as productive as it is beautiful!
Encourage Pollinators with Flower Spikes
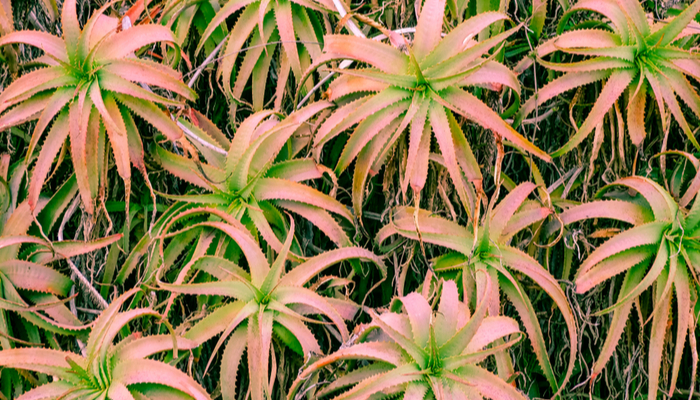
Aloe vera’s tall flower spikes aren’t just eye-catching—they’re magnets for hummingbirds, bees, and butterflies. When your aloes burst into fiery orange or yellow blooms, they beckon pollinators that also help support other flowering plants in your garden! I’ve delighted in spotting ruby-throated hummingbirds weaving between my aloe blooms, nesting nearby in sheltered brush piles.
To coax those spectacular blossoms, expose your plants to a mild winter chill (around 50–55 °F) and cut back on watering in late fall. Even container-grown aloes benefit from a cool, bright spot indoors or in a greenhouse. Since aloe flowers don’t self-seed aggressively, you can enjoy the wildlife spectacle without worrying about invasiveness.
Protect from Frost and Extreme Cold

Despite aloe’s hardy reputation, temperatures below freezing can devastate its fleshy leaves and roots. I remember the heartache of returning from vacation to find my outdoor aloes mushy and blackened after an unexpected frost! To avoid this, move pots indoors before the first hard freeze or drape in-ground plants with frost cloth on chilly nights.
In milder chills, a light layer of straw mulch around the base can insulate roots, but skip watering until the danger has passed—cold plus moisture equals rot. With proper winter protection, your aloe garden will wake up vigorous and ready to send out fresh growth in spring!
Propagate via Pups Regularly
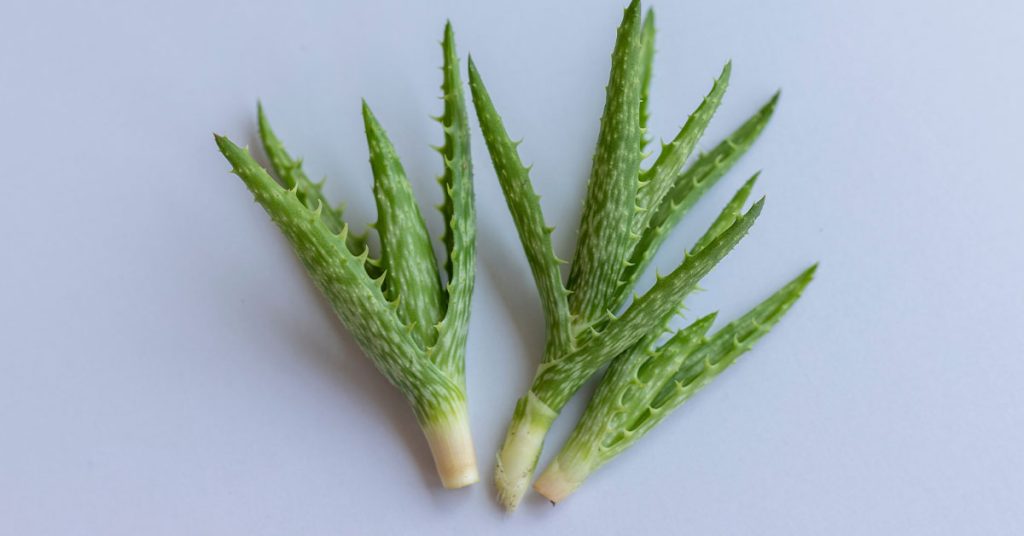
One of my favorite gardening moments is gently separating healthy pups from the mother plant—each little rosette is a new gardening adventure! Propagating pups not only multiplies your collection quickly but also prevents overcrowding, which can trap moisture and lead to fungal issues. I give each newly planted pup several inches of breathing room, so roots establish without competition.
Before planting, let the pup’s base callous over for a day or two to reduce rot risk. Then tuck it into the same well-draining mix used for mature aloes. Aloe barbadensis miller isn’t known to be invasive in garden settings, so feel free to share pups with friends or expand your rows without ecological worries.
Ensure Ample Sunlight

Aloe vera thrives on sunlight—its succulent leaves store water and reflect the plant’s desert origins. I’ve seen formerly floppy aloes perk up overnight when moved from dappled shade into a south-facing sun trap, their leaves firming and taking on a beautiful bluish-green hue! Aim for six to eight hours of direct sun daily for robust, compact rosettes.
In very hot climates, some afternoon shade prevents leaf scorch—especially for young plants. Conversely, gardeners in cooler regions can employ cloches or cold frames to boost light and warmth. Proper sun exposure not only drives strong growth but also encourages those coveted flower spikes!
Harvest Leaves Properly to Promote Regrowth
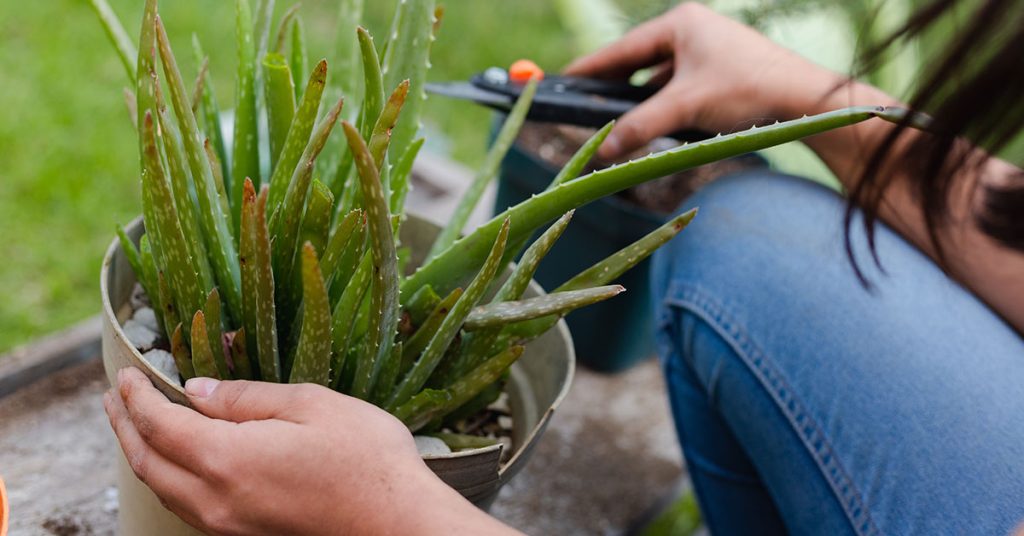
Snipping aloe leaves for gel is one of gardening’s greatest perks, but removing too many at once can weaken the rosette. Always cut outer leaves at the base, leaving at least two-thirds of the plant intact. I once overzealously harvested my largest leaves and found the rosette struggling to bounce back—lesson learned!
After harvesting, let the cut stub dry and callous for a day or two before watering. This crucial pause prevents rot and prompts faster new leaf production. Meanwhile, pups will continue to fill in the garden, ensuring your display remains lush even as mature plants recover their vigor.
Use Appropriate Containers and Soil Mix

Choosing the right home for your aloes is half the battle. I switched from deep, narrow pots to wide, shallow terracotta troughs and immediately noticed healthier roots—excess water drained faster, and the rosettes looked perkier! For in-ground beds, line the bottom with a gravel layer to keep water moving away from crowns.
Create a custom succulent mix by blending two parts coarse sand, one part organic compost, and one part perlite or pumice. This replicates the fast-draining, mineral-rich soils of aloe’s native Arabian Peninsula. And because aloe vera isn’t invasive when planted intentionally, you can containerize freely without ecosystem concerns.
Monitor for Pests and Diseases

While aloes are generally pest-resistant, mealybugs, scale, and fungal infections can still strike—especially in humid or overcrowded conditions. One humid summer, I discovered cottony mealybug clusters at the leaf bases of my outdoor patch, and it felt like a personal defeat!
To tackle infestations, isolate affected plants and gently wipe leaves with a cotton swab dipped in isopropyl alcohol or a mild insecticidal soap. Improving air circulation by thinning rosettes and avoiding overhead watering further reduces disease risk. Regular inspections keep your aloe garden healthy and thriving.
Master the “Soak and Dry” Watering Method
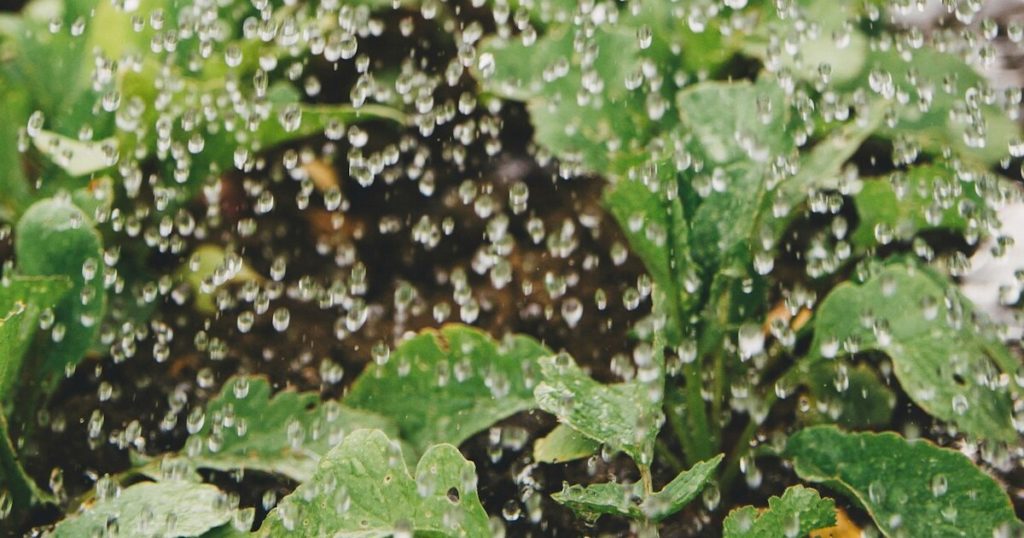
Overwatering is succulent nemesis number one—too-frequent light sprays encourage shallow roots and mushy leaves. Instead, give your aloes a deep soak, then let the soil dry out completely before watering again. I’ve found that a single thorough watering each week in summer keeps my outdoor rows vibrant without any yellowing or rot!
Adjust frequency based on your local humidity and temperature: less often during cooler months and more during blistering heat. Always check soil moisture by inserting your finger an inch down—dry soil signals it’s time to water, while any cool dampness means patience. Your reward? Turgid, healthy leaves that store water like champs.
Provide Well-Draining Soil
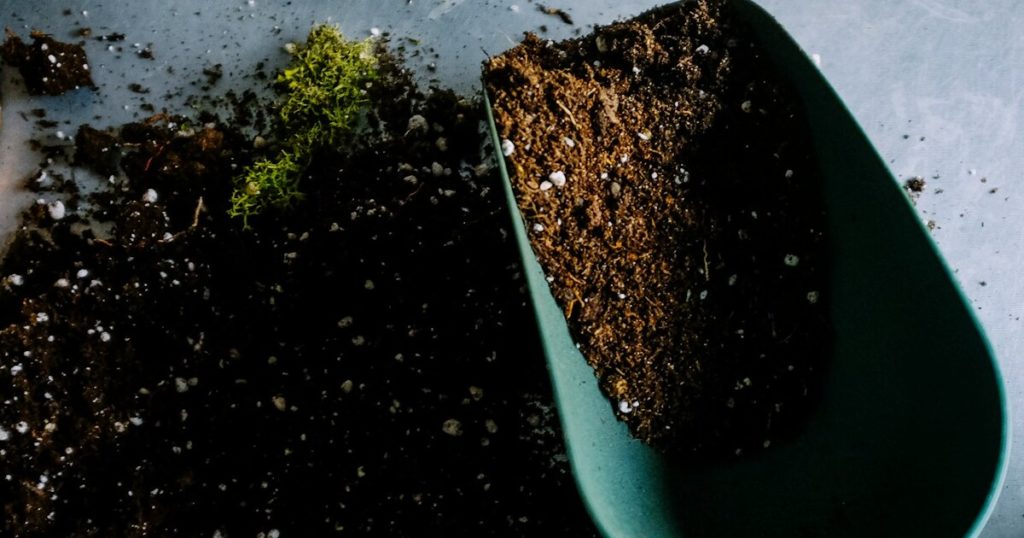
Aloe vera’s success hinges on soil that sheds water swiftly. In its native desert habitat, sudden rainstorms drain through gritty, rocky substrates, leaving roots dry within hours. I learned the hard way that plain garden loam without amendment leads to soggy crowns and rot!
To duplicate those conditions, blend two parts coarse sand with one part organic compost and one part perlite. This mix offers just enough nutrients for growth while preventing waterlogging. With properly draining soil, you’ll watch your aloe garden expand fearlessly, without the dread of mushy stems.
Fertilize Sparingly for Balanced Growth
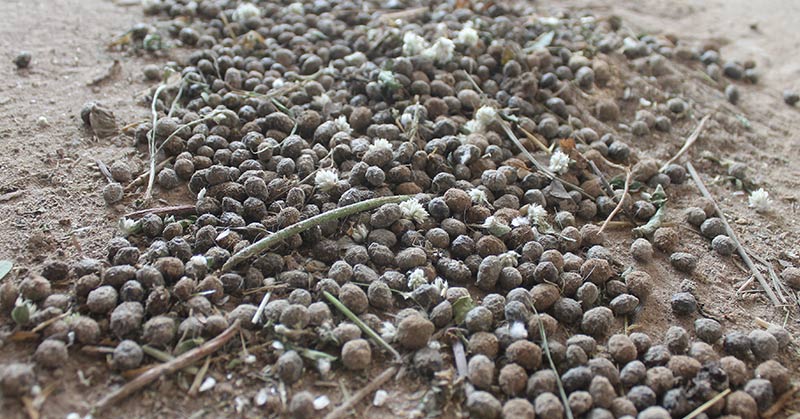
It’s tempting to feed aloes on a rigid schedule, but these succulents evolved in nutrient-poor soils and perform best with minimal fertilization. In my garden, a half-strength dose of cactus or succulent fertilizer once in spring has kept rosettes lush without the soft, waterlogged tissue that heavy feeding can cause!
Overfertilizing not only wastes resources but also invites pests and fungal problems around the root crown. Since aloe vera isn’t invasive, you can rest easy knowing your modest feeding regimen supports vibrant growth without ecological risks.
Space Plants Properly for Airflow

Crowding aloes may seem like efficient use of space, but poor air circulation invites pests and fungal trouble. I once planted rosettes shoulder-to-shoulder for a full display—only to find mushy stems in the damp gaps between leaves. It’s such a bummer when you lose pups to rot!
Allow at least 6–8 inches between mature rosettes (more for larger cultivars) so leaves dry quickly after watering and roots spread freely. For containers, choose wide, shallow pots that accommodate multiple plants without forcing them too close. Your aloes will breathe easier—and look healthier for it!