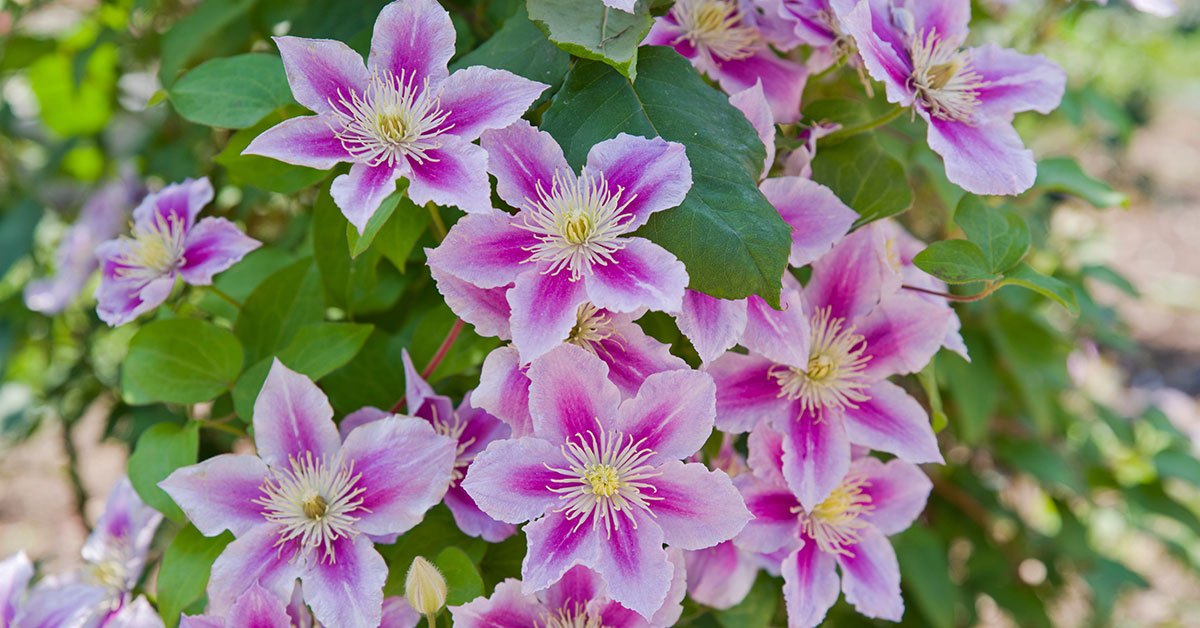

Watching a once-vibrant clematis fade can tug at your heartstrings—those starry blossoms, whether from a Chinese Cle matis armandii or a European Cle matis montana, should dance across trellises by now, not droop in despair! It’s such a bummer when yellowing leaves or sparse blooms signal stress, especially after all your care. But don’t lose hope: with targeted adjustments, your climbing treasure can bounce back to full glory.
I know how frustrating it is to see brittle stems or stunted growth when you’ve envisioned cascades of flowers. Whether your clematis is native to woodlands in Asia or Europe and generally non-invasive—or a self-seeding vigor king like C. vitalba—these ten steps will help you revive root to tip. Grab your trowel, shears, and watering can: a healthier clematis is within reach!
Inspect for Pests and Diseases
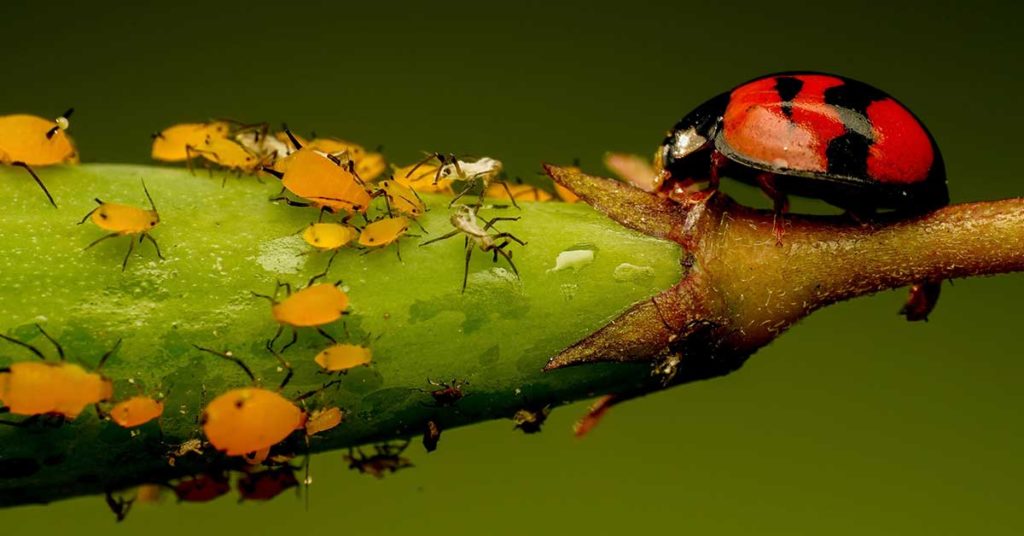
One of the first tasks is a close look for common culprits—aphids clustering on new shoots, spider mites webbing undersides of leaves, or wilt diseases creeping up the stems. Garden clematis (most hybrids aren’t invasive) can suffer from powdery mildew or leaf spot in damp conditions. Carefully prune away any infested or diseased foliage, and dispose of it—never compost!
I’ve rescued many a wilting vine simply by blasting aphid colonies with a gentle spray and applying neem oil. As you clean up, you might notice tiny ground bees nesting at the plant’s base—these solitary pollinators adore clematis flowers and will help boost future bloom set once your vine recovers.
Prune Out Deadwood
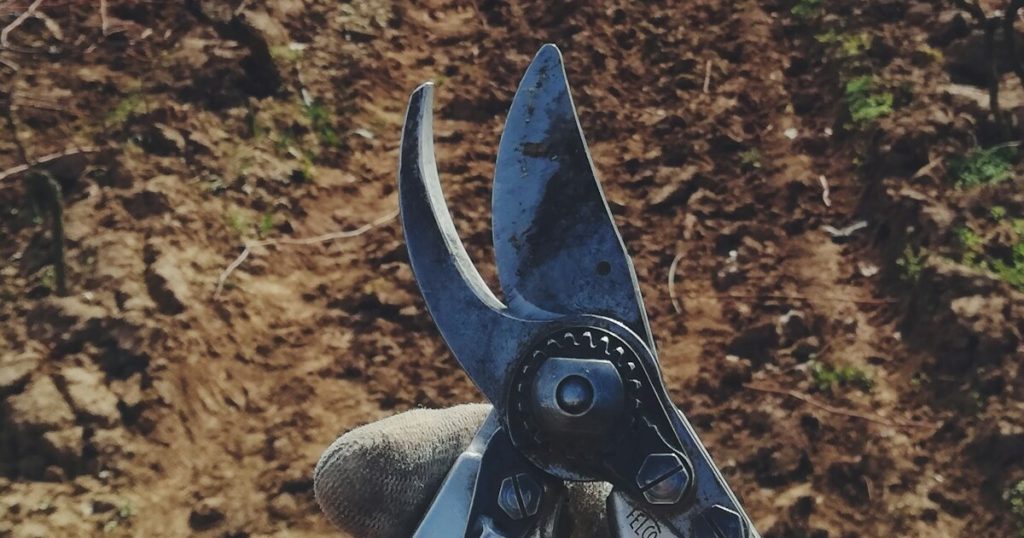
Dead and dying stems sap energy from new growth. Identify the old, brittle canes—often gray or hollow—and cut them back to healthy tissue or the base. For late-flowering large-flowered hybrids, remove last season’s deadwood in early spring. For early-bloomers like C. montana, prune lightly after flowering to preserve next year’s buds.
It’s such a satisfaction to watch fresh green shoots unfurl where stubs once stood! Plus, pruning tidy frameworks creates cozy nesting nooks for ladybird beetles, which patrol for aphids and bolster your vine’s health naturally.
Add Compost or Organic Matter

Clematis crave fertile, moisture-retentive soil. Work several inches of well-rotted compost or leaf mold into the planting area, aiming for a crumbly, loamy texture. This mimics their woodland origins in China and Europe, where roots dwell in rich humus. Organic matter improves drainage, holds vital moisture, and feeds beneficial soil microbes.
After amending, I always mulch lightly with shredded leaves—this not only conserves moisture but also invites predatory ground beetles to nest below, offering ongoing pest patrol. Your clematis roots will thank you with renewed vigor!
Provide Proper Support
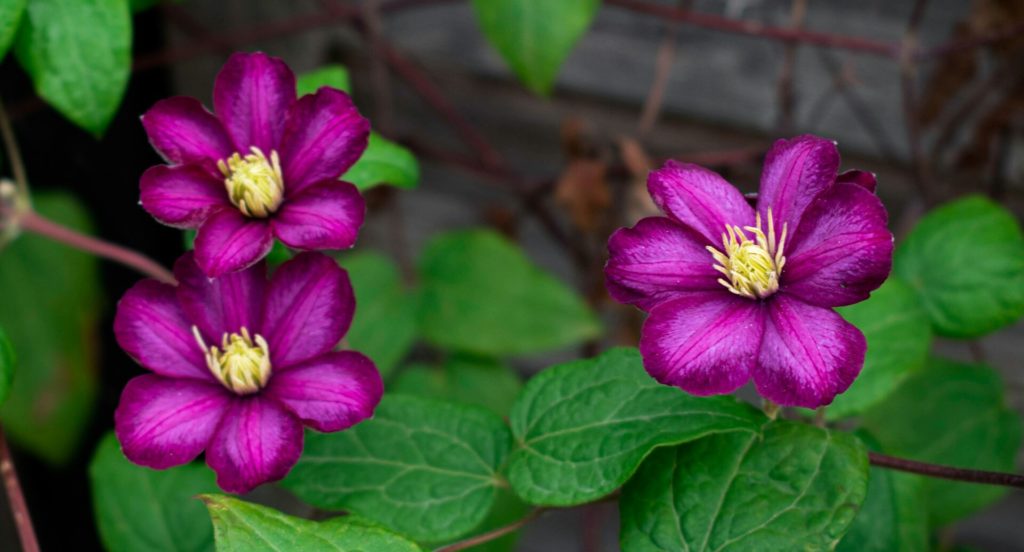
A struggling clematis often chokes on itself when unsupported. Ensure sturdy trellises, obelisks, or mesh panels are in place before new growth surges. Tie emerging shoots gently with soft garden twine, encouraging upward climbing without damaging the bark. Supported vines enjoy better air circulation, reducing fungal risks.
One of my favorite sights is clematis intertwining around a lattice—each new tendril seeking the next foothold! A well-structured vine also offers perfect nesting sites for hummingbird moths, which sip nectar and will return season after season.
Mulch to Regulate Temperature
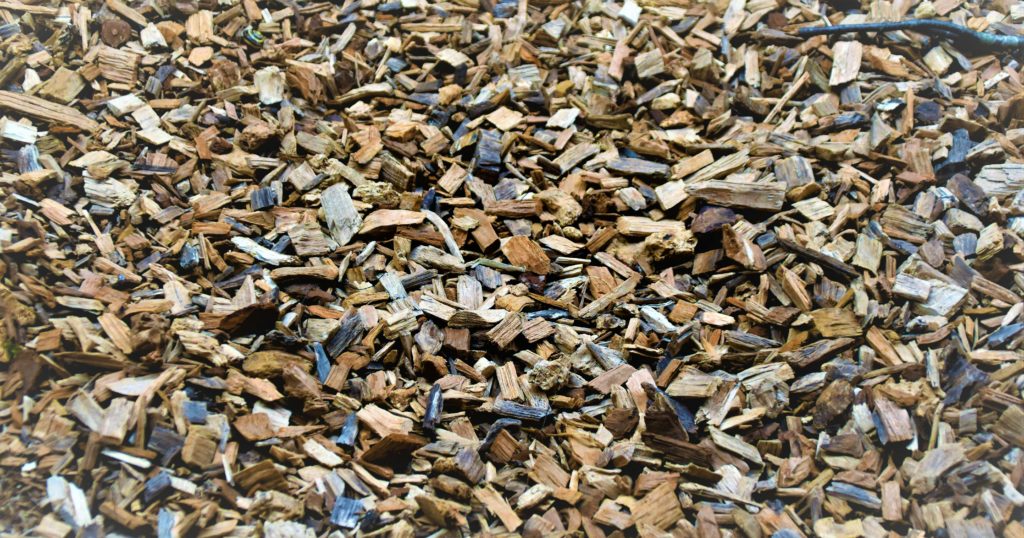
Clematis roots dislike hot, baked soil even if the tops bask in sun. After spring planting or soil amendment, apply a two-inch layer of organic mulch—like shredded bark or straw—around the base, keeping it a couple of inches from the stems. This cools roots, retains moisture, and suppresses weeds that compete for water.
I remember rescuing a wilted vine simply by shading its crown with mulch during a heatwave—overnight new leaves perked up! Bonus: mulch pockets double as cozy winter hideaways for ground-nesting bees, ready to emerge when warm days return.
Test and Amend Soil pH

Clematis thrive in neutral to slightly alkaline soils (pH 6.5–7.5), unlike ericaceous shrubs. Conduct a simple soil test, and if it’s too acidic, add finely ground horticultural lime. If over-alkaline, work in compost or elemental sulfur sparingly. Proper pH ensures nutrient uptake and reduces yellowing leaves.
I once saved a chlorotic vine by lime-feeding the soil—those rich purple flowers came roaring back! With balanced pH, you’ll also create a welcoming environment for earthworms, which aerate soil and deliver nutrients right to your clematis roots.
Ensure Consistent Watering
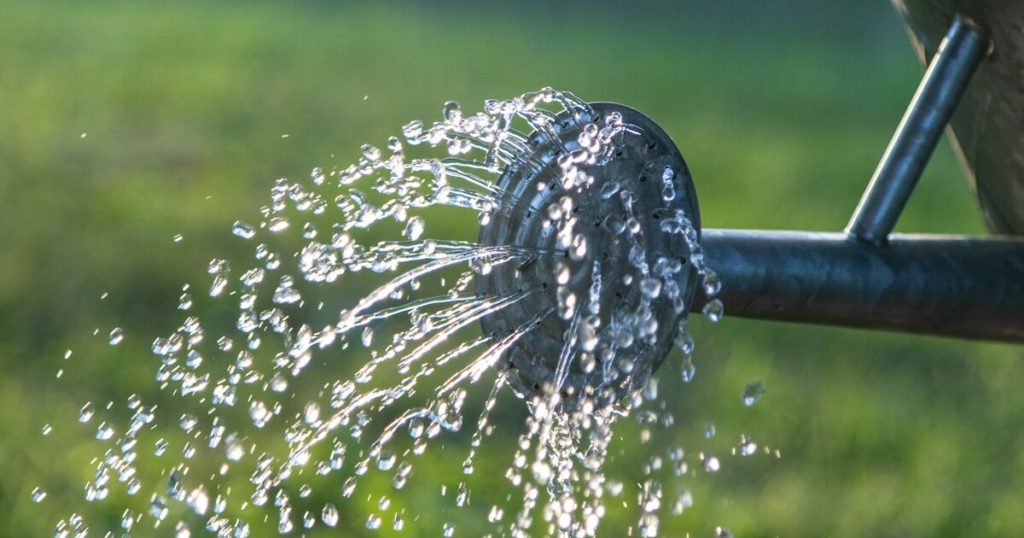
Irregular moisture can stress clematis, causing wilted foliage or aborted flowers. Aim for deep, thorough waterings once or twice a week, rather than daily shallow sprinkles. This encourages roots to explore deeper, stabilizing the plant during dry spells.
I know how tempting it is to rely on rain alone, but supplement with a soaker hose or drip irrigation under the mulch. You’ll notice more robust growth—and that’s when butterflies start fluttering in, drawn by healthy, nectar-rich blooms!
Improve Soil Drainage
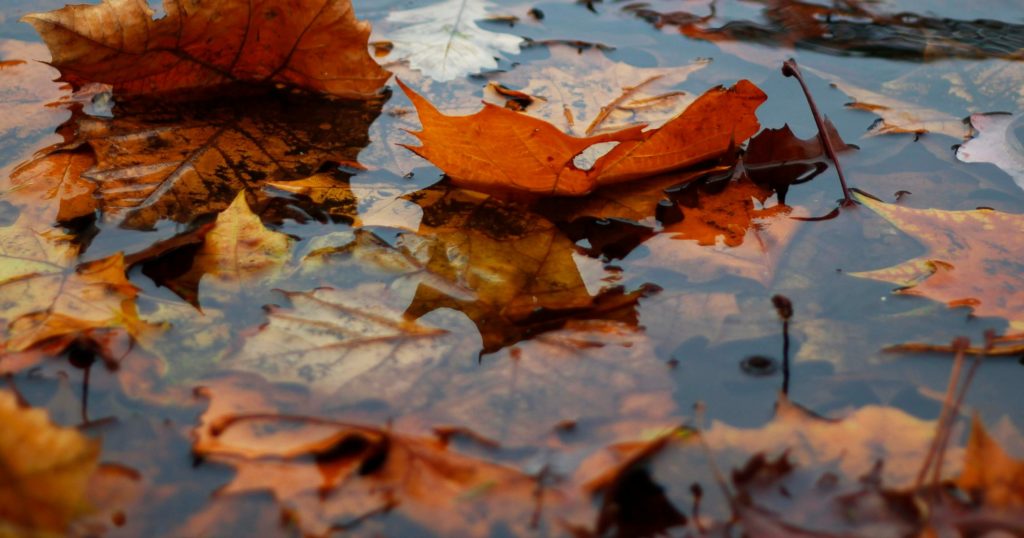
While they enjoy consistent moisture, clematis roots detest waterlogged soil. If your site has heavy clay or puddles, consider raising the planting bed or installing a gravel layer beneath the root zone. Alternatively, plant on a slight mound to allow excess water to flow away.
After installing a raised bed for my old vine, I watched it revive dramatically—no more soggy roots! And with drier roots, woodpeckers and wrens sometimes nest in nearby deadwood, helping control wood-boring pests.
Repot or Refresh the Root Zone

When container-grown clematis decline, it’s often due to root crowding. Gently lift the rootball, prune away dead or circling roots, and replant in fresh potting mix enriched with compost. Choose a generous container—clematis need plenty of room to establish.
It’s such a delight to see roots unfurl in new soil and push up shoots! A freshly repotted vine will reward you with a flush of growth, along with visits from solitary mason bees nesting in cracks of the pot’s surface.
Feed with Balanced Fertilizer
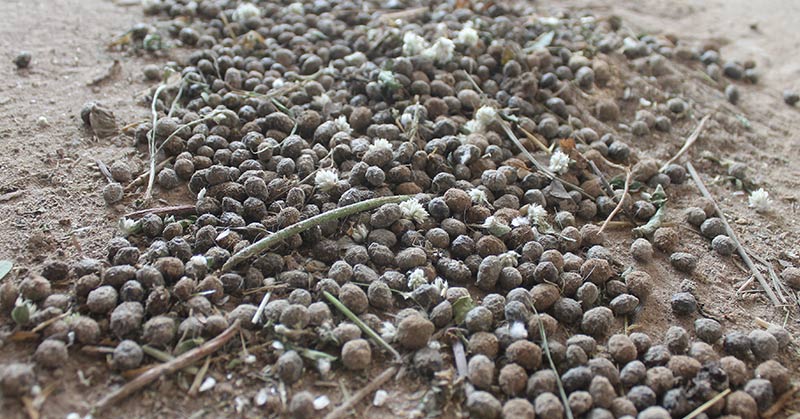
A balanced granular fertilizer (e.g., 10-10-10) applied in early spring and again after first flowering gives clematis the nitrogen, phosphorus, and potassium they need. Avoid high-nitrogen feeds that encourage foliage over flowers. Alternatively, side-dress with compost tea for an organic boost.
I love watching buds swell after feeding—it feels like chef’s choice for your vine! And when flowers open, you’ll see more nectar-loving bees—rewarding you for every handful of feed you’ve carefully applied.