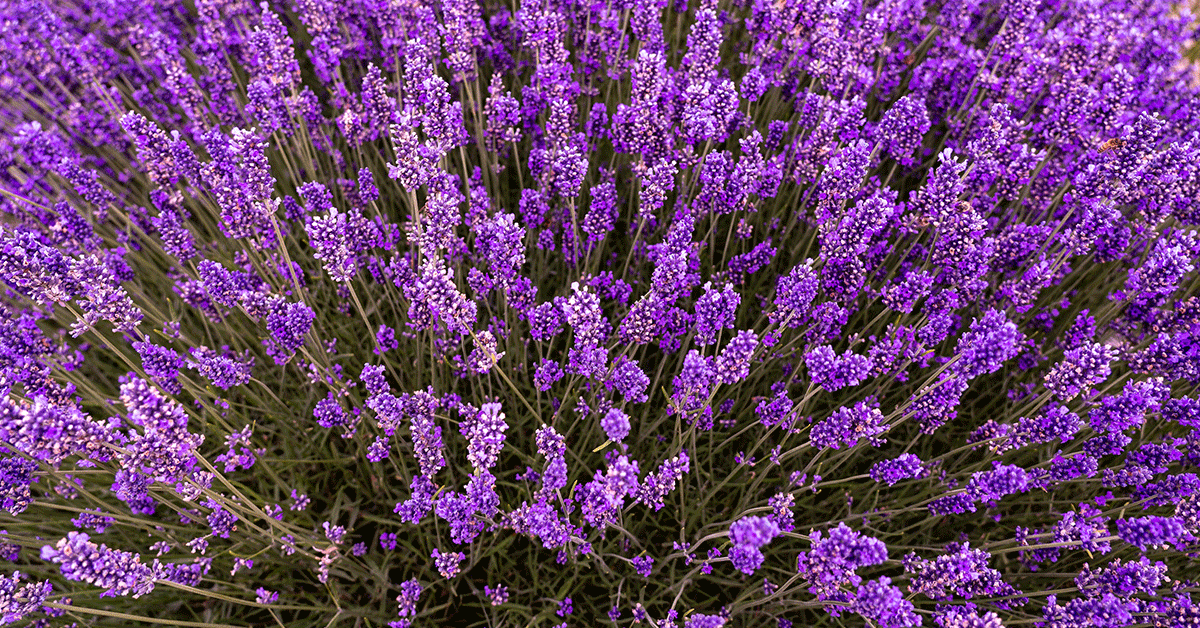

Creating a sea of fragrant purple blooms in your garden is one of the most rewarding experiences a gardener can enjoy. I know how heartbreaking it is when your lavender plants struggle—leggy growth, floppy stems, or worse, sudden die-off! With the right knowledge, you can cultivate robust bushes that stand tall, release heady aromas, and become a magnet for bees and butterflies.
In this guide, I’m sharing eleven in-depth tips—from choosing the perfect Mediterranean-native cultivar to winter-proofing your plants—each packed with details on soil preferences, watering habits, pollinator-attracting behaviors, and even invasiveness concerns. I’ve tested these techniques over many seasons, and trust me, a little planning goes a long way toward those sumptuous lavender harvests!
Harvest at Peak Bloom for Best Aroma

Timing your harvest at the very start of full bloom ensures the highest concentration of essential oils in each flower spike. I snip stems in mid-morning after the dew has dried but before the day’s heat dissipates those precious compounds—this simple trick gives me the richest scent for sachets and homemade soaps!
Bees and hoverflies are especially drawn to lavender’s nectar at this stage, nesting in nearby ground crevices and foraging tirelessly. By harvesting selectively—never stripping an entire plant—you leave enough blooms to sustain these beneficial insects, which in turn help keep pests at bay.
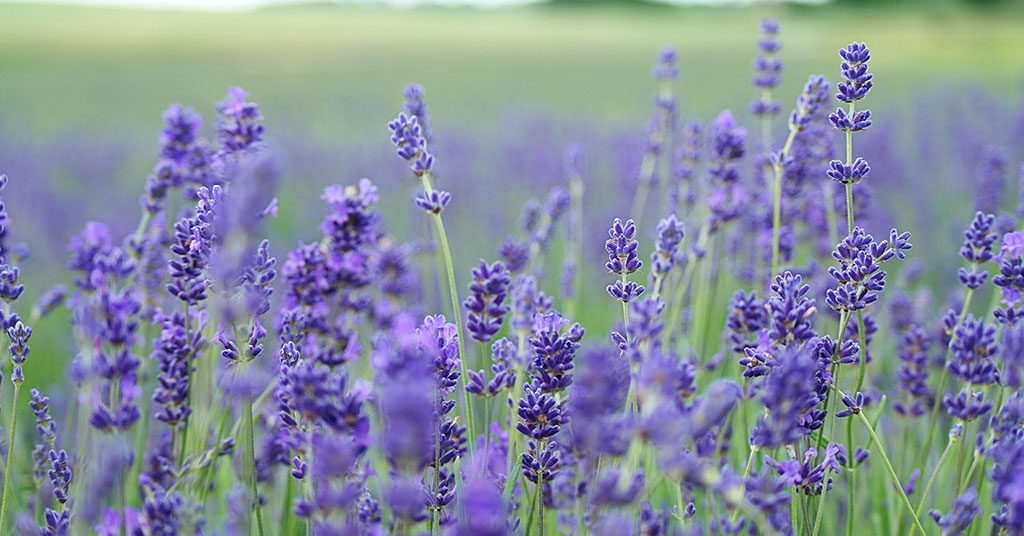
Provide Full Sun Exposure

Lavender evolved on sun-baked slopes of the Mediterranean; it demands at least six hours of direct sunlight daily to develop its characteristic oil profile and sturdy stems. I often position my plants along south-facing borders or atop raised beds to maximize sun exposure—no shady nooks allowed!
Sunlight not only fuels photosynthesis but also discourages fungal diseases. Those sprawling umbels become brittle and well-spaced in full sun, leaving gaps where air can circulate and moisture won’t linger—a huge relief when damp weather threatens crown rot.
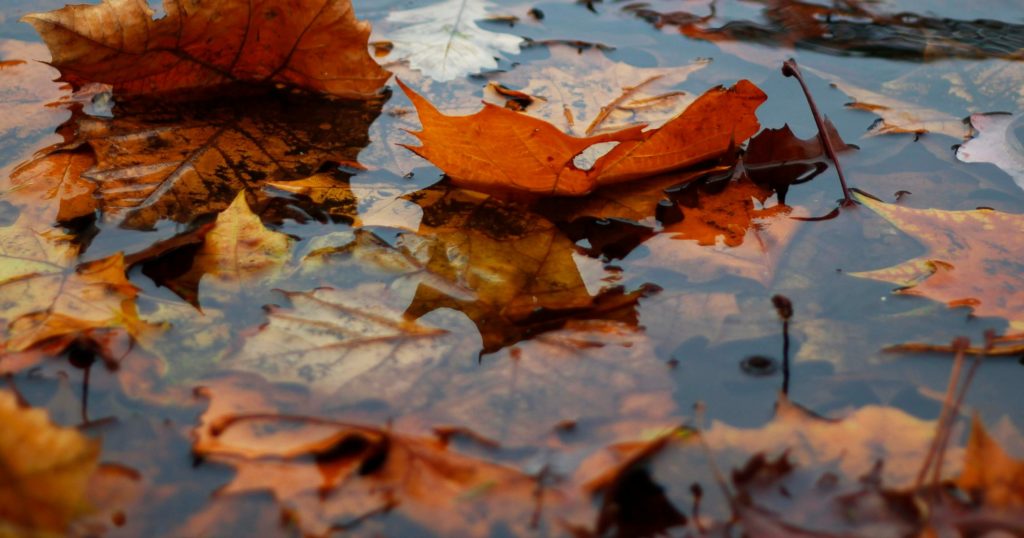
Winter Protection and Mulching

Although English lavender (Lavandula angustifolia) is hardy to USDA Zone 5, my Rocky Mountain winters taught me to add a light layer of straw mulch around the crown after the first hard frost. This buffer guards against freeze–thaw cycles that can heave roots out of the ground!
In spring, I gently rake back the mulch to avoid trapping moisture and inviting fungal issues. Lavender rarely becomes invasive here—its roots dislike soggy conditions—so this seasonal cover is purely protective, ensuring your plants bounce back vigorously come April.
Select the Right Lavender Variety
One of my favorite plants is ‘Munstead’ lavender, prized for its compact habit and cold tolerance down to –20°F. But if you live in hotter zones, consider Spanish lavender (Lavandula stoechas), which thrives in high heat and blooms earlier—just be mindful it can naturalize in very warm, dry climates.
When sourcing plants, check the cultivar’s origin: French lavenders perform beautifully in arid soils, while English types shine in cooler, marginally wetter climates. None of these are considered aggressively invasive, but matching variety to microclimate is key for a lush stand!
Water Sparingly but Deeply
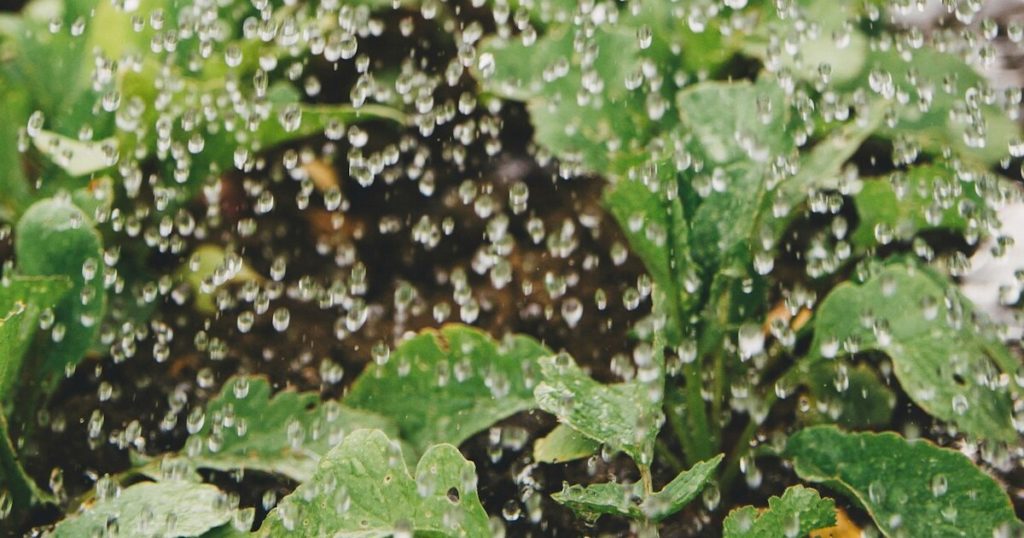
Lavender hates “wet feet.” After an initial soak at planting, I water deeply only once every ten to fourteen days, allowing the top two inches of soil to dry out thoroughly between drinks. This trains roots to dive deep in search of moisture, resulting in sturdier, drought-tolerant bushes!
Shallow, frequent watering encourages surface roots, making plants vulnerable to summer wilt and winter rot. With a deep soak schedule, I’ve seen my lavender produce more dense foliage and longer bloom spikes—without turning into a thirsty garden diva.
Ensure Excellent Drainage
In nature, lavender thrives on rocky, slope-side terrain where water races away instantly. Mimic these conditions by planting on raised mounds or in gritty, sand-amended beds. I mix one part horticultural sand and one part small gravel into each planting hole to guarantee rapid runoff.
Poor drainage is the number-one killer of lavender—and it can trigger opportunistic pests like root-knot nematodes seeking stressed plants. By replicating its native, free-draining habitat, you give lavender the confidence to focus on bloom production rather than survival!
Prune Regularly for Bushy Growth
After the first flush of flowers, I trim back about one-third of each stem—just above a set of leaf nodes—to prevent woody, unproductive centers. This technique encourages multiple side shoots, creating a compact, rounded form bursting with fresh buds!
Pruning also improves air circulation within the canopy, discouraging fungal pathogens that nestle in dense, unpruned foliage. Over time, this disciplined routine has transformed lanky plants into tidy, pollinator-friendly hedges that hum with bee activity.
Attract Pollinators and Beneficial Insects
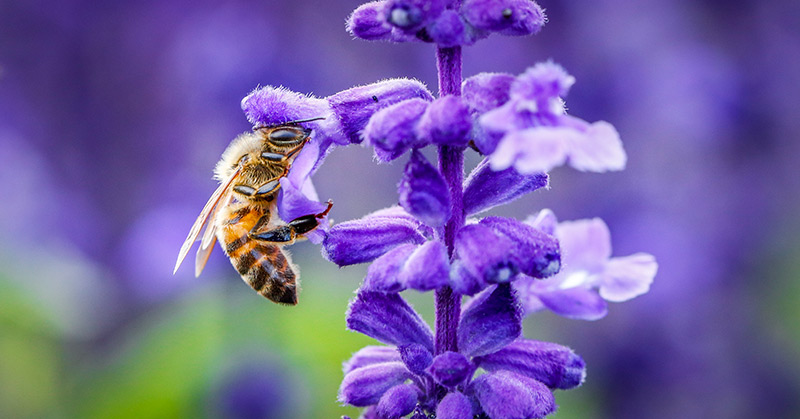
Lavender is a magnet for honeybees, bumblebees, and a host of solitary species, many of which nest in the dry, loose soil beneath the plants. I leave small patches of bare ground nearby so ground-nesting bees can burrow comfortably, ensuring your garden buzzes with activity all summer!
Companion-planting with catmint and yarrow further diversifies your insectary, drawing lacewings and parasitic wasps that prey on common pests. By fostering this ecological balance, your lavender stands remain healthy without the need for chemical sprays.
Amend Soil to Mimic Native Conditions

Lavender prefers slightly alkaline soil (pH 6.7–7.3), rich in calcium but low in organic debris. I test my soil pH annually and sprinkle finely crushed oyster shell or garden lime if it dips below 6.5. These amendments mimic the calcareous soils of its native Mediterranean home!
Unlike heavy, organic-rich beds, lavender beds benefit from minimal compost—too much nitrogen leads to lush foliage with few flowers. By carefully tweaking pH and texture, I’ve seen dramatic increases in bud counts and essential-oil potency.
Fertilize Sparingly with Balanced Amendments

Lavender generally thrives on neglect—excess fertilizer invites floppy growth and mildew. I apply a very light dusting of balanced granular fertilizer (5-5-5) in early spring, just as new shoots emerge, and that’s it for the season!
If your plants look pale or stunted, a foliar feed of worm-casting tea can give a gentle lift without overwhelming them. Over the years, I’ve learned that less really is more—lavender shines when it’s slightly stressed, channeling energy into blooms rather than lush leaves.
Use Light Mulch to Retain Heat
In cooler climates, a thin layer of pea gravel or small river rock around the base of lavender plants traps daytime heat and releases it at night, extending the bloom season! I scatter a 1-inch layer, taking care not to pile material against the woody stems.
This mineral mulch also deters weeds, reducing competition for water and improving drainage at the soil surface. Unlike organic mulches that can stay too damp, the rocky layer keeps the root zone both warm and airy—just the way lavender likes it!