
I absolutely adore mint for its invigorating scent, culinary versatility, and ease of growth—yet I know firsthand how a humble sprig can morph into a rampant green jungle if left unchecked! It’s such a bummer when your well-intentioned herb patch turns into a mint swamp, smothering nearby plants. Whether you dream of endless mojitos, fragrant sachets, or just the joy of brushing past lush, aromatic foliage, a massive mint garden can be incredibly rewarding—if you harness its vigor correctly.
In the tips below, I’ll share a dozen strategies, each rooted in my own gardening trials, to help you cultivate a thriving, well-managed mint oasis. We’ll cover everything from selecting the right varieties (native ranges and invasiveness, included!) to attracting pollinators and even strategic harvesting. Let’s dive in and transform your mint ambitions into a bountiful reality!
Contain the Spread with Root Barriers
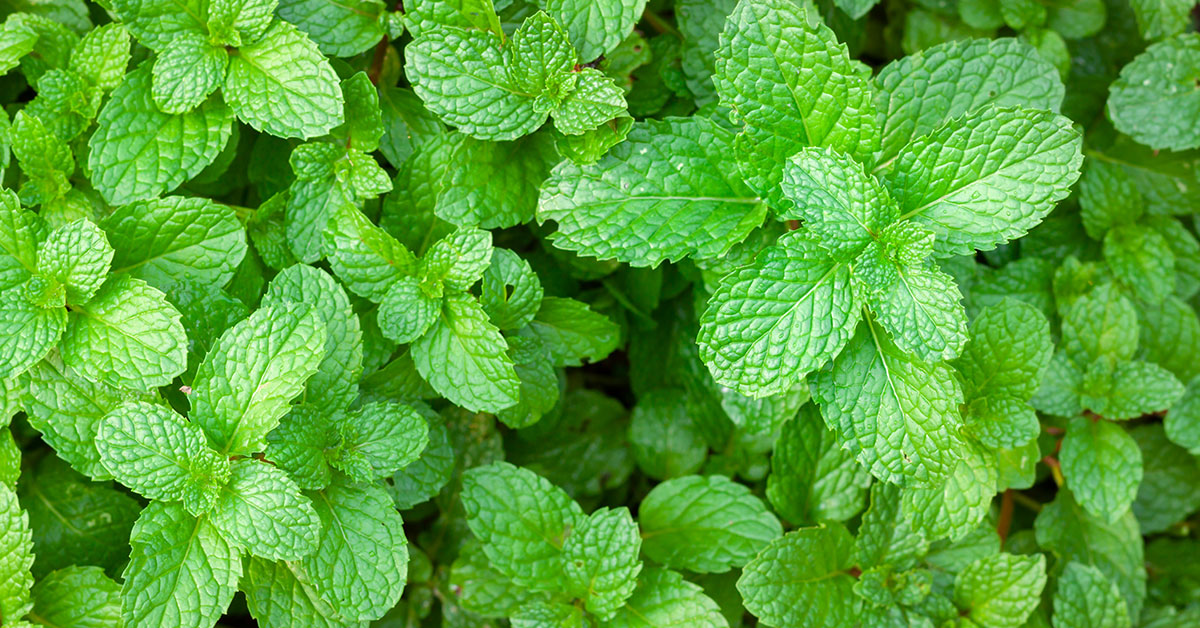
Mint’s creeping rhizomes are fantastic for filling space quickly but notorious for escaping their bounds. Native to Europe and parts of Asia, many Mentha species have naturalized in North America, sometimes becoming invasive when unchecked. To prevent a mint takeover, sink a sturdy root barrier—plastic or metal—into the soil around your planting area, at least 10–12 inches deep, effectively corralling those underground runners!
I learned the hard way when a patch of peppermint started popping up in my vegetable beds, crowding out carrots. Now I view my barrier like a corral for a wild stallion—firmly in place and low maintenance. Plus, you’ll still enjoy the rapid fill-in of mint without surprise seedlings invading every corner of your garden!
Choose Containers or Raised Beds

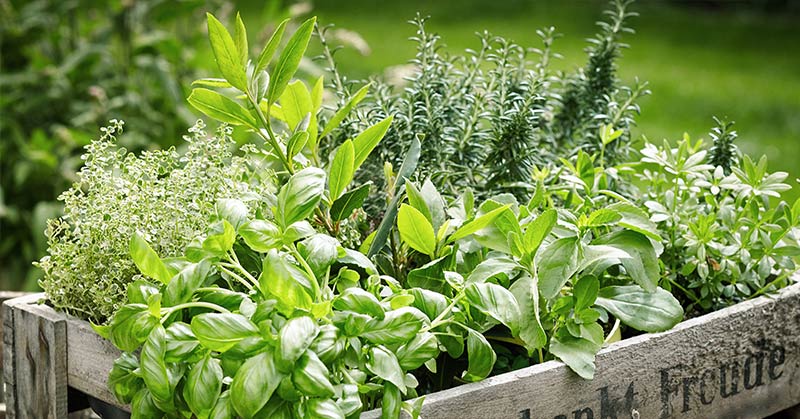
One of my favorite tricks for a massive yet controlled mint patch is to grow in large containers or raised beds. Containers restrict root spread, making it simple to give each mint variety its own spacious home. Raised beds, lined with landscape fabric or buried pots, offer the same benefits on a grander scale, while keeping soil moisture and fertility consistent.
Growing mint higher than ground level also invites beneficial insects—hoverflies and solitary bees love perching on pot rims or bed edges! I often spot leafcutter bees nesting in the narrow crevices between boards, tucked in for the night. Containers double as mini-insect hotels, adding wildlife interest to your green haven.
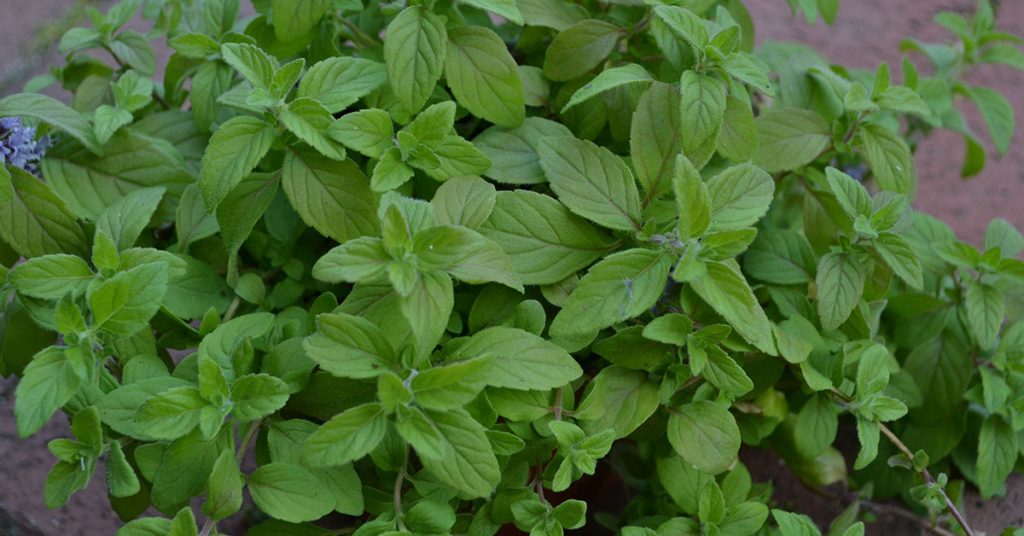
Select the Right Mint Varieties
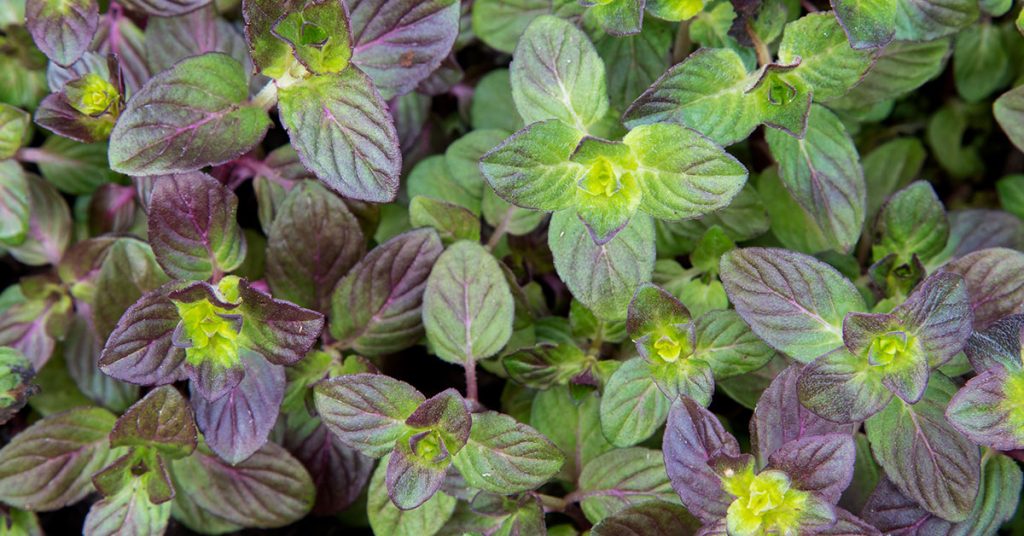
With over 20 Mentha species and countless hybrids, mint covers a vast flavor spectrum. Peppermint (Mentha × piperita) is a classic with cooling menthol notes, while Corsican mint (Mentha requienii), native to the Mediterranean, stays low and carpet-like, perfect for edging. Spearmint (Mentha spicata), originally from Europe and Asia, can reach 2 feet tall and spreads vigorously—choose sterile cultivars if invasiveness concerns you.
One of my favorite garden experiments involved planting chocolate mint (Mentha × piperita fuscata) alongside lime mint (Mentha × amphioxus)—the contrasting aromas delight the senses and draw a parade of bees! Always check a variety’s growth habit before buying, so you can plan for its ultimate size and spread without unwelcome surprises.
Optimize Soil Conditions

Mint thrives in rich, loamy soil with plenty of organic matter. Native to damp riverbanks and wet meadows in Eurasia, it appreciates consistent fertility. Before planting, amend your beds or containers with well-rotted compost or aged manure to boost microbial activity—this improves nutrient uptake and root health.
Good soil structure also supports nesting ground bees, which excavate tunnels in loose earth. I once spotted a mining bee community flourishing under a mint hedge, each female shaping its own burrow. Ample organic matter keeps soil crumbly, inviting these tiny guardians into your garden!
Maintain Consistent Moisture

While mint can tolerate brief dry spells, it truly shines when kept evenly moist—just not waterlogged. Installing a drip irrigation line or soaker hose beneath the canopy ensures water reaches the roots without saturating the foliage, which can invite fungal diseases.
Consistent moisture also attracts hoverflies and parasitic wasps, both keen to hunt aphids hiding among mint leaves. I love the soft hum of these beneficials diving in and out of droplets at dawn! Just monitor rainfall and adjust irrigation to keep your mint garden at its lush best.
Start from Cuttings or Divisions

Propagating mint from cuttings or root divisions guarantees genetic consistency and quick establishment. Simply snip a 4–6-inch stem, strip the lower leaves, and place it in water or moist soil until roots emerge. For divisions, lift an established clump, separate rhizome sections with buds, and replant immediately.
This method also helps you rescue desirable traits from volunteer patches—once I found a variegated spearmint seedling and promptly divided it to share with friends. It’s such a thrill to coax new life from hidden runners!
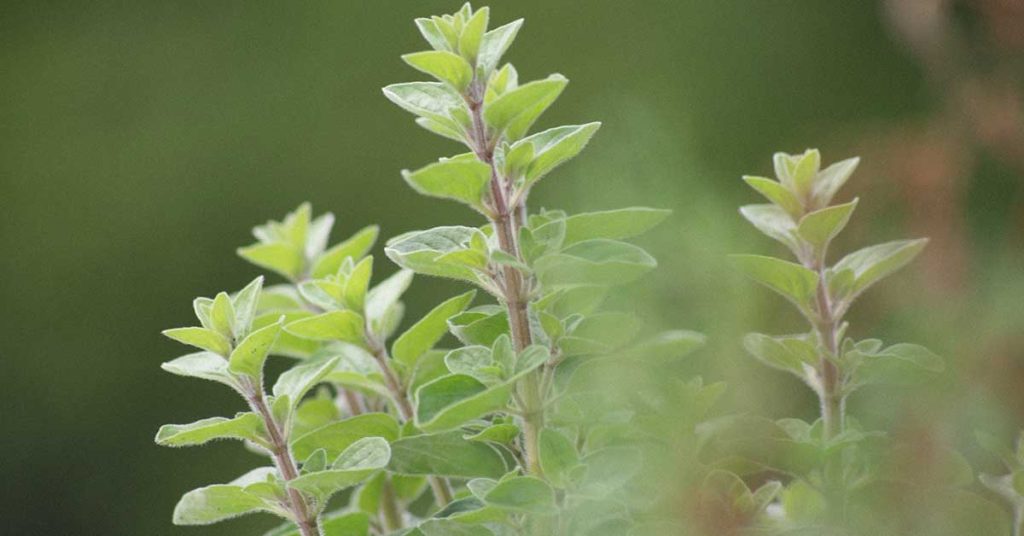
Prune and Pinch Back Regularly

Prevent lanky, leggy growth by pinching back new shoots once they reach 6–8 inches. Regular pruning encourages bushier plants and more foliage, letting you harvest abundantly without thinning entire stems. Late spring pinching also delays flowering—mint that blooms produces fewer aromatic leaves!
I do a quick midday prune three times each growing season, and my mint patch simultaneously becomes denser and more fragrant. Plus, the trimmed stems attract small wasps that set up nests in the cut stems, offering natural pest control.
Provide Seasonal Divisions

Every two to three years, divide your mint clumps to reinvigorate them and prevent overcrowding. Early spring or fall is ideal: lift each barrier-enclosed section, split the root mass into halves or quarters, then replant with fresh compost. This simple routine keeps your mint lush and prevents central die-out.
Dividing also gives you extra sections to trade with gardening pals—nothing beats gifting a thriving mint division to a friend. Sharing plants is a wonderful way to build community and spread those aromatic wonders far and wide!
Fertilize Thoughtfully

Mint is a moderate feeder; overdoing nitrogen-heavy fertilizers leads to floppy, weak stems. Instead, apply a balanced, organic granular fertilizer or fish emulsion once after spring growth kicks in. A light top-dressing of compost midseason also refreshes nutrients without shocking the plants.
Thoughtful feeding encourages stronger stems that welcome pollinators. I’ve watched bumblebees burrow into dense mint blooms on well-fed plants, sometimes nesting in the loose mulch beneath—proof that mint and beneficial insects form delightful partnerships!
Integrate with Companion Plants
Mint pairs beautifully with plants that enjoy similar conditions—like oregano, lemon balm, and certain salvias—creating a sensory-rich border. Just be mindful of mint’s vigor; surround it with equally tenacious companions or plant in containers alongside gentler species.
This diversity also draws a variety of pollinators. In my garden, mint’s lavender-green flowers bloom alongside marigolds and echinacea, forming a pollinator buffet where bees and butterflies flit from one bloom to the next. It’s a joyful, living tapestry!
Attract Beneficial Pollinators
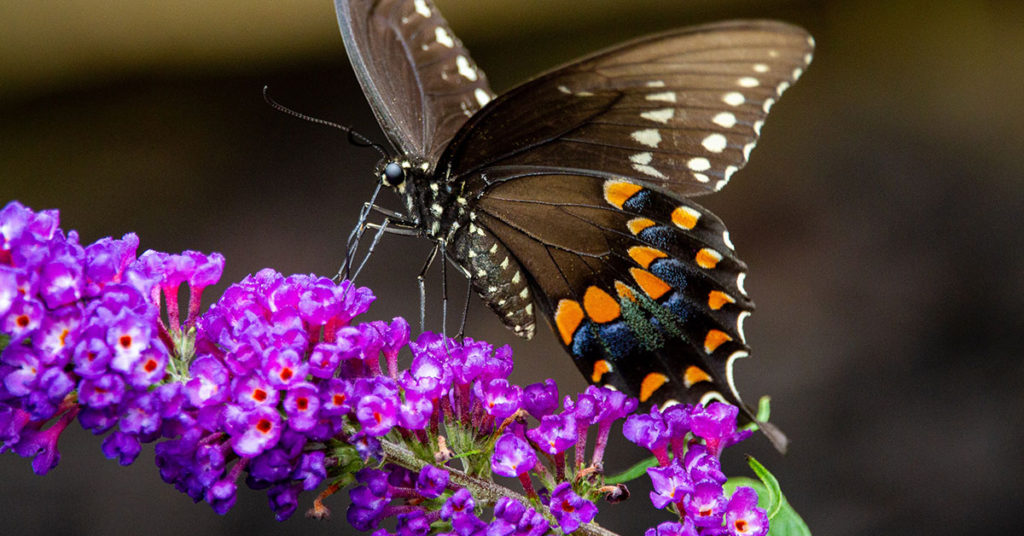
Allow your mint to flower briefly—those small lilac or white blooms are magnets for bees, butterflies, and hoverflies. Monarchs and swallowtails often sip nectar from mint flowers, while mining bees nest in nearby bare patches you’ve left undisturbed.
One season, I spotted a family of halictid bees excavating tunnels at the mint row’s edge—such a heartwarming sight! By leaving flowering stems for a week or two, you’ll transform your mint garden into a buzzing wildlife haven.
Harvest and Dry Strategically
To build a massive mint harvest, start snipping lower leaves early in the season and continue regularly. Harvesting in the cool morning preserves essential oils, giving you the most potent flavor. For drying, bundle stems and hang them upside-down in a warm, well-ventilated spot—retaining fragrance for teas and sachets!
I love bundling my mint harvest with lavender and rosemary, creating rustic wreaths that perfume the kitchen all winter. Drying also invites pantry moths to nest in any stray debris, so I store dried leaves in sealed glass jars—keeping your hard-won harvest safe and flavorful!