
As the vibrant colors of spring fade and the crisp air of late summer approaches, it’s time for gardeners to turn their attention to the crucial task of harvesting and storing bulbs for next year’s blooming season. Successfully managing your bulbs during this period ensures a spectacular display of flowers when the weather warms up again. Whether you’re cultivating tulips, daffodils, crocuses, or other spring favorites, understanding the best practices for harvesting and storing bulbs is essential for maintaining a healthy and thriving garden.
I know how disheartening it can be to see your beautiful spring blooms fade away, only to wait another year for them to return. It’s such a bummer when bulbs aren’t properly harvested or stored, leading to reduced flowering or even loss of plants altogether. But fear not! With a bit of knowledge and the right techniques, you can preserve your bulbs effectively, ensuring they remain robust and ready to burst into color when spring arrives. Let’s dive into some of my favorite tips and methods for harvesting and storing bulbs, setting the stage for a vibrant and flourishing garden year after year!
Cleaning and Drying Bulbs

One of the most important steps in harvesting bulbs is ensuring they are thoroughly cleaned and dried before storage. After carefully digging up your bulbs, gently shake off any excess soil and inspect each one for signs of damage or disease. Remove any dead or damaged bulbs, as these can harbor pests and pathogens that may affect healthy bulbs during storage. It’s such a relief to know that by taking the time to clean your bulbs, you’re preventing potential problems and ensuring only the strongest bulbs make it into storage!
Once cleaned, allow your bulbs to dry in a cool, well-ventilated area for several days. Spread them out in a single layer on a newspaper or a clean cloth, ensuring good air circulation around each bulb. Proper drying helps to prevent mold and rot, which can compromise the integrity of your bulbs and reduce their viability for next spring. It’s incredibly satisfying to see your bulbs dry perfectly, ready to be stored safely until planting time. Taking this extra step not only prolongs the life of your bulbs but also enhances their ability to produce beautiful blooms when the growing season returns!
Selecting Healthy Bulbs for Planting
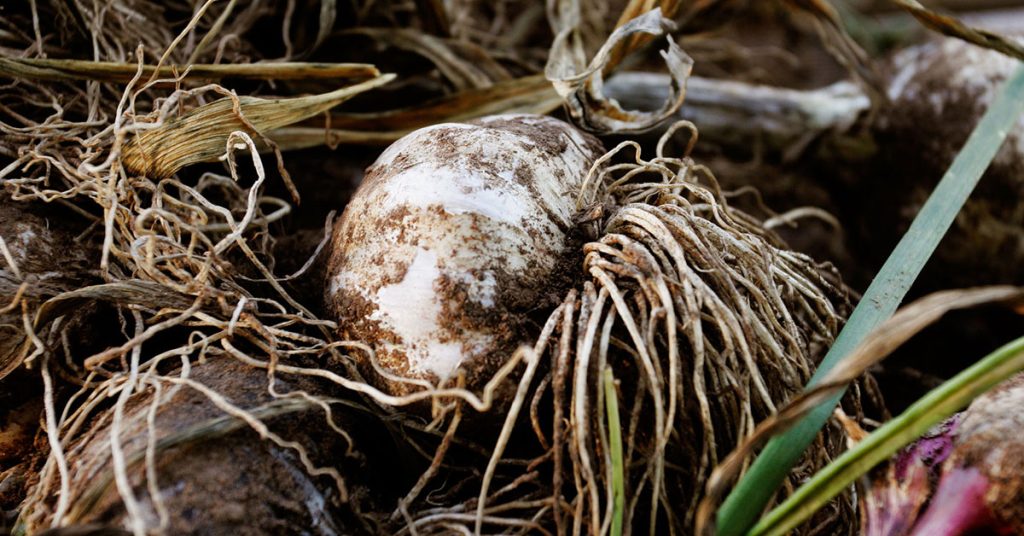
Choosing the right bulbs to harvest is crucial for ensuring a successful spring bloom. Look for bulbs that are firm, plump, and free from any signs of rot, mold, or damage. Healthy bulbs typically have a smooth, unblemished surface and feel heavy for their size, indicating that they are full of nutrients and ready to grow. It’s such a joy to identify and select the healthiest bulbs, knowing that they will give you the most stunning display next year!
Additionally, consider the type and variety of bulbs you are harvesting, as some may have different storage and planting requirements. For example, tulips and daffodils are generally easy to store and replant, while more delicate varieties like crocuses might need extra care. Understanding the specific needs of each bulb type helps you tailor your harvesting and storage practices, ensuring that every bulb you choose has the best chance of thriving. By selecting only the healthiest bulbs, you set the foundation for a vibrant and resilient garden that bursts into color each spring!
Preventing Pests and Diseases During Storage
Maintaining a pest-free and disease-free environment during bulb storage is essential for preserving their quality and viability. Before storing, inspect each bulb for any signs of pests such as mites, aphids, or bulb flies. If you spot any pests, isolate the affected bulbs and treat them accordingly to prevent infestation from spreading to healthy bulbs. It’s such a relief to know that by taking these precautions, you’re safeguarding your entire bulb collection from potential threats!
Using breathable storage containers is another key factor in preventing pests and diseases. Store your bulbs in mesh bags, paper bags, or ventilated boxes that allow air circulation while keeping pests out. Avoid using plastic containers, as they can trap moisture and create an ideal environment for mold and rot. Additionally, keeping the storage area cool, dry, and dark further reduces the risk of pest infestation and disease development. By implementing these pest and disease prevention measures, you ensure that your bulbs remain healthy and ready to thrive when it’s time to plant them again!
Storing Bulbs for Winter

Proper storage conditions are paramount for maintaining the health and viability of your bulbs throughout the winter months. Bulbs should be kept in a cool, dry, and dark place with temperatures ranging between 35-45°F (1.6-7.2°C). Ideal storage locations include unheated garages, basements, or root cellars where temperature fluctuations are minimal. It’s such a relief to find the perfect spot that mimics their natural dormancy conditions, ensuring your bulbs remain dormant but alive until planting time!
To further protect your bulbs during storage, consider using desiccants such as peat moss or vermiculite to absorb any excess moisture and prevent mold growth. Placing bulbs in layers with protective padding, such as shredded paper or straw, can also provide additional insulation and reduce the risk of bruising or damage. Regularly checking your stored bulbs for signs of moisture or pests and adjusting storage conditions as needed helps maintain their integrity and readiness for spring planting. By creating an optimal storage environment, you extend the life of your bulbs and ensure they remain robust and ready to bloom when the weather warms up!
Planting Bulbs for Spring Blooming
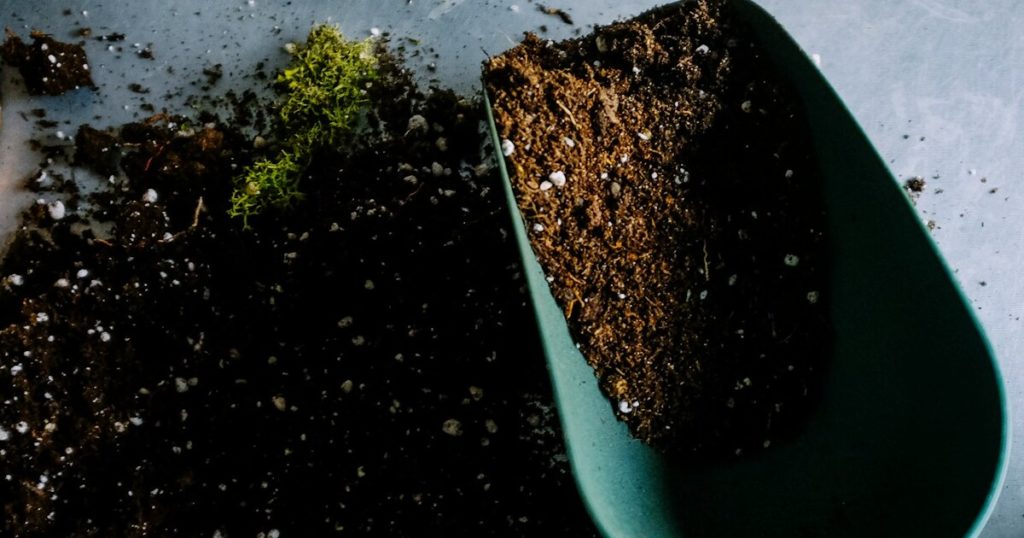
When spring arrives and the soil begins to warm, it’s time to plant your stored bulbs for a stunning display of blooms. Start by selecting a well-draining location in your garden that receives ample sunlight, as most spring-flowering bulbs thrive in full to partial sun. Prepare the soil by loosening it to a depth of at least 8-12 inches and incorporating organic matter such as compost to improve fertility and drainage. It’s such a satisfying moment to see your garden beds ready to receive the carefully stored bulbs, knowing that each one holds the promise of beautiful spring flowers!
Plant each bulb at a depth roughly two to three times its height, with the pointed end facing upward. Space them appropriately to allow for adequate airflow and growth, preventing overcrowding and reducing the risk of disease. Water the bulbs thoroughly after planting to help settle the soil and provide initial moisture for root establishment. Mulching with a layer of straw or shredded leaves can further protect the bulbs from temperature fluctuations and moisture loss. By planting your bulbs with care and precision, you set the stage for a vibrant and flourishing garden that rewards your diligent harvesting and storage efforts with a breathtaking spring bloom!
Common Bulb Varieties and Their Characteristics
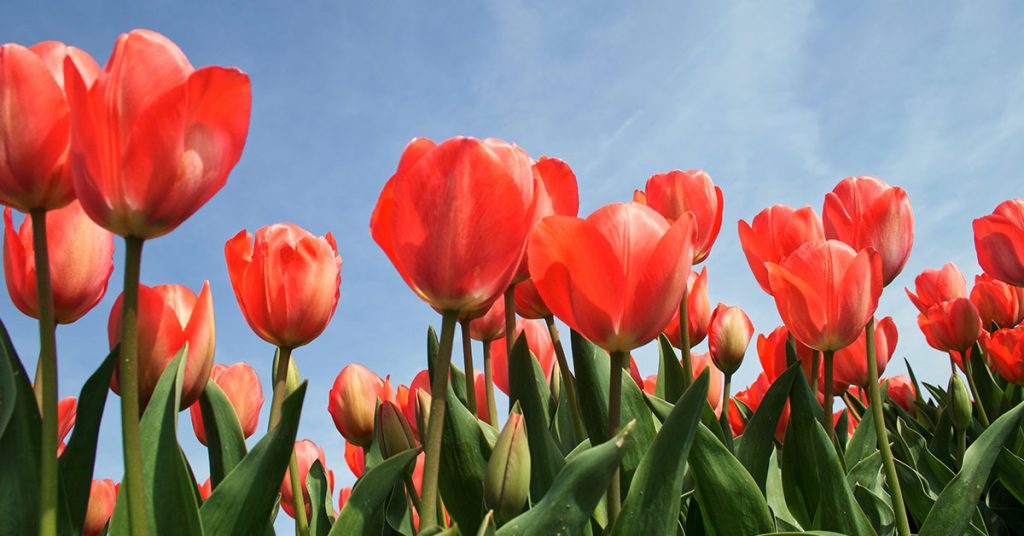
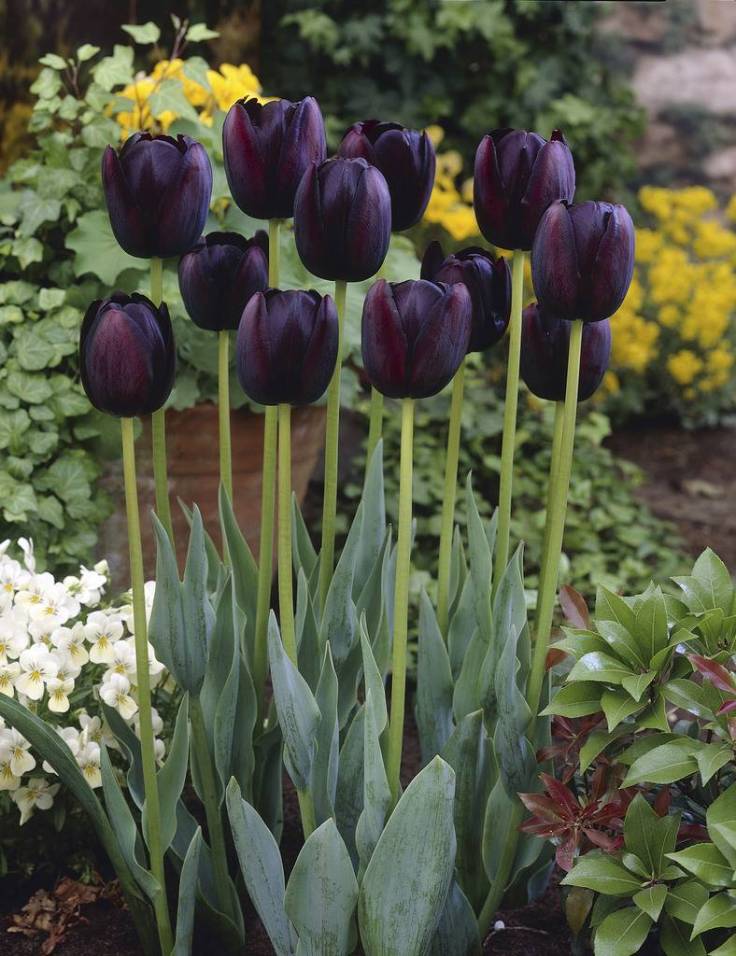
Understanding the characteristics of different bulb varieties can help you make informed decisions about which ones to harvest and store for spring blooming. Tulips (Tulipa spp.) are among the most popular spring bulbs, known for their wide range of colors and elegant shapes. Native to Central Asia, tulips require a period of cold dormancy to bloom successfully, making them perfect candidates for late fall harvesting and storage. Their sturdy stems and vibrant blooms add a touch of sophistication to any garden, attracting pollinators like bees and butterflies.
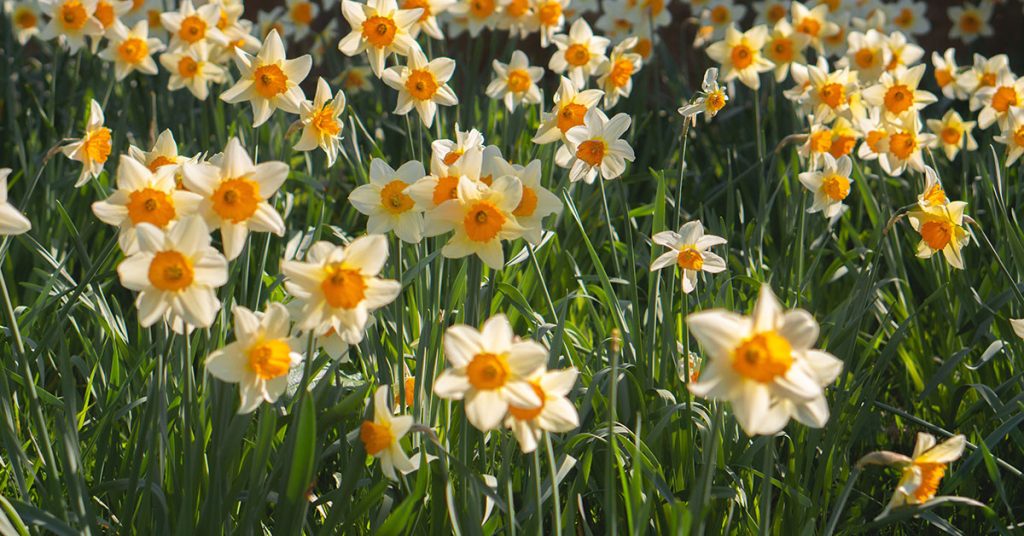
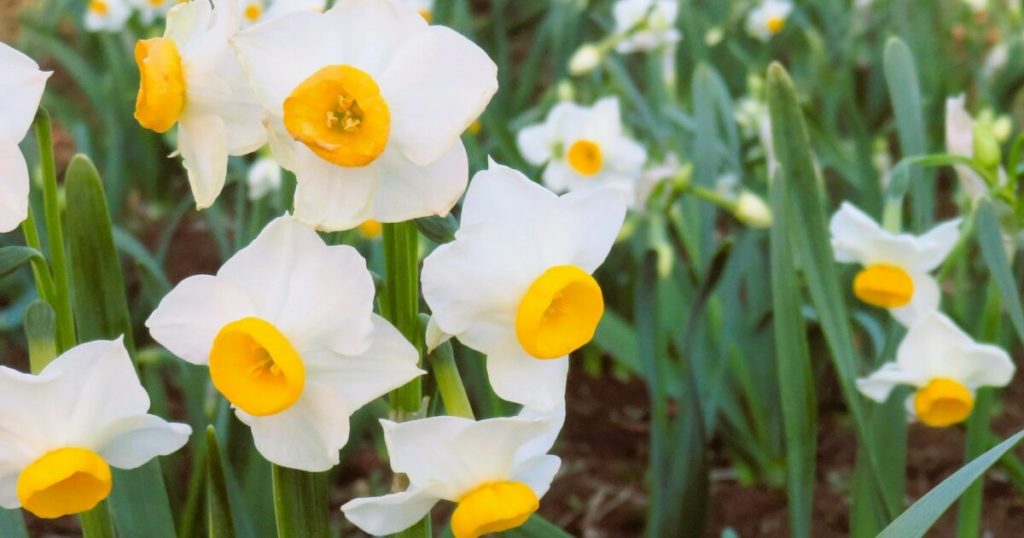
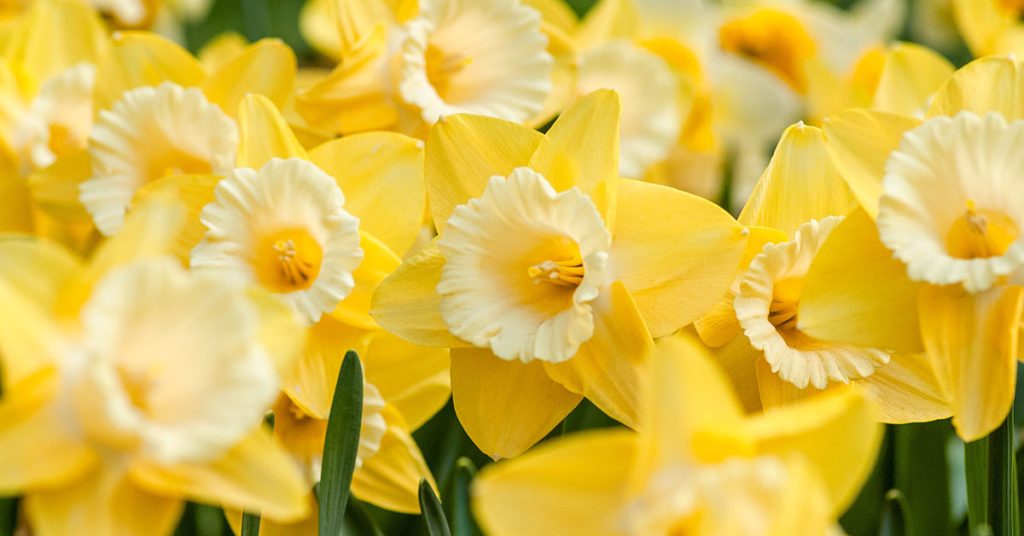
Daffodils (Narcissus spp.) are another favorite, celebrated for their bright yellow and white flowers that symbolize the arrival of spring. Native to Europe and North Africa, daffodils are exceptionally hardy and resistant to pests, making them easy to care for and store. They thrive in well-drained soil and are often planted in clusters to create stunning visual displays. Additionally, daffodils are non-invasive, ensuring they integrate seamlessly into your garden without disrupting local ecosystems. By familiarizing yourself with the unique traits of each bulb variety, you can tailor your harvesting and storage practices to maximize their beauty and longevity in your spring garden!
When to Harvest Bulbs
Timing is critical when it comes to harvesting bulbs for successful storage and spring blooming. The ideal time to dig up bulbs is after the foliage has died back naturally in the late fall. Allowing the leaves to wither completely ensures that the bulb has stored enough energy for next year’s growth. It’s such a rewarding moment to see your garden transition from vibrant blooms to dormant foliage, signaling the perfect time to harvest your bulbs!
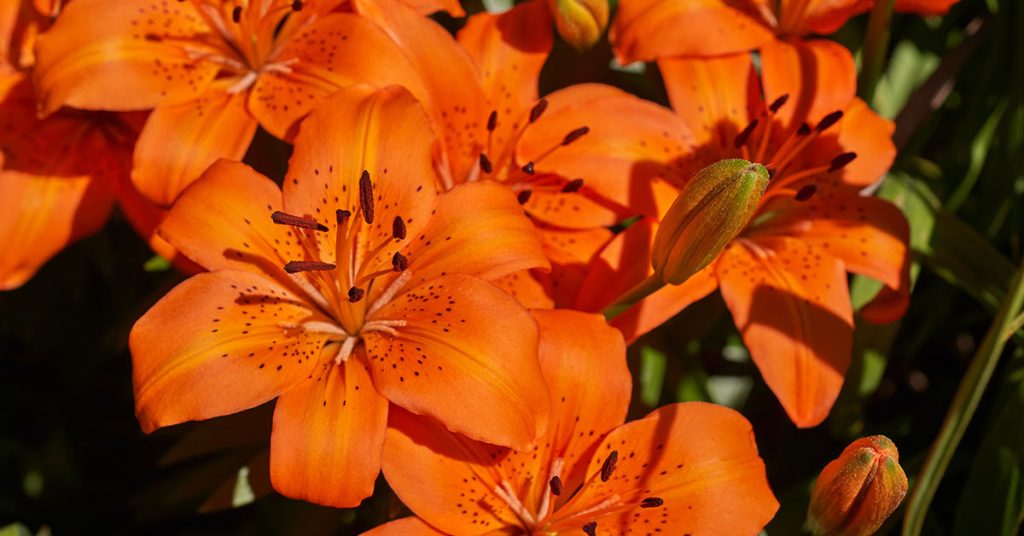
For spring-flowering bulbs like tulips and daffodils, it’s important to wait until the foliage turns yellow and starts to dry out before digging them up. Cutting the foliage too early can reduce the bulb’s energy reserves, weakening its ability to bloom the following spring. In contrast, summer-flowering bulbs such as lilies and gladioli should be harvested after the flowers have faded and the stems have dried. Understanding the specific harvesting times for each bulb type ensures that you collect them at their peak, maximizing their health and blooming potential for the next growing season!
Preventing Diseases During Harvest

Preventing diseases during bulb harvesting is essential for maintaining healthy bulbs and ensuring a successful spring bloom. One of the best ways to minimize disease risk is by using clean, sharp tools to make precise cuts, reducing the likelihood of damaging the bulbs and creating entry points for pathogens. Additionally, avoid harvesting bulbs from plants that show signs of disease, such as discoloration or rot, as these can spread to healthy bulbs and compromise your entire collection. It’s such a relief to know that by taking these preventive measures, you’re safeguarding your bulbs from potential threats and promoting their long-term health!
Another effective strategy is to handle bulbs gently during the harvesting process to prevent bruising and physical damage. Damaged bulbs are more susceptible to rot and fungal infections, which can quickly spread during storage. After harvesting, allow the bulbs to dry and cure in a shaded, well-ventilated area for a few days before cleaning and storing them. This drying period helps to seal any minor wounds and reduces moisture that can harbor diseases. By implementing these disease prevention techniques, you ensure that your bulbs remain healthy and disease-free, ready to produce beautiful blooms when spring arrives!
Reusing Bulbs from Previous Seasons
Reusing bulbs from previous seasons is a sustainable and cost-effective way to maintain your spring garden. Many bulbs, such as daffodils and tulips, can be divided and replanted to produce multiple blooms over several years. After harvesting, inspect each bulb for signs of health and vigor, discarding any that show
signs of disease or damage. Gently separate any clumps of bulbs that have naturally multiplied, ensuring that each bulb has enough space and nutrients to thrive. It’s such a satisfying feeling to replant bulbs that have already proven their resilience and beauty, knowing that they will continue to reward you with stunning blooms year after year!
To maximize the longevity and productivity of reused bulbs, store them properly during the off-season and plant them in well-prepared soil each spring. Rotating bulbs to different locations in your garden can also help prevent soil-borne diseases and ensure balanced nutrient distribution. Additionally, feeding your bulbs with a balanced fertilizer during the growing season can enhance their strength and blooming potential, extending their lifespan. By reusing bulbs thoughtfully, you contribute to a sustainable gardening practice that reduces waste and ensures a continuous display of spring flowers, enriching your garden with enduring beauty and color!
Preparing Bulbs for Storage

Proper preparation of bulbs for storage is crucial to ensure they remain viable and healthy until the next planting season. After harvesting and cleaning your bulbs, allow them to dry completely in a shaded, well-ventilated area for several days. This drying period helps to toughen the outer skins, reducing the risk of rot and mold during storage. Spread the bulbs out in a single layer on newspaper or a clean cloth, ensuring good air circulation around each bulb. It’s such a comforting process to see your bulbs dry perfectly, ready to be stored safely until planting time!
Once dried, inspect each bulb for any remaining soil or debris, gently removing it without damaging the bulb’s outer skin. Place the cleaned bulbs in a breathable container, such as mesh bags, paper bags, or ventilated boxes, to prevent moisture buildup. Store the containers in a cool, dark, and dry location with temperatures between 35-45°F (1.6-7.2°C), such as an unheated garage, basement, or root cellar. Adding a desiccant like peat moss or vermiculite can further absorb any excess moisture and protect your bulbs from mold and rot. By carefully preparing your bulbs for storage, you ensure that they remain healthy and ready to bloom beautifully when spring arrives!
Common Challenges and Solutions

Harvesting and storing bulbs for spring blooming comes with its own set of challenges, but with the right solutions, you can overcome them and ensure a successful gardening season. One common issue is bulb rot, which can occur if bulbs are not properly dried or stored in overly moist conditions. To prevent rot, make sure to dry your bulbs thoroughly before cleaning and storing them, and use breathable containers that allow for adequate air circulation. Additionally, inspect your bulbs regularly during storage to catch any signs of rot early and remove affected bulbs to prevent the spread of decay.
Another challenge is pest infestation, where insects such as bulb mites or beetles can damage your bulbs during storage. To combat this, ensure that your storage area is clean and free from debris, and use natural repellents like cedar chips or diatomaceous earth to deter pests. Freezing bulbs for a few days before planting can also kill any hidden pests without harming the bulbs. Implementing these preventive measures helps protect your bulbs from common threats, ensuring they remain healthy and pest-free until it’s time to plant them again. By addressing these challenges proactively, you maintain the integrity of your bulb collection and set the stage for a thriving spring garden!
Integrating Bulbs with Other Garden Practices
Integrating bulb harvesting and storage with other garden practices can enhance overall garden health and productivity. For example, after digging up bulbs, take the opportunity to amend the soil with compost or organic matter, enriching the soil for future plantings. This practice not only improves soil structure and fertility but also supports beneficial soil microorganisms that contribute to plant health. It’s such a holistic approach to gardening, where each task complements and enhances the others, creating a well-rounded and sustainable garden ecosystem!
Additionally, consider rotating the locations of your bulbs each year to prevent soil-borne diseases and nutrient depletion. Planting bulbs in different areas of your garden ensures that no single spot becomes overly saturated with pathogens, promoting healthier blooms and stronger plants. Combining bulb harvesting and storage with other sustainable practices, such as composting and crop rotation, fosters a resilient and productive garden that can adapt and thrive through the seasons. By seamlessly integrating these practices, you create a harmonious and efficient gardening routine that maximizes the benefits of your efforts, ensuring a beautiful and bountiful spring garden!