

Tulips are one of the most beloved spring flowers, bringing vibrant colors and elegant shapes to gardens and landscapes. As a passionate gardener, I’m always thrilled to help fellow enthusiasts ensure their tulips bloom beautifully each spring. Preparing and protecting your tulips involves a series of thoughtful steps, from selecting the right bulbs to maintaining healthy soil. Whether you’re a seasoned gardener or just starting out, these tips will help you achieve a stunning tulip display that brightens your outdoor space!
I understand how disappointing it can be when your tulips don’t perform as expected, especially after putting so much effort into planting them. It’s such a bummer when pests or poor soil conditions hinder your blooms. By taking the time to properly prep and protect your tulips, you can maximize their growth potential and enjoy a vibrant spring garden. Let’s dive into the essential practices that will ensure your tulips thrive and become the highlight of your garden season!
Soil Preparation

Healthy soil is the foundation for robust tulip growth. Tulips thrive in well-drained soil with a balanced pH, ideally between 6.0 and 7.0. Before planting, it’s crucial to prepare the soil by loosening it to a depth of at least 12 inches. This allows the tulip bulbs to establish strong roots and prevents water from pooling, which can lead to bulb rot. Incorporating organic matter such as compost or well-rotted manure enriches the soil, providing essential nutrients that support healthy growth and vibrant blooms.
Additionally, good soil structure helps improve drainage and aeration, which are vital for preventing diseases and promoting overall plant health. If your garden has heavy clay soil, consider adding sand or perlite to enhance drainage. For sandy soils, adding organic matter will help retain moisture and nutrients. Testing your soil’s pH and nutrient levels can also guide you in making necessary adjustments, ensuring your tulips have the optimal environment to flourish. By investing time in soil preparation, you’re setting the stage for a spectacular spring display of tulip flowers!
Planting Time and Depth

Timing is everything when it comes to planting tulip bulbs. The best time to plant tulips is in the fall, typically between September and November, depending on your local climate. Planting early enough allows the bulbs to establish roots before the ground freezes, ensuring they are ready to burst into bloom when spring arrives. It’s important to plant tulip bulbs before the first hard frost to give them ample time to acclimate to the soil conditions.
Proper planting depth is also crucial for tulip health. Generally, tulip bulbs should be planted about three times as deep as the bulb is tall. For most tulip varieties, this means planting them 6 to 8 inches deep. This depth protects the bulbs from temperature fluctuations and pests, while also providing the necessary support for the stems and blooms. Using a bulb planter or a garden trowel can help achieve consistent planting depths, promoting uniform growth and an impressive, cohesive bloom in your garden.
Mulching

Mulching is a fantastic way to protect your tulips and enhance their growth. Applying a layer of mulch, such as shredded leaves, straw, or bark, helps regulate soil temperature and retain moisture, creating a stable environment for your tulip bulbs. Mulch acts as an insulating barrier, keeping the soil cool in the spring and warm during the winter months, which is essential for healthy bulb development. Additionally, mulch suppresses weeds, reducing competition for nutrients and water, and making your garden easier to maintain.
Another benefit of mulching is its role in preventing soil erosion and protecting bulbs from extreme weather conditions. Heavy rains or strong winds can displace or damage tulip bulbs, but a well-applied mulch layer provides a cushioning effect that keeps the bulbs secure. Furthermore, as mulch breaks down over time, it adds organic matter to the soil, improving its fertility and structure. By incorporating mulching into your tulip care routine, you’re ensuring that your flowers have the optimal conditions to thrive and deliver a stunning spring bloom!
Watering Practices

Proper watering is essential for the health and vigor of your tulips. During the planting season in the fall, ensure that the soil is thoroughly moist but not waterlogged. Tulip bulbs require consistent moisture to establish strong roots before the ground freezes. After planting, it’s important to water the bulbs regularly, especially during dry spells, to prevent them from drying out. However, overwatering can lead to bulb rot and fungal diseases, so finding the right balance is key.
In the spring, as tulips begin to grow and develop shoots, maintaining adequate moisture is crucial for supporting their upward growth and vibrant blooms. Water deeply but infrequently to encourage deep root development, which enhances the plant’s ability to absorb nutrients and withstand drought conditions. Using a soaker hose or drip irrigation system can help deliver water directly to the soil, minimizing evaporation and ensuring that the tulips receive the necessary hydration without excess moisture. By mastering your watering practices, you’ll help your tulips achieve their full potential and grace your garden with their stunning flowers!
Fertilizing
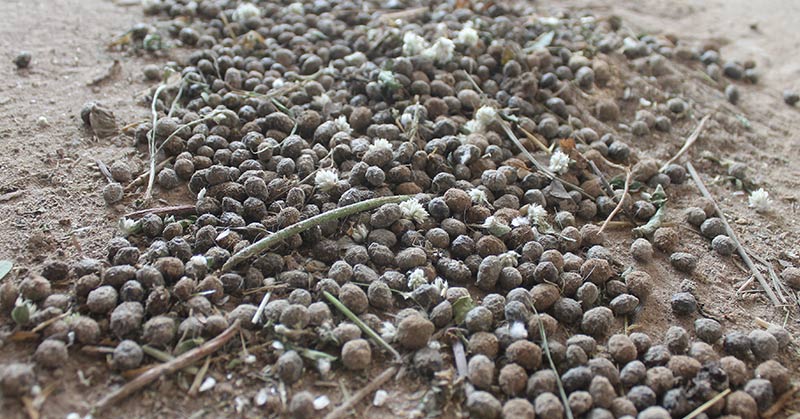
Fertilizing your tulips is an important step in promoting healthy growth and vibrant blooms. Before planting, incorporating a balanced fertilizer into the soil can provide the essential nutrients that tulip bulbs need to thrive. Look for fertilizers that are high in phosphorus, which supports strong root development and flower production. Applying a slow-release fertilizer at planting time ensures that the tulips receive a steady supply of nutrients throughout the growing season.
In addition to pre-planting fertilization, feeding your tulips in the spring can further enhance their growth and blooming potential. Use a balanced, low-nitrogen fertilizer to avoid excessive leafy growth at the expense of flower production. Applying fertilizer once the tulip shoots emerge helps support the development of healthy stems and vibrant flowers. It’s important to follow the recommended application rates to prevent over-fertilization, which can lead to nutrient burn and damage to the bulbs. By providing your tulips with the right nutrients, you’re ensuring a robust and colorful spring display that will brighten your garden!
Pest Control

Protecting your tulips from pests is crucial for ensuring a healthy and vibrant bloom. Common pests that affect tulips include aphids, slugs, snails, and bulb flies. Aphids can weaken the plants by sucking sap, while slugs and snails may damage the foliage and flowers. Bulb flies lay their eggs near the tulip bulbs, and the emerging larvae can cause significant damage by feeding on the bulbs. To prevent these pests from harming your tulips, it’s important to implement effective pest control measures.
One effective method is to maintain good garden hygiene by removing fallen leaves and debris, which can harbor pests and provide hiding places. Using organic pest control options, such as neem oil or insecticidal soap, can help manage aphid populations without harming beneficial insects. For slugs and snails, consider using barriers like diatomaceous earth or copper tape around your tulip beds. Additionally, planting companion plants that repel pests or attract beneficial predators can naturally reduce pest pressure. By staying vigilant and proactive in your pest control efforts, you can protect your tulips and enjoy a healthy, blooming garden!
Post-Bloom Care
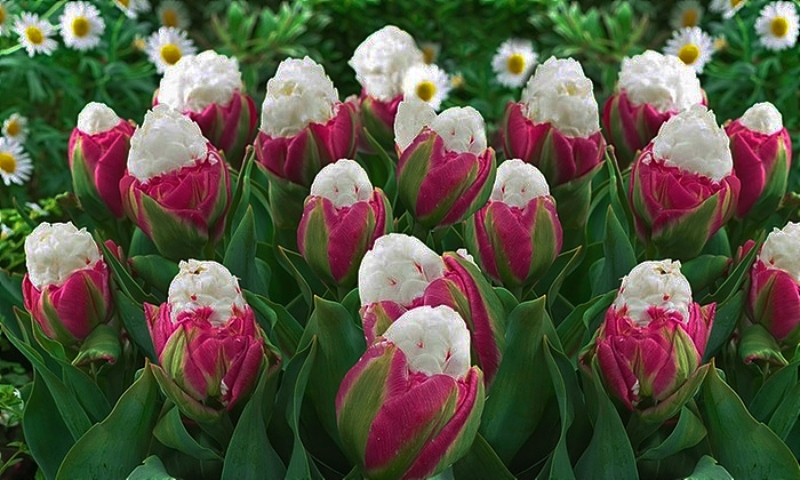
Taking care of your tulips after they bloom is essential for ensuring that the bulbs remain healthy and ready for the next growing season. Once the flowers have faded, it’s important to allow the foliage to remain intact until it yellows and dies back naturally. The leaves play a critical role in photosynthesis, which helps replenish the bulb’s energy reserves for next year’s bloom. Avoid cutting back the foliage prematurely, as this can weaken the bulbs and reduce their chances of producing strong, vibrant flowers in the future.
After the foliage has died back, you can begin to prepare your tulips for winter. Gently dig up the bulbs and allow them to dry in a cool, shaded area for a few days. Once dried, clean off any remaining soil and store the bulbs in a cool, dry place until it’s time to replant them in the fall. Alternatively, if your climate allows, you can leave the bulbs in the ground and mulch heavily to protect them from harsh winter conditions. Proper post-bloom care ensures that your tulip bulbs remain healthy and ready to deliver another spectacular spring bloom!
Cold Storage and Protection

Protecting your tulip bulbs from extreme cold and harsh winter conditions is key to their survival and successful spring bloom. In regions with severe winters, it’s important to provide additional protection to ensure the bulbs remain healthy throughout the winter months. One effective method is to mulch heavily over the tulip beds with materials like straw, shredded leaves, or pine needles. This insulating layer helps to regulate soil temperature, preventing the bulbs from freezing and thawing repeatedly, which can cause damage.
For those who prefer to dig up and store tulip bulbs, proper cold storage techniques are essential. After drying the bulbs, place them in a paper bag or mesh container to allow for air circulation and prevent moisture buildup. Store the bulbs in a cool, dry, and dark place, such as a basement or garage, where temperatures remain consistently low. Avoid storing tulip bulbs in plastic bags, as this can trap moisture and lead to rot. By taking the time to protect your tulips during the winter, you’re ensuring that they remain strong and ready to burst into beautiful blooms when spring arrives!
Choosing the Right Tulip Varieties

Selecting the right tulip varieties is fundamental to achieving a stunning spring display. Tulips come in a wide range of colors, shapes, and sizes, each offering its own unique charm and appeal. When choosing tulip varieties, consider factors such as your local climate, soil conditions, and the specific aesthetic you want to achieve in your garden. Some tulips are better suited to colder climates, while others thrive in milder conditions, so selecting varieties that match your environment is crucial for successful blooms.
Additionally, choosing a mix of early, mid, and late-blooming tulip varieties can extend the blooming period, providing a continuous display of color throughout the spring. Consider planting a variety of shapes, such as single, double, fringed, and parrot tulips, to add visual interest and texture to your garden. It’s also a good idea to select disease-resistant varieties to minimize the risk of fungal infections and other issues that can affect tulip health. By carefully selecting the right tulip varieties, you can create a diverse and vibrant garden that showcases the full beauty and elegance of these beloved spring flowers!