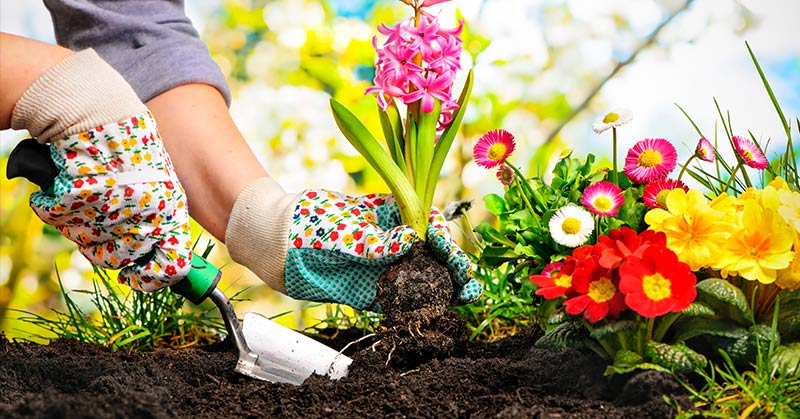

As the gardening season draws to a close, it’s time to start thinking about storing your garden tools and equipment for winter. I know how easy it is to put off cleaning up the garden shed, especially after a long season of hard work, but taking a little time now to properly store your tools can save you from a lot of headaches when spring rolls around. There’s nothing worse than pulling out rusty, dull tools after the snow melts—it’s such a bummer! Plus, a well-maintained tool not only makes your job easier but also extends the life of your equipment, saving you money in the long run.
Winter storage is also a chance to take stock of what you have, what might need repairing, and what you might need to replace. From hand trowels to lawn mowers, every tool deserves a bit of care before being tucked away for the colder months. Whether it’s sharpening, oiling, or just a good scrub, getting your garden gear in shape now will have you ready to hit the ground running when the first signs of spring appear. Let’s dive into the best practices for storing your garden tools and equipment so they’re ready to go when you are!
Cleaning and Sharpening Tools
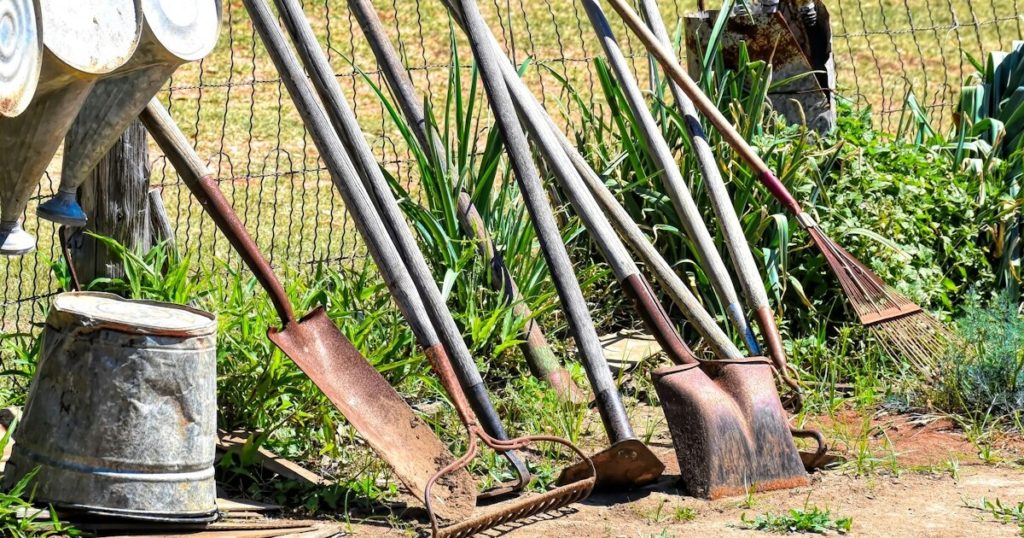
The first step in preparing your garden tools for winter is to give them a thorough cleaning. Dirt, sap, and plant residue can cause rust and corrosion if left on tools over the winter, and they can also harbor diseases that could affect next year’s plants. I always start by hosing off the bulk of the soil and then scrubbing with a wire brush or an old rag. For tougher grime, a mix of water and dish soap usually does the trick. It’s so satisfying to see those tools shine up again—it’s like getting them ready for a new season of adventures!
Sharpening your tools is equally important and often overlooked. Dull blades not only make your work harder but can also damage plants by crushing rather than cutting cleanly. Pruners, shears, hoes, and even shovels benefit from a good sharpening. I like to use a simple sharpening stone or file, moving in one direction along the edge to keep things smooth and even. It’s a small investment of time that pays off in spades when you’re slicing through soil or snipping branches with ease next spring. And don’t forget to oil the blades afterward to prevent rust—nothing keeps tools happier than a little TLC!
Oiling and Rust Prevention
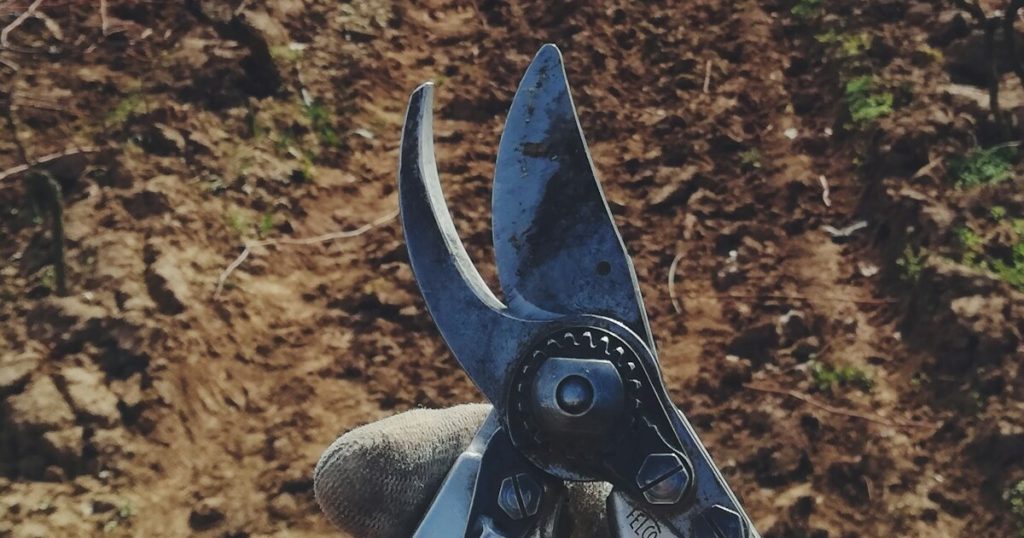
Oiling your tools before storing them is like giving them a protective coat of armor against winter’s damp chill. Metal parts are prone to rust, especially if they’re stored in a garage or shed that’s not fully insulated. A light coating of machine oil, WD-40, or even vegetable oil on metal surfaces can prevent rust and keep moving parts from seizing up. I’ve found that keeping a small rag soaked in oil handy makes this task quick and easy—just wipe down the blades, hinges, and any other metal components. It’s a simple step that can dramatically extend the life of your tools.
Handles made of wood also benefit from a bit of care before winter. A light sanding followed by a rubdown with linseed oil can prevent the wood from drying out, splitting, or cracking in the cold. Wooden handles often get overlooked, but a little maintenance goes a long way in keeping them strong and splinter-free. I remember finding an old rake with a beautifully aged handle in my grandfather’s shed—still in perfect condition because he took the time to care for it each year. Those little acts of maintenance are what keep tools going for generations!
Organizing and Storing in a Dry Place

Where and how you store your garden tools can make a big difference in their longevity. A dry, well-ventilated space like a shed, garage, or basement is ideal for keeping tools safe from moisture and temperature extremes. If possible, hang tools on a wall to keep them off the floor where they might collect dampness. Pegboards, hooks, or simple wall mounts work wonders for organizing your space and keeping everything accessible. It’s amazing how much easier it is to find what you need when everything has its place!
If hanging isn’t an option, try to store tools in a way that prevents contact with the ground—buckets filled with sand and a bit of oil are great for storing smaller hand tools, keeping them sharp and rust-free. Larger equipment, like lawn mowers and wheelbarrows, should be cleaned, drained of fuel, and covered with a tarp or stored under a roof to protect them from the elements. It’s all about finding the best way to keep moisture and cold from wreaking havoc on your beloved garden gear. And remember, good storage is as much about safety as it is about maintenance—nobody wants to trip over a forgotten hoe on their way to grab the snow shovel!
Taking Care of Power Equipment
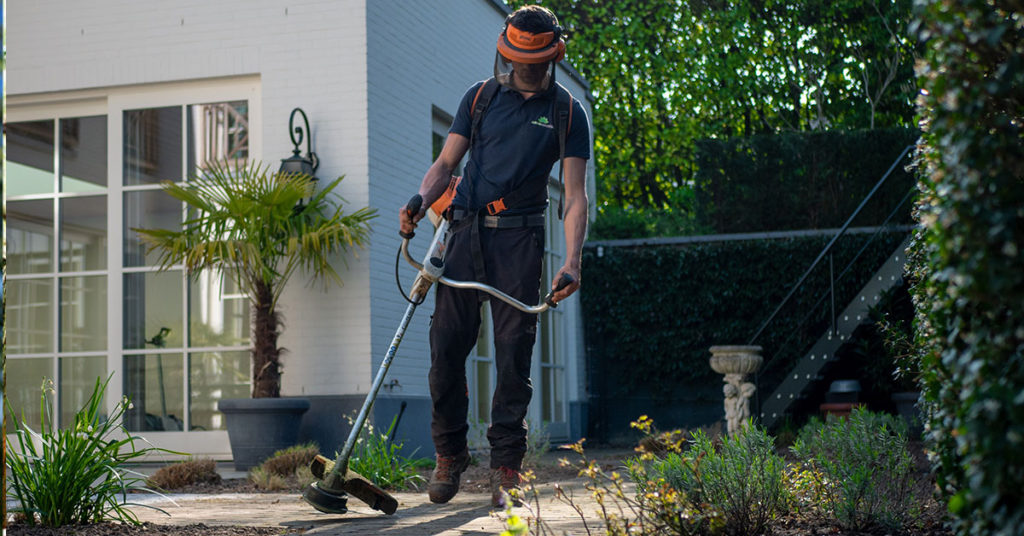
For those of us who rely on power equipment like lawn mowers, leaf blowers, or string trimmers, winter storage requires a bit of extra attention. Start by running the engine until it’s out of fuel to prevent old gas from gumming up the carburetor over the winter months. If you can’t run it dry, adding a fuel stabilizer can help keep things fresh. It’s one of those little steps that can save you the frustration of trying to start a stubborn engine when the weather warms up. Trust me, there’s nothing more disheartening than battling with a mower that just won’t start!
Changing the oil, cleaning or replacing the air filter, and checking spark plugs are all good maintenance practices before putting power tools away for the winter. And don’t forget to inspect the blades, belts, and other moving parts—sharpen or replace as needed. For battery-powered equipment, remove the batteries and store them in a cool, dry place indoors to protect them from freezing temperatures. Taking these extra steps now ensures that your equipment is ready to go when you need it, saving you time and hassle come spring.
Inspecting and Repairing Tools
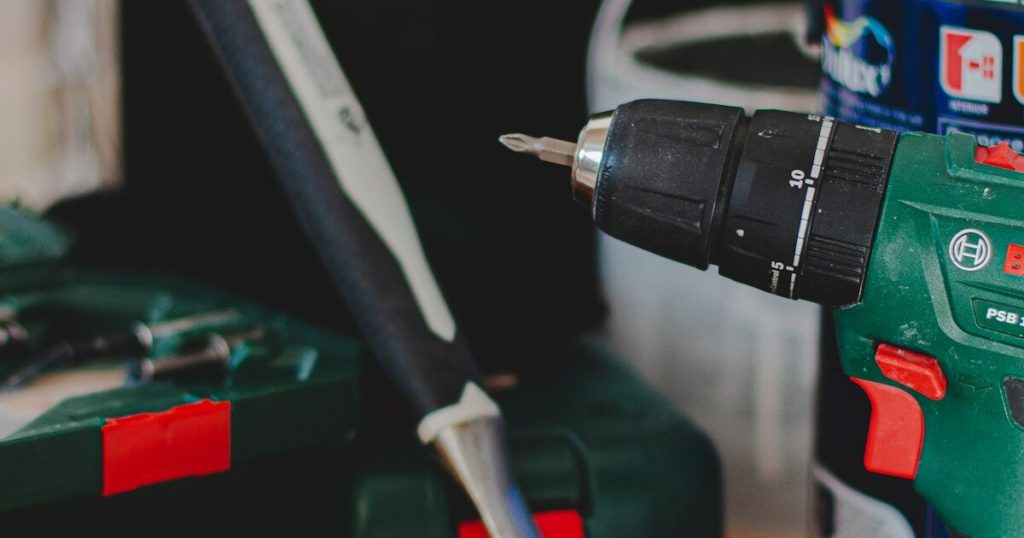
Before you put everything away for the season, take some time to inspect your tools and equipment for any needed repairs. It’s so easy to set aside a tool that’s been giving you trouble all season, but now’s the perfect time to address those issues. Check for loose handles, cracked blades, or missing screws and bolts—these minor repairs can often be tackled with just a bit of glue, a replacement part, or a few minutes with a screwdriver. There’s something so satisfying about fixing up a tool and knowing it’s ready for action again!
If you come across tools that are beyond repair, consider whether they can be recycled or repurposed rather than just tossing them. Old tools can sometimes be given new life as garden decorations, trellises, or even parts of a whimsical garden art project. And for those tools that are simply worn out, many communities offer recycling programs for metal tools. Keeping an eye on your tool inventory and making these repairs before winter sets in will leave you well-prepared and organized when spring planting season arrives. It’s all about setting yourself up for a smooth start when the gardening bug hits again!
Organizing Your Garden Shed or Storage Area
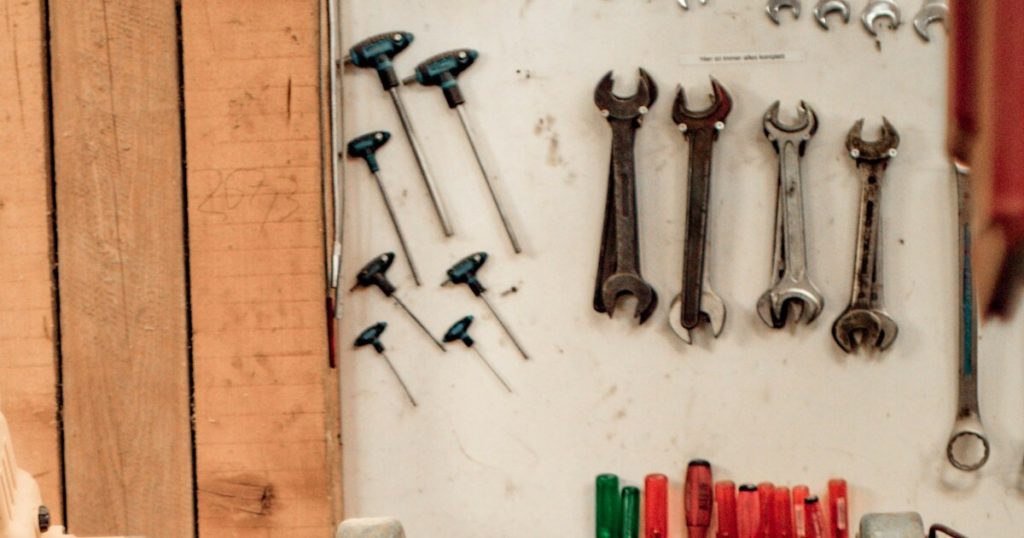
Lastly, take this opportunity to organize your garden shed or storage area. A well-organized space not only makes it easier to find what you need but also helps protect your tools from accidental damage. I love taking a little extra time in the fall to tidy up—sorting tools by size, grouping similar items together, and making sure everything has a designated spot. It’s like giving your garden shed a mini makeover, and it feels so good to start the new season with everything in its place!
Consider adding shelves, bins, or hooks to maximize your storage space and keep things off the ground. Tools that are stored haphazardly are more likely to get damaged, so investing a bit of time in setting up your space pays off in the long run. And don’t forget about smaller items like gloves, twine, or plant labels—these can easily get lost in the shuffle but are so handy to have ready and waiting when you need them. A little bit of organization now means less time hunting for misplaced items and more time enjoying your garden when spring arrives!
Storing your garden tools and equipment properly for winter not only extends their lifespan but also keeps you ready to dive back into gardening when the seasons change. From cleaning and oiling to organizing and repairing, these steps are all about taking care of your investments and setting yourself up for a successful gardening season ahead.