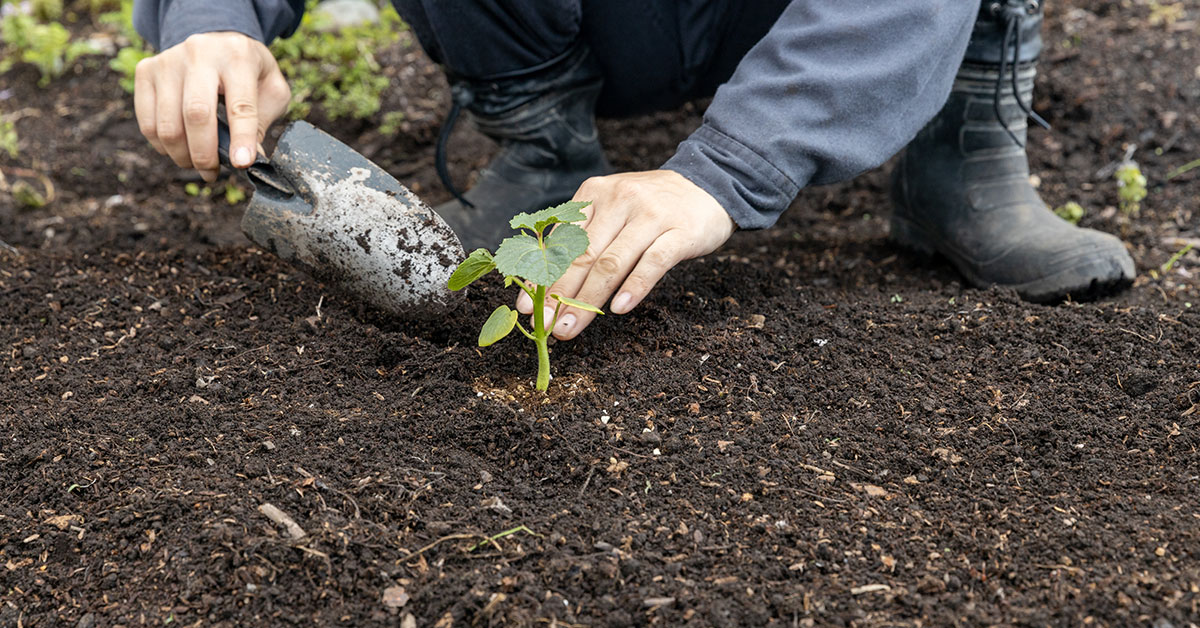

Welcome to the world of okra gardening in Zone 10! If you’re lucky enough to reside in this warm and sunny region, you have the perfect climate for growing this versatile and delicious vegetable. Okra, also known as lady’s fingers, thrives in hot temperatures and requires a long growing season to reach its full potential. In this article, we will guide you through the best time to plant okra in Zone 10, ensuring that you make the most of your gardening endeavors and enjoy a bountiful harvest of this Southern favorite.
Best okra varieties to grow in zone 10
In zone 10, where the climate is warm and tropical, several okra varieties thrive. Here are a few varieties that are well-suited for growing in zone 10:
- Clemson Spineless: This is a popular variety known for its high yield and disease resistance. It produces tender, spineless pods and is well-suited for both home gardens and commercial production.
- Emerald: Emerald okra is another excellent choice for zone 10. It produces dark green pods that remain tender even when they grow longer than average. This variety is also resistant to some common okra diseases.
- Annie Oakley II: This variety is known for its compact growth habit, making it suitable for smaller gardens or containers. Annie Oakley II produces flavorful, spineless pods and has good disease resistance.
- Jambalaya: Jambalaya okra is a hybrid variety that performs well in hot climates. It produces large, tender pods and has good disease resistance. This variety is often favored for its high productivity.
- Burgundy: If you’re looking for something a bit different, Burgundy okra is a unique variety with deep red pods. It not only adds visual interest to your garden but also has a delicious flavor. It performs well in zone 10 and is resistant to some common okra diseases.
Remember to provide ample sunlight, well-draining soil, and regular watering to ensure the best growth and yield for your okra plants in zone 10.
When to plant okra in zone 10
In zone 10, which is characterized by mild winters and hot summers, the best time to plant okra is during the warm season. Okra is a warm-season crop that thrives in temperatures between 70°F and 95°F (21°C to 35°C). It requires a long growing season with at least 60 to 80 days of frost-free weather to reach maturity.
Here is a breakdown of the best time to plant okra in each of the hardiness zones within zone 10:
- Zone 10a: In this zone, which includes areas like Miami, Florida, and parts of Southern Texas, the best time to plant okra is from late February to early April. This allows the plants to establish and grow before the intense heat of summer.
- Zone 10b: This zone covers areas like Phoenix, Arizona, and parts of Southern California. In zone 10b, the best time to plant okra is from mid-February to mid-March. Planting earlier in the year takes advantage of the milder temperatures and allows the plants to mature before the scorching summer heat.
It’s important to note that these timeframes are general guidelines, and local weather conditions can vary. It’s always a good idea to consult with your local agricultural extension office or experienced gardeners in your area for more specific planting recommendations.
Additionally, when planting okra, make sure to choose a sunny location with well-draining soil. Okra plants require full sun exposure for at least 6 to 8 hours a day to thrive. Regular watering and fertilization throughout the growing season will help promote healthy growth and maximize yield.
How to grow okra in zone 10
Growing okra requires careful planning and attention to specific steps and considerations. Here are the key steps to successfully grow okra:
- Climate and Timing: Okra thrives in warm climates with temperatures between 75-90°F (24-32°C). It is best to plant okra after the last frost date in your area. The soil temperature should be around 65°F (18°C) or higher.
- Soil Preparation: Okra prefers well-drained soil with a pH level between 6.0 and 6.8. Prepare the soil by removing any weeds, rocks, or debris. Add organic matter like compost or well-rotted manure to improve soil fertility and drainage.
- Seed Selection and Germination: Choose high-quality okra seeds from a reputable source. Soak the seeds in water overnight before planting to improve germination rates. Alternatively, you can scarify the seeds by gently nicking the hard outer shell to help with germination.
- Planting: Plant the soaked or scarified seeds directly into the prepared soil, about 1 inch (2.5 cm) deep and 12-18 inches (30-45 cm) apart. Space rows about 3 feet (90 cm) apart to allow for proper growth and air circulation.
- Watering: Keep the soil consistently moist but not waterlogged. Water deeply once or twice a week, providing about 1 inch (2.5 cm) of water each time. Avoid overhead watering to prevent fungal diseases.
- Sunlight: Okra requires full sun exposure for at least 6-8 hours a day. Choose a location in your garden that receives ample sunlight.
- Fertilization: Okra is a heavy feeder, so it benefits from regular fertilization. Apply a balanced organic fertilizer or compost when planting and side-dress with additional fertilizer every 4-6 weeks during the growing season.
- Mulching: Apply a layer of organic mulch around the base of the plants to conserve moisture, suppress weed growth, and maintain a more consistent soil temperature.
- Pruning and Support: Okra plants can grow quite tall, reaching heights of 4-6 feet (1.2-1.8 meters). Consider staking or providing support to prevent the plants from toppling over during heavy winds or when laden with fruit. Prune any lower branches to improve air circulation and reduce the risk of disease.
- Pest and Disease Control: Monitor your okra plants regularly for common pests like aphids, caterpillars, and stink bugs. Use organic pest control methods such as handpicking, neem oil, or insecticidal soap. Prevent fungal diseases by avoiding overhead watering and providing adequate spacing between plants.
- Harvesting: Okra pods are ready to harvest when they reach 2-4 inches (5-10 cm) in length. Harvest every 2-3 days to encourage continuous production. Use a sharp knife or pruners to cut the pods from the plant, taking care not to damage the stem.
By following these steps and considering the specific needs of okra, you can enjoy a successful harvest of this delicious and nutritious vegetable.
When to harvest okra
In zone 10, where the climate is warm and frost-free, okra can be harvested throughout the year. However, it is important to note that okra plants thrive in hot weather, so it is best to harvest the pods when they are young and tender. Okra pods become tough and fibrous if left on the plant for too long.
To determine the ideal time for picking okra, you should regularly check the plants for mature pods. Okra pods are typically ready to be harvested when they reach around 2-3 inches in length. They should be firm and snap easily when bent. If the pods are left to grow larger, they can become tough and less enjoyable to eat.
Check your okra plants every 2-3 days during the growing season, as they can quickly reach maturity. Harvesting regularly will also encourage the plants to produce more pods. Using a sharp knife or garden shears, cut the pods from the plant, making sure to leave a short stem attached. Harvesting in the morning, when the pods are still cool, can help maintain their quality.
Common okra problems and fixes
Common problems when growing okra include:
- Poor germination: Okra seeds may have a low germination rate. To improve germination, soak the seeds in water overnight before planting. Additionally, ensure that the soil temperature is consistently warm (around 70-95°F) for successful germination.
- Pests: Okra can be susceptible to various pests, including aphids, flea beetles, and caterpillars. To control these pests, regularly inspect your plants and remove any affected leaves or insects manually. You can also use organic insecticidal soap or neem oil to control infestations.
- Powdery mildew: This fungal disease appears as a white powdery coating on the leaves. To prevent powdery mildew, ensure proper air circulation by spacing plants adequately. Water the soil directly, avoiding wetting the foliage. If powdery mildew occurs, treat the plants with a fungicidal spray specifically formulated for powdery mildew.
- Blossom end rot: This condition causes the ends of the okra pods to turn brown or black. It is typically caused by calcium deficiency or irregular watering. To prevent blossom end rot, maintain consistent soil moisture by watering regularly and evenly. Adding calcium-rich amendments, such as crushed eggshells or agricultural lime, to the soil can also help prevent this issue.
- Lack of fruit production: If your okra plants are not producing fruit, it may be due to inadequate pollination. Okra flowers require pollinators like bees or wind to transfer pollen between male and female flowers. Encourage pollinators by planting flowers that attract them nearby. You can also hand-pollinate by transferring pollen from male flowers to female flowers using a small brush or cotton swab.
- Nutrient deficiencies: Okra plants require a balanced supply of nutrients to thrive. Common nutrient deficiencies include nitrogen, phosphorus, and potassium. Regularly fertilize your plants with a balanced organic fertilizer or compost to ensure they receive the necessary nutrients.
Remember to provide your okra plants with full sun exposure, well-draining soil, and regular watering to promote healthy growth and minimize potential problems.