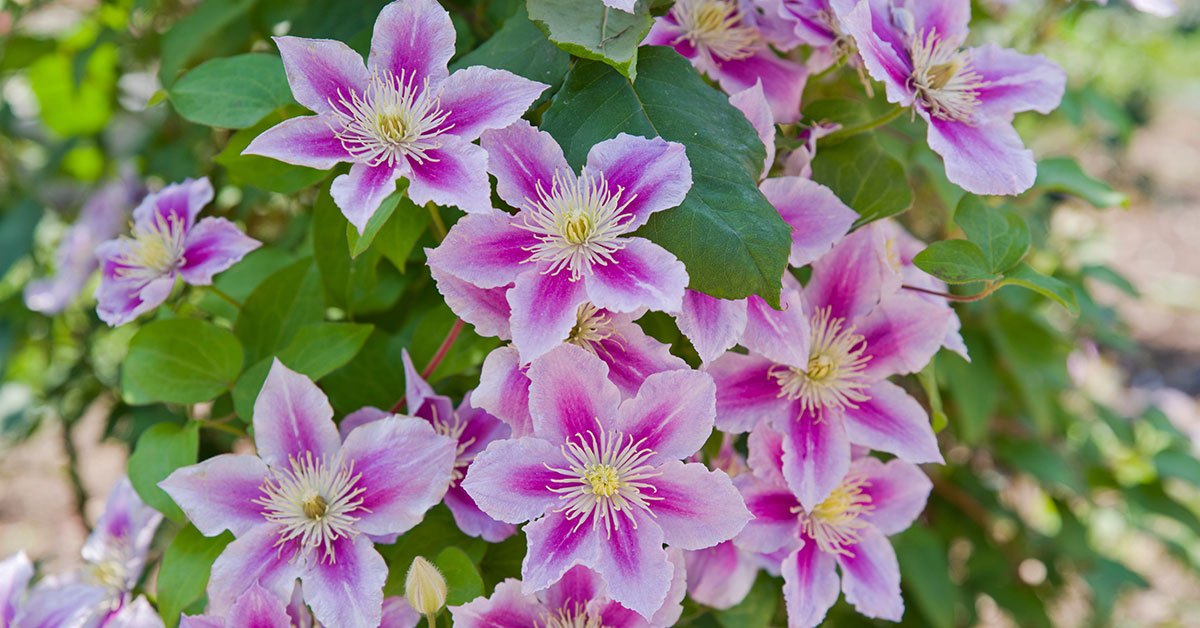

Clematis are the showstoppers of any garden, draping trellises and fences with cascades of starry flowers in hues from pale pink to deep violet. Native to temperate regions across Europe, Asia, and North America, these versatile vines range from petite woodland varieties to vigorous hybrids that can clothe an entire arbor. Beyond their visual appeal, clematis also create perfect nooks for small birds—wrens and chickadees often nest among their tangled stems, adding delightful garden chatter to your blooms!
I know how discouraging it can be to plant a clematis in spring only to find it sulking all season, or worse, hit by wilt before a single bud opens. Over years of triumphs and losses, I’ve honed strategies that coax these vines into spectacular performance. Below are nine essential tips—from planting depth to pruning schedules—designed to help you grow robust, floriferous clematis that thrive year after year.
Protect Against Pests and Diseases

Garden snails and slugs often feast on young clematis shoots, leaving ragged stems that wilt under fungal pressure. To combat these common pests, I scatter crushed eggshells or coffee grounds around the base—barriers that deter slimy invaders without harsh chemicals! Meanwhile, regular inspections for clematis wilt (a soil-borne fungus that turns stems black overnight) allow me to snip away affected vines promptly and burn them before the pathogen spreads.
Encouraging beneficial insects also pays dividends: lacewings and ground beetles patrol the leaf litter beneath clematis, hunting slugs and aphids. By maintaining a light mulch of compost rather than synthetic pesticides, you foster this mini-ecosystem of helpers. Although no clematis cultivar is notably invasive in home gardens, vigilance ensures that volunteer seedlings don’t take over beds after a season of prolific flowering.
Provide the Perfect Support

Unlike true climbers, clematis twist their leaf petioles around nearby structures—so a sturdy trellis, wire netting, or even bamboo poles is essential. I once tied a young vine to a simple obelisk frame, and within two seasons it had formed a living column of blooms! For larger species, train stems in a spiral pattern around thick stakes, securing them loosely with soft ties to avoid girdling.
Native clematis in woodland edges often scramble through shrubs and small trees; indoors, you can mimic that habit by interweaving vines with robust companion plants like roses or mock orange. Just be mindful: some wild species (for example, Clematis vitalba) can naturalize aggressively in mild climates, so stick to named hybrids and cultivars in your borders to prevent unintended escape.
Mulch to Keep Roots Cool

Clematis crave “cool feet” even when their crowns bask in sunlight. In their native forest habitats, a thick layer of leaf litter and compost protects roots from scorching heat and moisture fluctuations. I apply a 2–3-inch mulch of shredded bark or well-rotted compost each spring, which helps retain water, suppress weeds, and moderate soil temperatures through heat waves!
That mulch layer also becomes a playground for earthworms and springtails, whose tunneling improves aeration and drainage—two keys to preventing root rot. A well-mulched bed means happier soil life and healthier clematis, with no risk of invasiveness since you’re simply recycling organic matter in place.
Feed for Flourishing Blooms

While clematis aren’t heavy feeders, they do appreciate a balanced boost of nutrients during active growth. I alternate applications of compost tea and seaweed extract every four weeks, ensuring a gentle supply of nitrogen, phosphorus, and potassium without scorching tender roots. A dose of bone meal or rock phosphate at planting time encourages robust bud set for those spectacular late-spring displays!
Pollinators like bees and butterflies adore clematis flowers, and healthy, well-fed vines produce more blooms—and more nectar—for these garden guests. Avoid high-nitrogen synthetic fertilizers that promote leafy growth at the expense of flowers; instead, choose organic blends that release nutrients slowly, matching the vine’s natural rhythm.
Plant at the Ideal Depth

One of my earliest mistakes was planting clematis too shallow, which left crowns vulnerable to fluctuating temperatures and wilt. The remedy? Dig a hole about 12 inches deep and mix in compost, then set the clematis crown 2–3 inches below the final soil level. This encourages new basal shoots to emerge from protected buds, creating a stronger root collar over time!
In nature, many wild clematis species creep along the forest floor before scrambling upward—burying the crown mimics that habit. Although cultivated clematis rarely become invasive, deeper planting helps you manage vigorous varieties by giving them a sturdy foundation rather than letting them sprawl unchecked.
Prune According to Group
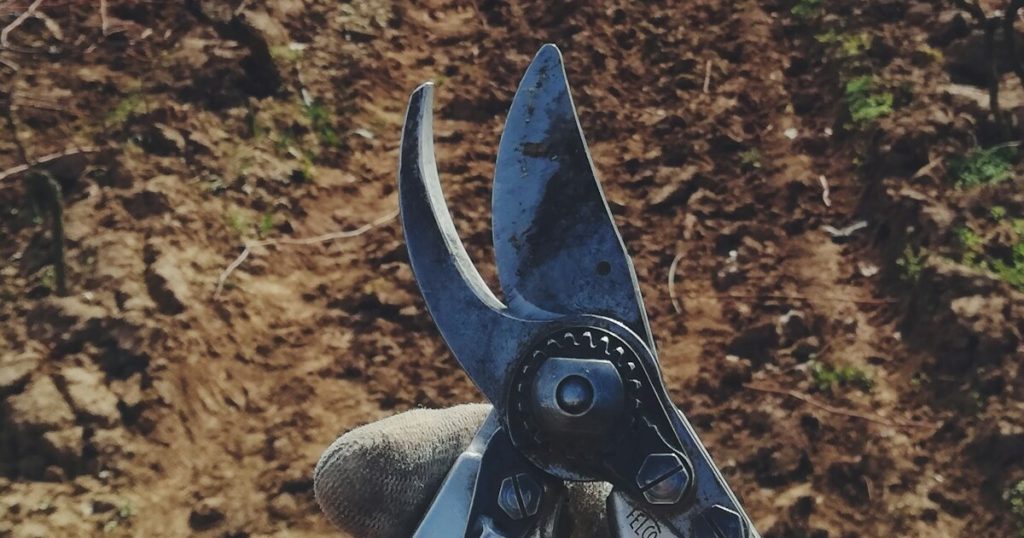
Clematis are classified into three pruning groups—A, B, and C—each with its own timing and intensity. Group A (spring bloomers) need only light trimming immediately after flowering to maintain shape. Group B (repeat bloomers) benefit from a tidy prune post first flush and a lighter cut in late winter, while Group C (summer/fall bloomers) should be cut back hard in early spring to two strong buds at about 12 inches above the ground. Matching your cultivar to its pruning group is absolutely crucial for reliable flowering!
I once lost a year of blooms by over-pruning a Group A vine in spring—heartbreaking after all that waiting! Now I label every clematis in my garden with its group number and bloom time, ensuring each plant gets exactly the haircut it needs. That organized approach turns pruning from a chore into an exciting seasonal ritual.
Propagate by Division and Layering
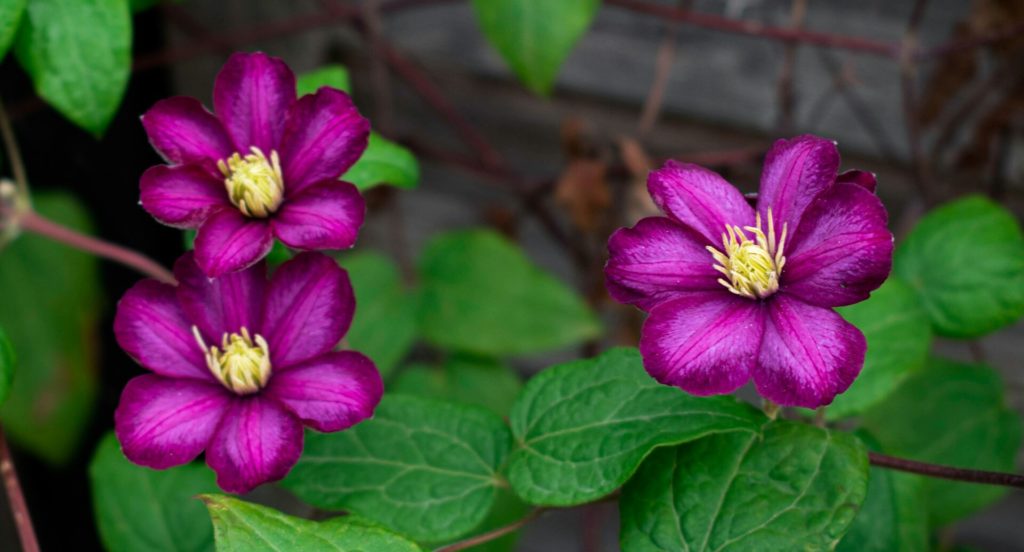
To renew older clematis or share favorites, division and layering are wonderfully simple methods. In early spring, carefully lift and divide established rootballs, ensuring each section has healthy shoots and roots, then replant promptly. Alternatively, choose a supple stem, bury a midsection in a trench of soil and compost, and peg it down; new roots will form at the buried node, ready to sever and pot up by autumn!
Watching a clematis pup emerge from layered stem always feels like magic—nature’s own way of cloning your best performers. While wild clematis can naturalize in some temperate regions, these propagation methods are contained within your plot, so you control exactly how many new vines you introduce.
Water Deeply and Regularly
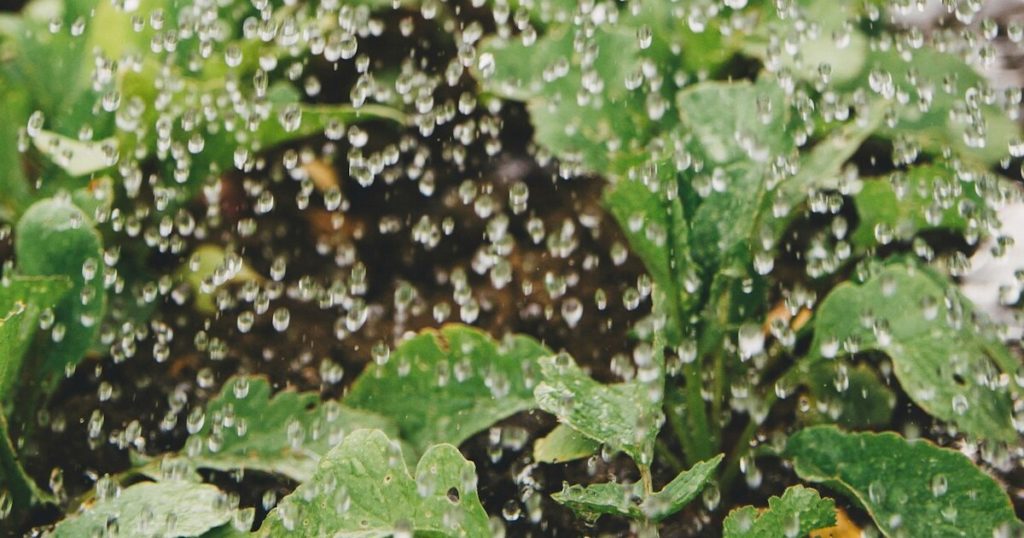
Clematis thrive on consistent moisture, especially during bud formation and bloom. Rather than frequent shallow sprinkles, I give each vine a weekly deep soak—about a gallon of water per square foot—to encourage roots to dive deeper and withstand dry spells. In periods of drought or high heat, upping the soak frequency to twice weekly helps prevent stress and flower drop.
Deep watering also leaches excess salts from the soil, preserving the gentle soil biology that clematis roots love. By contrast, erratic moisture invites both wilt pathogens and root rot—one of the most common setbacks gardeners face. A soaker hose or drip irrigation under the mulch ensures water reaches roots directly, without wetting foliage and risking mildew.
Choose the Right Location

Most clematis crave at least six hours of sun on their flower crowns while keeping roots shaded and cool—classic “head in the sun, feet in the shade.” I plant mine on the south or west side of fences, pairing them with low-growing perennials like hostas or geraniums to shield the soil. In shadier spots, select woodland species (Group A) or cultivars bred for dappled light, so you still get blossoms under a canopy.
Good air circulation is equally important: crowded, humid sites can promote mildew and wilt. By situating clematis where breezes flow and their branches have room to move, you reduce disease risk and help beneficial insects—ladybugs, lacewings, and pollinators—access flowers and foliage freely. Finding that sweet spot of sun, shade, and airflow is like discovering a secret recipe for clematis success!