

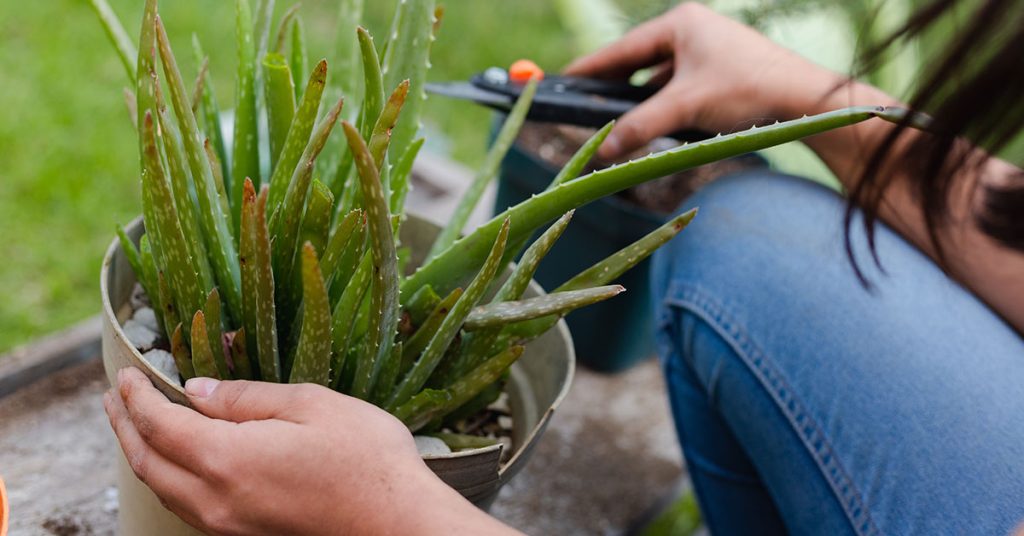
It’s such a bummer when you head out to tend your beloved plants, only to find you’re wrestling with sticky, rusty, or gunky tools instead of the soil itself. I know how frustrating it is: you’re eager to prune your heirloom tomatoes (Solanum lycopersicum, native to the Andes) or harvest crisp lettuce (Lactuca sativa, believed to originate around the Mediterranean), and suddenly that well-used pruner just won’t cut cleanly through a stem, or worse, spreads disease! Keeping your tools in tip-top shape not only makes gardening smoother but also protects your plants from invasive pathogens (think bacterial wilt or fungal spores) that can hitch a ride on grimy blades.
As a gardener who’s lost more than a few seedlings to a case of botched compost-spreading—rusty trowel to seed tray, anyone?—I’ve learned that recognizing the subtle signs a tool needs cleaning can save you hours of frustration come harvest season. Below, I’ve gathered nine telltale indications that it’s time to break out the bucket, scrub brush, and disinfectant. Each sign is explained in detail—along with why it matters, how pests or diseases can nest in neglected nooks, and tips for restoring your tools to their gleaming, plant-friendly best. Let’s dive into these clues—randomized to keep things interesting—so your next gardening session is all about digging in, not dealing with dirty implements!
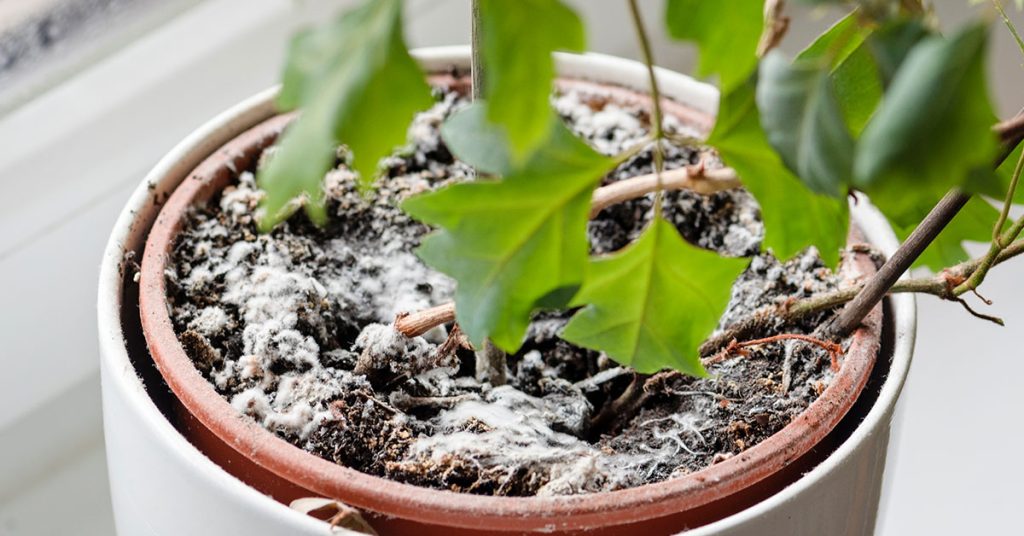
Stubborn Clay and Soil Crusts
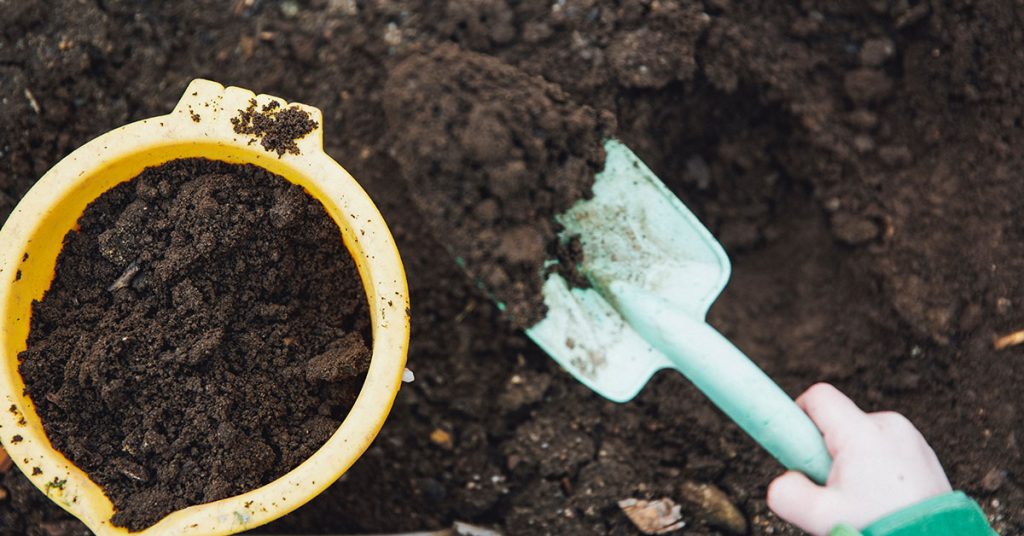
If you’ve ever tried chopping through a hardened, compacted stem with clods of clay stuck to your shovel, only to feel the tool slip in your hands, that’s a sign soil is building up into a rock-hard crust. Dried-on dirt not only makes digging or planting harder but also traps moisture against metal, encouraging rust. I remember one spring when my favorite spade had caked mud from last season’s iris bulbs; with every shove into the ground, the soil slid off in a slippery layer, leaving me struggling to maintain control. Beyond being a nuisance, those compacted soils can contain harmful fungal spores—like Fusarium—nesting in the crevices, waiting to infect your next batch of dahlias or gladiolus.
To rescue that spade, I usually soak the blade in a bucket of warm, soapy water—sometimes adding a dash of dish soap to break down stubborn particles. After a few minutes, I scrub vigorously with a stiff-bristled brush, paying special attention to flange areas and the area where handle meets blade, where curious ants or rove beetles might have set up temporary nests. Once the soil washes away, I dry the metal thoroughly to prevent rust and lightly oil the blade. A tool free of compacted earth works like a dream, slices through soil cleanly, and keeps pathogens from latching onto that sticky mud. Trust me, your back will thank you the next time you plant a row of kale (Brassica oleracea, Mediterranean origin)!
Rusty, Pitted Surfaces
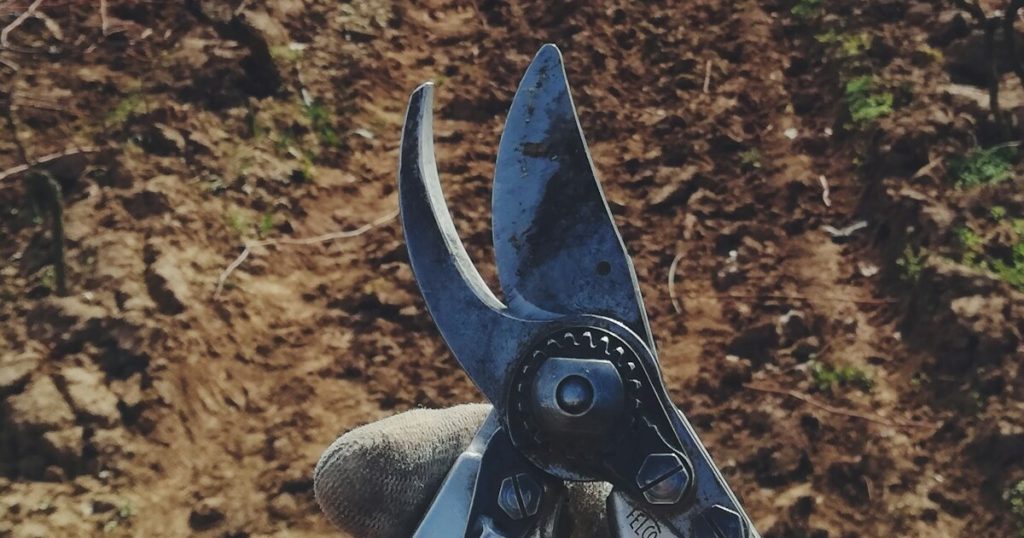
Rust appears when moisture lingers on metal surfaces—often a result of leaving tools out in the rain or storing them wet. A light brown tint might not look like much at first, but if you see pitting or flaking metal, that’s a cry for help. Rusty pruners can crush stems instead of cutting them cleanly, leaving jagged edges that invite pests and diseases—especially troublesome if you’re pruning blackberries (Rubus fruticosus, native to Europe) prone to cane blight. I once tried to snip a rose (Rosa spp., native to Europe and Asia) pruning, only to have the rusted pruners smash the cane, infecting the plant with rust fungus. After that, I became obsessive about removing every speck of rust as soon as it appears!
Battling rust is a two-step process: first, remove loose flakes with coarse steel wool or a wire brush, focusing on crevices where moisture hides. Then, apply a gentle abrasive—like fine-grit sandpaper—to smooth out the pitting. After wiping the blade clean, coat it with a thin layer of mineral oil or WD-40 to seal out moisture. Don’t forget to inspect screws, nuts, and bolts on tools like hedge shears; a single rusty pivot point can make the entire handle stick and attract moisture-loving spiders or beetles that might nest in the housing. With regular rust removal and lubrication, your tools will stay sharper longer and won’t harbor fungal spores that can infect next season’s vegetable transplants.
Dull or Blunt Edges
When pruning shears refuse to make a clean cut and instead bend or tear a branch, that’s a clear signal your blades have gone blunt. Dull edges damage plant tissue, leaving ragged cuts that sap-sucking pests—like aphids—lick up, or inviting bacterial canker to settle into the wound. I once discovered my pruners were too dull to cleanly cut a lilac (Syringa vulgaris, native to the Balkans) sucker, so the split wood dried and became a cozy hideout for bark beetles. After sharpening, the same cut became a smooth slice, which healed quickly and thwarted pests from establishing.
Sharpening tools doesn’t require a professional grinder; a simple round or flat file can restore a crisp edge. Hold the blade at the beveled angle—typically around 10–15 degrees—and stroke in one direction, maintaining consistent pressure. After filing, test the sharpness by gently slicing through a scrap piece of cardboard or a thin twig; the blade should glide cleanly. Once the edge is restored, wipe the blade down with a cloth dipped in alcohol to disinfect and then apply a light coat of oil. Regularly checking and sharpening gives you both pruning precision and peace of mind that you’re not inviting pests into injured stems.
Sticky Sap or Resin Residue

Many plants produce sticky sap—like maples (Acer saccharum, native to eastern North America) oozing sugary sap in spring, or holly (Ilex aquifolium, native to Europe) exuding resinous compounds when pruned. If you’ve neglected to clean secateurs after sap-laden cuts, you might find the handles sticky, blades gummed shut, and rust beginning to develop in the residue. My first experience was with pruning pine trees (Pinus spp., native across the Northern Hemisphere): sticky resin coated my pruner’s hinge, and each snip turned into a wrestling match. Worse, that gummy buildup can trap bits of disease-laden bark or fungal spores, creating a mini clubhouse for harmful pathogens.
A handy trick: a mixture of warm water and mild dish detergent loosens sap; sometimes I heat water until it’s just below simmering to soften stubborn resin. After soaking the blade and handle region, I use a non-abrasive scrub pad to gently remove the goo, then wipe dry and apply a small amount of mineral oil to prevent metal corrosion. Don’t forget to inspect the pivot and spring mechanisms, where sap often hides and allows tiny wasps or ants to nest. By eliminating sticky debris promptly, you keep your tools smoothly operational and reduce the risk of transmitting pathogens like fire blight (Erwinia amylovora) from one branch to another.
Cracks, Splits, or Loose Handles
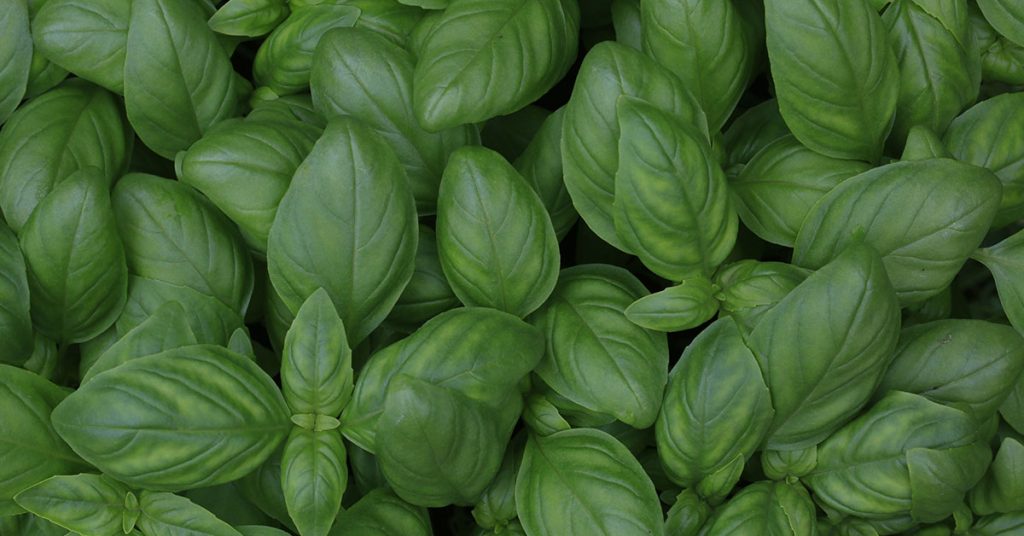
If you notice a slight wobble when wielding your shovel, hoe, or trowel, or see small cracks in wooden handles, that’s a sign moisture or pests have begun compromising the integrity. A loose handle can fling unpredictably, potentially injuring you or damaging delicate plant roots—especially frustrating when transplanting tender herbs like basil (Ocimum basilicum, native to Africa and Asia). I recall one time I was gripping a splitting handle mid-dig, and it snapped under pressure, sending me backward and crushing a row of newly planted lettuce seedlings. Once I had to replace the handle mid-season to avoid repeated mishaps.
Inspect handles for tiny black holes or sawdust-like frass, which could indicate carpenter ants or wood-boring beetles nesting inside. If the splitting is minor, a few wraps of strong duct tape or a layer of wood glue with a clamp can temporarily shore up the handle. For a more durable fix, sand away any rough edges, then fill the crack with an exterior-grade wood epoxy, let it cure, and refinish with spar varnish. If pests have established a colony inside, though, it’s best to replace the handle entirely. Ensuring a solid grip not only prevents accidents but also deters moisture from penetrating the wood, reducing future pest invasions.
Foul Odors or Mildew Growth
Gardening tools stored in damp sheds can develop musty, moldy odors—especially trowels, hoses, and gloves left smeared with organic matter. If you catch a whiff of mildew or see fuzzy white or green patches on handles or blade surfaces, that’s a clear sign you need to scrub and disinfect. Those spores can transfer to fresh plant wounds, spreading pathogens like powdery mildew (Erysiphales) or even bacterial rot to susceptible plants such as squash (Cucurbita spp., native to the Americas). I learned this the hard way when moldy gloves incubated downy mildew spores, and my cucumbers suffered for weeks—once I cleaned everything thoroughly, the outbreak ceased.
Combat odors and mildew by scrubbing tools with a solution of one-part bleach to nine parts water or using a commercial fungicidal soap. Rinse thoroughly afterward to remove any chemical residue, then let the tools air-dry completely in the sun—UV rays help kill lingering spores and evaporate moisture. For cloth items like gloves or clippers’ sheaths, a hot wash with detergent and a dash of vinegar typically eliminates both scent and mold. By sniffing out mildew cues early, you’ll protect your plants from secondary infections and ensure each tool is ready for the next pruning or planting without carrying a fungal hitchhiker.
Sticking or Jammed Moving Parts
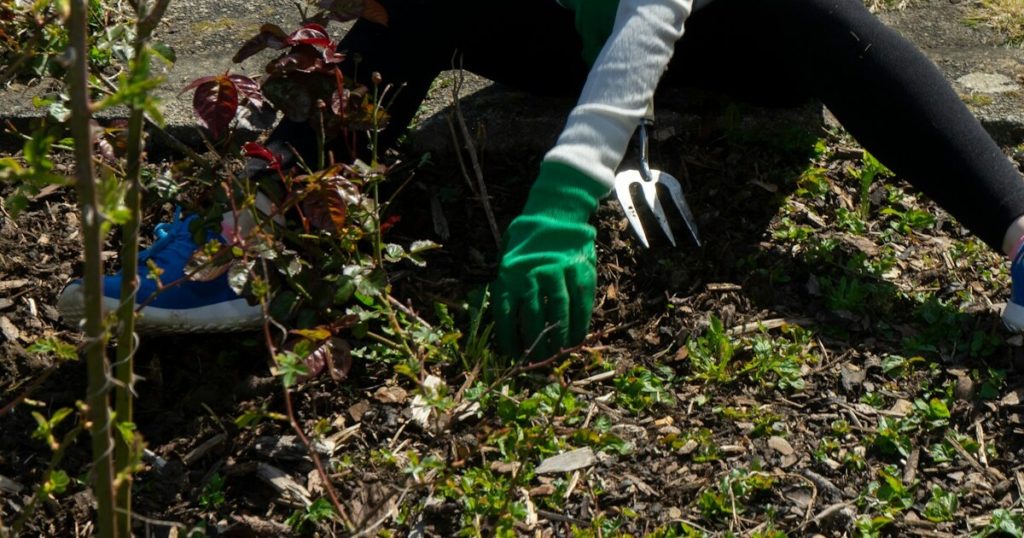
When your pruning shears squeak, jam, or refuse to close smoothly, it’s a sign that dirt, sap, or rust has nestled into the pivot area and spring assembly. A jerky motion not only slows you down but can also result in uneven cuts or pinched stems—turning an otherwise simple rose (Rosa spp.) pruning task into an exercise in frustration. I once tried to trim back my lavenders (Lavandula angustifolia, native to the Mediterranean) with jammed bypass pruners; half the stems were crushed instead of cut, leading to uneven new growth. After a thorough disassembly, cleaning, and lubrication, those shears glided like new and turned pruning back into pleasure.
Disassemble your pruners or loppers—following the manufacturer’s instructions—and clean each component in warm, soapy water. Use a small brush or toothpick to clear debris from pivot holes and coils. After drying every piece, apply a few drops of penetrating oil—like 3-in-1 oil—into pivot joints and springs to lubricate and repel moisture. Reassemble, adjust the tension screw if needed, and test on a scrap branch to ensure smooth operation. Regular maintenance of moving parts not only restores cutting efficiency but also prevents insects—like tiny wasps or ants—from making nests in voids, thus avoiding future jams.
Visible Plant Residue or Disease Signs
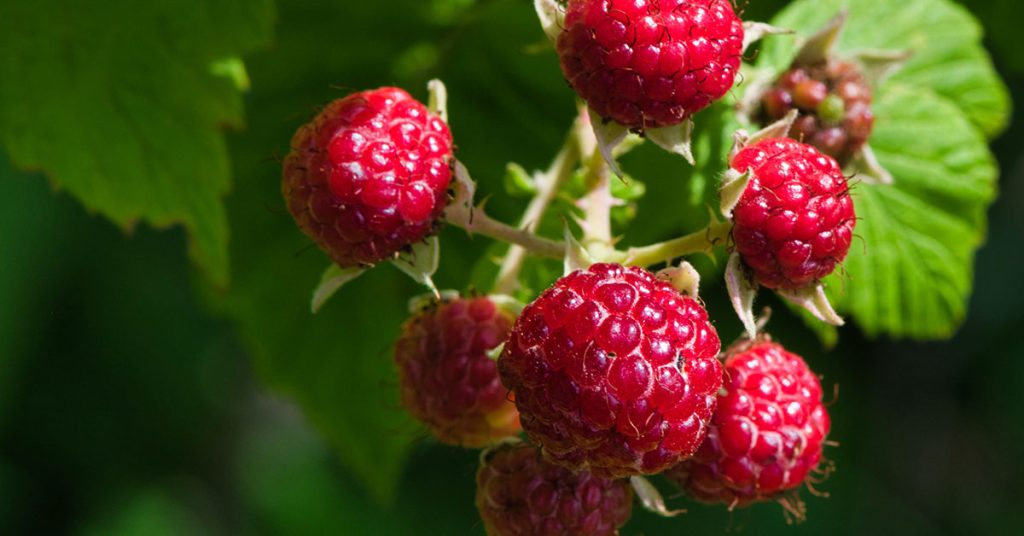
If you notice bits of plant tissue, sap smears, or dark fungal spores clinging to your tools after a session of trimming diseased foliage—like removing Dutch elm disease-affected branches or blighted tomato leaves—that’s an urgent warning to clean and disinfect. Failure to do so can spread pathogens from infected to healthy plants, damaging raspberries (Rubus idaeus, native to Europe and Asia) or peaches (Prunus persica) the next time you prune. I once inadvertently transmitted apple scab (Venturia inaequalis) from an infected crabapple (Malus crabapple, native to Europe) to my heirloom pears, only realizing too late when lesions appeared on new leaves.
To tackle this, immediately wipe down blades and handles with a rag dampened in a 10% bleach solution or 70% isopropyl alcohol—especially after working on plants showing unmistakable signs of fungal leaf spots or cankers. For stubborn residues, soak the tools in a disinfectant bath (like a mild bleach solution) for 10–15 minutes, then rinse and dry thoroughly. After disinfecting, apply a thin layer of oil to the metal surfaces to ward off rust. By removing every trace of infected plant matter, you’ll break the disease cycle and safeguard the rest of your garden from being a host for these harmful pathogens.
Paint or Coating Wear on Metal Surfaces

Some gardening tools feature painted blades or protective coatings—like powder-coated hoes or painted steel edges on edging shears. When that coating peels or wears away, the exposed metal beneath becomes vulnerable to rust and corrosion. I once bought a “rust-proof” spade with a painted blade, but after a season of heavy digging, the paint chipped, and within weeks, orange blotches of rust appeared. That spade became far less effective at slicing through tough clay and started transferring rust to new plant roots—no good for the delicate root hairs of seedlings!
Monitor your tools for flaking paint or scratched surfaces; when you spot wear, sand the exposed areas lightly with fine-grit sandpaper to smooth out rough edges. Afterward, apply a rust-inhibiting spray paint or a specialized tool coating—many hardware stores carry tools’ touch-up paints in matching colors. Let the coating cure fully according to the instructions, then buff lightly and add a thin layer of machine oil. Protecting those metal surfaces not only keeps rust at bay but also prevents flaking paint chips from falling into your soil, where