

Transplanting vegetable seedlings into the garden is a pivotal moment for any gardener, marking the transition from protected nursery beds to the unpredictable outdoor environment. As someone who’s eagerly nurtured tiny tomato and pepper seedlings under grow lights, I know how nerve-wracking it can be to move them outside—even on a seemingly perfect spring day, it’s such a bummer when a sudden cold snap or unwelcomed pests set you back. In this article, we’ll explore nine detailed tips to help you transplant vegetables smoothly and give them the best chance to thrive. Each tip digs into practical steps—like soil preparation, watering strategies, and pest protection—while also touching on plant origins, invasiveness concerns, and pollinator-friendly practices.
Whether you’re a first-time gardener or someone who’s battled transplant shock more than once, these guidelines will help you minimize stress for your young plants. From hardening off delicate seedlings to choosing the ideal planting depth for root vegetables, expect in-depth advice and empathetic anecdotes. I’ll also cover creative companion planting ideas and share why a few well-placed flowers can boost beneficial insect behavior around your transplants. By June—when many are planting peppers, eggplants, and squash—you’ll feel confident setting out seedlings that will reward you with abundant harvests rather than wilted disappointments. So grab your trowel and let’s get started on setting up your vegetable transplants for success!
Harden Off Seedlings Gradually
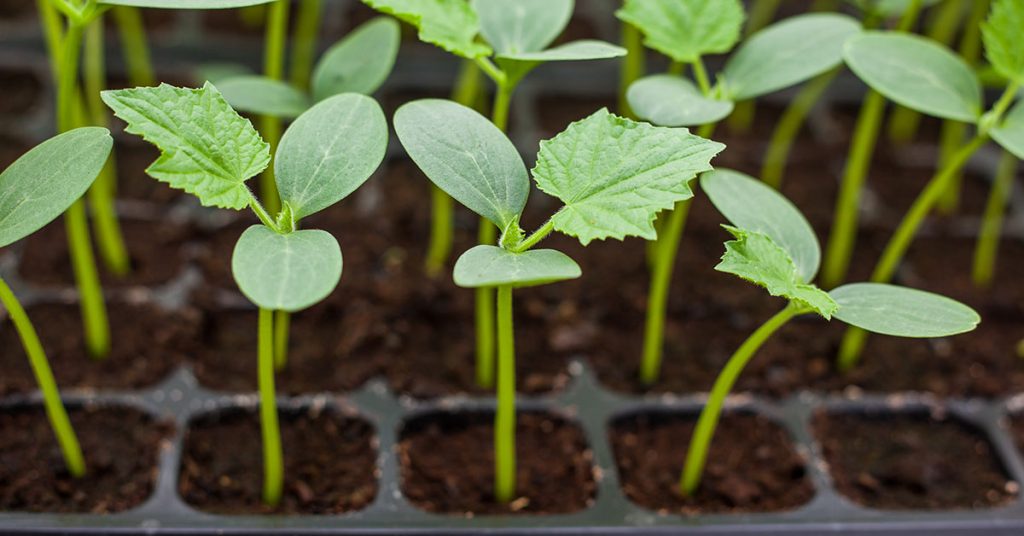
Before plunging tender seedlings into full-sun conditions, it’s crucial to harden them off by gradually exposing them to outdoor elements over a week or more. Place seedlings outdoors in a sheltered, shady spot for a few hours each day, then slowly increase their time outside and the sun exposure. I still recall the disappointment last spring when I transplanted broccoli seedlings directly into bright sun—they were pale and limp by evening. By introducing them incrementally to wind, sun, and cooler night temperatures, you acclimate them to the harsher garden environment and reduce shock.
Hardening off also helps plants adjust their internal mechanisms—such as strengthening cell walls and thickening leaves—so they can better withstand UV radiation and temperature swings. This is particularly important for cool-season crops like lettuce (Lactuca sativa), thought to be native to the Mediterranean region, which can’t tolerate sudden heat. Meanwhile, warm-season transplants like peppers (Capsicum annuum), native to Central and South America, can benefit from slightly longer initial exposure to sun to trigger their sun-loving growth habits. By investing time in a proper hardening-off routine—ideally starting when daytime highs are above 60°F—you set your seedlings on a path to vigorous, resilient growth.
Choose Healthy, Disease-Free Seedlings
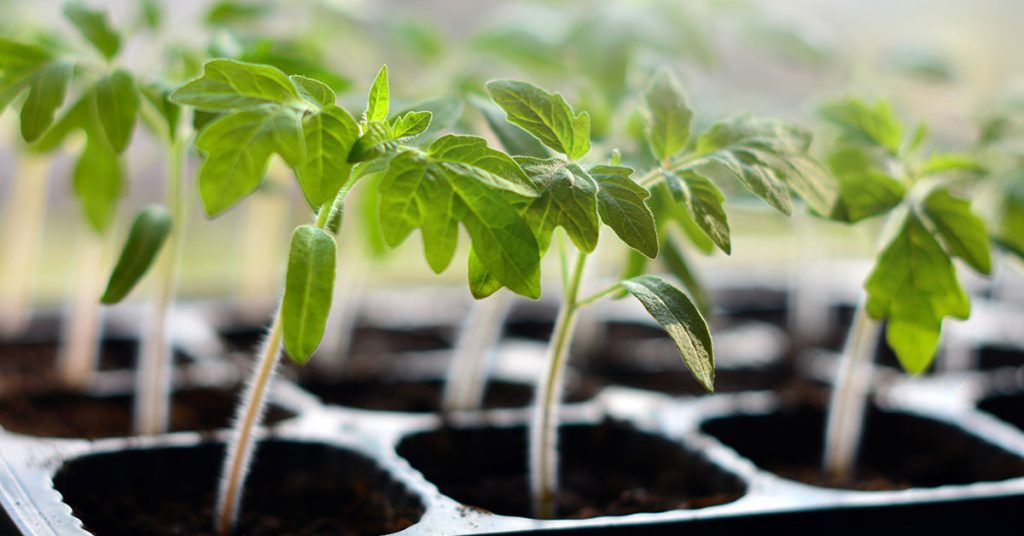
Selecting robust, disease-free seedlings is the foundation of a successful transplant. Look for plants with vibrant green leaves free of spots or discoloration, sturdy stems that aren’t leggy, and well-developed root systems that fill their cells without becoming root-bound. One year, I mistakenly planted zucchini seedlings with tiny aphid infestations on June leaves; within days, those pests had leapt to nearby plants, forcing me into an unplanned insecticidal soap routine. By choosing clean, pest-free starts from reliable sources—or by carefully inspecting your own seedlings—you avoid introducing problems to your garden.
Pay attention to varietal origins and potential invasive tendencies. For example, heirloom tomato seedlings (Solanum lycopersicum), native to western South America, offer unique flavors and colors but may carry residual diseases from previous generations—so always purchase from reputable growers or start seeds anew. Likewise, if you’re transplanting a cucurbit like kabocha squash (Cucurbita maxima), keep in mind that some aggressive vine types can spread beyond intended beds. Opt for disease-resistant cultivars when possible, especially in regions prone to late blight or powdery mildew. Starting with healthy, vigorous seedlings not only makes your life easier but also invites pollinators—like bumblebees drawn to early squash blossoms—to visit a thriving, pest-free garden.
Prepare Soil With Compost And Appropriate Amendments

Healthy transplants need fertile, well-structured soil that retains moisture while draining excess water. Before planting in June, work in a generous amount of well-aged compost—ideally from local sources—to boost organic matter and microbial activity. I remember transforming a clay-heavy bed by incorporating aged horse manure and compost last year; peppers and eggplants (Solanum melongena, native to India) that struggled previously suddenly anchored well and produced lush foliage by mid-summer heat. Compost also encourages beneficial nematodes and earthworms to flourish, keeping your garden tick with life.
Depending on your soil test results, you may need to add specific amendments: bone meal for phosphorus to promote strong root development in root crops like carrots (Daucus carota, domesticated in Persia), or greensand to improve potassium levels for fruiting vegetables like tomatoes. If your soil is too sandy and drains faster than June rains can replenish, incorporate coconut coir or well-rotted manure to increase moisture retention. Avoid over-fertilizing with high-nitrogen mixes, as this can lead to lush foliage but poor fruit set in heat-loving peppers. By fine-tuning your soil before transplanting, you ensure that each June-planted seedling receives balanced nutrition and a supportive structure to establish quickly.
Transplant At The Right Time Of Day

Timing your transplant to coincide with cooler parts of the day—early morning or late afternoon—reduces heat stress on tender seedlings. Exposing transplants to intense midday sun can cause scorching and wilting. I once offered my heirloom tomato seedlings to full sun at noon in late June, only to see drooping leaves and immediate moisture stress. Instead, I learned to wait until just after sunrise or later in the evening, giving roots a chance to settle before facing the day’s heat.
Transplanting in these cooler windows also synchronizes with pollinator activity: early morning plantings welcome honeybees and native sweat bees to wandering through your garden, seeking nectar from nearby blooms, such as sunflowers (Helianthus annuus, native to North America). Those pollinators help cross-pollinate nearby squash or cucumber blossoms as transplants settle in. Evening transplanting—when temperatures drop—allows seedlings to recover overnight, and dew can help hydrate root zones. By choosing the optimal time of day in June, you reduce transpiration rates and give your vegetables a solid start without the immediate challenge of high solar radiation.
Dig Properly Sized Holes And Plant Deeply When Appropriate
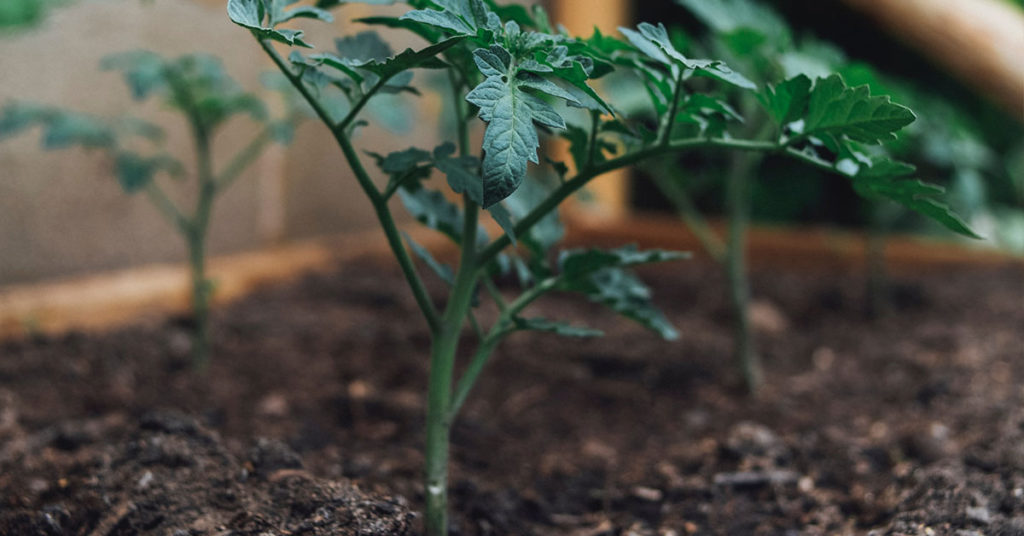
Digging holes that match or slightly exceed your seedling’s root ball invites roots to expand easily, anchoring plants more firmly. For crops like tomatoes, which usually have roots confined by nursery pots, dig a hole deep enough to bury part of the stem—up to the lowest leaves. Tomatoes are native to western South America and have a remarkable ability to develop adventitious roots along buried stems, improving stability and nutrient uptake. I once planted a volunteer tomato seedling too shallowly—within a week, a gust of wind toppled it, exposing root tissue and setting me back days in growth.
Conversely, root crops like carrots or beets (Beta vulgaris, native to the Mediterranean) require shallow, wide planting that keeps the shoulder of the root just below soil level to maintain consistent shape and avoid splitting. Beans and peas (Phaseolus spp. and Pisum sativum, native to Central America and the Mediterranean, respectively) prefer shallow placement, just deep enough to cover seeds with a quarter-inch of soil, ensuring they can emerge easily without moisture loss from an excessively deep planting. By tailoring hole depth and planting depth to each vegetable’s heritage and root behavior, you give transplants the best environment to flourish under June’s potent sun.
Water Thoroughly And Mulch Immediately After Transplant
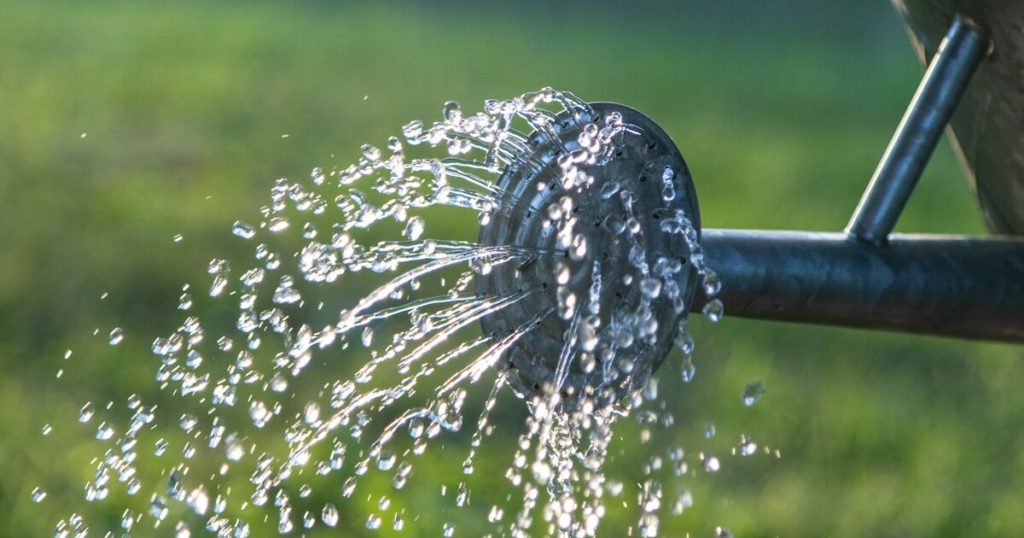
Newly transplanted seedlings face critical hydration challenges in June’s heat, so a generous initial watering is essential. After placing a tomato or pepper (both in the Solanaceae family) into its hole, I compact the surrounding soil gently—eliminating air pockets that can dry out roots—and give the plant 1 to 2 quarts of water, depending on the size of the root ball. This thorough soak ensures the roots make good contact with the surrounding soil and don’t dry out when the afternoon heat bakes sunflowers and zinnias in adjacent beds.
Next, apply a two- to three-inch layer of organic mulch—such as straw, shredded bark, or compost—to conserve soil moisture and regulate surface temperatures. Mulch also suppresses weeds that compete for water and nutrients; I’ve seen how quickly crabgrass sprouts take over unmulched areas, forcing me to hand-pull or hoe on hot afternoons, which is the last thing anyone wants. For cool-season transplants like lettuce or spinach, a thinner layer of straw helps keep roots cool without blocking sunlight for emerging leaves. By June, consistent moisture and organic mulch are your allies to reduce stress, maintain steady root temperatures, and let plants focus on growing rather than surviving.
Provide Temporary Shade For Tender Transplants

Certain vegetable seedlings, such as eggplants (Solanum melongena, native to India) and peppers (Capsicum spp.), can be especially vulnerable to sunscald or heat stress in early stages. Providing temporary shade—using shade cloth or even an upturned basket—helps them adjust to intense UV levels gradually. Last June, I used a light, breathable shade cloth over my small pepper bed for the first week after transplanting; those peppers established visibly faster and didn’t suffer wilting or leaf burn as neighbors’ peppers did under unfiltered sun.
When constructing shade, ensure you don’t completely block airflow; a well-ventilated shade cloth that knocks down sunlight by 30–50 percent is ideal. This gentle shading mimics the dappled conditions many young seedlings experience in their native understories—tomatoes originated in Andean mountain foothills, where early warmth is tempered by canopy cover. Once stems and leaves have hardened off after 5–7 days of shade protection, remove or shift the coverings gradually to expose them to direct sun. By providing temporary shade in June, you empower sensitive transplants to build resilience without compromising growth trajectories.
Scout For Pests And Diseases Promptly
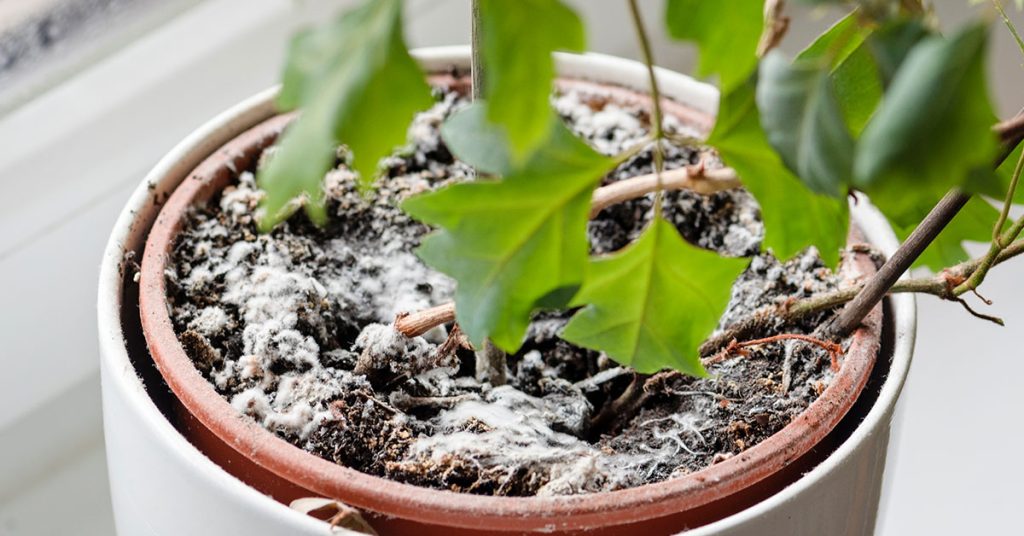
After moving plants into the ground, they face new threats from garden pests and pathogens. June is prime time for aphid infestations on tomatoes and cucumbers, as well as early signs of fungal diseases like powdery mildew on squash or downy mildew on leafy greens. I make it a habit to inspect leaves daily for browning spots, sticky residue, or clusters of tiny green insects. Catching a tiny pea aphid colony on my cucumber plants next to the squash bed saved me from a July infestation that could have decimated both vines.
Encouraging beneficial predators—such as ladybugs, lacewings, and minute pirate bugs—by planting companion flowers like dill (Anethum graveolens, native to Western Asia) or yarrow (Achillea millefolium, native to North America and Eurasia) near your vegetable transplants helps keep pest populations in check. If you see early signs of disease, promptly remove infected leaves or apply organic treatments like neem oil or baking soda sprays to prevent spread. By maintaining a vigilant eye on new transplants in June, you stay ahead of pests that multiply rapidly in warm conditions, ensuring your vegetables channel energy into fruit production rather than fending off attackers.
Fertilize Carefully To Avoid “Transplant Shock”

Young transplants need a gentle nutrient boost—insufficient fertilization starves them, but too much, too soon can cause “transplant shock” marked by burned leaf tips and stunted growth. When I transplant lettuce or brassicas like broccoli (Brassica oleracea, native to Europe), I apply a diluted compost tea or well-aged manure around, but not directly on, the root zone. This provides a slow-release source of nitrogen, phosphorus, and potassium without surprising the delicate roots with high salt content.
For fruiting transplants like tomatoes and peppers, a starter solution high in phosphorus—such as bone meal or a fish-and-seaweed emulsion—encourages strong root establishment and flower set. In June’s heat, watch how quickly plants put out new shoots, consuming nutrients faster; I switch to a balanced low-nitrogen organic fertilizer (e.g., 5-10-10) by mid-July to promote fruit production. Note that tomatoes have an invasive cousin, Solanum mauritianum (bugweed), in some regions—avoid introducing unknown seedlings that might harbor invasive traits. By fertilizing judiciously, you nurture transplants through that critical establishment phase, ensuring they focus on growing robust roots and foliage rather than reeling from fertilizer burn.