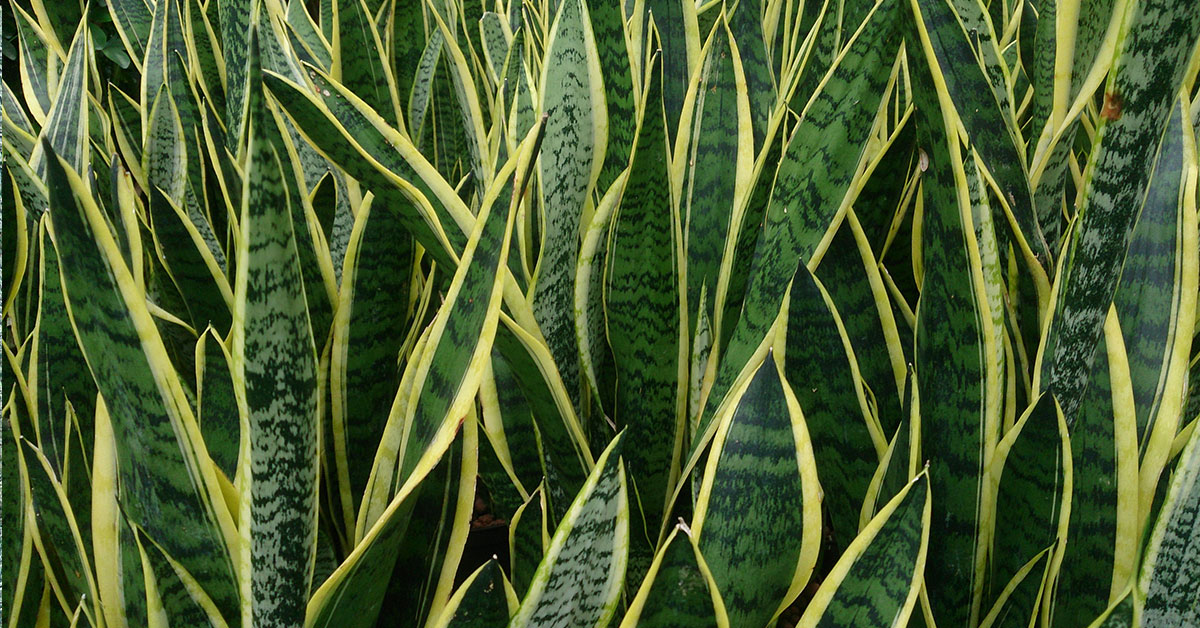

Snake plants (Sansevieria trifasciata), native to the arid regions of West Africa, are celebrated for their sculptural, upright leaves and minimal care requirements. Yet as resilient as they are, not all snake plants readily produce new pups—those adorable baby offshoots that emerge around the base. I know how disappointing it can be: you’ve nurtured your plant meticulously—watering just right, placing it in that perfect light—only to see no sign of fresh growth. If you’ve ever hoped for a fuller, more proliferative snake plant but felt stymied, rest assured you’re not alone!
In this article, I’ll share eight easy-to-follow tips that encourage snake plants to produce more pups, whether they’re nestled at the pot’s edge or clustered under the crown. Each tip is grounded in understanding the plant’s native habitat and growth patterns—like how they naturally propagate in rocky West African soils or how direct sunlight can scorch leaves instead of stimulating growth. Through my own trial and error (and yes, a few impatient moments of frustration when pests nibbled at emerging pups), I’ve discovered practical tweaks that invigorate even the most stubborn snake plants. Let’s explore these strategies together and watch those pups multiply!
Use a Well-Draining Soil Mix
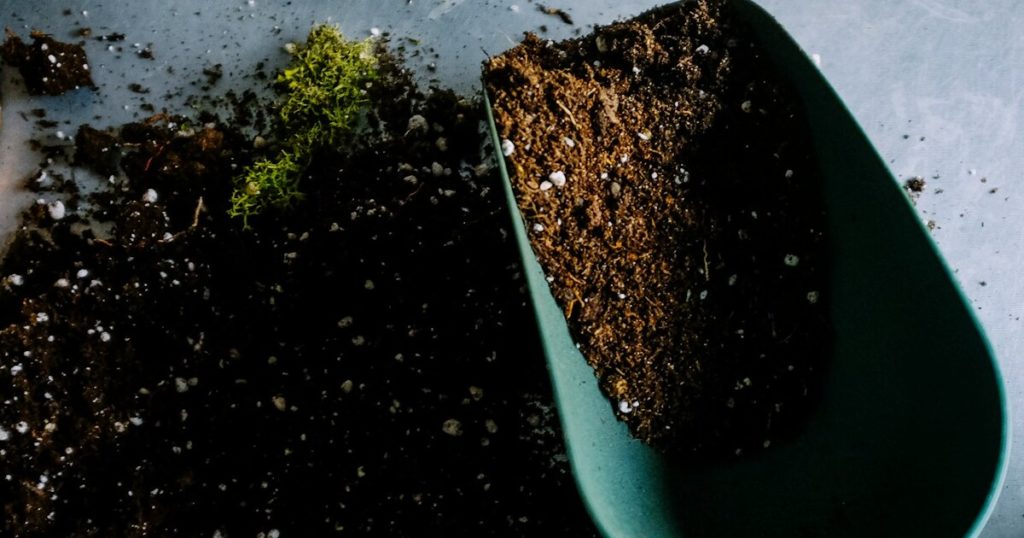
Snake plants thrive in gritty, well-draining soils akin to their native dry savannas. If you’re cultivating yours in dense, moisture-retentive potting mix, the roots can become waterlogged, stunting pup production. By blending a standard potting mix with perlite, coarse sand, or pumice in a 1:1 ratio, you replicate that fast-draining environment. This allows roots to breathe, reducing the risk of rot and encouraging the plant to send up new pups along healthy rhizomes.
When I first switched my own snake plant into a porous mix, I noticed almost immediately that the central rosette began throwing forth side shoots. Before, the damp soil kept everything just a bit too wet—perfect for fungus gnats nesting in the surface layers and lightly nibbling tender roots. Now, with improved drainage, both pests and root rot troubles diminished, and within a couple of months, four fresh pups sprouted around the parent plant! This simple soil tweak sets a solid foundation for prolific pup growth.
Provide Moderate, Indirect Light

While snake plants are famously tolerant of low light, they actually produce more pups when exposed to bright, indirect sunlight—similar to dappled light filtering through the sparse canopy of their native woodlands. Placing your plant near an east- or north-facing window ensures it receives enough luminosity to fuel new growth without risking leaf burn. Direct afternoon sun through a west-facing glass can scorch foliage, leaving behind unsightly brown patches and stressing the plant, which slows pup emergence.
I learned this the hard way when I placed my snake plant in a south-facing room without any shade cloth. The intense sun raised the leaf temperature, and visible scorch marks appeared across several leaves. Once I moved it slightly back into filtered light—just enough brightness to cast a soft glow—new pups started forming along the rhizome. Even on overcast days, those bright conditions encouraged the growth of small, tender pups near the soil surface, ready to be propagated when they reached a few inches tall.
Water Sparingly and Consistently

Snake plants store water in their fleshy rhizomes and leaves, adapting to periodic drought in their native habitat. Overwatering is a common reason for lackluster pup production: soggy soil can lead to root rot, which siphons energy away from new growth. Aim to water your snake plant only when the top two inches of soil are dry—typically every two to three weeks, depending on your home’s humidity and temperature. This mimics the plant’s natural wet-dry cycles, prompting it to generate pups as a survival mechanism.
During one scorching summer, I overzealously watered my snake plant every week, mistaking wilted leaves for thirst. Instead, most leaves turned yellow, and only one tiny pup appeared amid signs of rot. I switched to a “dry-touch” watering schedule—testing the soil by finger rather than on a timer—and those wilt cues disappeared. Within a month, several healthy pups emerged, each sending roots into the now-drier soil. By respecting the plant’s drought-adapted nature, you channel its energy into producing robust new offshoots rather than fending off root-related stress.
Fertilize During the Growing Season

Although snake plants aren’t heavy feeders, a gentle boost of balanced fertilizer (such as a 10-10-10 NPK formula) during spring and summer can stimulate pup production. The additional nutrients—particularly phosphorus for root development—encourage the rhizome to grow horizontally, spawning new shoots. I recommend using a diluted, water-soluble fertilizer at half-strength every six to eight weeks. Overfertilization can lead to salt buildup in the soil, which stresses the plant and hampers new growth, so moderation is key.
In my own experience, when I fed my snake plant once in early May and again in mid-July, I noticed a noticeable uptick in pup formation by late summer—almost like the rhizome awakened from its usual dormancy. In contrast, potted companions that received no fertilizer or too strong a dose struggled to produce pups or developed stunted, lightly colored offshoots. By timing feedings with the plant’s active growth phase, you provide just the right nudge for healthy, full-size pups to take root and thrive.
Repot or Divide Every Two to Three Years

As rhizomes expand, they eventually exhaust the nutrients in the potting medium, making it harder for the plant to produce pups. Repotting your snake plant into fresh, well-draining soil every two to three years revitalizes its root environment. During this process, you can also divide overcrowded sections—removing smaller pups and replanting them in their own containers. This encourages both the parent and the new divisions to focus energy on creating vigorous roots and additional pups rather than remaining crammed in a single pot.
I waited four years to repot one of my large snake plants, ignoring the telltale sign of diminished pup output. Once I finally lifted it from its pot, the tightly bound roots had formed a massive ball, hardly any free soil remained, and only one pup was visible. After dividing the rhizome into three sections and repotting them individually, each progressed to form three or four pups within six months. That simple division and repotting process prevented the stunted, overcrowded look and set up each plant for a fresh cycle of lush, full pup development.
Offer Occasional Bottom Heat in Cooler Months

In its West African native range, snake plants are accustomed to consistent warmth. While they tolerate indoor temperatures down to 55°F, cooler roots can slow pup production. Providing occasional bottom heat—like a grow mat set to 65°F placed beneath the pot—mimics the warm ground conditions where they naturally thrive. This gentle warmth encourages the rhizome’s growth, signaling it to expand horizontally and produce new pups even during slower, cooler seasons.
I once placed a heat mat under my snake plant’s pot during a chilly autumn period when the room temperature hovered around 60°F. Within weeks, a cluster of tiny pups began emerging along the rhizome near the soil surface. In contrast, an identical hanging basket in a colder part of the room produced no pups until I rearranged its environment. That modest bottom heat prevents the rhizome from entering full dormancy and extends the pup-producing window—especially useful if you’re eager for new offshoots year-round.
Ensure Adequate Pot Size and Stability

Snake plants appreciate a snug pot at first, as a slightly confined root environment can stimulate pup production. However, once pups begin forming, overcrowding can inhibit further growth. Using a pot just slightly larger than the current root ball encourages the plant to focus energy on generating pups without overwhelming root expansion. At the same time, choose a stable container that won’t tip over when pups emerge unevenly around the base—top-heavy pots can break the delicate rhizome connections, leading to damaged pups.
There was a time I ignored pup clusters on one side of a spider plant’s container, leading to repeated tipping when offshoots grew heavier. After switching to a heavier ceramic pot with a wide base, I not only prevented tipping but also gave the rhizome ample room to send pups in all directions. This container change reduced mechanical stress on the pups, allowing them to establish roots rapidly. The right pot size and stability ensure each new pup has room to build its root system without losing momentum from accidental tumbles.
Keep an Eye Out for Pests and Remove the First Pups for Propagation

While snake plants are generally pest-resistant, root mealybugs or spider mites can sometimes nest in the leaf axils or soil if the environment is excessively humid. Pests hinder pup development by sapping plant energy and damaging delicate new shoots. Regularly inspect leaves—especially newer pups—for any signs of scale-like insects or webbing, and treat promptly with insecticidal soap or neem oil. Once pests are controlled, the plant can channel nutrients into producing more pups rather than combating infestations.
When pups do appear, remove the first few carefully once they’re at least three inches tall and have their own root sets. Repot those pups into separate containers to allow them to focus on generating more offshoots rather than competing with the parent plant. In my experience, potted pups often produce their own pups within four to six months—kickstarting a propagation cycle that keeps your collection growing. By managing early pests and liberating pups promptly, you encourage a continuous cascade of new plants, each ready to contribute to a lush, expansive display.