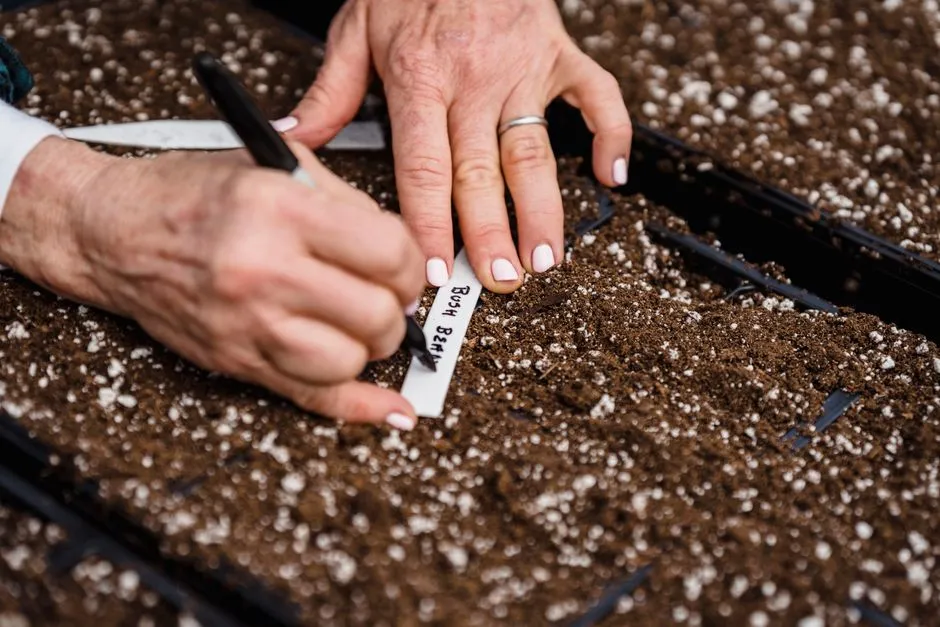

Most gardeners spend money on store-bought plastic stakes that fade after one season and snap at the worst possible moment. There’s a better way, and it starts with whatever you already have at home. In 2024, only 9% of plastic waste was recycled globally, while 22% was improperly disposed of. That context makes every small act of creative reuse matter a little more than it might seem.
Upcycling helps reduce landfill waste and gives new life to items that would otherwise be thrown away. Unlike recycling, which often requires energy-intensive processes, upcycling typically involves creative repurposing without major modifications. Plant markers are a perfect starting point. They’re simple, low-stakes, and you probably have everything you need sitting in a drawer or recycling bin right now.
1. Laundry Detergent Jugs
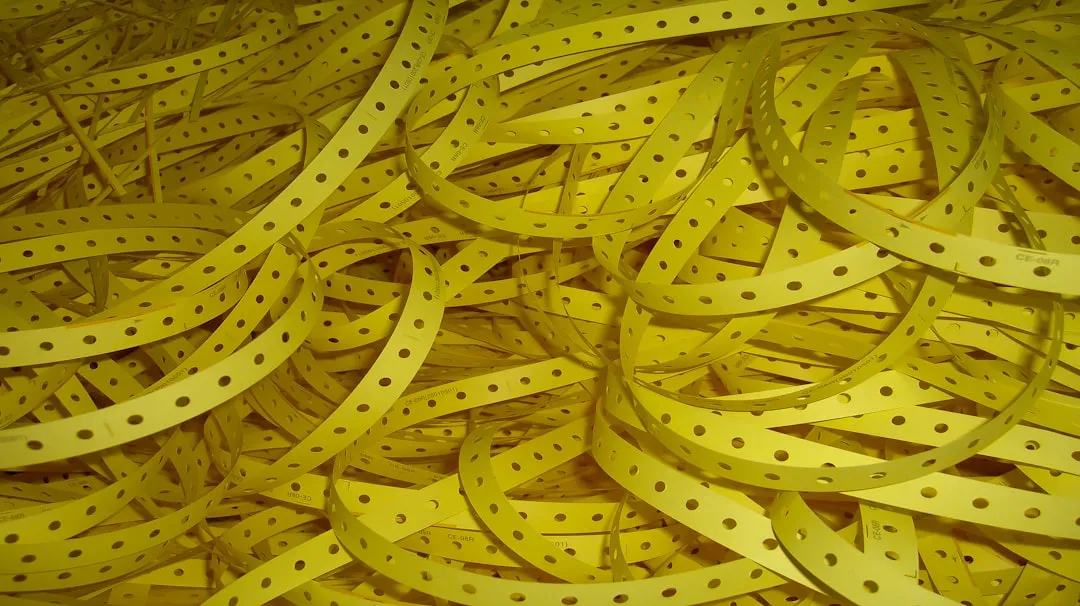
Cutting strips of plastic out of an old laundry detergent jug, cleaning the strips, and writing plant names directly onto them with a Sharpie is a simple yet effective DIY. The resulting plant labels can weather a rainy growing season and cost a fraction of the price of store-bought plastic markers.
Laundry detergent jugs are far from the only source of household plastic you could upcycle this way. If properly cleaned, you could reuse other items like SOLO cups, cat litter jugs, or takeout food containers in a similar way. The plastic used in detergent bottles is typically HDPE, which is known for its durability outdoors.
Found in milk jugs, detergent bottles, and pipes, HDPE is durable and recyclable but often discarded improperly. Cutting it into narrow strips and pressing one end to a point takes less than five minutes per batch, and the result outlasts most commercial markers you’d pick up at a garden center.
2. Wine Corks
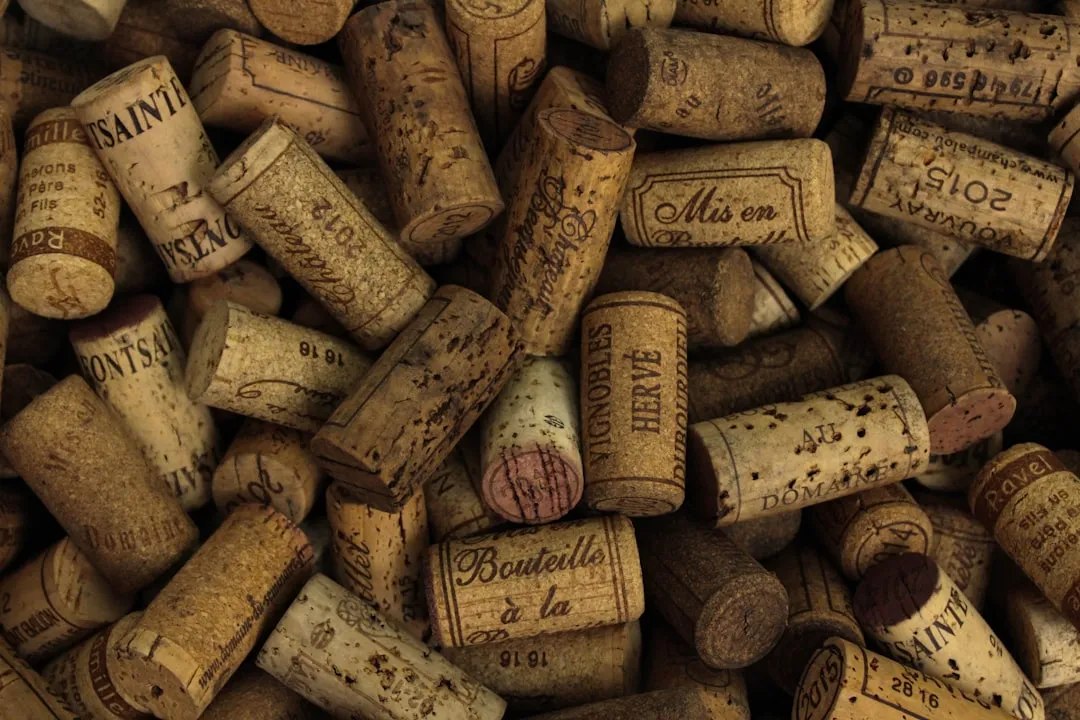
Wine corks make simple, effective garden markers. Write plant names on the corks, then place the corks onto bamboo skewers and stick them in planters. It’s genuinely one of the easiest upcycle projects in the garden, and the result looks far better than a flimsy white plastic stake.
While it’s easy to know you should recycle your wine bottle once finished, sometimes it’s hard to know what to do with the wine cork. The truth is, wine corks are better reused than recycled, and there are a multitude of crafts that use wine corks.
Cork markers work best in potted herbs or small garden beds and are quick to make in batches. You can even seal the corks with a waterproof finish to extend their life outdoors. Simple, eco-friendly, and a bit rustic, they’re perfect for herb gardens on balconies or patios.
3. Old Cutlery and Mismatched Spoons
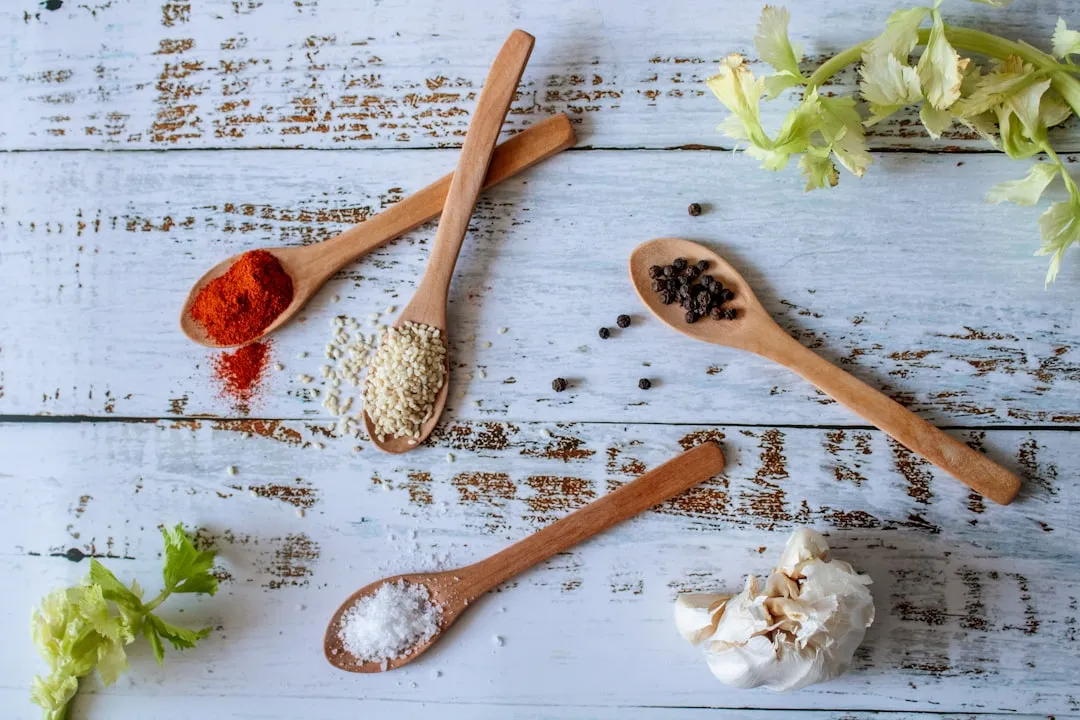
At one point or another, most of us have had a spoon in the silverware drawer that’s the last of its original set or is otherwise mismatched. Making garden markers out of stray or thrifted spoons is a practical and charming solution to this perennial problem.
Flattening old spoons or forks and labeling them with a permanent marker or engraving tools gives them a vintage look and helps identify your plants with style. The spoon bowl acts as a small natural flag above the soil, so they’re surprisingly visible among dense foliage.
Maybe you have some inherited antique spoons collecting dust in a drawer somewhere, but if not, it gives you an excuse to head out to an antique store for an afternoon. Once you have your spoons, the other items you’ll need are a hammer, rubber mallet, nail file, a Sharpie, and metal letter stamps. Metal letter stamps are reusable indefinitely, making the initial investment worthwhile across many growing seasons.
4. Old Window Blind Slats
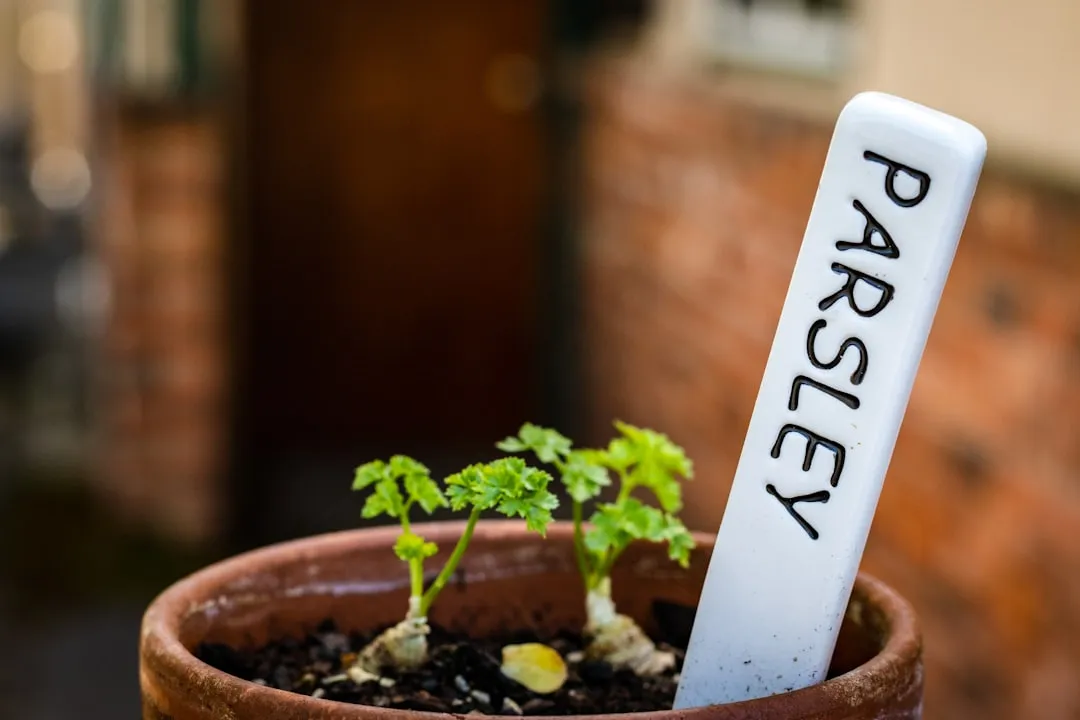
Old blinds don’t have to go to waste, as they can easily be converted into valuable household items. The slats from wooden or plastic blinds can be trimmed into smaller pieces and used as plant markers for your garden. Write the names of your plants on these markers with a waterproof pen and you’ve got durable, cost-free labels.
Those old blind slats transform into perfect garden markers. Especially vinyl or aluminum ones, as they stand up surprisingly well to weather compared to wood stakes. Plus, you get to make exactly as many as you need.
Paint slats with weather-resistant outdoor paint, then write plant names using permanent markers or paint pens that withstand rain and sun exposure. The durability of vinyl and aluminum slats exceeds wooden popsicle sticks that many gardeners use but must replace frequently. A single set of old mini blinds can yield dozens of free markers from one window’s worth of material.
5. Plastic Yogurt Containers and Food Tubs
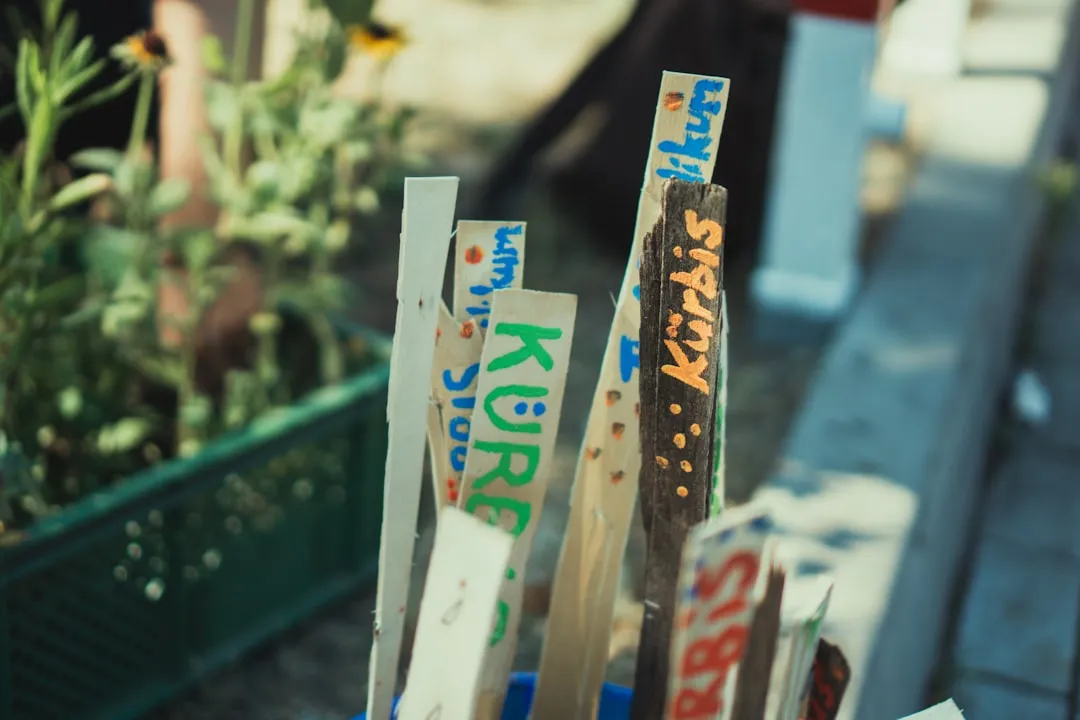
You could get a yogurt container and cut strips of it to turn into labels. This tip comes directly from a Master Gardener column, and it works just as well with sour cream tubs, cream cheese containers, or any rigid plastic food packaging that might otherwise go straight to the bin.
Cutting an old plastic pot from a previous plant purchase into thin strips and using a grease pencil to write in plant names is a quick and easy method. The same approach applies to yogurt and food containers, which tend to be made of flexible but sturdy plastic that cuts cleanly with scissors.
The strips are easy to trim into a pointed end so they press firmly into soil. To make the writing on the plant labels last longer, cover that side with packing tape. That one extra step dramatically extends how long the label stays readable through rain and sun.
6. Paint Sticks from the Hardware Store
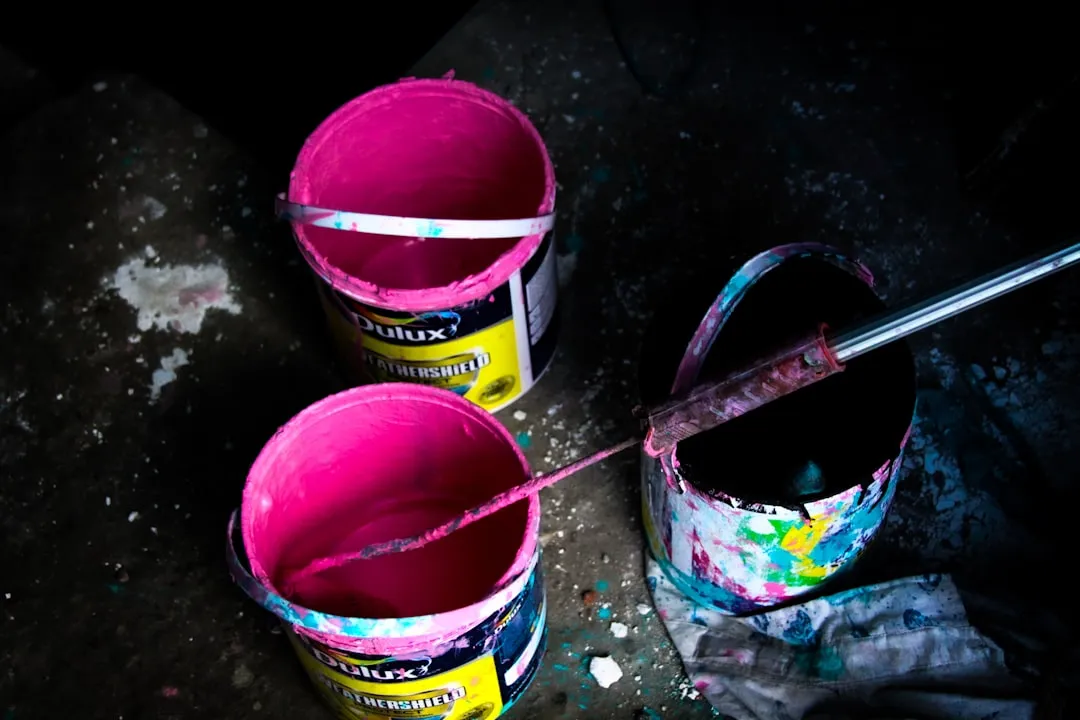
Home improvement enthusiasts will likely have more than one extra paint stick lying around the garage, even if their latest paint job is long since complete. Upcycling those spare paint sticks involves spray-painting them black, letting them dry, then writing in plant names using a white paint marker. This method allows you to write in plant names in larger text than many other upcycling materials, since the paint sticks are larger.
Paint sticks are typically free from hardware stores when you purchase paint, so they’re a genuinely zero-cost raw material. They’re also already a consistent size and shape, meaning no cutting or trimming required. Just paint, label, and push them into the soil.
Whichever upcycled garden ideas for garden markers you go with, just remember that it will need to be able to get wet, either from rain or your garden hose. Paint sticks sealed with a quick coat of outdoor varnish or clear spray paint hold up well through an entire growing season without splitting or warping.
The Bigger Picture: Why This Habit Matters
Of all the plastic waste generated on earth from 1950 to 2015, only 9% was recycled. Twelve percent was incinerated and 79% accumulated in landfills or the natural environment. Global plastic recycling rates have yet to reach two digits in 2024.
When you choose to upcycle, you do more than just save a few bucks. You make a statement about how sustainability and creativity can go hand in hand. In gardening, where connection with nature is central, embracing upcycled projects helps deepen that connection by reducing waste and encouraging resourcefulness.
Upcycling can be a cost-effective and environmentally sustainable way to approach projects around the home. There are few better places to implement upcycling than the garden, from reusing leftover mail packaging to using free wooden pallets for garden structures. Home gardeners interested in growing their own food or becoming more self-sufficient can utilize existing materials to keep their gardens both organized and green.
Choosing the Right Marker for Each Job
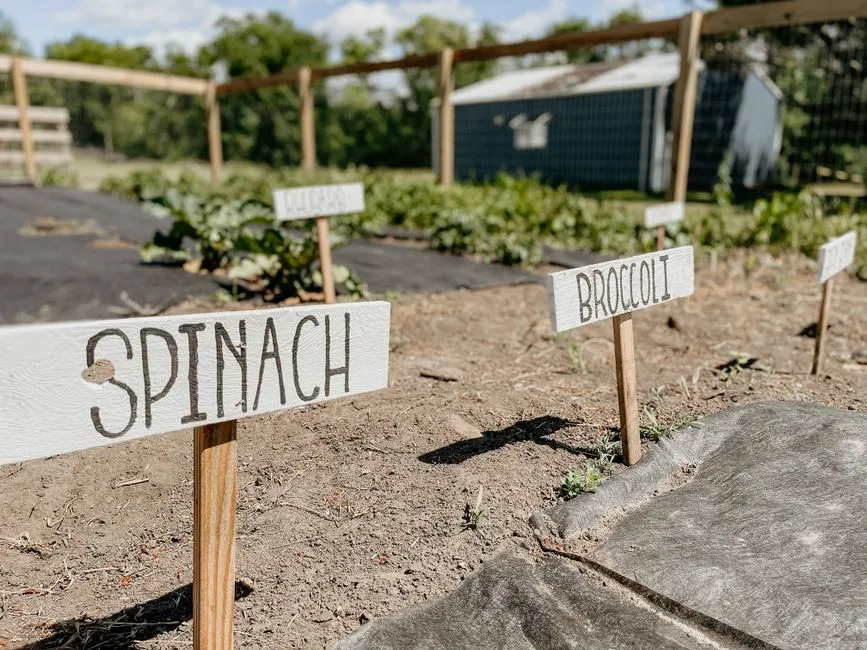
Not every material suits every situation. Cork and paint sticks are best for pots and raised beds with loose soil. Blind slats and detergent jug strips are sturdier for open garden beds exposed to wind and heavy rain. Spoons and cutlery work best as decorative markers for permanent plantings you want to highlight, like perennial herbs or fruit trees.
Using a waterproof marker, inscribe the plant names on both sides of your homemade markers. You could go a step further and add sowing dates or plant-specific care instructions. Writing on both sides of a strip also helps when markers shift in the soil or face away from view.
Oil-based paint pens last much longer outdoors than standard Sharpies. This is a small but genuinely useful tip. Permanent markers are convenient, but they fade faster than most people expect once sun and moisture get involved. Spending a little more on the right pen pays off over an entire season.
Tips for Making Them Last Longer
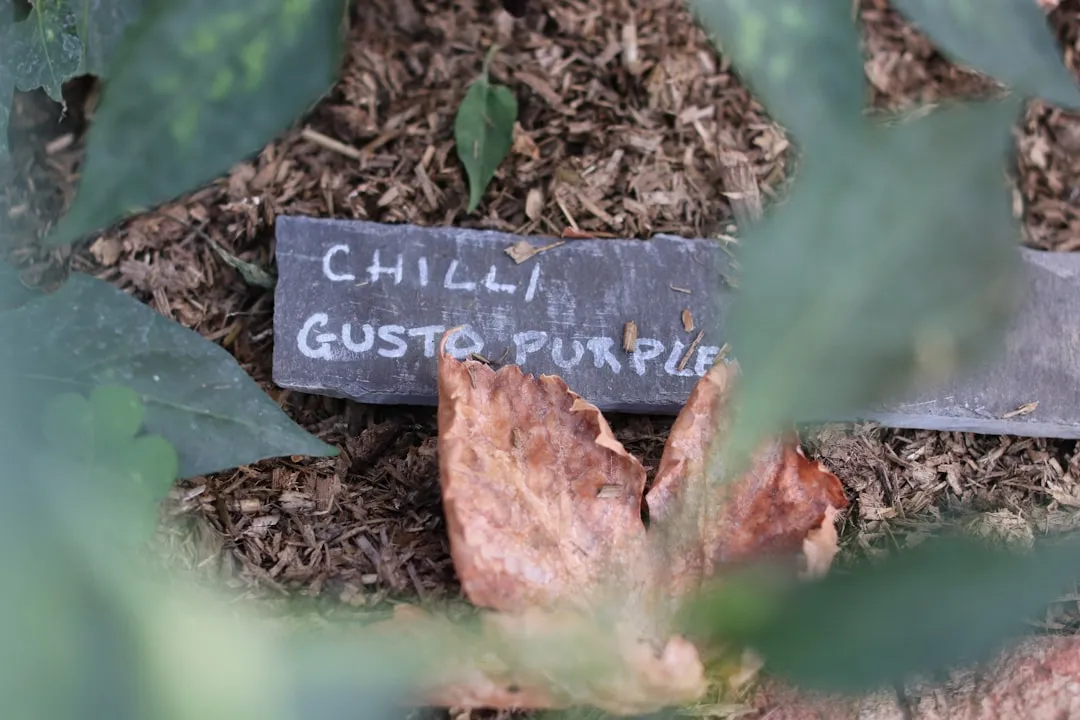
The key to creating a long-lasting rock plant marker, for example, is all in the paint. Look for non-toxic acrylic paint to decorate the rock and use an outdoor clear sealer like Mod Podge to protect it from the elements. The same logic applies to most upcycled markers made from porous or paint-coated materials.
For a permanent plant marker, you can type the name on a sticky label, put it onto the mini blind label, and paint with clear varnish or polyurethane. For longer lasting permanent marker writing on a label, simply paint with two coats of clear nail polish. That last trick is surprisingly practical and uses something most households already have.
Whether you’re a novice or a Master Gardener, garden markers and herb labels are fun to make, add character to your beds, and cause no harm. Treat them as seasonal tools rather than permanent fixtures, and you take the pressure off getting them perfect.
Where to Start if You Have Nothing on Hand
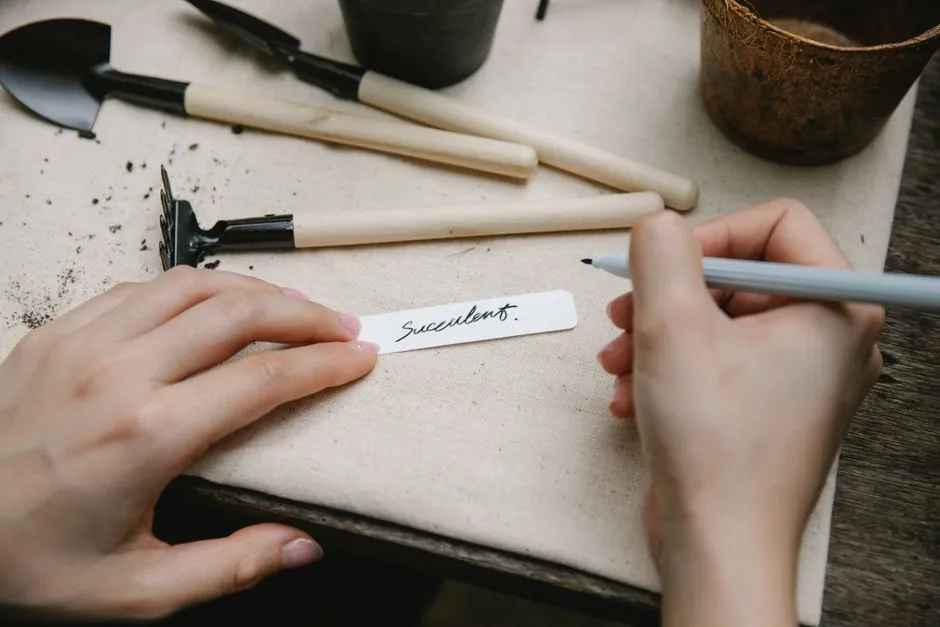
One folder or divider generates dozens of free plant markers, saving you money at the garden center. Old plastic file dividers, binders, and report covers are another easy source of flat, rigid plastic that cuts cleanly and accepts a marker well.
The next time you’re tempted to run out and buy all new stuff, get creative and see what you might already have that will serve just as well. The minimal trash our grandparents generated stands in sharp contrast to what most households throw away today. Gardening can be expensive if you go out and buy all new supplies, but your plants won’t know the difference if you follow good growing principles.
There’s something satisfying about a garden that carries traces of other parts of your life. A spoon from a discontinued set, a cork from a good bottle of wine, slats from a window you replaced years ago. They all end up doing quiet, useful work among the herbs and vegetables, proof that the best garden accessories often cost nothing at all.
AI Disclaimer: This article was created with the assistance of AI tools and reviewed by a human editor.