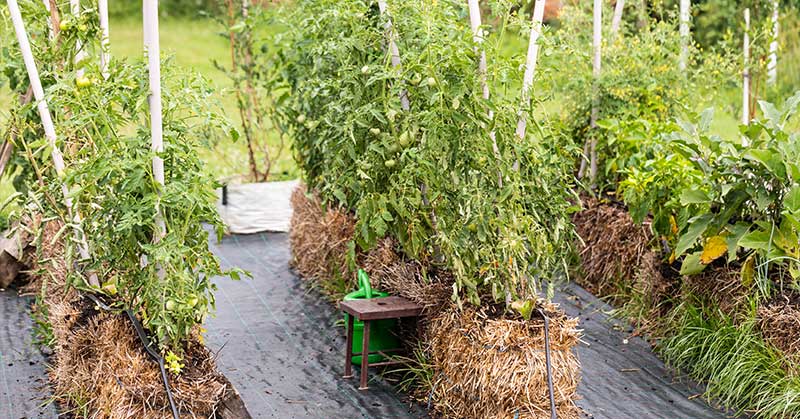

Straw bale gardening is an innovative and accessible way to grow vegetables and flowers, especially if you have poor soil conditions or limited space. This method involves planting directly into bales of straw, which provide excellent drainage and aeration for plant roots. While straw bale gardening can be incredibly rewarding, there are some common mistakes that can hinder your success. As an enthusiastic gardener, I’m excited to share insights to help you avoid these pitfalls and enjoy a bountiful harvest.
In this article, I’ll discuss ten common mistakes in straw bale gardening and provide detailed advice on how to avoid or fix them. By learning from these tips, you can ensure your straw bale garden thrives and produces healthy, vibrant plants. Let’s dive into these helpful tips and set your garden up for success!
Not Conditioning the Bales Properly
One of the most critical steps in straw bale gardening is conditioning the bales. This process involves adding water and fertilizer to the bales over a period of 10-14 days to initiate decomposition, which provides the nutrients your plants need. Skipping or rushing this step can lead to poor plant growth, as the bales won’t have the necessary nutrients for your plants to thrive.
To condition your bales correctly, start by soaking them thoroughly with water for three days. Then, apply a high-nitrogen fertilizer (like ammonium sulfate) every other day, continuing to water the bales daily. After about ten days, switch to a balanced fertilizer, and continue watering. You’ll know the conditioning is complete when the internal temperature of the bales starts to cool down. Properly conditioned bales create a rich, nutrient-dense environment for your plants.
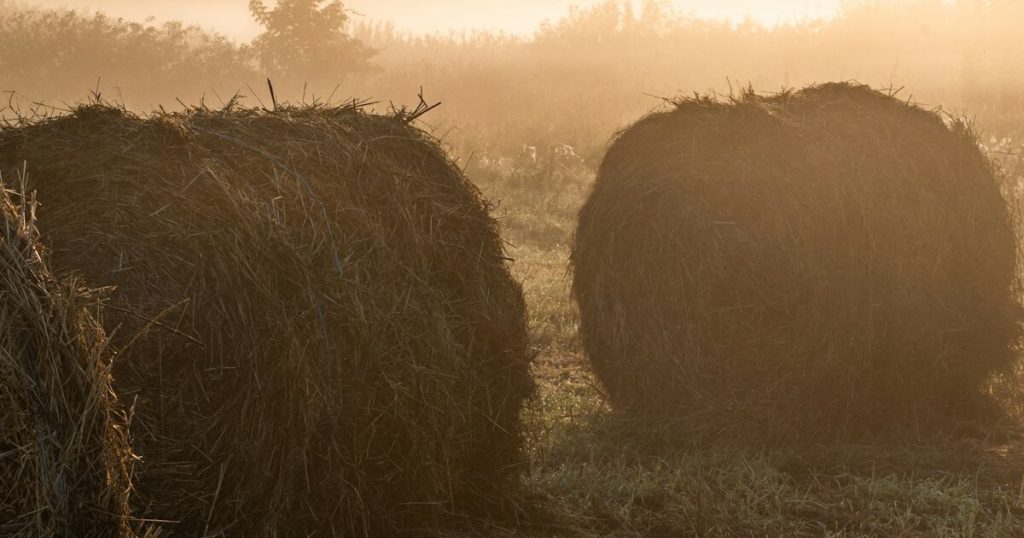
Using Hay Instead of Straw
It’s easy to confuse hay and straw, but using the wrong material can significantly impact your garden’s success. Hay is made from grasses and includes seeds, which can sprout and compete with your plants, turning your garden into a weedy mess. Straw, on the other hand, is the stalk left over after grain harvests, typically seed-free and ideal for gardening.
Always ensure you purchase straw bales rather than hay bales. Straw is usually golden yellow and contains hollow stalks, while hay is greenish and full of leafy material. By using straw bales, you avoid the issue of unwanted grass and weed growth, making your gardening experience much more manageable and successful.
Planting Too Early
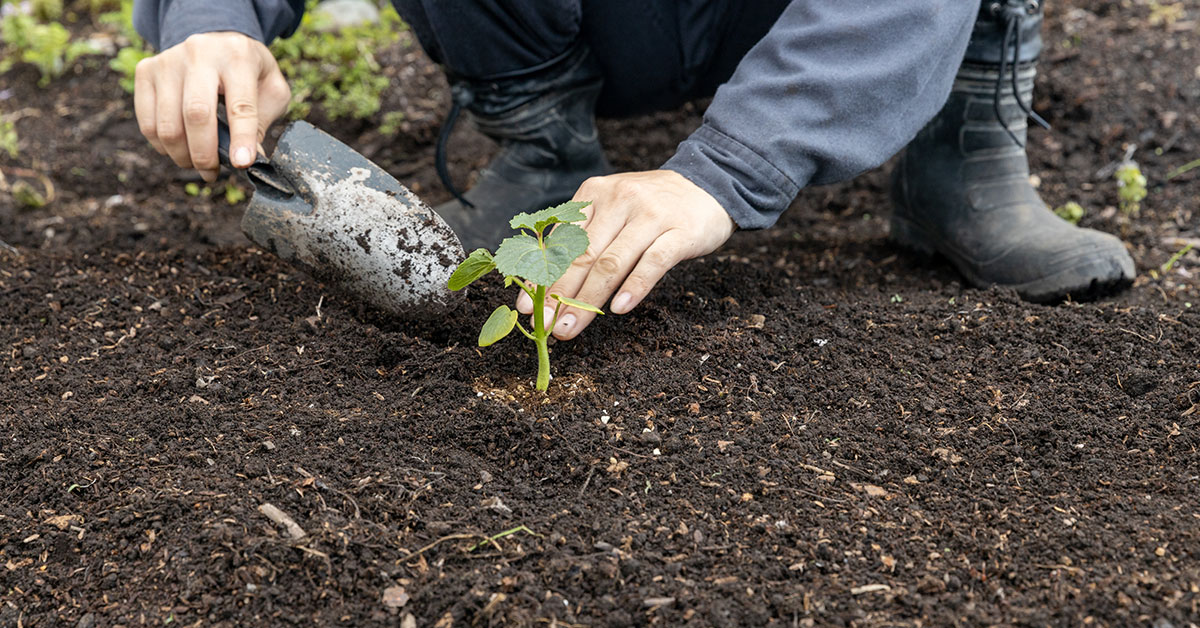
Timing is crucial in straw bale gardening, just as it is in traditional gardening. Planting too early, before the bales have finished conditioning, can expose your plants to extreme heat from the decomposing straw, which can damage or kill young seedlings. Additionally, cold weather can still pose a threat if you plant before the last frost date in your area.
Wait until your bales are fully conditioned and the internal temperature has dropped to a safe level before planting. You can use a compost thermometer to check the temperature. Additionally, ensure that the risk of frost has passed and the weather is consistently warm enough for your chosen plants. This patience will pay off with healthier, more robust plants.
Overwatering

While straw bales provide excellent drainage, it’s still possible to overwater your plants. Excessive watering can lead to root rot and other issues, particularly if the bales become waterlogged. Overwatering also washes away nutrients, making it harder for your plants to access what they need to grow.
To avoid overwatering, check the moisture level of your bales regularly. Stick your finger into the bale to see if it feels damp but not soggy. Water your plants in the morning to allow the excess to evaporate during the day. Consider using a drip irrigation system to provide consistent, controlled watering without the risk of overwatering.
Underwatering

Conversely, underwatering is another common mistake in straw bale gardening. Straw bales can dry out quickly, especially in hot and windy conditions. If your plants don’t get enough water, they can wilt and become stressed, leading to poor growth and reduced yields.
To prevent underwatering, water your bales consistently, ensuring they stay moist but not waterlogged. Mulching the top of the bales can help retain moisture and reduce evaporation. Regularly check the moisture levels, particularly during dry spells, and adjust your watering schedule accordingly to keep your plants healthy and hydrated.
Ignoring Pest Control

Pests can quickly become a problem in any garden, including straw bale gardens. Straw bales can attract insects, rodents, and other pests that can damage your plants. Ignoring pest control can lead to infestations that are difficult to manage and can devastate your garden.
Implement a proactive pest control strategy by regularly inspecting your plants and bales for signs of pests. Use natural repellents, such as neem oil or insecticidal soap, to keep insect populations in check. Physical barriers, like row covers, can protect your plants from larger pests. Encouraging beneficial insects, such as ladybugs and lacewings, can also help manage pest populations naturally.
Not Providing Adequate Support
Many plants, especially those that are tall or produce heavy fruit, require support to grow properly. In a straw bale garden, failing to provide adequate support can lead to plants toppling over or breaking under their own weight, reducing your overall yield and potentially damaging the bales.
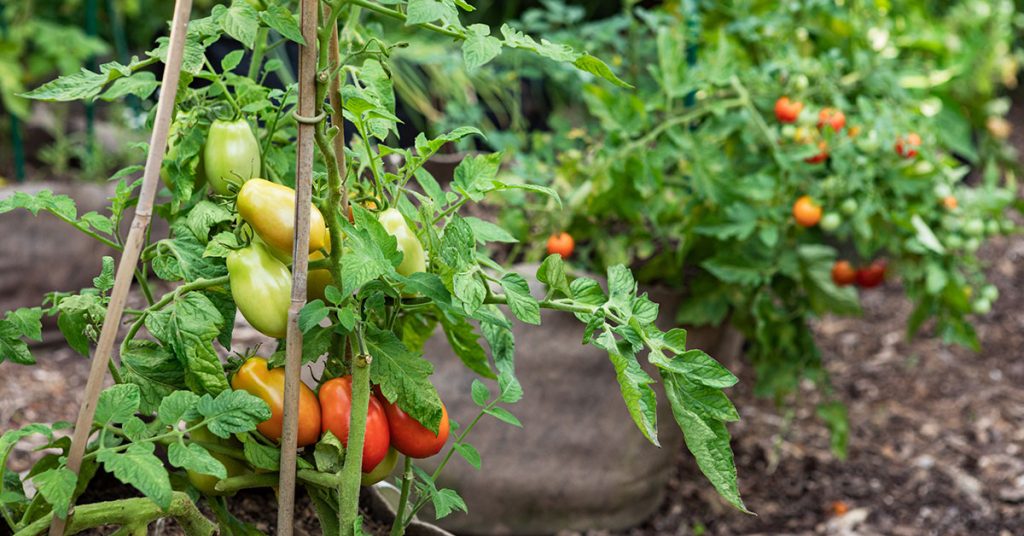
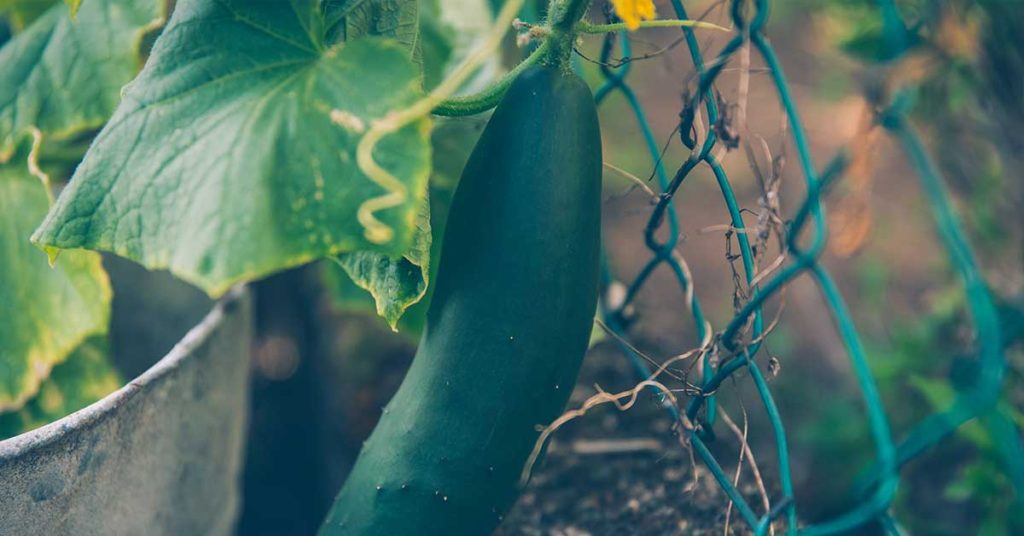
Install stakes, trellises, or cages at the time of planting to provide the necessary support for your plants. For climbing plants like tomatoes and cucumbers, use sturdy stakes or trellises that can handle their weight and growth. Regularly check the supports and adjust as needed to ensure your plants remain upright and healthy.
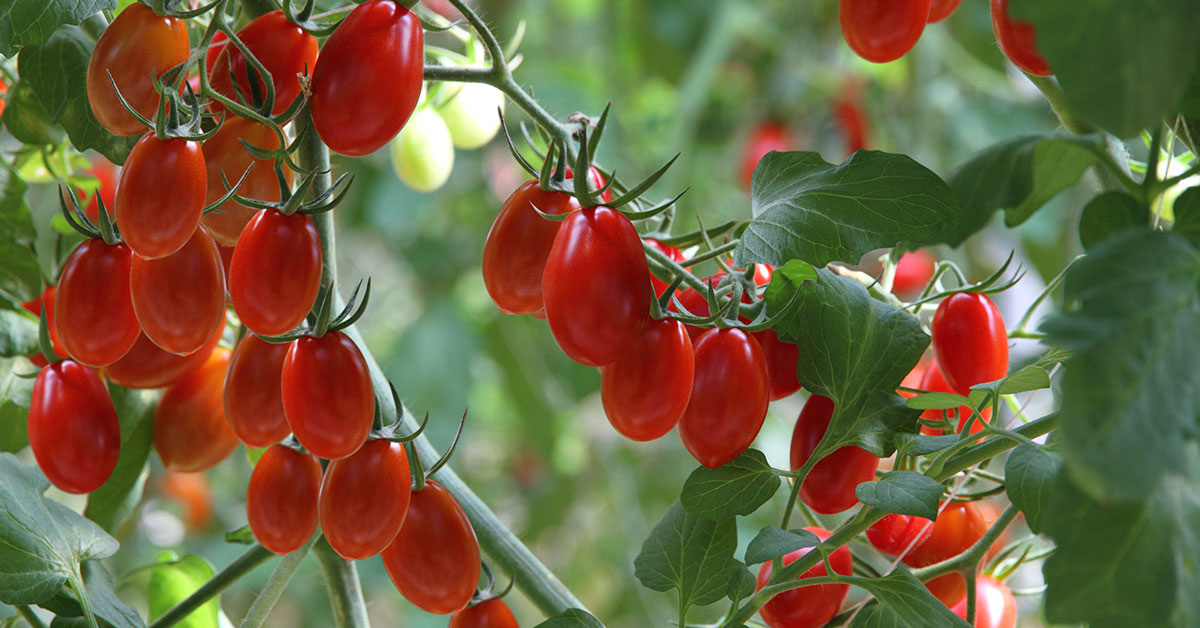
Choosing the Wrong Plants
Not all plants are well-suited for straw bale gardening. Choosing the wrong plants can result in poor growth, reduced yields, and unnecessary frustration. Some plants may require more space or different growing conditions than what straw bales can provide.
Select plants that thrive in straw bale gardens, such as tomatoes, peppers, cucumbers, squash, and leafy greens. Avoid plants that need extensive root space, like root vegetables, unless you can provide additional soil depth. Research the specific needs of your chosen plants and ensure they align with the conditions provided by straw bale gardening.
Neglecting Fertilization

Straw bales provide an excellent growing medium, but they need regular fertilization to maintain nutrient levels. Neglecting fertilization can lead to nutrient deficiencies, which manifest as poor growth, yellowing leaves, and reduced yields.
Use a balanced, water-soluble fertilizer every few weeks to ensure your plants receive the nutrients they need. Organic options like fish emulsion or compost tea are excellent choices. Pay attention to the specific needs of your plants and adjust your fertilization schedule accordingly to keep them healthy and productive.
Not Preparing for the End of Season

Straw bales have a limited lifespan, typically lasting one growing season before breaking down completely. Failing to prepare for the end of the season can leave you with a mess to clean up and no plan for the next year’s garden.
At the end of the growing season, remove any remaining plant material and use the decomposed straw as compost or mulch for your garden beds. Plan ahead for next year by sourcing new straw bales and deciding what crops you want to grow. By thinking ahead, you can smoothly transition from one growing season to the next, ensuring continuous gardening success.