
I love the idea of turning soggy, runoff-prone spots into vibrant havens of color and life! A rain garden not only soaks up stormwater from roofs and driveways—reducing erosion and pollution—but also creates habitat for pollinators, birds, and beneficial insects that may nest in the surrounding plants and soil. It’s such a bummer when rainwater just barrels off, taking topsoil with it; a well-designed rain garden gives nature a chance to slow down and flourish.
Building one may feel overwhelming at first—choosing the right spot, soil mix, and plants can seem like a tall order. I know how frustrating it is to plan something and then watch water pool or plants struggle! But with these thirteen tips—drawing on my own trial-and-error experiments—you’ll have a step-by-step roadmap to craft a beautiful, functional rain garden that celebrates native species, keeps invasives at bay, and thrives year after year.
Include a Sediment Forebay

A sediment forebay is a shallow, gravel-filled inlet area that catches heavy debris—leaves, twigs, and grit—before water spreads into the main rain garden. This “first filter” prevents fine soil particles from clogging the garden’s soil mix. I once skipped this step and found my garden’s center compacted with silt within months, reducing infiltration and leaving puddles!
By building a forebay—just a shallow 6–12-inch dip lined with coarse gravel—you protect the garden’s performance and make maintenance easier. Every few months, scoop out accumulated debris and refresh the gravel. This keeps water flowing evenly, and ensures your plant roots stay healthy (and happier birds nesting in the edges won’t find muddy soup).
Select Native, Water-Tolerant Plants

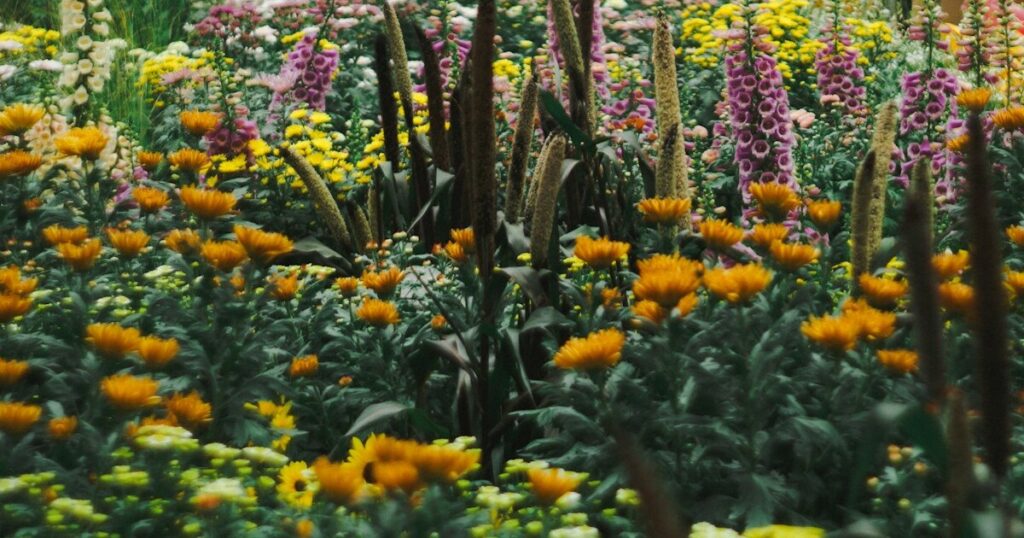
Native species are adapted to local rainfall patterns, soil types, and temperature swings, making them ideal for rain gardens. Plants like swamp milkweed (Asclepias incarnata) in wetter zones or purple coneflower (Echinacea purpurea) in drier edges support local butterflies and nesting bees. I adore seeing monarch caterpillars munch on milkweed while dragonflies perch on sturdy coneflower stems!
Native plants also resist local pests and diseases better than many ornamentals, reducing the maintenance load. Plus, their deep roots enhance soil structure, boosting infiltration and stability—so your garden remains a reliable spongy oasis rather than a weedy puddle. Always double-check that your chosen plants aren’t classified as invasive in your region to protect wild areas.
Layer with Mulch to Retain Moisture

A two-to-three-inch layer of shredded bark or hardwood mulch helps suppress weeds, moderate soil temperature, and slow evaporation. In a rain garden, mulch also cushions heavy raindrops, preventing soil compaction and splash erosion. I once left a bare patch under my rain garden’s inlet, only to see bare clay blasting out with every storm!
Refresh mulch annually, taking care not to pile it against plant stems. As it breaks down, mulch adds organic matter to the soil, feeding earthworms and beneficial microbes that aerate the ground. These soil allies create small tunnels perfect for ground-nesting beetles and burrowing insects—everyone plays a part in your garden’s ecosystem!
Evaluate Your Site’s Water Flow

Begin by mapping where downspouts, driveways, and low spots channel water. After a heavy rain, note where water pools or runs off most vigorously. I learned this the hard way by planting my garden on a gentle slope—only to find rainwater bypassing it entirely!
Mark both high-flow entry points and overflow paths. Your rain garden should intercept runoff without flooding existing foundations. Ideally, position it at least 10 feet from your house and on a gentle slope of 1–5%. This ensures water enters while preventing backup into structures or neighboring yards.
Plan for Sun and Shade Patterns

Rain gardens can thrive in a range of light conditions, but you’ll want to match plant choices to available sun. Some species like cardinal flower (Lobelia cardinalis) tolerate part shade, while buttonbush (Cephalanthus occidentalis) loves full sun. I’ve seen gardens planted too deeply in shade struggle to bloom, turning into damp, weedy spots instead of pollinator magnets!
Observe your site throughout the day, noting where the sun falls and how long it shines. Group sun-loving plants in the brightest areas and shade-tolerant ones closer to trees or buildings. This intentional layout boosts bloom quality for birds and insects seeking nectar, and ensures each plant feels right at home.
Group Plants by Moisture Preference

Within a rain garden, moisture levels vary—from constantly damp at the inlet to nearly dry at the edges. Placing obligate wetland plants like cardinal flower and swamp milkweed in the center, and facultative or upland natives like purple coneflower or sedge grasses around the edges, ensures each species thrives. I once scattered plants randomly and ended up with drowned sedges in the middle and thirsty milkweed wilting on the edge!
By zoning your garden this way, you reduce stress on plants and minimize supplemental watering. Birds and bees find varied microhabitats for nesting and foraging—wet-loving frogs may shelter in soggy pockets while butterflies roam the drier margins, creating a dynamic, balanced ecosystem.
Amend Soil with Compost and Sand

Rain gardens need a soil mix that retains enough moisture for plant roots but also drains well to avoid standing water. A blend of 50–60% native soil, 20–30% compost, and 20–30% coarse sand or fine gravel hits the sweet spot. I once used straight topsoil and watched water puddle for days, leaving roots in oxygen-starved muck!
The compost feeds plants and builds structure over time, while sand creates channels for water movement. Mix these components thoroughly before planting, and you’ll enjoy quick infiltration, healthy root growth, and reduced erosion. Plus, the improved soil supports nesting ground bees that rely on friable earth for their tunnels.
Design Gentle Slopes and Overflow
Instead of a flat hole, grade your rain garden so water cascades in gently and flows out over a defined spillway once capacity is reached. A sloped inlet of about a 5–10% grade prevents erosion, and an overflow channel—lined with native pebbles or stones—directs excess safely away. I neglected a defined spillway once and ended up with a trench cutting through my lawn!
A well-designed overflow protects both your garden and surrounding landscape during heavy storms. The gentle slopes also make maintenance easier and offer gradual transitions for plants—creating little terraces where different species can nestle without sliding downhill.
Use Deep-Rooted Herbaceous Plants

Deep-rooted perennials, like Joe-Pye weed (Eutrochium purpureum) and switchgrass (Panicum virgatum), help break through compacted soil layers and maintain infiltration channels. I love watching those robust roots anchor into the ground, creating air pockets that encourage further drainage!
By mixing herbaceous roots with fibrous grasses like carex (native sedges), you create a living network of water-absorbing tunnels. These plants not only stabilize soil but also offer nesting sites for solitary bees that dig into bare patches between clumps—turning your rain garden into a buzzing community.
Determine Garden Size and Shape

A general guideline is to make your rain garden about 20–30% the size of the impervious area feeding it—so a 1,000-square-foot roof might need a 200–300-square-foot garden. I once underestimated and had runoff spilling over, defeating the purpose entirely!
Sketch the outline freehand or use hoses to test shapes on the ground. Curved edges often look more natural and create pockets for varied planting. Remember, a slightly irregular shape mimics nature and invites birds to perch on undulating edges, offering nesting crevices and vantage points.
Avoid Invasive Species

It’s tempting to introduce exotic ornamentals, but they can escape your garden and threaten local ecosystems. Plants like Japanese knotweed or purple loosestrife can choke out natives in waterways—undoing the very benefits of your rain garden. I’ve seen purple loosestrife spread from a single garden bed to an entire wetland boundary!
Instead, choose well-behaved native substitutes—blue flag iris (Iris versicolor) instead of loosestrife, for instance. This ensures your rain garden remains a refuge for wildlife without becoming a source of ecological distress. Native plant lists from local conservation groups are invaluable for this.
Establish Maintenance and Monitoring
A rain garden isn’t “set-and-forget.” In the first two years, watch for weeds, invasive volunteers, and mulch settling. I learned that early intervention keeps weeds from smothering young perennials, ensuring my plants matured strong enough to outcompete invaders later on!
Schedule seasonal inspections—after winter melt, early spring, mid-summer, and post-fall storms. Remove sediment in the forebay, replenish mulch, and divide overcrowded plants. This consistent care sustains the garden’s performance and keeps nesting habitats stable for returning pollinators year after year.
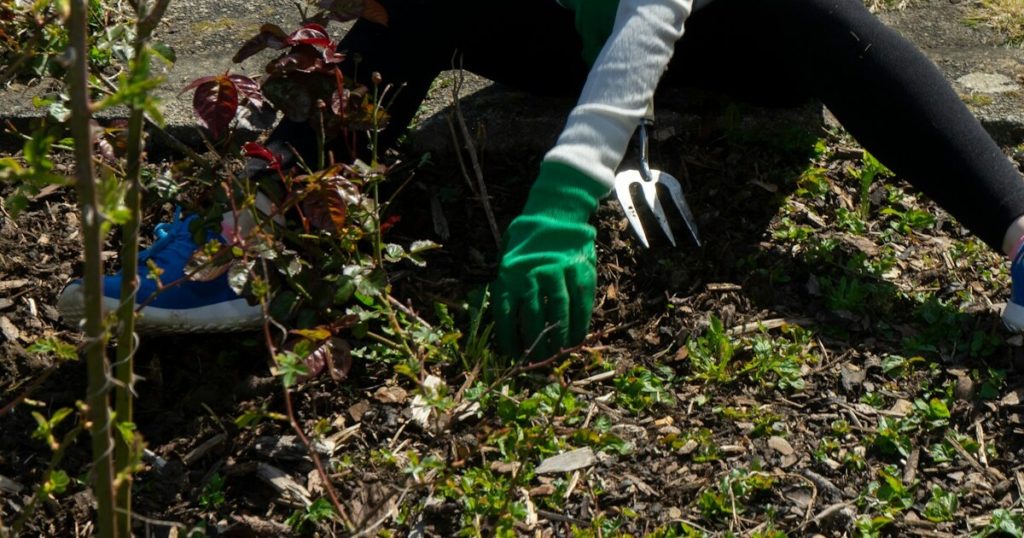
Water During Establishment
Although rain gardens rely on natural precipitation, newly planted roots need gentle watering during their first season—especially in dry spells. I remember fretting over my new plants during a June drought until I applied a soaker hose regimen and watched them flourish!
Water deeply once or twice a week for the first two months, tapering off as plants establish. Keep mulch in place to retain moisture, and soon your native perennials and grasses will be well-anchored, resilient, and ready to soak up storms without extra help.