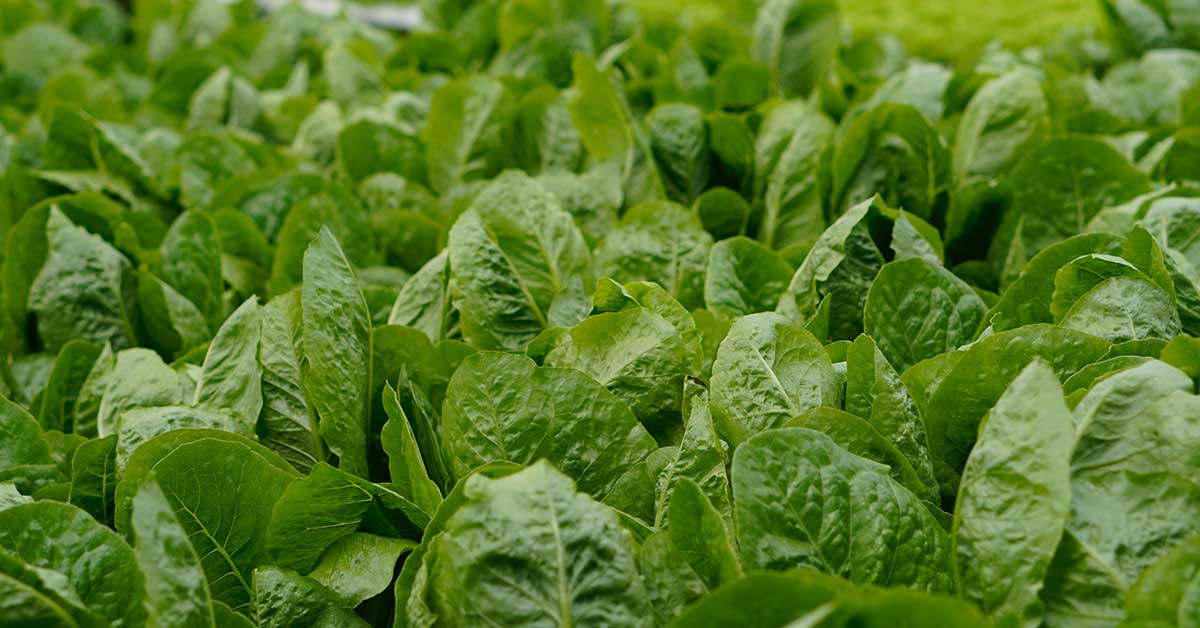

Growing a bountiful spinach patch feels like hitting the jackpot in the vegetable garden! I know how disappointing it can be to thin out weak seedlings or watch your tender greens bolt into flower just as you’re ready to harvest. Spinach (Spinacia oleracea) hails from the mountains of Central and Southwestern Asia, and though our familiar varieties aren’t invasive, they do appreciate a little extra TLC to thrive. In this guide, we’ll explore twelve strategies that will turn your spinach beds into lush, leafy goldmines.
From choosing the right varieties to mastering watering and pest control, these tips are drawn from seasons of experimenting under sun, shade, and everything in between. Whether you’re a seasoned grower or tackling spinach for the first time, prepare for crisp salads, vibrant smoothies, and a garden that practically supplies itself!
Monitor Pests and Diseases Early
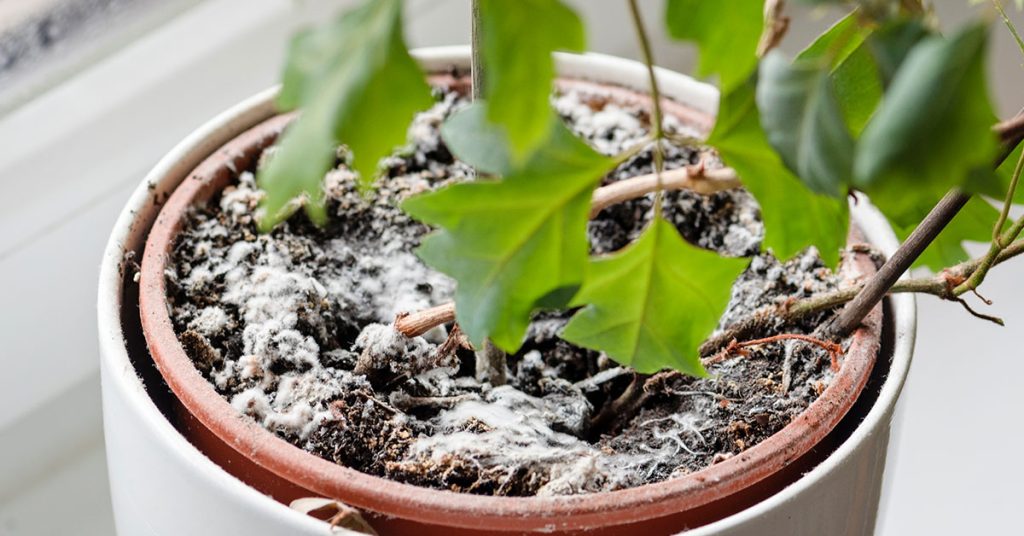
Spinach can fall victim to leaf miners, aphids, and fungal issues like downy mildew if left unchecked. I always do a quick daily stroll through my beds, inspecting the undersides of leaves for telltale winding tunnels or sticky residue. Catching problems early means you can intervene with organic sprays—like neem oil or insecticidal soap—before pests decimate your crop!
Healthy spinach also starts with clean beds. Remove any debris or old foliage where pathogens can overwinter, and rotate your patches each year to avoid disease buildup. Trust me, the extra five minutes of scouting is worth a season of robust, unblemished greens.
Select Bolt-Resistant Varieties
Bolt-resistant cultivars such as ‘Bloomsdale Long Standing’ and ‘Tyee’ are bred to delay flowering in warming temperatures. One of my favorite tips is planting a mix of those alongside heirlooms like ‘Giant Winter,’ so even if a few plants bolt early, the rest will soldier on! These varieties originate from cooler, mountainous regions and carry genetic resilience that’s a boon in unpredictable spring weather.
Since spinach naturally bolts under stress, pairing resistant types with attentive care gives you a longer harvest window. And because domesticated spinach doesn’t spread aggressively, feel free to experiment with several varieties to discover your garden’s knockout performer.
Use Shade Cloth to Combat Heat

When daily highs stretch into the 80s, spinach balks and bolts. Installing a light (30–40%) shade cloth over your rows keeps temperatures down and prevents sunscald on tender leaves. I once rigged a simple PVC hoop frame covered in shade fabric, and within days my bolting-prone young plants perked back up—talk about instant relief!
Shade also conserves soil moisture, reducing the stress that triggers bolting. Just be sure to remove or adjust the cloth as fall cools down so your plants still get enough sunlight to fuel vigorous growth.
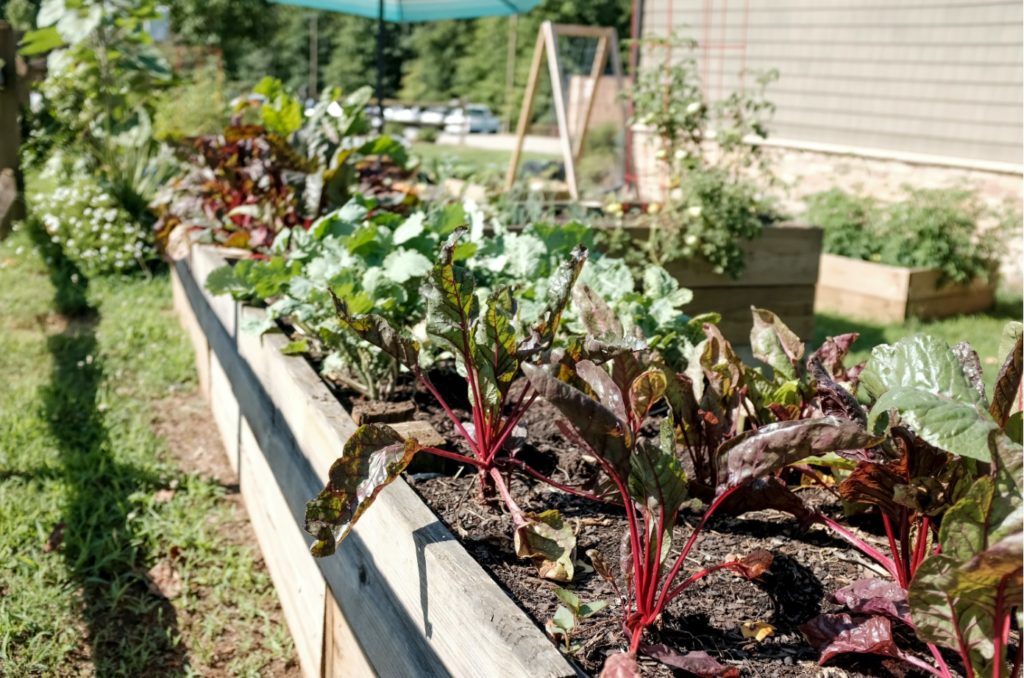
Companion Planting with Beneficial Allies

Pair spinach with carrots, radishes, or members of the Allium family—like chives and onions—to maximize space and ward off pests. Those aromatic onions deter aphids, while carrots improve soil structure for shallow-rooted spinach. I love tucking chives between spinach rows; when the blossoms open, they attract pollinators that keep the garden ecosystem humming!
Spinach itself isn’t invasive, so it slots neatly into mixed beds without crowding out neighbors. Rotate companion combinations yearly to maintain soil health and break pest cycles.
Succession Sowing for Continuous Harvest

Rather than planting all your seeds at once, sow small batches every two weeks. This staggered approach guarantees fresh leaves as early seedlings finish, avoiding the mad dash to harvest everything at once. I chart my sow dates on a whiteboard in the shed—nothing beats the satisfaction of knowing exactly when the next pick is due!
Since spinach germinates best in cool (45–75°F) soil, plan sowings around your local climate. Direct-sow shallowly and keep soil evenly moist for efficient germination, and you’ll enjoy uninterrupted salads into the heat of summer.
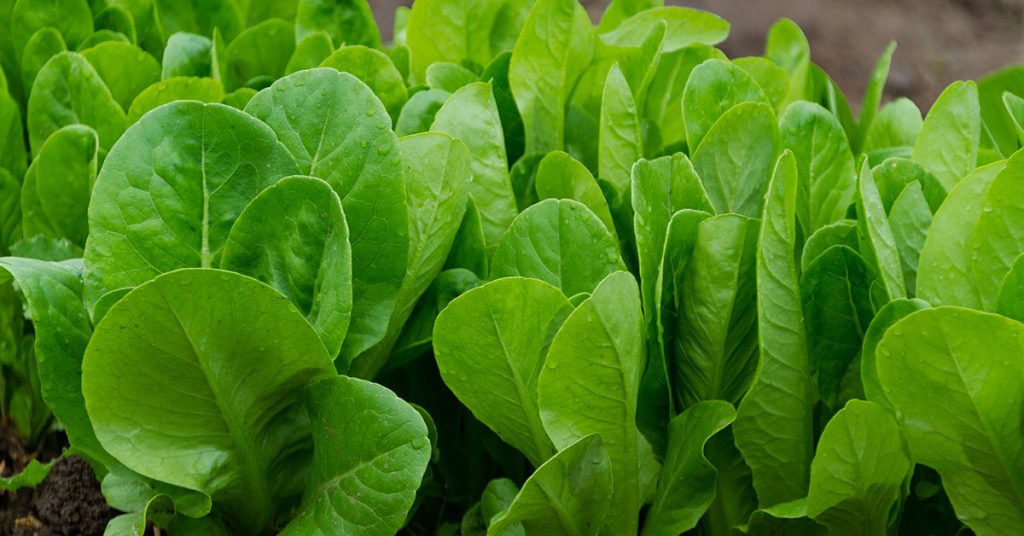
Harvest Techniques to Encourage Regrowth

For cut-and-come-again harvests, trim outer leaves about an inch above the crown, leaving the growing point intact. This way, plants keep producing fresh foliage for multiple picks! I always start with smaller leaves, letting the younger inner leaves develop—they taste tender and sweet, perfect for baby-leaf blends.
With savoy and semi-savoy types, you can often harvest a whole head and allow about half the plant to regrow before the season ends. Since spinach won’t reseed itself aggressively, you’re free to experiment without worrying about volunteer plants popping up next spring.
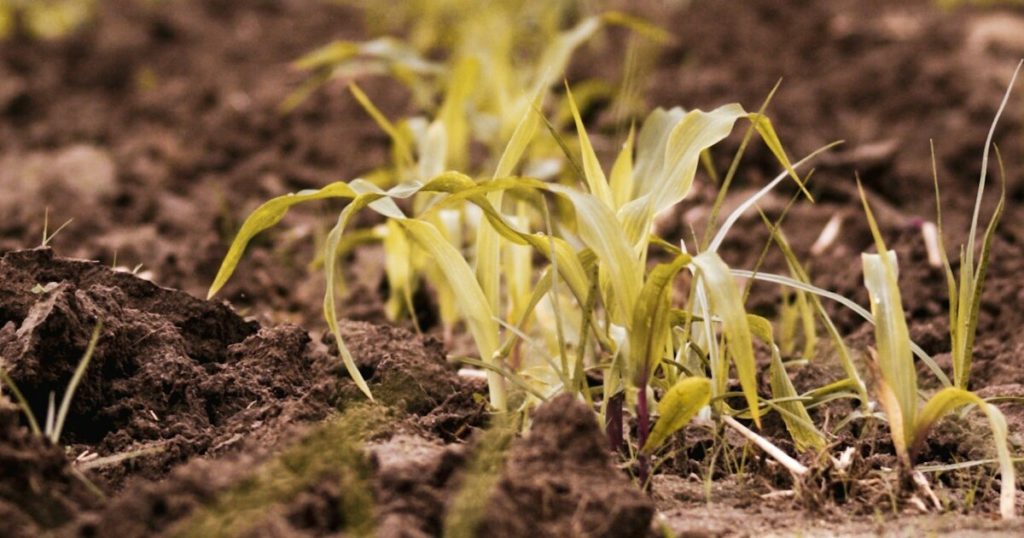
Proper Spacing and Thinning
Overcrowding leads to stunted growth and invites disease by restricting airflow. Follow seed packet guidelines—usually 3–4 inches between plants for baby leaf, 6–8 inches for full-size heads—and thin early so the strongest seedlings get room to flourish. I know it can feel wasteful, but those extra inches make a world of difference in leaf size and plant vigor!
Use thinned seedlings in stir-fries or salads to minimize waste. Because spinach doesn’t spread via runners, this practice only improves your crop, not the garden’s neatness.
Soil Preparation and Amendments

Spinach demands a loose, well-drained loam rich in organic matter. Before planting, deepen-fork your bed to break compaction, then work in generous compost or aged manure. Last year, my compost-enriched beds produced leaves twice the size of unamended soil—proof that happy roots equal happy plants!
Good drainage is key: soggy crowns can rot, while dry spells stress the plants. If your soil is heavy clay, incorporate coarse sand or fine gravel to improve structure. With a solid foundation, your spinach will develop deep, healthy root systems ready to draw in nutrients all season.
Optimal Soil pH Management
Spinach flourishes in slightly acidic to neutral pH—ideally between 6.5 and 7.0. Conduct a simple soil test in early spring, and if levels dip below 6.0, apply lime to raise pH. Conversely, elemental sulfur can lower excessively high pH soils. I once rescued a sluggish patch by adding lime, and within weeks the growth rate doubled—what a turnaround!
Balanced pH ensures that essential nutrients like iron and magnesium remain available. Since spinach isn’t invasive, pH adjustments won’t have unintended effects on other plants—just a happier, more productive leafy green patch.
Consistent Watering and Mulching

Regular moisture is crucial: aim for about 1 inch of water per week, delivered by drip irrigation or soaker hoses to minimize foliar diseases. Early morning watering gives leaves time to dry before nightfall, too! During dry spells, I top mulch with straw or shredded leaves, which locks in moisture and suppresses weeds—two wins in one easy step.
Avoid overhead sprinklers that splash soil onto leaves and invite fungal issues. A steady water supply keeps spinach from wilting and bolting prematurely, ensuring tender, lush harvests.
Fertilization for Lush Growth

Spinach is a heavy feeder, especially of nitrogen. Side-dress beds three weeks after germination with a balanced organic fertilizer high in nitrogen (think fish emulsion or blood meal). I always see an immediate burst of deep green foliage after feeding—it’s like the plants do a happy dance!
Avoid overfertilizing with raw manure, which can “burn” young roots. Instead, rely on compost teas or fish-based liquids for a gentle, steady nutrient boost. With the right feeding regimen, you’ll be amazed at how quickly your spinach patch fills in.
Timing: Plant in Cool Weather

Spinach performs best in cool conditions and often bolts when temperatures spike above 75°F for several days. Plant in early spring as soon as soil can be worked, and consider a fall crop sowing six to eight weeks before first frost for a second harvest. I once extended my season into November by using low tunnels—those crisp November leaves were a garden victory!
Because spinach is an annual that doesn’t self-seed aggressively, you can plan multiple plantings without worrying about uncontrolled volunteers. Just clear out spent plants to keep your beds ready for the next sowing.