
Nothing beats the joy of shelling a bowl of fresh, plump peas that you’ve coaxed from your own garden! I know how disappointing it can feel to plant those tiny seeds in hopeful rows, only to watch patchy germination or stunted vines. Peas (Pisum sativum) hail from the cool, rocky slopes of the Near East and Mediterranean, and while they’re not considered invasive in home gardens, they do demand specific conditions to thrive. By tailoring your approach to their native preferences—cool temperatures, fertile soil, and a little support—you’ll set the stage for vines loaded with pods!
Whether you’re a first-time pea grower or a seasoned pod producer, these twelve tips draw on my own experiences of early failures and later triumphs. We’ll cover everything from seed inoculation to succession planting, pest patrols to perfect timing at harvest. Get ready for a season of snappy green goodness and the kind of backyard bragging rights every gardener craves!
Provide Sturdy Support
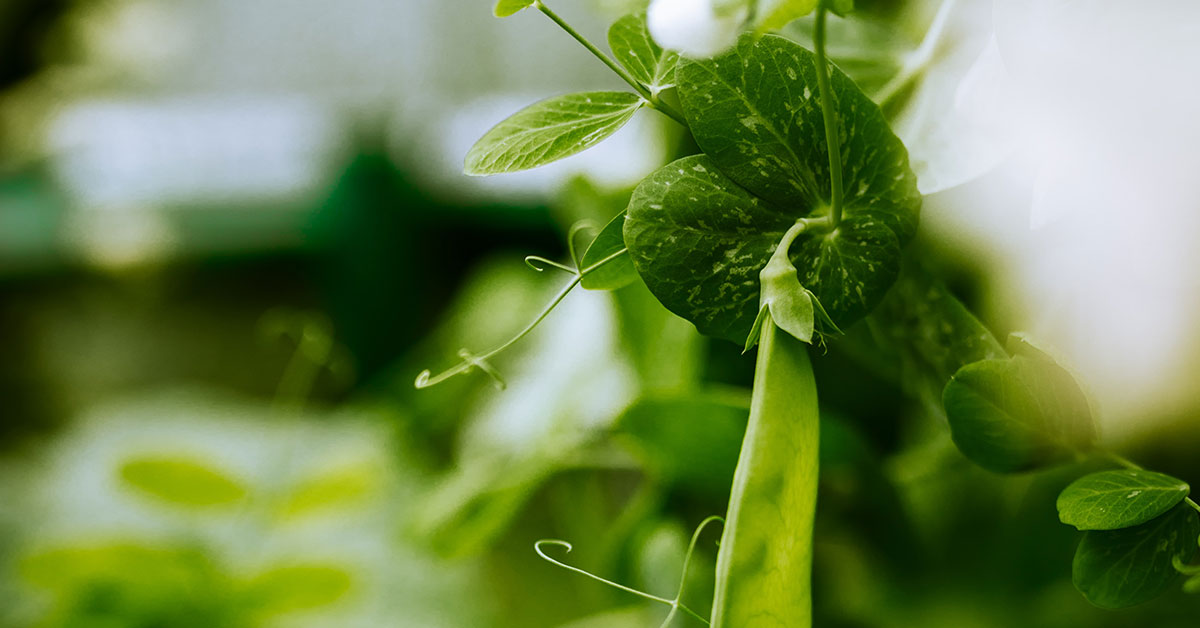
Pea vines naturally scramble up any vertical surface they can grab, from neighboring plants to rough stone walls. Offering a dedicated trellis, netting, or bamboo teepee keeps vines off the ground, improves air circulation, and makes harvesting a breeze. One of my favorite setups is a simple mesh stretched between two stakes—within days, tendrils have latched on and begun their upward journey!
Supporting peas also prevents pods from lying on damp soil, reducing rot and slug damage. Whether you opt for twine, hardware cloth, or brushwood fencing, ensure the structure is firmly anchored—those vigorous vines can surprise you with their tenacity.
Inoculate Seeds with Beneficial Bacteria
In their native Mediterranean habitats, peas form partnerships with Rhizobium bacteria that fix atmospheric nitrogen into the soil. By dusting seeds with commercial pea inoculant before planting, you supercharge this symbiosis and reduce your need for synthetic fertilizers! I vividly remember the difference in my first trial: inoculated plots grew lush, dark-green foliage while untreated rows looked pale and sparser.
Inoculation is especially crucial if legumes haven’t been grown in your bed for several years. Store unused inoculant in a cool, dry spot and apply according to package directions for best results. Healthy root nodules translate directly into vigorous vines and bountiful pods!
Monitor and Manage Pests Early

Pea aphids, slugs, and pea weevils can decimate young plants and devour developing pods before you know it. Scout your vines daily, checking the undersides of leaves for clusters of pearly-green aphids or silvery slug trails on tender shoots. A gentle blast of water can dislodge aphids, while hand-picking slugs at dusk keeps their numbers down.
Encouraging beneficial insects—ladybugs, lacewings, and parasitic wasps—through companion flowers like calendula and yarrow further bolsters your pest defense. These natural predators often nest in bare patches of soil or under mulch, so resist the urge to tidy every inch; leaving small refuges pays off in pest control!
Choose the Right Variety

From tender shelling peas (e.g., ‘Sugar Ann’) to snap peas (‘Sugar Snap’) and towering pole varieties (‘Tall Telephone’), selecting the right type for your space and taste preferences is key. Bush peas finish quickly in compact spaces, while vining types yield over a longer season if given support. I love planting a mix—bush peas for speedy salads and climbers for extended harvests!
Many heirloom varieties trace back to European cottage gardens, while modern hybrids boast disease resistance and better heat tolerance. Check seed packets for days-to-maturity and prevailing disease pressures in your region, then pick varieties that align with your climate and culinary goals.
Mulch and Moisture Management

Consistent moisture is critical from germination through pod filling, but soggy crowns invite rot. A 1–2-inch layer of straw or shredded leaves around peas conserves soil moisture, keeps weeds at bay, and moderates soil temperature—much like the leaf litter of their native woodland edges. I always mulch immediately after planting, watching the soil stay cool and damp even under spring sun!
Avoid overhead watering, which can splash soil and disease spores onto foliage. Instead, use drip irrigation or water at the base. In drier climates, check soil moisture every few days and water deeply rather than shallowly to encourage robust root development.
Rotate Crops and Rest Beds

Peas enrich the soil with nitrogen, but continuous planting in the same spot invites fungal diseases and depletes other nutrients. Rotate pea beds on a three- to four-year cycle, inserting heavy feeders like tomatoes or peppers afterward. I mark my garden map each year to track legume locations—this simple habit has kept my plants healthier and yields higher!
Cover cropping with non-legume greens (e.g., buckwheat) during fallow years also improves soil structure and breaks pest cycles. When you return to peas, your beds will be light, crumbly, and ready to support vigorous growth without invasive weed intruders.
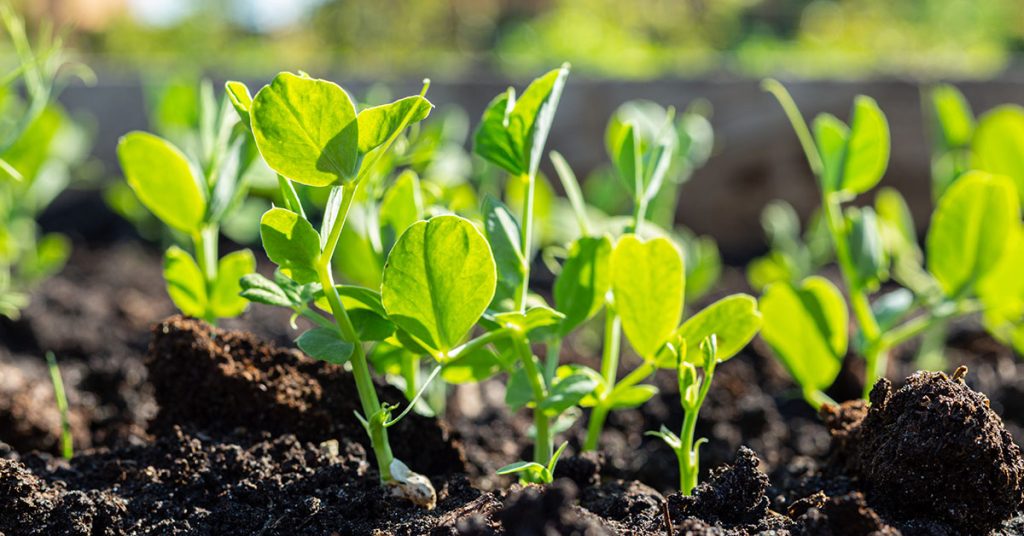
Start Seeds Indoors in Cool Climates

Peas prefer soil temperatures between 45–75°F and can suffer in soils colder than 40°F or warmer than 80°F. In regions with late springs or early summers, starting seeds in biodegradable pots indoors 2–3 weeks before your last frost ensures strong seedlings ready for a timely outdoor transplant. I’ve found that hardened-off transplants avoid the slow, spotty germination common with early direct sowing!
Use a light seed-starting mix and keep trays in a cool, bright spot or under cool-white grow lights. Harden seedlings by exposing them to outdoor conditions gradually—this acclimation prevents shock and jumpstarts your spring crop.
Practice Succession Sowing
A single sowing yields a burst of pods over a few weeks, but staggered planting extends your harvest. Sow small batches every 10–14 days until early summer, then again in late summer for a fall crop if your zone allows. I set reminders on my phone—second-week sowing, third-week sowing—and never miss a planting window!
Succession sowing also spreads risk: if an early heat wave or pest outbreak hits one cohort, the next may thrive under more favorable conditions. Since peas aren’t invasive, you can experiment freely with sowing dates without fear of volunteer seedlings overrunning the bed.
Prepare Well-Drained, Fertile Soil

In their wild origins, peas grow among gravelly hillsides—so they balk at waterlogged clay. Double-dig or deeply fork your pea bed, incorporating plenty of compost and, if needed, coarse sand to improve drainage. I remember reworking a stubborn clay patch with pumice; within weeks, my peas grew twice as tall!
In addition to drainage, a soil pH of 6.0–7.5 ensures nutrient availability. Correct acidity with lime or sulfur based on a simple soil test. Rich, loose soil warms quickly in spring, giving your peas the comfortable start they need for a massive, early-season rush of pods.
Plant at the Right Time

Timing is everything for peas. Aim for planting heels into the ground 4–6 weeks before your last frost date—soil should be workable but still cool. In milder climates, a second planting in late summer yields a crisp fall crop. I’ve learned that impatience leads to soggy, cold seeds that rot; waiting that extra week often means near-perfect germination!
Watch soil temperature with a simple thermometer: if it’s above 80°F, hold off or move to partial shade to prevent bolting. In cool summers, direct sowing remains ideal; peas don’t appreciate transplant shock unless started in the right conditions.
Companion Planting to Deter Pests

Crops like carrots, radishes, and lettuce make excellent pea neighbors. Fast-growing roots loosen soil for pea roots, while leafy radishes can act as sacrificial decoys for leaf miners and flea beetles. I tuck lettuce between pea rows—while I harvest salad greens, the peas climb over their cool canopy, conserving moisture!
Herbs such as mint and coriander discourage aphids, and marigolds planted nearby attract beneficial nematodes that prey on soil-dwelling pests. Since peas aren’t invasive, you can interplant freely, creating a mini ecosystem that safeguards your precious pods without harsh chemicals.
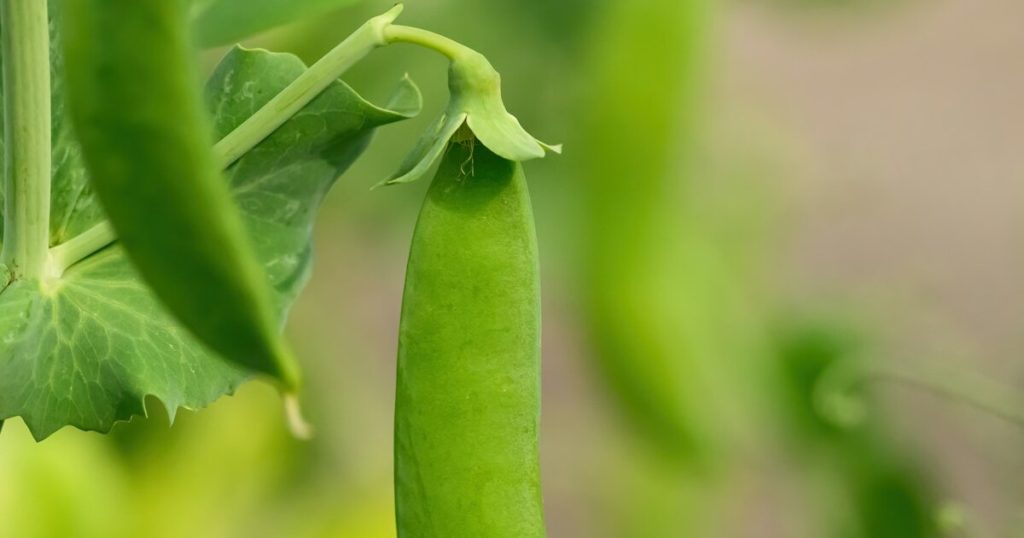
Harvest Regularly to Encourage More Pods
Peas reward consistent picking: harvesting pods as soon as they’re plump signals plants to set more flowers rather than shifting into seed production. I make it a daily ritual—two-minute stroll, couple handfuls of pods, and I feel like I’ve won the gardening lottery!
If you let pods mature fully, vines slow their production. Regular harvesting not only boosts total yield but also keeps plants tidy and reduces disease by removing old foliage. Plus, there’s nothing more motivating than watching empty vines quickly fill with new treasures!