

Chamomile’s delicate daisy-like blooms and soothing fragrance make it one of my favorite herbs to grow. Native to temperate regions of Europe and Western Asia, true chamomile (Matricaria chamomilla) isn’t considered invasive—yet it still needs careful attention to flourish. When conditions go awry, these resilient little plants will show clear signals that they need a helping hand. Whether you began your chamomile journey to brew calming teas or simply to attract ground-nesting bees and hoverflies, recognizing these twelve warning signs early can save your patch from decline!
I know how disheartening it is to see your once-vibrant chamomile lose its luster—especially when pests sneak in or compacted soil stifles roots. But fear not! With a little detective work and targeted care, you can coax those drooping stems back to health. Let’s dive into the telltale symptoms and practical fixes so your chamomile can continue delighting you and the beneficial insects that nest beneath its soft mulch.
Sparse Blooms and Few Flower Heads
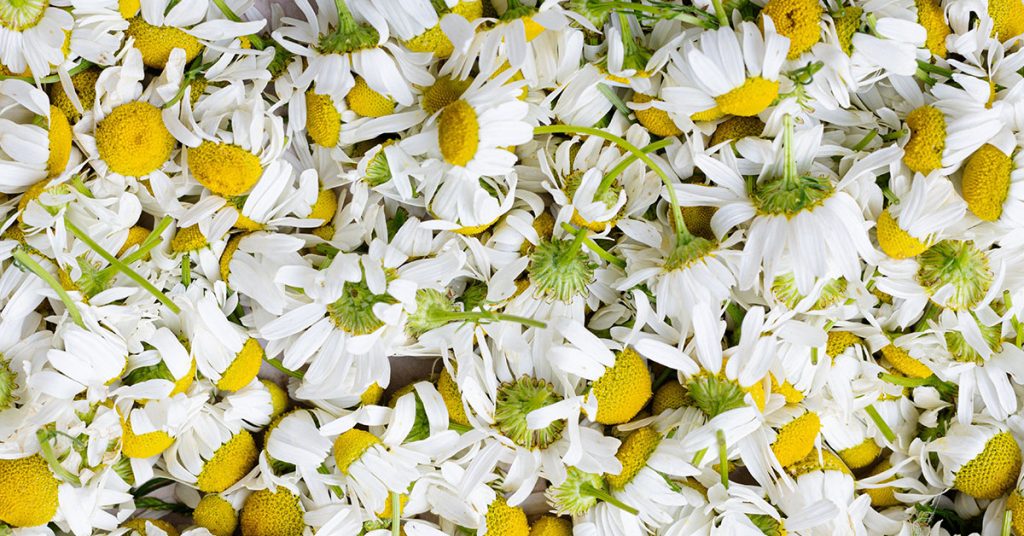
It’s such a bummer when you barely see any of those cheerful white petals nodding in the breeze! When chamomile produces few flower heads, it often means nutrient levels are off—particularly phosphorus, which drives flowering. I’ve remedied this by side-dressing with bone meal or a bloom-boosting organic fertilizer and seen blossom counts double within weeks.
Additionally, lack of pollinator visits can hamper flower set. Chamomile attracts solitary bees and hoverflies that nest in nearby bare soil or hollow stems. Planting companion blooms like calendula or alyssum can draw these beneficials back into your bed, encouraging more blooms on your chamomile!
Leggy, Stretched-Out Growth
When stems grow lanky with wide gaps between leaf pairs, it’s a classic sign of insufficient light. Chamomile, though tolerant of partial shade, thrives in full sun. I once tucked mine in a shady corner and ended up with spindly plants reaching desperately for the sun! Relocating pots or thinning overhead canopy gave them the bright conditions they craved, resulting in bushier, sturdier growth.
Leggy growth also makes your chamomile more susceptible to lodging (falling over) and pest problems since airflow is diminished. After moving to a sunnier spot, I pruned back the stretched stems, pinched growing tips to encourage branching, and watched the resilience return in no time!
Yellowing Leaves Between Veins

Chlorosis—yellowing leaf tissue with green veins—often indicates iron or manganese deficiency or soil pH issues. Chamomile prefers slightly acidic to neutral soil (pH 6.0–7.0). I’ve corrected chlorosis by applying chelated iron foliar sprays and adjusting pH with elemental sulfur when soil tests revealed alkalinity.
Keep in mind that compacted or waterlogged soil can exacerbate nutrient lock-up. Loosening the top few inches of soil around affected plants and adding organic matter improved drainage, allowing roots to absorb nutrients properly and restoring healthy green foliage!
Powdery White Fuzz on Leaves
Seeing a white, powdery coating on leaves is such a downer—it’s powdery mildew, a fungal troublemaker that loves humid, poorly ventilated beds. Chamomile isn’t invasive, but crowded plantings and wet foliage create the perfect environment for mildew spores. I tackled this by spacing plants at least 8–10 inches apart and removing lower leaves to promote airflow.
An organic remedy I adore is a milk-based spray (1 part milk to 9 parts water), applied early in the morning. It contains natural antifungal properties that suppress mildew growth without harming beneficial insects. Within two treatments, my chamomile leaves looked clear and healthy again!
Brown, Crispy Leaf Tips

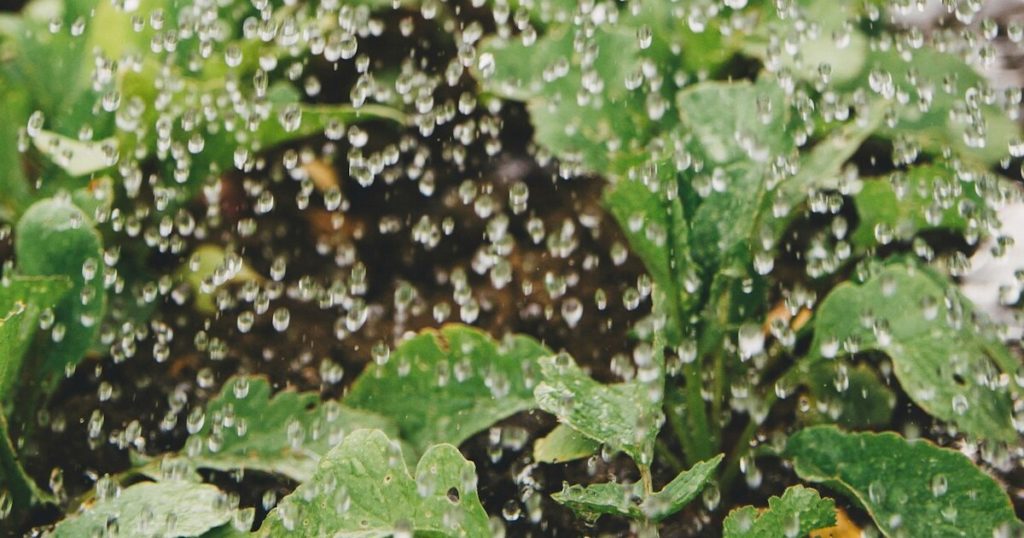
When the tips of your chamomile leaves turn brown and brittle, it’s often due to inconsistent watering—alternating drought stress and waterlogging can scorch those delicate edges. I once over-mulched my patch, which kept soils soggy and led to root stress; the result was crispy, unhappy foliage.
Switching to drip irrigation and a thinner mulch layer helped regulate soil moisture. Now I aim for even hydration—about 1 inch of water per week—and monitor soil moisture with a simple finger test. That steady routine revived my chamomile’s lush green appearance!
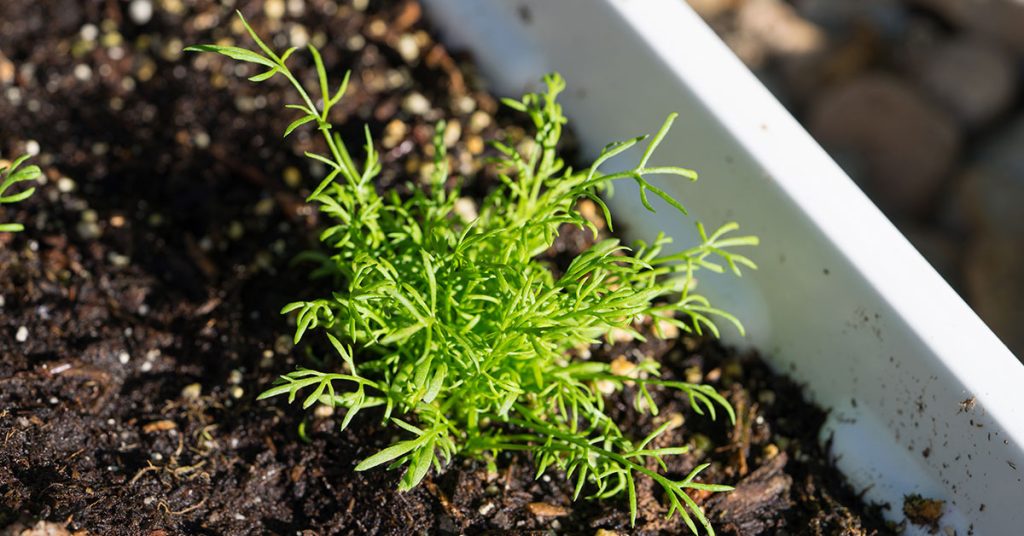
Slow Germination or Poor Seedling Emergence

If your chamomile seeds linger un-germinated or seedlings appear week and spindly, it’s often due to planting too deep or cold soil. These tiny seeds need light to sprout; I learned the hard way that covering them with more than 1/8-inch of soil delayed emergence by weeks! Now I sprinkle seeds lightly on the surface, mist, and keep temperatures around 65–70°F for optimal sprouting.
Damping-off disease—a soil-borne fungus—can also kill seedlings before they unfurl true leaves. To prevent this, I use sterilized seed-starting mix, avoid overwatering, and ensure good air circulation. A few gentle fans in my greenhouse space virtually eliminated damping-off issues!
Wilting Despite Moist Soil
When your chamomile plants wilt even though the soil isn’t dry, root rot or vascular wilt might be at play. Though not invasive, chamomile roots are still vulnerable to soggy conditions that promote fungal pathogens like Fusarium. I’ve treated early infections by removing affected plants and improving drainage, but prevention is key—raised beds or adding coarse sand to heavy clay soils can make all the difference.
Check the crown where stem meets soil: if it’s mushy or discolored, the plant likely can’t be saved. Removing infected plants promptly prevents disease spread and gives healthy neighbors room to flourish. Once my bed was disease-free, I noticed a resurgence in vigor across the remaining chamomile!
Crowded, Overgrown Patches

Chamomile self-seeds readily and can crowd itself out if not managed. When you see dense mats with little airflow and numerous bare stems at the base, it’s time to thin or divide. I gently uproot every third plant, replant elsewhere, and the remaining chamomile immediately spreads out, breathing freely again.
Letting seedlings sprout gives you abundant new plants to relocate or share. Plus, thinning reduces competition for light and nutrients, leading to larger flowers and stronger stems on the retained plants. It’s a win-win for both gardener and chamomile!
Aphid Infestation on New Growth

Aphids love munching on tender chamomile shoots, leaving sticky honeydew that attracts sooty mold. When I spot clusters of these sap-suckers, I hose them off with a firm spray of water or introduce a few ladybugs—those voracious predators nest in low vegetation and swiftly clean up the population!
Encouraging hoverflies by planting alyssum and dill nearby also helps keep aphids in check. Their larvae are efficient aphid-eaters, and the adult flies nest in hollow stems or ground crevices around your chamomile bed—ideal for natural pest control!
Stunted or Deformed Flowers

When your chamomile blooms are small, misshapen, or deformed, nutrient imbalance—particularly low phosphorus—or viral infection can be the culprit. I’ve addressed stunting by side-dressing with rock phosphate and maintaining steady moisture, but once viruses set in, removal of affected plants is the only cure.
To minimize viral spread, always sterilize pruning shears between cuts and keep a lookout for mosaic patterns on leaves. Healthy chamomile may not be invasive, but viruses can travel to other plants if left unchecked. Prompt action keeps your entire herb bed thriving!
Premature Blooming

If your chamomile begins flowering too early—before the plant reaches sufficient size—it may be stressed by drought, nutrient deficiency, or extreme temperatures. Early blooms often mean fewer flowers overall and weaker stems. I’ve waited out a cold snap under row covers and held off fertilizing until plants had a solid base before blooming rhythmically in late spring.
Pinching spent blooms and removing a few flower stalks can redirect the plant’s energy back into foliage growth. Once stems thicken and leaves fill out, your chamomile will reward you with a longer, more abundant flowering season!
Patchy Growth Patterns

Uneven patches—where some chamomile plants tower while others barely reach a few inches—often signal soil fertility variability. I perform soil tests in different bed zones and amend accordingly with compost or balanced organic fertilizer to even out nutrient distribution.
Microtopography can also create dry spots or pools of excess water. By reshaping the bed slightly—adding soil to depressions and loosening high ridges—I’ve achieved uniform moisture levels, and now my chamomile patch grows evenly lush, delighting pollinators and the eye alike!