

It’s such a bummer when you picture a sweeping field of vibrant tulips only to end up with sparse, floppy blooms and bulbs that refuse to return year after year. I know how frustrating it is to invest time and energy—planting hundreds of bulbs—only to see critters nibble the tips or soggy soil rot your efforts away! With the right techniques, planning, and a dash of perseverance, you can transform your plot into a breathtaking carpet of color.
In this guide, I’m sharing twelve in-depth tips—randomized in order—from selecting the perfect varieties to mastering planting depth, all enriched with details on tulips’ Central Asian origins, their non-invasive nature in most gardens, and how to welcome pollinators and ground-nesting bees. Let’s dig into these tried-and-true strategies and turn that tulip dream into reality!
Protect Bulbs from Rodents and Other Pests

Rodents such as voles and mice find tulip bulbs irresistible, often feasting on them before they even sprout. To outsmart these furtive feeders, I lay a layer of wire mesh or hardware cloth over the planting bed before covering with soil—this barrier stops pests while still letting roots expand freely! It’s a relief to return in spring to a sea of intact green shoots rather than empty holes.
Tulips ( Tulipa spp.) originated on the rocky steppes of Central Asia, coexisting with small mammals but rarely succumbing to wholesale predation in nature. They’re not invasive in most temperate gardens, since each bulb produces only a few offsets annually. By mimicking those gravelly habitats and adding a simple mesh guard, you keep hungry critters at bay without resorting to poisons.
Deadhead Spent Blooms and Allow Foliage to Die Back
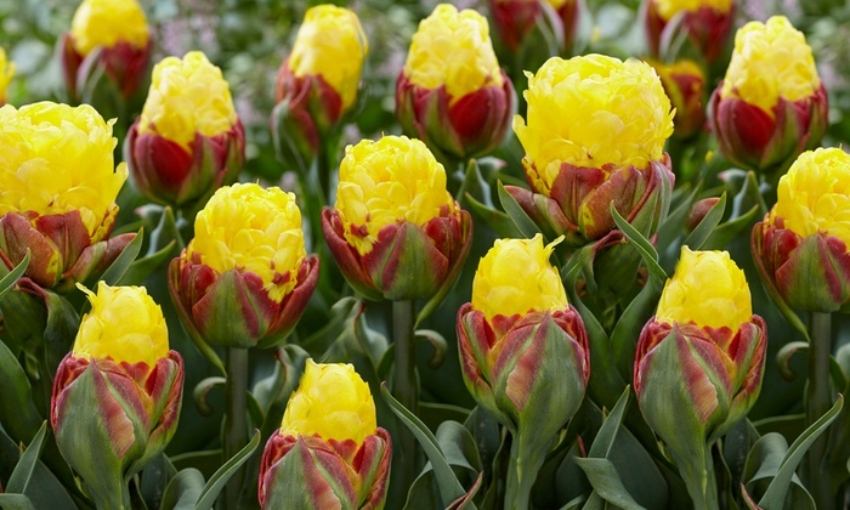
Once the showy petals fade, snip off spent blooms just above the first set of leaves—this prevents the plant from diverting energy into seed formation and encourages bulbs to store nutrients for next year’s display. It’s always satisfying to see tidy beds and know your bulbs are banking strength for an even grander bloom next spring!
After deadheading, resist the urge to trim the foliage until it yellows and withers naturally. Those green leaves keep photosynthesis humming, sending carbohydrates back down to the bulbs. In their native range, tulips allow foliage to die back gradually, and following that cue ensures robust bulb multiplication without risking invasiveness.
Plant at the Ideal Depth and Spacing

Correct planting depth—about two to three times the bulb’s height (typically 8–10 inches)—anchors tulips securely and shields them from frost heaving. Space bulbs 4–6 inches apart to prevent overcrowding, improve air circulation, and give those pollinators room to navigate between blooms!
On the Central Asian steppes, tulips naturally grow in well-spaced clusters amid rocks. This spacing prevents bulbs from competing for nutrients and reduces disease spread. In my experience, giving each bulb breathing room leads to sturdier stems and more uniform flowering across the field.
Time Planting to Fulfill Chilling Requirements

Tulips require a winter chill of 12–16 weeks below 55 °F to trigger flowering. I schedule bulb planting for late October to mid-November—depending on your zone—so they settle in time to experience true frost. Plant too early, and bulbs might sprout prematurely; too late, and they may not bloom!
This cold requirement is a legacy of their mountainous origins, where long winters ensure reliable dormancy. In warmer climates, gardeners sometimes pre-chill bulbs in a refrigerator for 6–8 weeks before planting. Once they’ve endured that cold snap, tulips awaken in gorgeous synchrony without becoming weedy interlopers.
Incorporate Companion Planting to Support Pollinators

While tulips themselves offer nectar to early-emerging hoverflies and bumblebees, weaving in alliums or crocus before and after your tulip display extends the forage season! These companions bloom slightly earlier or later, keeping pollinators nesting nearby busy from late winter through spring.
Tulips aren’t considered invasive; they naturalize only under very specific conditions. By mixing in native wildflowers—such as early phlox or dead-nettle—you create a mini insectary. Ground-nesting bees especially appreciate bare patches between bulbs, where they burrow and raise young, returning year after year to your blooming oasis.
Ensure Excellent Drainage

Tulips detest “wet feet.” I often plant on a shallow ridge or raised bed, amending soil with coarse sand and small gravel to guarantee rapid runoff. That gritty blend replicates their rocky homeland, helping prevent crown rot and fungal diseases.
In Central Asia, rain drains almost instantly on sloped terrain, and standing water is lethal for bulbs. By creating that same free-draining environment, you give tulips what they crave—and you’ll spot ground-nesting miner bees tunneling beneath the gravel, fulfilling nature’s partnership!
Select Tulip Varieties Suited to Your Climate

From hardy species tulips that bloom reliably year after year to dramatic hybrids with enormous flowers, choosing the right type is crucial. In cooler zones, botanical tulips like T. kaufmanniana tolerate sub-zero temperatures and naturalize gracefully. In warmer climates, Darwin hybrids handle heat better and resist early collapse.
Most garden tulips aren’t invasive—they lack the prolific seed-set of wild species. However, if you adore a naturalized look, certain botanical types will wander slightly in ideal conditions. Otherwise, sterile hybrids stay obediently where you plant them, ensuring a controlled but spectacular field.
Prepare Soil with Plenty of Organic Matter
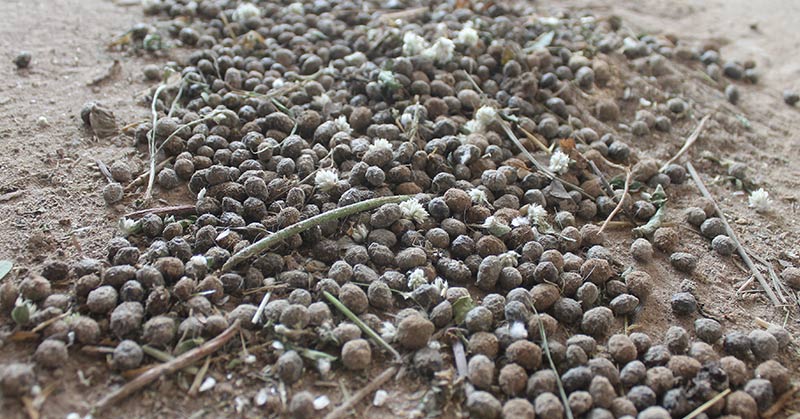
Before planting, I work 2 inches of well-rotted compost into the top 8 inches of soil. This enriches the bed, attracts earthworms that nest among bulbs, and improves moisture retention without waterlogging—crucial for strong root establishment!
Native to nutrient-poor steppes, tulips evolved to capitalize on brief nutrient pulses. They don’t need overly rich soils—in fact, excessive fresh manure can cause rot. A modest dose of humus-rich compost mimics their natural environment, fostering healthy roots and preventing invasive spread.
Divide and Store Bulbs Properly

Every 3–4 years, crowded tulip clumps produce smaller, weaker blooms. I lift bulbs once foliage has died back, gently separate offsets, and cure them in a cool, dry spot. Stored in mesh bags at about 50 °F, these bulbs stay firm and disease-free until they’re back in the ground!
In the wild, tulips form clumps but rarely overrun adjacent areas. By mimicking traditional bulb-farming methods—lifting, dividing, and resting bulbs—you rejuvenate your field without creating a runaway spread. Divided bulbs planted elsewhere also yield new pockets of color where you choose.
Apply Balanced Fertilization at Planting and in Spring
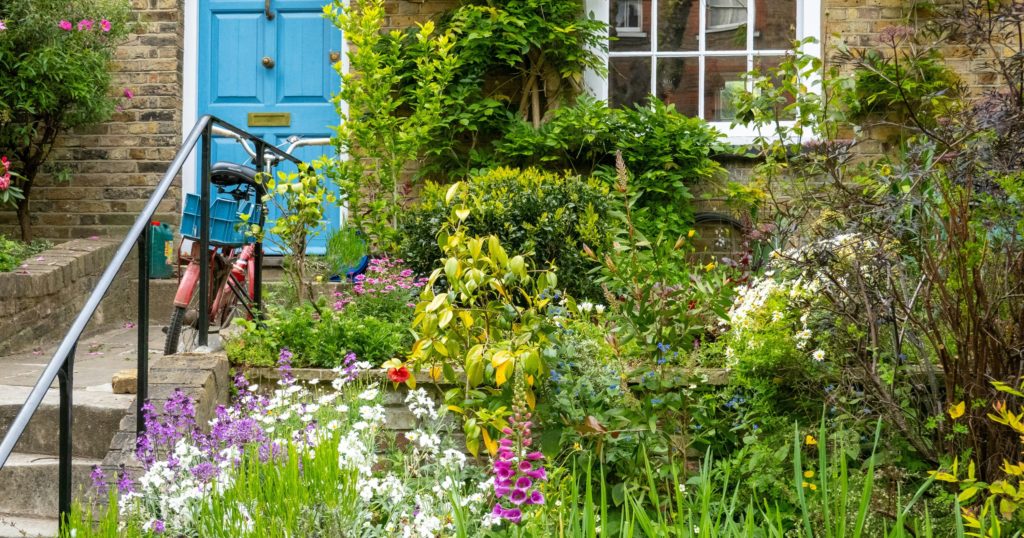
At planting time, I sprinkle a teaspoon of bone meal or a low-nitrogen bulb fertilizer into each hole to boost root growth. When shoots appear in early spring, I side-dress with a balanced granular fertilizer—just enough to sustain robust flowering without triggering lanky growth.
Tulips evolved on soils with occasional nutrient flushes from decaying alpine flora. They don’t need heavy feeding every year; over-fertilization can invite disease. By targeting nutrients at these two key stages—rooting in fall and shoot emergence in spring—you maintain vigor without compromising bulb health or garden balance.
Water Sparingly but Strategically

After planting, a deep initial watering settles soil around the bulbs. During active spring growth, I water only when the top inch of soil is dry—roughly once a week in cool weather, tapering off as foliage dies back. This encourages bulbs to rely on stored reserves.
In their native steppes, rainfall is sporadic; tulips adapted to capitalize on moisture bursts and withstand dry spells. Overwatering leads to rot and diminished returns. By mimicking that pattern—deep, infrequent soaking—you foster strong, drought-tolerant plants that return year after year!
Use Mulch for Winter Protection and Weed Suppression
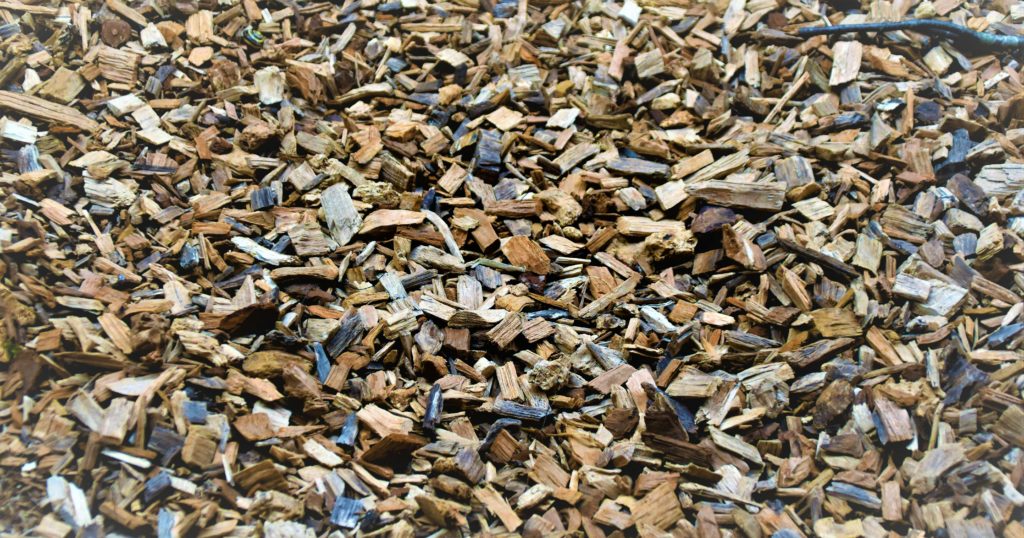
Once the ground freezes, I cover my tulip field with a 2-inch layer of shredded bark or straw. This mulch stabilizes soil temperatures, prevents freeze–thaw damage, and suppresses winter annual weeds. In spring, I rake it back gradually so shoots emerge unhindered.
This protective layer also shelters ground-nesting pollinators—like solitary mining bees—beneath a cozy blanket. While tulips themselves aren’t invasive, giving your bulbs that winter cover ensures a vigorous wake-up and an ever-richer display without extra effort.