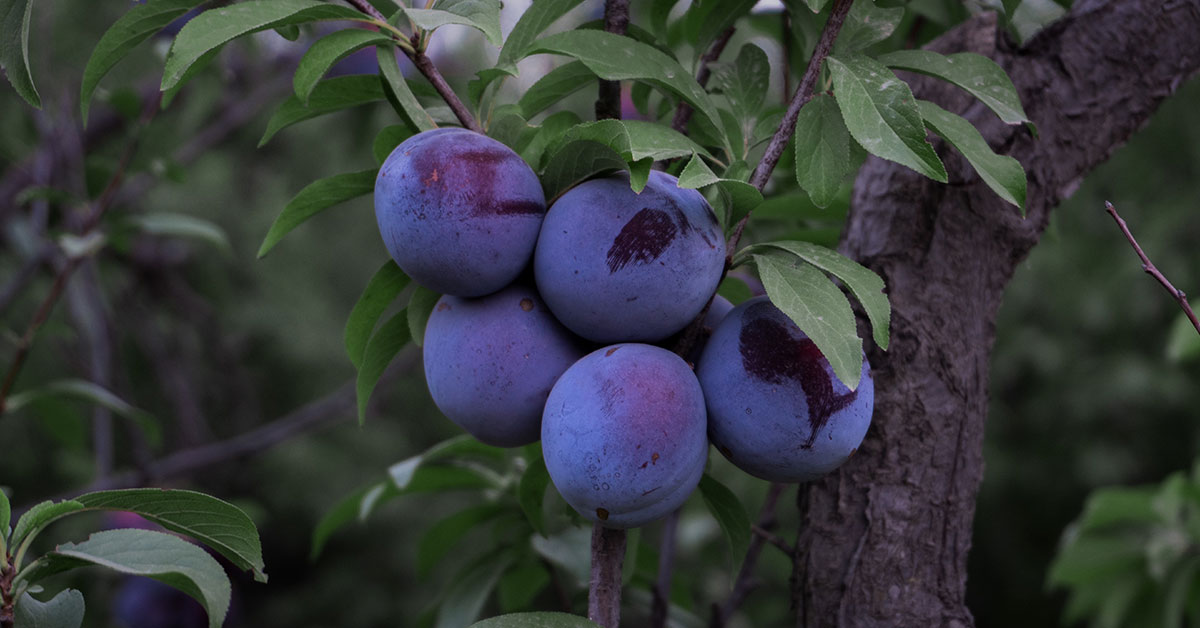

One of my favorite fruit trees to nurture is the plum (Prunus domestica), a species native to China and Central Asia that’s been delighting gardens across the world for centuries. From its delicate spring blossoms that tempt pollinating bees and early-nesting birds to its succulent summer fruit, a healthy plum tree is a true showstopper. Yet, plums can be finicky: too little sun, too much water, or poor pruning, and you’ll end up with sparse yields or disease-ridden branches. I know how frustrating it is to wait all season for juicy plums only to find them scarce or blemished!
Whether you’re growing European plums in zones 4–8 or Japanese varieties in warmer climates, these twelve tips will guide you from planting through harvest. Expect thorough advice on site selection, soil preparation, pruning, pest management, and more—all written with the enthusiasm of a gardener who’s shared many triumphant harvests (and a few learning experiences!) Let’s dive in and get your plum trees producing like never before.
Ensure Adequate Chill Hours
Different plum varieties require different amounts of winter chill—hours below about 45°F—to break dormancy and set fruit. European plums often need 600–1,000 chill hours, while many Japanese types require far fewer. I once planted a high-chill plum in a mild-winter region and struggled with sparse blooms every spring!
Check your local climate’s chill hours against the variety’s requirements before planting. If you’re on the warmer edge of a plum’s range, opt for low-chill cultivars like ‘Santa Rosa’. That way, you’ll get reliable flowering and avoid the heartbreak of bare branches when spring arrives.
Choose Full Sun and Good Airflow

Plums thrive with at least six to eight hours of direct sunlight daily. Sunlight fuels fruit development and helps foliage dry quickly—critical for warding off fungal diseases. I’ve seen plum orchards fail when shaded by larger trees, leaving the fruit small and the leaves perpetually damp!
Plant your tree in a sunny spot with plenty of space around it for air to circulate. Good airflow not only reduces mildew and brown rot risk but also attracts beneficial insects like lacewings and solitary bees that nest in nearby hollow stems, helping keep pests in check.
Prepare Soil Rich in Organic Matter

Plums prefer loamy, well-draining soil with a slightly acidic to neutral pH (around 6.0–7.0). If your garden soil is heavy clay or very sandy, incorporate generous amounts of aged compost or well-rotted manure during planting. I once wrestled with a plum in pure clay that never thrived until I amended the bed with two wheelbarrows of compost!
Amending soil enhances structure, moisture retention, and nutrient availability. Healthy soil teems with earthworms and beneficial microbes that break down organic matter, producing the steady supply of nutrients plums need to set and ripen those sweet summer fruits.
Plant with Proper Spacing and Support
Crowding plum trees leads to competition for light and airflow problems. Standard trees need at least 20 feet between neighbors, while dwarfs can go about 10–12 feet apart. I made the mistake of planting too close to my peach tree once—both suffered from stunted growth and disease!
If you choose espalier or cordon forms, train branches on a sturdy frame or trellis right from planting. The guided growth not only looks beautiful on a porch wall but also simplifies pruning, thinning, and harvest—plus, it gives nesting songbirds clear perches between the evenly spaced limbs.
Prune Annually for Structure and Sunlight
Correct pruning shapes the tree and improves fruit quality by exposing inner branches to sunlight. In late winter, remove dead, diseased, or crossing limbs and thin out crowded shoots. I remember the first winter I skipped pruning: my plum grew into a tangled mass that shaded itself and produced handfuls of tiny, sour fruits!
A well-pruned plum has an open center or vase shape that encourages air and light penetration. That bright environment helps fruit ripen evenly and deters pests like plum curculio, whose larvae thrive in damp, shady crevices.
Water Consistently, Especially During Fruit Development

While plums dislike waterlogged roots, they also suffer under drought conditions. Provide about an inch of water per week—more during hot, dry spells—especially from fruit set through ripening. I once let my tree go nearly two weeks without irrigation and ended up with cracked, waterlogged plums when I finally watered!
Use a soaker hose or drip irrigation to maintain even moisture without wetting foliage, which can lead to fungal issues. Mulch the root zone heavily with straw or shredded bark to conserve water, moderate soil temperature, and deter weeds that compete for moisture.
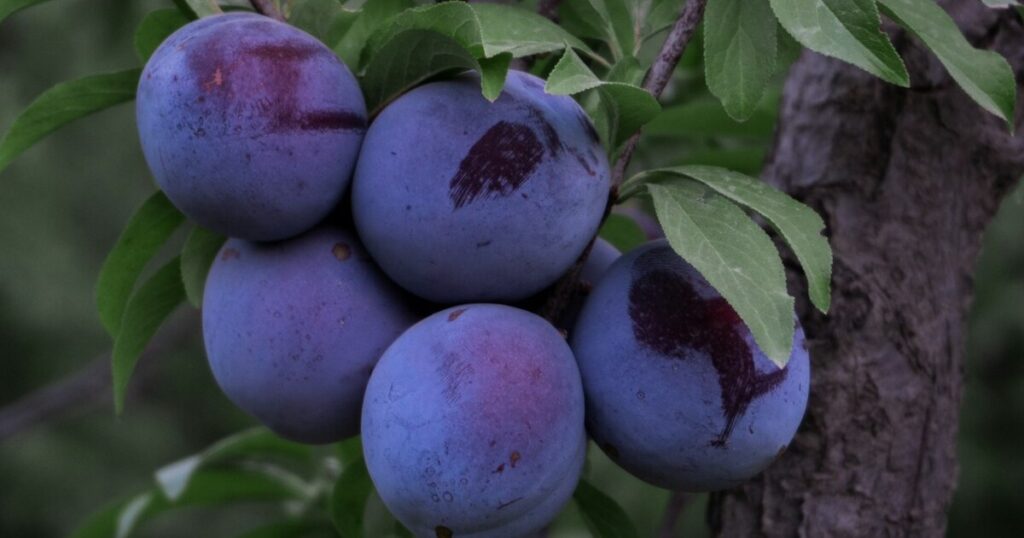
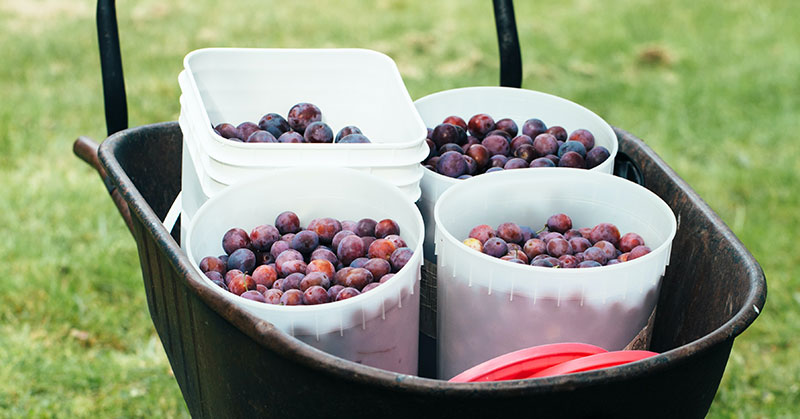
Thin Fruit to Encourage Juicy Plums
After blossoms drop, thin clusters so that each remaining fruit is spaced about 4–6 inches apart. This practice allows the tree to direct its energy into fewer fruits, producing larger, juicier plums. Trust me, the difference between crowded specks and perfectly plump fruit is night and day!
Gently remove excess young plums by hand, being careful not to damage stems. The result is tree arms bending under the weight of uniform, flavorful fruit—and happier birds that find it easier to nest among well-balanced branches!
Monitor and Manage Pests Proactively

Plum trees can attract plum curculio beetles, aphids, and scale insects. Inspect foliage and fruit weekly, and use organic controls like horticultural oil sprays or insecticidal soaps at the first sign of infestation. I once lost half my crop to curculio before I started using fruit bagging and timely sprays!
Encourage natural predators by planting companion flowers—like native goldenrod and coneflowers—that host ladybugs and lacewings. Their larvae feast on soft-bodied pests, reducing your need for chemical interventions and creating a balanced ecosystem.
Prevent Fungal Diseases with Sanitation
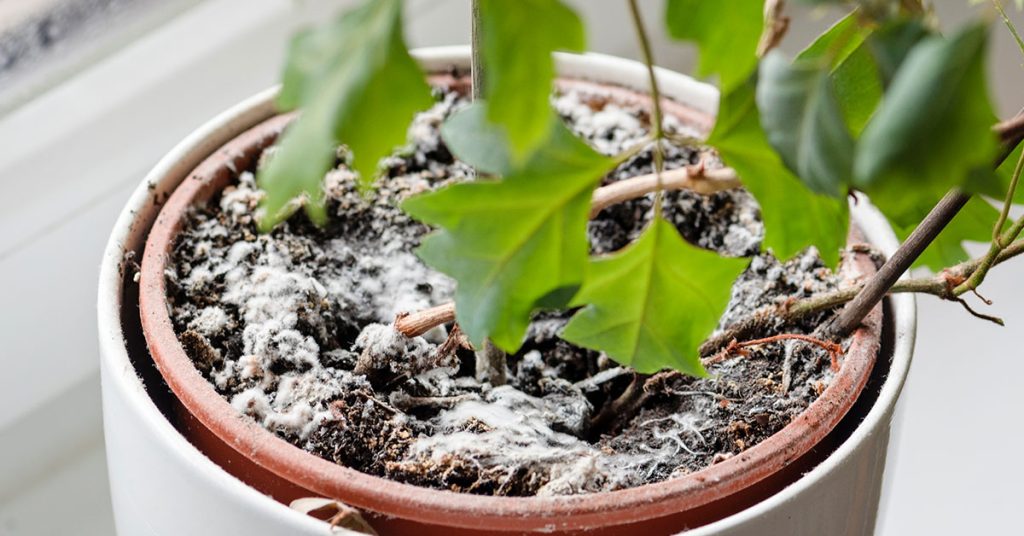
Brown rot and leaf spot thrive in warm, humid conditions. Clean up fallen leaves and fruit in autumn, and prune out infected twigs throughout the season. I learned this the hard way when old mummified plums spread rot across new fruit!
Apply a light dormant spray of lime sulfur in late winter and consider a summer fungicide if your climate is especially damp. Removing all debris and keeping the canopy open are the best ways to minimize disease and keep fruits pristine.
Fertilize at Key Growth Stages

Feed young trees in early spring with a balanced, slow-release fertilizer (e.g., 10-10-10). Mature trees benefit from a second light application after fruit set. I once underfed my plums and saw spindly growth—unmistakable proof that even vigorous trees need extra nutrients when they’re working hard to produce fruit!
Avoid overfertilizing, which can lead to lush vegetative growth at the expense of blooms. Always follow label rates and water in well. Healthy, nourished trees produce abundant, sweet fruit and dense foliage that offers nesting birds protection and shade.
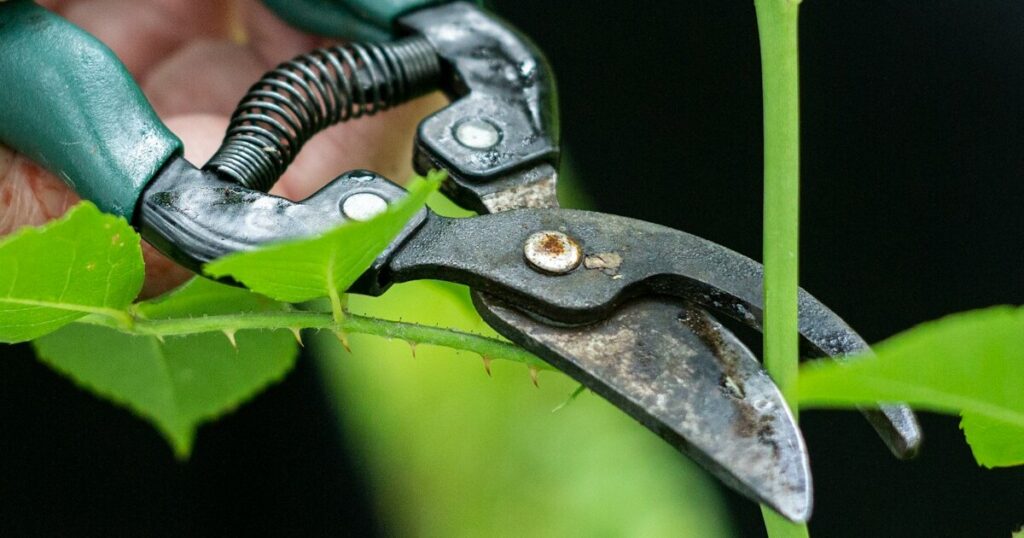
Harvest at Peak Ripeness
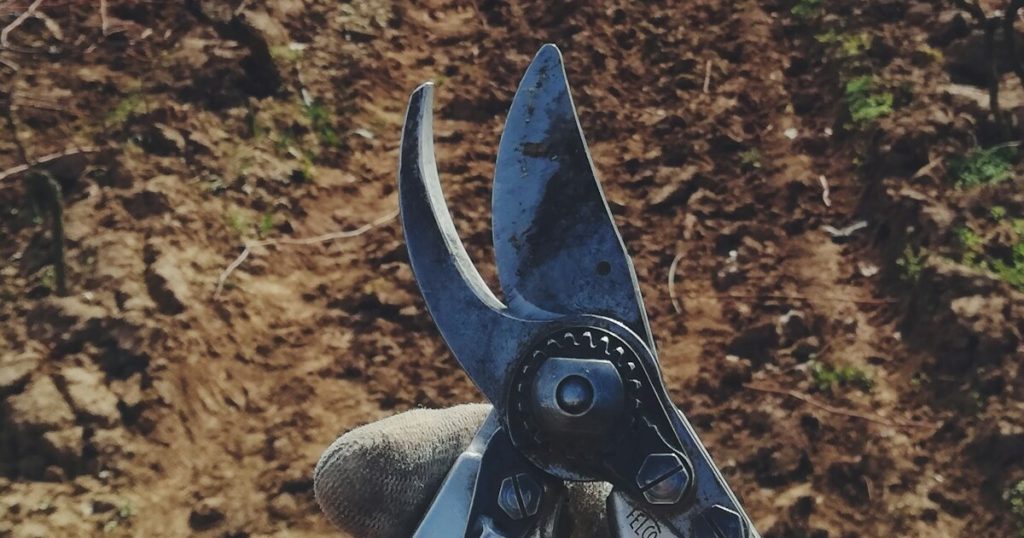
Plums don’t continue to sweeten off the tree—once you spot their full color and slight give when gently squeezed, it’s time to pick! I’ve learned that a plum harvested too early will remain tart, while one left too long can split or attract fruit flies.
Use sharp pruning shears to snip fruit, leaving a short stem attached. Store at room temperature for a day or two if needed, then refrigerate. Enjoy them fresh, canned, or preserved—your efforts will reward you with that melt-in-the-mouth sweetness that makes plums so irresistible!