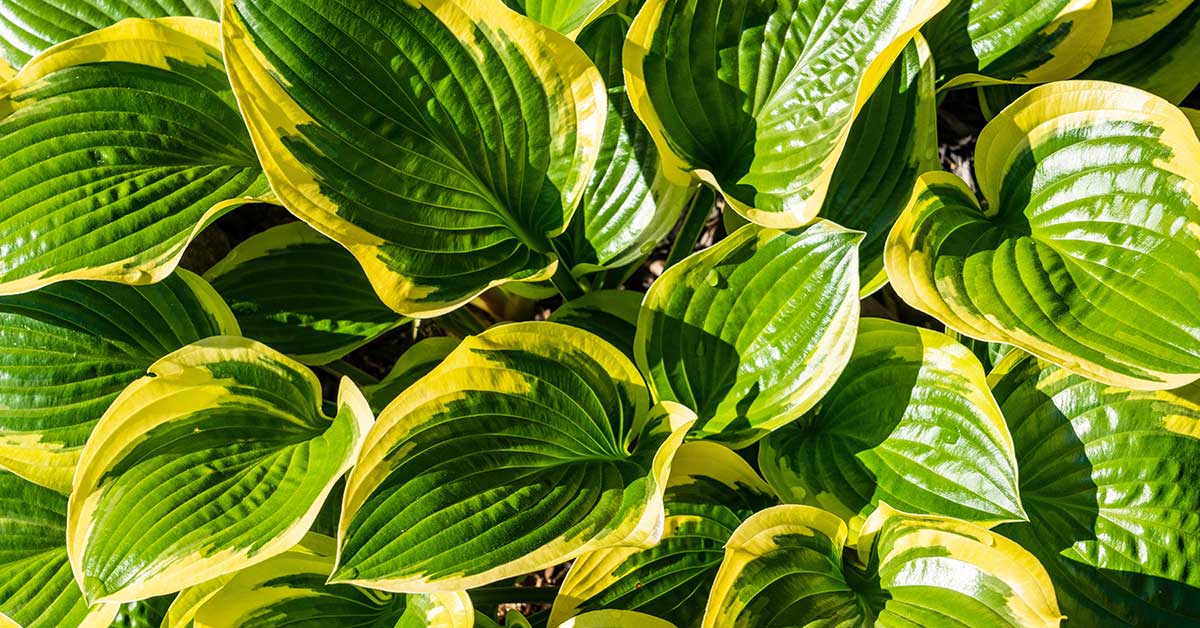

Hostas are the unsung heroes of the shade garden, offering lush foliage and delightful textures that transform dark corners into verdant retreats. Native to the woodlands of East Asia—particularly Japan, Korea, and parts of China—these hardy perennials thrive under tree canopies and along north‑facing borders. It’s such a bummer when your hostas emerge pale or sparse, especially after a long winter; with the right care, you’ll be rewarded with robust clumps of leaves that seem to glow even in low light!
I know how frustrating it can be to fuss over a shady bed only to see slow growth or chewed leaves. Over the years, I’ve learned the secrets—everything from soil preparation to slug patrols—that turn average hostas into garden showstoppers. Whether you’re aiming for giant ‘Sum and Substance’ or dainty ‘Blue Mouse Ears,’ these twelve tips will help you cultivate the fullest, most vibrant hosta patch you’ve ever seen.
Provide Consistent Moisture

Hostas thrive in damp, evenly moist soil but resent waterlogged feet. Aim to keep the soil lightly damp by watering deeply once or twice a week, adjusting for rainfall. When you water, focus on the root zone rather than drenching the foliage—this prevents leaf spots and fungal issues while sending roots deep into the soil for better drought resistance!
Moisture doesn’t just benefit hostas; it also supports beneficial soil fauna. Earthworms and springtails, which aerate the soil and break down organic matter, flourish in these conditions. Their tunnels provide nesting sites for ground‑dwelling bees and predatory beetles that help keep pests like slugs in check.
Apply a Generous Layer of Mulch

A two‑ to three‑inch layer of organic mulch—such as shredded leaves or pine needles—conserves moisture, suppresses weeds, and moderates soil temperature. As the mulch breaks down, it enriches the soil with nutrients, mimicking the forest floor where hostas evolved. I always feel a thrill when I unearth earthworm channels just beneath that mulch layer!
Mulch also offers hiding spots for beneficial insects like rove beetles and ground spiders, which help control slugs and snails. Just be sure to keep the mulch slightly pulled back from the crown to prevent rot and encourage proper air circulation around emerging shoots.
Choose the Right Varieties for Your Conditions

Hostas span a vast range—from miniature cultivars like ‘Elegans’ (only a few inches tall) to giants such as ‘Empress Wu.’ Blue‑leaved varieties tolerate more sun, whereas chartreuse and white‑margined types prefer deeper shade. Matching the cultivar to your light conditions prevents leaf scorch and encourages fuller growth!
Knowing the origin of your hosta helps anticipate behavior: species from higher elevations (like H. capitata) often have better cold tolerance, while lowland species may be less hardy in frigid winters. Some vigorous hybrids can naturalize and spread beyond their beds, so monitor runners if you want to keep them contained.
Divide Clumps to Rejuvenate Growth

Every three to four years, lift and divide crowded clumps in early spring or fall. This not only curbs overcrowding but revitalizes older plants, encouraging fresh shoots and larger leaves. I love how dividing reveals strong, healthy rhizomes ready to sprout anew—nature’s own reset button!
Division also gives you extra plants to share with friends or relocate to other garden spots. Just be mindful of the rings you create: leave at least three to five growing points per division to ensure vigorous establishment and avoid stripping a clump too small.
Prepare Rich, Well‑Draining Soil

Hostas prefer a loamy soil rich in organic matter with good drainage. Amend heavy clay with compost and coarse sand or grit to break up compaction, and add aged leaf mold to increase water‑holding capacity. When your soil is both airy and fertile, you’ll see hosta leaves unfurl at an impressive clip!
Well‑draining beds also discourage root rot and crown diseases. Plus, a balanced soil structure supports a healthy mycorrhizal network, which helps roots access water and nutrients—benefiting both your hostas and ground‑nesting pollinators like mason bees.
Protect Against Slugs and Snails

One of the biggest challenges for hostas is mollusk damage. Slugs and snails chew irregular holes in leaves, leaving silvery slime trails behind. I know how heartbreaking it is to see pristine foliage peppered with dents! Set traps—such as shallow saucers of beer—or apply diatomaceous earth around crowns to deter them without harming wildlife.
Encouraging natural predators is also key. Birds like thrushes and blackbirds relish slugs, and toads often shelter at the base of hostas. Leaving small piles of stones or bark gives these helpers cool, moist refuges—creating a balanced micro‑ecosystem that naturally curbs slug populations!
Fertilize Thoughtfully in Early Spring

A light application of balanced, slow‑release fertilizer as shoots emerge jump‑starts growth without causing a flush of tender leaves vulnerable to damage. Organic options like composted manure or fish emulsion gently feed plants over time. One of my favorite spring rituals is mixing in compost—seeing that first wave of lime‑green shoots always brings a smile!
Avoid heavy nitrogen feeds mid‑season, which can lead to floppy growth and reduce the plant’s resilience. Proper nutrition from the get‑go helps hostas build sturdy leaves that fend off pests and weather stresses effectively.
Edge Beds to Contain Runners
Some hosta varieties spread via rhizomes, sending up new shoots several feet from the parent plant. While this can create a lush groundcover effect, it may invade neighboring beds. Installing plastic or metal edging a few inches deep prevents unwanted spread and keeps the display tidy!
Edging also protects your hostas’ shallow roots during lawn mowing or weeding. A clear boundary ensures you’re tending to the right plants, preserving those neat, architectural clumps that make hostas such garden standouts.
Monitor for Pests and Diseases

Routine bed checks—especially under leaves and around crowns—help you spot early signs of foliar nematodes, crown rot, or leaf spot fungi. Removing and disposing of affected leaves keeps disease pressure low. I always feel a sense of relief when I catch a problem early rather than discovering it after it’s widespread!
Healthy hostas also attract beneficial insects like ladybugs and lacewings, which nest in leaf litter and feed on aphids or scale that occasionally target the foliage. Maintaining a clean bed beneath your plants encourages these predators to stick around.
Provide Winter Protection in Colder Zones
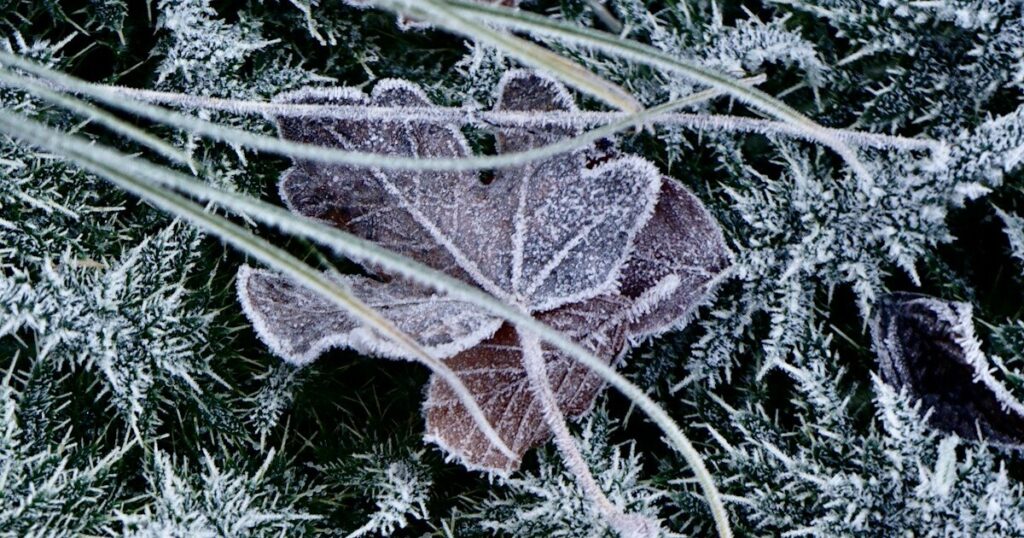
In areas with harsh winters, apply a thicker mulch layer—up to four inches—over crowns once the ground freezes. This insulating blanket prevents freeze‑thaw cycles that can heave roots and expose them to cold air. It’s such a comfort to know your plants are snug until spring!
Remove the mulch in early spring as new shoots appear, allowing them to break through unimpeded. The old insulation layer doubles as a habitat for overwintering beneficial insects like ground beetles, which emerge to patrol your garden in warmer weather.
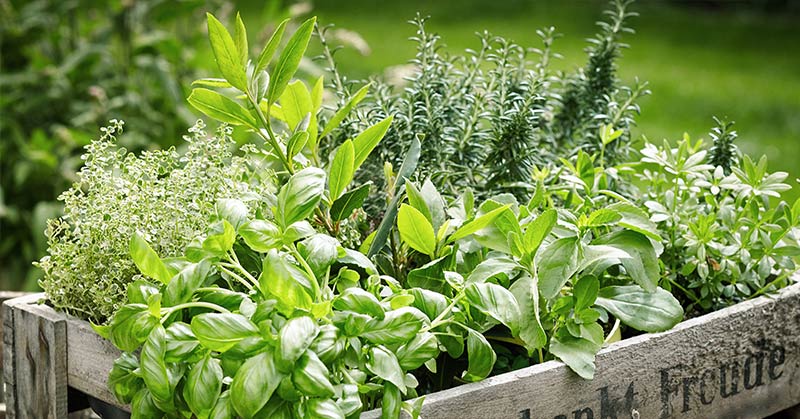
Use Companion Plants for Contrast and Support
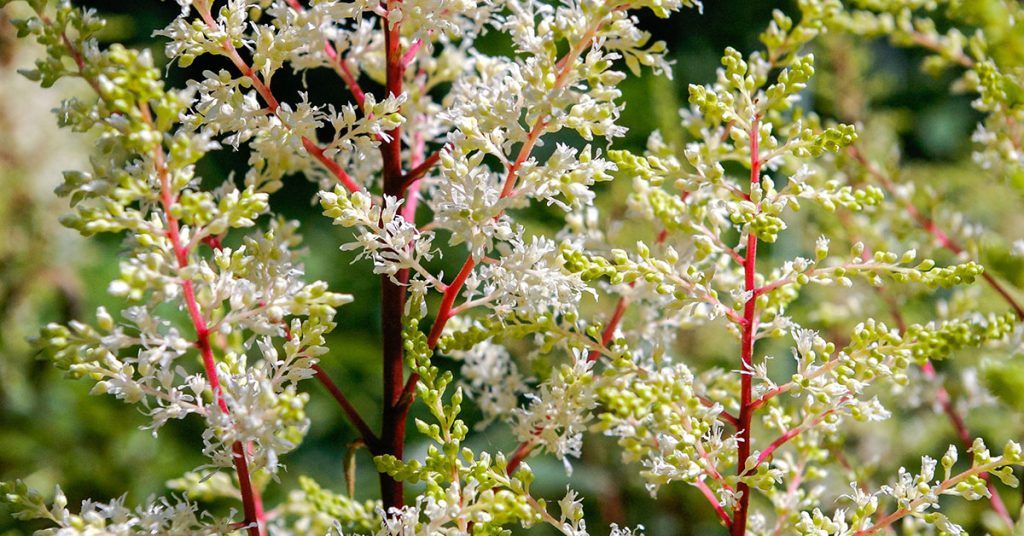
Pair hostas with ferns, astilbes, and bleeding hearts to create textural and color contrast. Fern fronds soften the bold hosta leaves, while astilbes add airy plumes that also attract bumblebees and butterflies—some of which nest in the leaf litter! This mix of groundcovers creates a dynamic understory that’s both beautiful and ecologically balanced.
Companion plants can also deter pests: strong‑scented herbs like mint (which can be invasive) or garlic chives distract deer and rabbits away from hostas. Just keep mint in containers to prevent it from overtaking the bed!