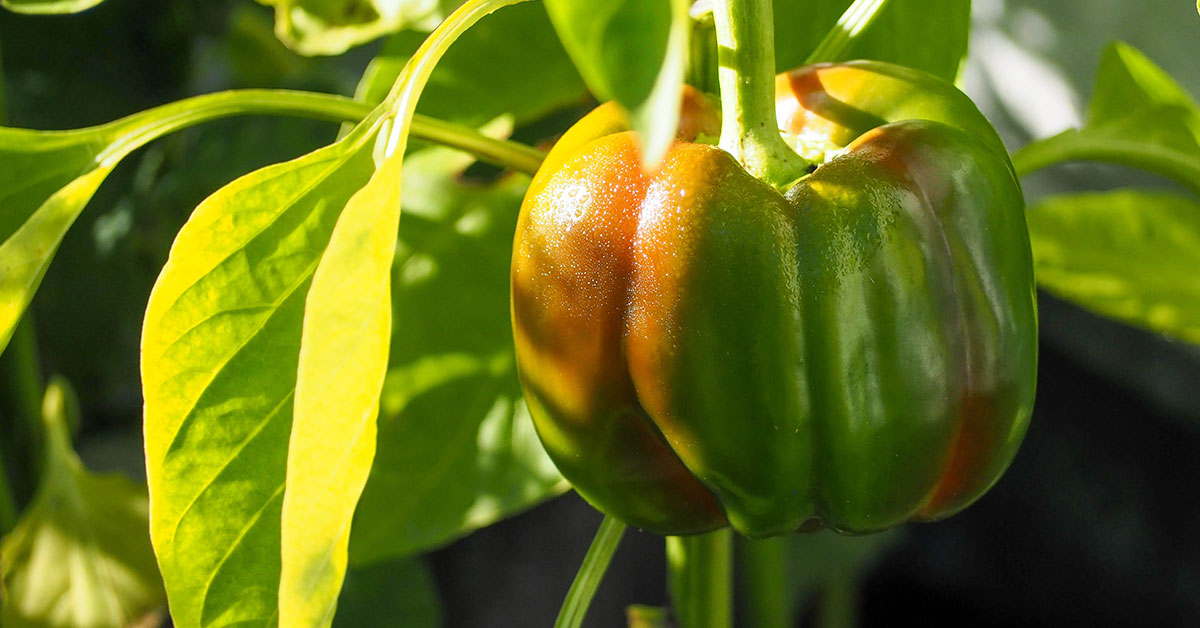

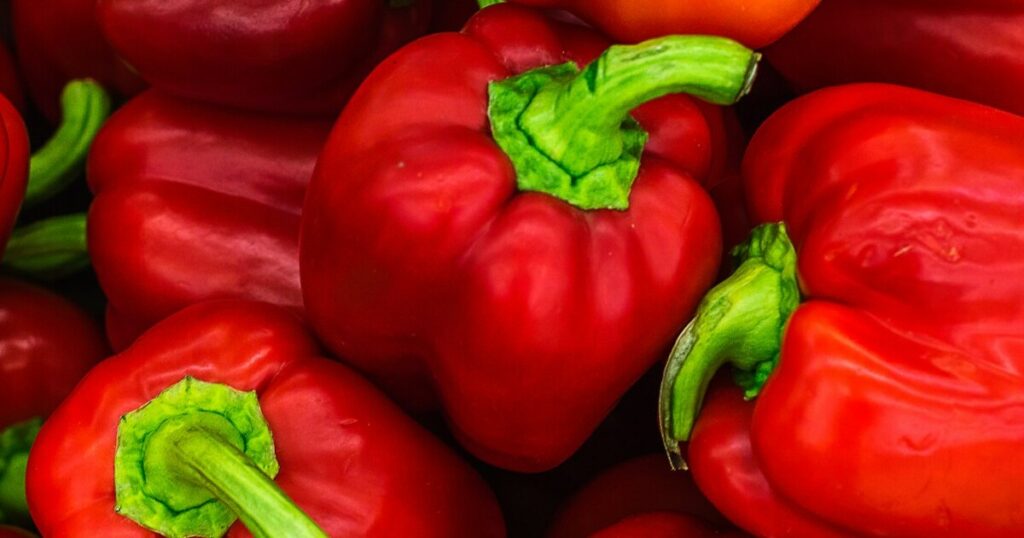
Bell peppers are one of my absolute favorite garden gems—the crunch of a homegrown pepper, whether green, yellow, or ruby red, is simply unbeatable! Native to the highlands of Central Mexico, Capsicum annuum has been cultivated by Mesoamerican civilizations for millennia. While they aren’t invasive in most home gardens, I know how disheartening it can be when those tender seedlings languish or your plants set few fruits. I’ve certainly had seasons where pepper plants sulked instead of flourishing!
That’s why I’m thrilled to share twelve essential tips to help you grow bell peppers that burst with flavor and color. From seed-starting and soil prep to pollinator attraction and pest scouting, each tip dives into the pepper’s native needs and garden behaviors—like how solitary ground-nesting bees love exploring pepper blooms. Grab your trowel and let’s get growing!
Encourage Pollinators Early
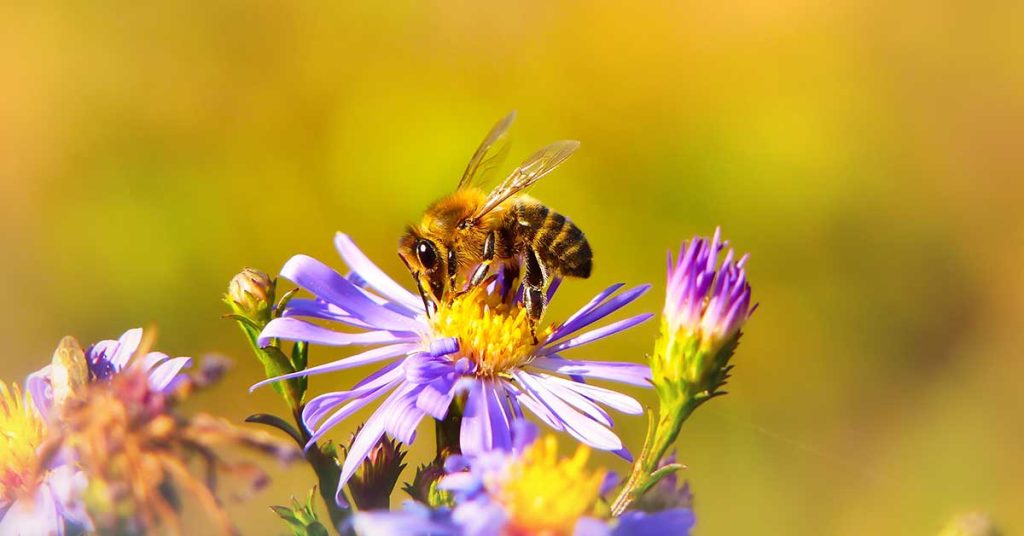
Bell pepper flowers may be small, but they rely on visits from bees—especially bumblebees and native solitary bees—to set fruit. I like planting alyssum or calendula around my pepper beds to lure these fuzzy pollinators in early! Watching them tumble among the blossoms is pure garden magic, and their pollination efforts directly translate into a higher fruit set.
Leaving a little bare soil nearby provides nesting spots for ground-nesting bees, while a shallow dish of water and pebbles offers them a safe water source. It’s such a treat to see my peppers buzzing with activity—those happy visitors help ensure every blossom has a chance to become a plump, colorful pepper!
Harden Off Seedlings Gradually
Nothing stunts pepper growth faster than transplant shock. I always spend a week hardening off my seedlings—starting with a few hours in bright shade and gradually increasing sun exposure. By the end of the week, they’re tough enough to brave full sun and wind without flinching!
This gentle transition mimics the way wild pepper plants emerge in their native Mexican highlands, adapting slowly to changing conditions. Hardened-off seedlings develop thicker leaves and sturdier stems, setting the stage for bushier plants and bountiful harvests.
Rotate Crops Annually

Planting bell peppers in the same spot year after year invites soil-borne diseases like bacterial spot and verticillium wilt, as well as pest build-up. I rotate my peppers to a new bed each season, ideally waiting three to four years before returning them to the same spot.
In the interim, I grow legumes or brassicas to break pest and disease cycles and replenish soil nutrients. This simple practice mirrors natural plant communities, where diversity keeps everything in balance—resulting in healthier soil and happier pepper plants!
Scout for Pests Early

Aphids, flea beetles, and cutworms can wreak havoc on pepper leaves overnight if you’re not vigilant. Early morning inspections help me catch these little invaders before they multiply. A press-and-spray with water or a gentle neem oil treatment sends most pests packing without harming beneficial insects.
Removing any damaged foliage promptly prevents secondary infections and keeps the canopy open for good air circulation. Trust me, spotting a handful of aphids early is far less heartbreaking than battling a full-blown infestation later on!
Use Well-Drained, Fertile Soil

Bell peppers thrive in loamy, well-drained soil with abundant organic matter—think a mix enriched with compost or aged manure. I worked up my clay soil last season by adding copious amounts of compost and coarse sand, mimicking the rich, well-aerated soils of the pepper’s native range.
Roots need oxygen as much as moisture, so avoid planting in soggy ground. Trenching in organic matter before planting gives roots room to spread and access essential nutrients, leading to sturdier plants and more delicious fruits!
Feed with Balanced Fertilizer

While peppers need nitrogen for leafy growth, too much can result in lush foliage and few fruits. I opt for a balanced feed, like a 5-10-10 NPK, applied around the drip line once plants are established. This encourages strong roots and plentiful blossoms without pushing them into a foliage-only frenzy!
Midseason, I top-dress with compost tea or a light side-dressing of fish emulsion to support continued fruit development. Think of feeding as a gentle nudge rather than a whirlwind banquet—your peppers will reward you with a steady stream of tasty harvests.
Space Plants Properly
Crowding pepper plants is a surefire way to invite disease and reduce yields. I plant mine 18–24 inches apart in rows at least 2 feet apart, giving each bush room to branch out and bask in sunlight. Well-spaced plants develop stronger stems and happier root systems!
With adequate spacing, air circulates freely, drying foliage quickly after rain and reducing fungal risks. It also makes weeding, mulching, and harvesting a breeze, so you can admire your pepper patch without contorting into awkward positions!
Provide Consistent Moisture

Irregular watering leads to blossom end rot and stress-related fruit drop. I water my peppers deeply once or twice weekly, allowing moisture to reach at least six inches deep. This encourages roots to dive downward and anchor firmly!
Mulching further evens out moisture levels, preventing the boom-and-bust cycles that frustrate pepper growers. Think of it as giving your plants a gentle, reliable sip rather than sporadic gulps—your peppers develop more evenly and taste sweeter!
Mulch to Retain Moisture and Suppress Weeds

A two-inch layer of organic mulch—straw, shredded leaves, or compost—does double duty in the pepper patch. It locks in soil moisture and keeps weeds at bay, so your pepper roots don’t compete for water or nutrients. I refresh my mulch midseason for continuous benefits!
Mulch also insulates roots from temperature swings, emulating the natural leaf litter of their native habitats. Just be sure to keep mulch a couple of inches away from stems to prevent rot, and watch your pepper patch thrive under this cozy blanket.
Support Your Plants

As peppers ripen and gain weight, branches can splay or snap under the load. I stake each plant with a sturdy bamboo cane or tuck them into tomato cages for upright support. This keeps fruits off the ground and reduces the chance of rot or rodent nibbling!
Supporting branches also improves air circulation and makes it easier to spot pests or disease. Plus, it turns your pepper patch into a neat, orderly display—no more sprawling vines to trip over during harvest time!
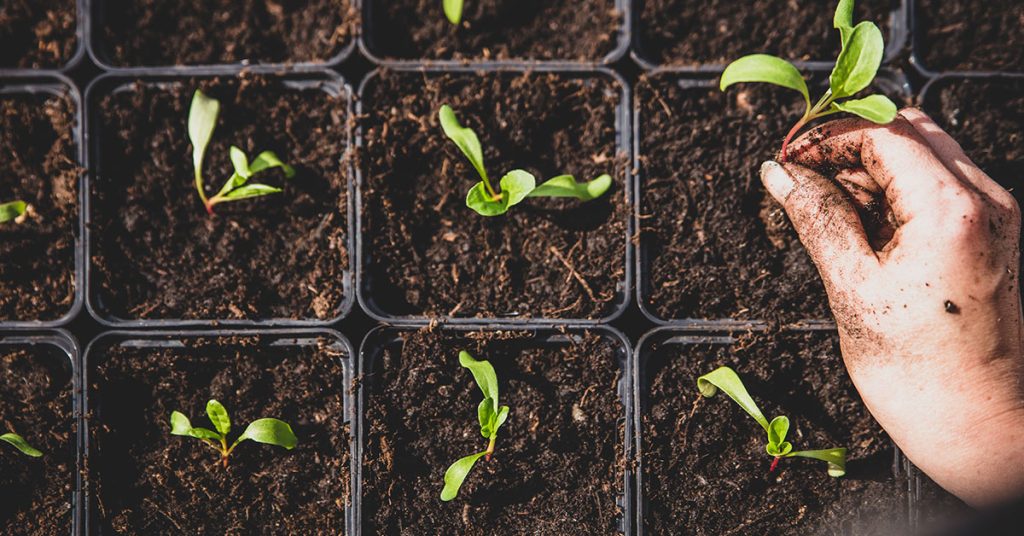
Start Seeds Indoors Early
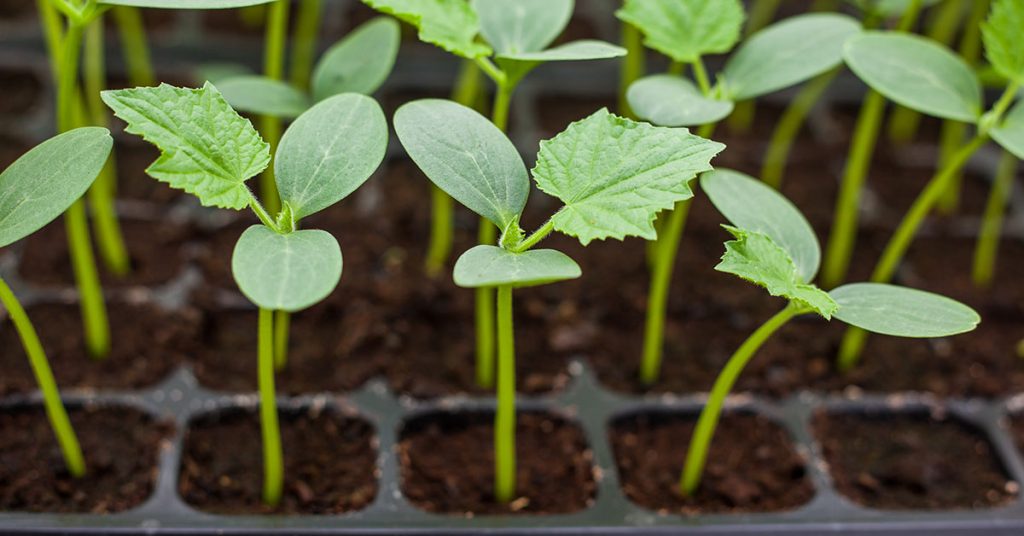
To stretch the growing season, I start bell pepper seeds indoors 8–10 weeks before the last expected frost. I sow them in seed-starting mix under grow lights, keeping the soil temperature around 75°F for rapid germination. Watching tiny seedlings emerge is such a thrill!
Strong early growth gives peppers a head start on flowering and fruiting once transplanted. Just be mindful not to start too early—overgrown seedlings can become leggy. Timing is everything, so mark your calendar and enjoy that first flush of homegrown sprouts!
Choose the Right Site

Bell peppers demand full sun—at least six to eight hours of direct light each day. I once tucked mine in partial shade and watched their yield plummet! If your garden lacks all-day sun, consider reflective mulch or light-colored walls to bounce extra rays onto your plants.
Well-drained, slightly acidic soil (pH 6.0–6.8) is ideal—bell peppers aren’t fussy but do appreciate consistent conditions. By selecting the sunniest, most sheltered spot in your garden, you’ll maximize photosynthesis, leading to plumper fruits and a longer harvest season!