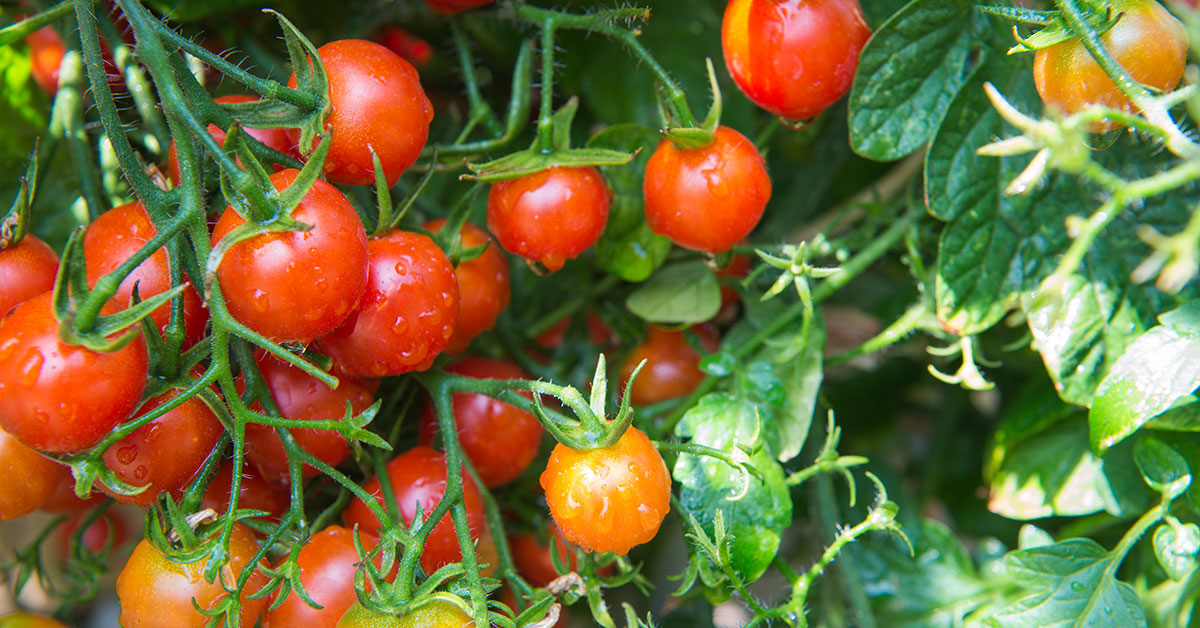

Watching a cluster of sun‑ripened cherry tomatoes glisten in the morning light is pure garden magic—and I know exactly how thrilling it feels when your vines explode with handfuls of these little flavor bombs! Yet it’s such a bummer when your plants stall out, or flower after flower drops off before setting fruit. Cherry tomatoes, native to the cloud forests of western South America, have adapted to quick growth and abundant fruiting—if you meet their needs. Though not considered invasive, they’ll volunteer eagerly, so managing thriving, productive vines means channeling their vigor wisely.
If you’ve ever stared at bare spots under your tomato cages or wrestled with cloudy‑skinned fruit, these twelve hands‑on methods will help you coax every ounce of productivity from your cherry tomato patch. From choosing the right varieties to luring in beneficial pollinators and applying soak‑and‑sleep irrigation tactics, let’s dive into all the steps that’ll have you harvesting overflowing baskets through summer’s end!
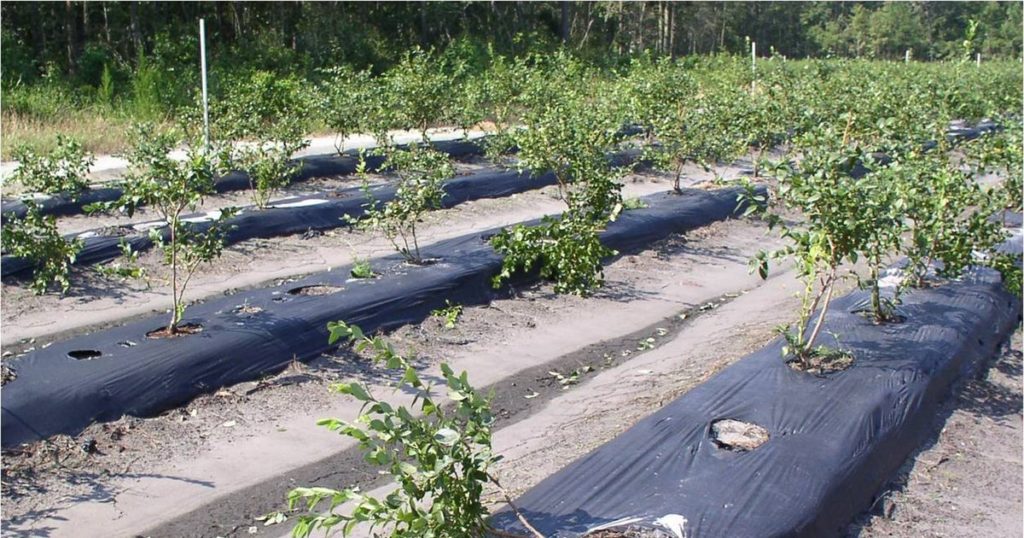
Use Mulch to Retain Moisture and Suppress Weeds

A thick layer of organic mulch—think shredded straw, composted leaves, or grass clippings—saves you from the headache of daily weeding and helps lock in precious soil moisture. I love seeing how a simple two‑inch blanket of mulch keeps bare soil cool even on scorching days, letting those shallow tomato roots sip rather than gulp water!
Mulch also attracts earthworms and ground‑nesting bees, which tunnel and aerate the soil, improving structure and nutrient uptake. These critters aren’t invasive—they’re your secret underground allies, breaking down organic matter and creating channels for roots to explore deeper, stabilizing moisture and boosting yield.
Prune Suckers for Better Airflow
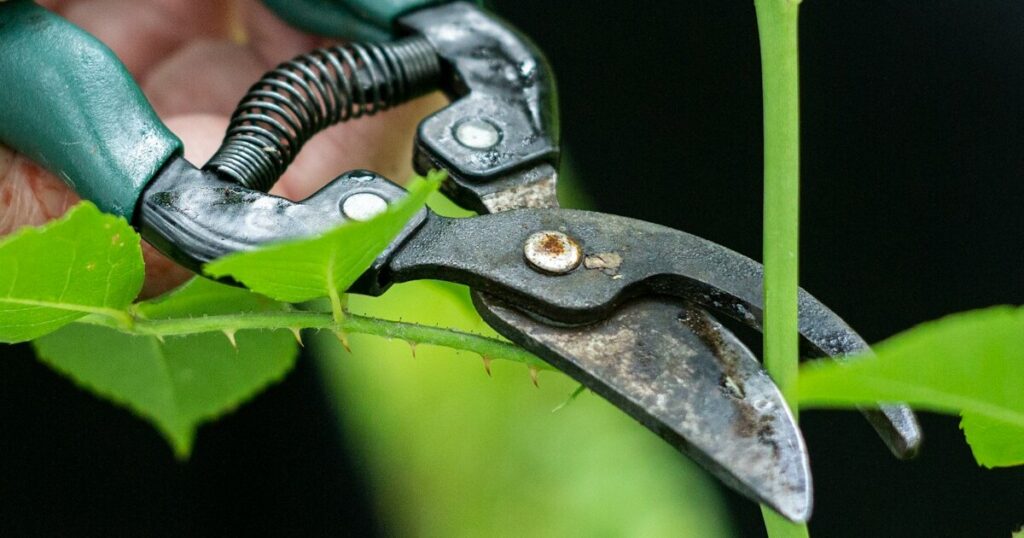
Tomato suckers—the shoots sprouting in the leaf axils—may look vigorous, but they divert energy away from fruit production. By snipping them off up to the first flower cluster, you focus the plant’s resources on ripening tomatoes rather than endless foliage. One of my favorite tricks is to prune early in the morning when vines are less turgid; it’s gentler on the plant and gives cut sites time to seal before afternoon sun!
Improved airflow between stems reduces humidity pockets that invite fungal diseases. Plus, fewer dense shoots mean pollinators like native bumblebees and hoverflies can navigate blossoms more easily—boosting pollination rates and fruit set without relying on chemical sprays.
Implement Succession Planting

Rather than setting all your plants out at once, stagger transplants by two‑week intervals. This rolling strategy keeps fresh blossoms—and later, fruit—throughout the season’s length. I remember the thrill of still snacking on cherry tomatoes in October because I’d planted in June, July, and August—no mid‑summer lull here!
Succession planting also mitigates pest pressure: emerging plants escape early blights and hornworm outbreaks that hop vine to vine. And by pairing slightly younger and older vines in the same bed, you create continual canopy growth that shelters soil moisture and invites nesting beneficials.
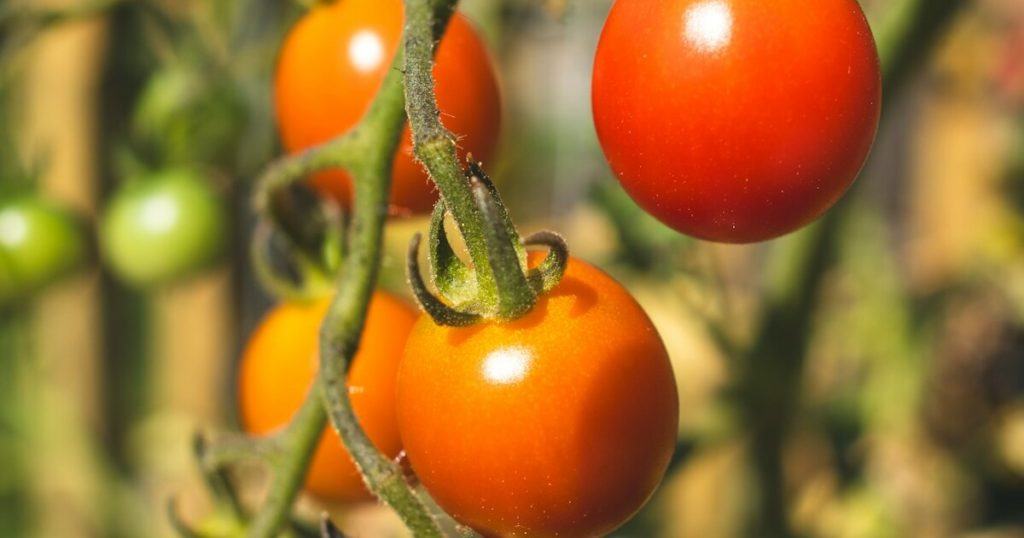
Train and Support with Cages or Trellises

Cherry tomato vines can sprawl six feet or more if left unchecked! Guiding them upward with sturdy cages or vertical trellises keeps fruit off the ground, reducing rot and making harvesting a breeze. I once switched from flimsy wire cages to tall tomato stakes with soft ties, and my yield practically doubled—no more lost fruit under tangled vines!
Upright growth also helps sunny exposure to each truss, accelerating ripening. Birds like orioles sometimes perch on sturdy trellis stakes, dropping fertilizer-rich droppings right at the base—nature’s own top‑dress that you won’t find invasive at all!
Establish a Drip Irrigation Schedule

Cherry tomatoes hate feast‑and‑famine watering. Shallow root systems benefit most from slow, deep hydration—ideally with drip lines or soaker hoses timed to run early in the morning. This method ensures moisture reaches 8–12 inches deep, encouraging robust root development and preventing surface evaporation.
Deep, consistent watering reduces stress cracks in the fruit and curbs blossom end rot by keeping calcium uptake steady. And since overhead moisture invites fungal issues, delivering water right to the root zone keeps foliage dry and happy, attracting predatory mites that patrol leaves rather than ducks or other wildlife prone to mischief.
Select High‑Performing Varieties
Variety selection is your first yield booster! Choose cherry types known for prolific fruiting—‘Sun Gold,’ ‘Sweet 100,’ and ‘Super Sweet 100’ are all indeterminate stars. One of my favorite discoveries was ‘Sungold’: its golden-orange morsels seem to keep producing even under heat stress!
Most modern cherry tomatoes aren’t invasive, yet they vary in disease resistance. Look for varieties bred for fungal tolerance in your region; this reduces chemical interventions and lets beneficial insects like ladybugs thrive in your plot, preying on early aphid invasions.
Amend Soil with Rich Compost and Organic Matter

Cherry tomatoes are heavy feeders. Before planting, blend in several inches of well‑aged compost, aged manure, or worm castings. This builds a living soil teeming with beneficial bacteria and fungi that enhance nutrient uptake. I always feel a surge of pride when my first blossoms emerge from compost‑rich beds—it’s proof that soil health is at the heart of every tomato triumph!
These soil microbes, native to healthy garden soils, form symbiotic relationships with roots, boosting phosphorus and nitrogen access. Unlike synthetic fertilizers that can wash away and harm waterways, organic amendments enrich over time without introducing invasive compounds.
Rotate Crops Annually
Avoid planting cherry tomatoes (or any nightshade family member) in the same spot more than once every three years. Crop rotation breaks pest and disease cycles—especially early blight and verticillium wilt—that accumulate in the soil. It’s frustrating to lose vines to sudden blight, but shifting your tomato patch elsewhere prevents those pathogens from taking hold!
Following tomatoes with legumes like peas or beans adds nitrogen back into the soil, setting the stage for a juicy tomato comeback next season. This mindful sequencing keeps soil ecosystems balanced without inviting invasive weeds or pathogens.
Utilize Row Covers for Early Season Growth
Shielding young tomato plants with lightweight row covers can raise daytime temperatures several degrees—mimicking the cloud‑forest warmth they prefer in their native range. Early plantings under cover often flower sooner, lengthening the fruiting window. I still recall unveiling my seedlings one chilly April morning to find them perked and flowering already—a delightful garden surprise!
Row covers also deter flea beetles and early aphid colonization, reducing the need for sprays. When lifted, they leave behind a healthy colony of predatory insects that nest nearby, ready to guard your vines through the season.
Monitor Pests and Invite Beneficial Habitat

Stay vigilant against tomato hornworms, whiteflies, and aphids by inspecting your plants twice a week. Handpick larger pests and blast smaller ones off with water. To bolster natural defenses, plant strips of buckwheat or alyssum near your tomatoes—these blooms lure parasitic wasps, ladybugs, and lacewings that nest in surrounding foliage or shallow soil patches.
Creating such insectary zones reflects how cherry tomatoes evolved alongside diverse pollinator communities. These helpers aren’t invasive—they seek sanctuary in your garden and repay you by keeping populations of harmful pests in check, safeguarding your precious fruit.
Start Seeds Indoors and Harden Off Gradually

For an early head start, sow cherry tomato seeds indoors 6–8 weeks before your last frost. Transplant them once nighttime temperatures consistently exceed 50°F. But don’t rush: hardening off over a week—move seedlings into shade, morning sun, then full sun—prepares leaves and stems for outdoor rigors. I’ve learned the hard way that skipping this step leads to shriveled seedlings, so I never skip it now!
A gradual transition builds resilience to wind and sun, boosting later fruit set and reducing transplant shock. Healthy roots establish quickly in their final beds, translating into more clusters per vine and higher overall yields.