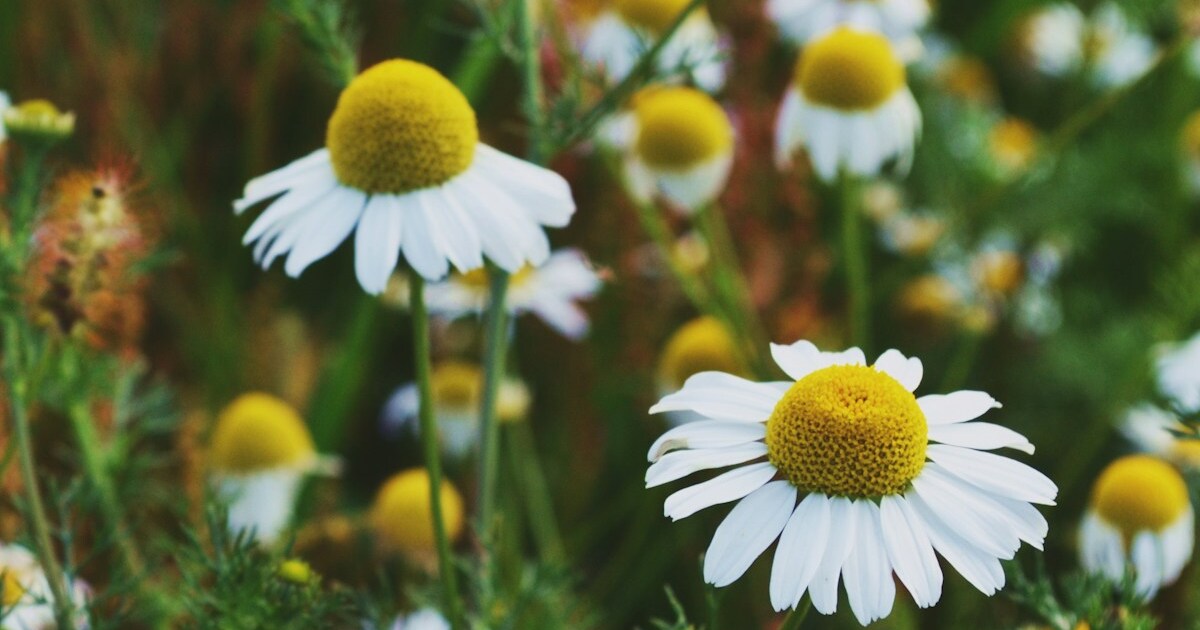

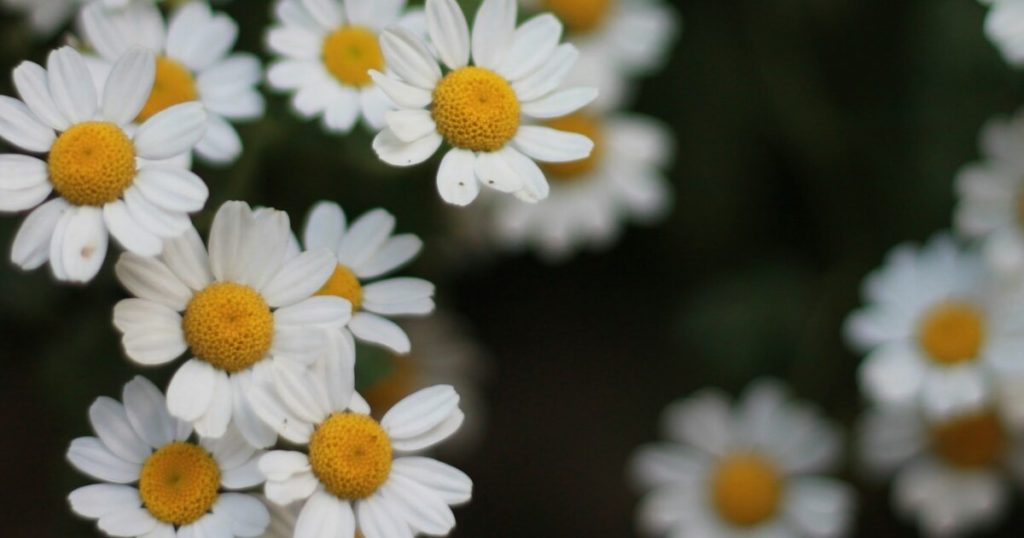
It’s such a bummer when you plant chamomile expecting a sea of dainty white-and-yellow blooms, only to end up with sparse, leggy plants that never quite fill in! Chamomile is surprisingly easy to grow in bulk—once you’ve mastered a few key techniques—and nothing beats the thrill of harvesting handfuls of fragrant flowers for tea, tinctures, or potpourri. As someone who’s coaxed chamomile from a single row to a sprawling carpet, I know how frustrating it is when seeds fail to sprout or when moisture issues cause those tender seedlings to flop over.
In this guide, I’m sharing twelve expert strategies—randomized to keep you on your toes—that cover everything from selecting the ideal species to companion planting for beneficial insects and overwintering your patch. You’ll learn about chamomile’s native origins in Eurasia, its non-invasive behavior in most home gardens, and how to attract hoverflies, ground-nesting bees, and other allies that nest among the foliage. Let’s get started and turn your plot into a lush chamomile haven!
Fertilization for Flower Production

Chamomile thrives in soils that are moderately fertile but not overly rich—too much nitrogen leads to lush foliage with fewer blooms. I apply a light dressing of compost or a balanced organic fertilizer just before the first true leaves appear, and follow with a second, smaller dose when plants reach four inches tall. This feeding schedule encourages abundant flower set without promoting unwanted leggy growth!
Chamomile ( Matricaria chamomilla or Chamaemelum nobile ) is native to dry fields and roadsides in Europe and Western Asia, where nutrients are patchy. By mimicking those conditions—providing modest fertility—you support steady bloom production without risking invasiveness. Plus, the extra organic matter feeds earthworms and beneficial microbes that nest in the soil, improving structure over time.
Succession Sowing for Continuous Blooms
To keep your garden blooming from early summer through fall, sow a new batch of seeds every three to four weeks. I mark out successive seedbeds or lightly broadcast along the edges of my main patch—this staggering ensures young plants emerge just as older ones start to fade, giving you a constant supply of fresh flowers for harvest!
Chamomile’s small, lightweight seeds germinate best when soil temperatures hover around 60–70°F, so succession sowing takes advantage of ideal windows. Since it’s not considered invasive, you can sow liberally without worrying about runaway volunteers. Just make sure to thin crowded seedlings to 6–8 inches apart to allow air circulation and prevent fungal issues.
Companion Planting for Beneficial Insects
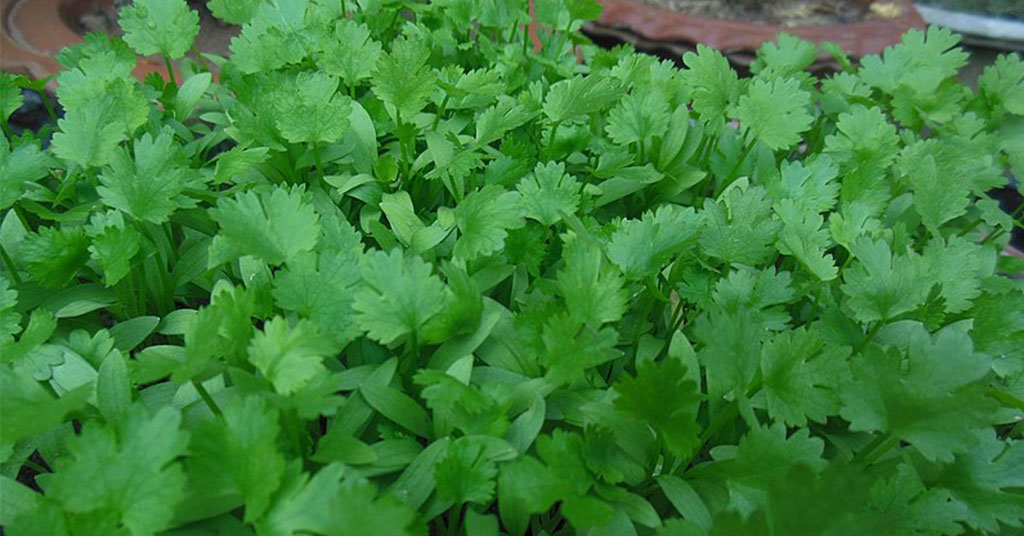
Chamomile flowers are magnets for hoverflies and tiny parasitic wasps that prey on common pests like aphids. Planting aromatic herbs such as cilantro, dill, or parsley nearby extends the buffet for these beneficials—and they often nest in the loose soil beneath chamomile’s foliage! I always leave a few patches of bare ground where ground-nesting bees can burrow, too.
In its native Eurasian habitats, chamomile grew alongside wildflowers that created rich insect habitats. Although chamomile itself isn’t invasive, companion planting recreates that biodiversity, keeping pest populations naturally in check. The result? Healthier plants, fewer sprays, and a bustling pollinator community dancing among the blooms!
Harvest Timing for Potent Flowers
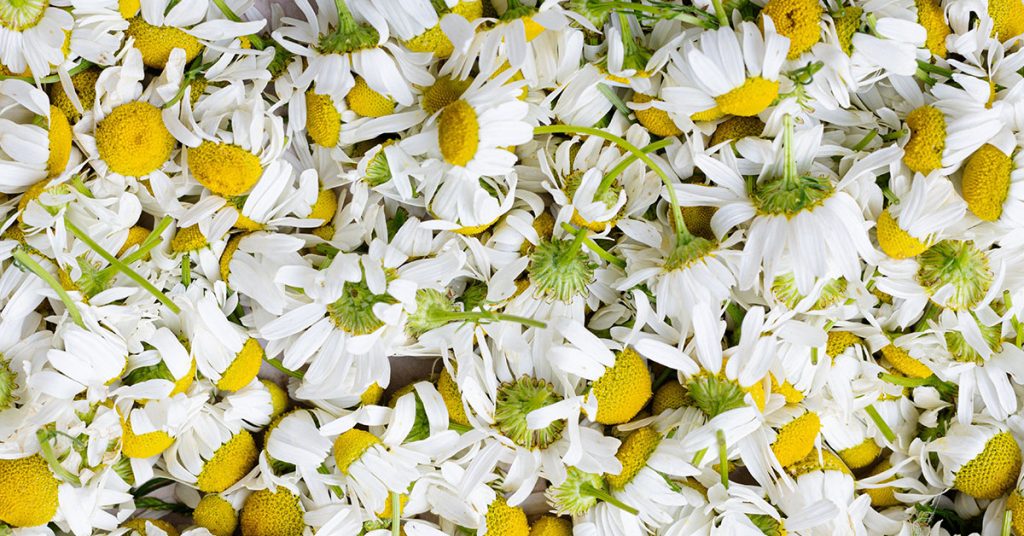
For the most aromatic and medicinal blooms, harvest chamomile when the petals are fully open but before they begin to droop—usually mid-morning after the dew has evaporated. I cut entire stems just above the first set of mature leaves, then spread them out in a single layer on a screen to dry. This timing ensures maximum essential-oil concentration!
It’s tempting to snip any flower you see, but patience pays off: early or late harvests yield weaker teas and tinctures. In the wild, insects prefer fully opened heads too, nesting in the dense foliage below. By synchronizing your harvest with chamomile’s peak, you also leave enough blooms for those beneficial insects to continue their work.
Mulching for Soil Health and Weed Control

A thin layer of straw or shredded leaf mulch around your chamomile beds conserves moisture, suppresses weed competition, and keeps the delicate roots cool. I apply mulch once seedlings are established—about two inches deep—making sure not to cover the crown. Over time, the mulch breaks down, enriching the soil and inviting earthworms to nest!
In its natural range, chamomile sprung up in thin, disturbed soils where organic debris collected. Mulching replicates that environment by creating a nutrient-cycling layer without waterlogging. It also reduces the need for hand-weeding, letting you focus on enjoying your fragrant patch rather than battling unwanted visitors.
Site Selection and Sunlight Requirements

Chamomile demands at least six to eight hours of direct sunlight daily to fuel robust flowering. I choose the sunniest, most open section of my garden—often raised beds or sunny borders—to maximize bloom density. In too-shady spots, plants become leggy and produce fewer fragrant heads!
Native to sun-baked fields of Europe, chamomile evolved for high-light habitats and doesn’t tolerate deep shade. Though it’s non-invasive, insufficient sun can cause floppy growth and increased disease risk. By prioritizing full sun, you ensure vigorous plants that stand strong and reward you with an unforgettable, aromatic display.
Pest and Disease Management Naturally

While chamomile is generally resistant to most diseases, aphids and thrips can occasionally congregate on tender shoots. I use a gentle spray of water to knock them off, then encourage lacewings—which often nest in low‐lying chamomile foliage—to finish the job. A weekly check keeps my patch pest‐free without resorting to harsh chemicals!
Chamomile’s native ecosystems featured a balanced predator-prey dynamic. By avoiding broad-spectrum pesticides, you preserve ladybugs, parasitic wasps, and predatory beetles that nest under the mulch and feast on pests. Healthy chamomile beds become self-regulating, leaving you more time to sip tea than squirt sprays.
Select the Right Chamomile Species
German chamomile (Matricaria chamomilla) is an annual that reseeds readily, offering quick, prolific blooms. English or Roman chamomile (Chamaemelum nobile) is a perennial groundcover that returns each year but spreads more slowly. One of my favorite plants—the annual—gives rapid results, while the perennial forms a fragrant carpet when left undisturbed.
Neither species is invasive in most gardens when managed properly. The annual may self-seed in patches you love—just pull unwanted volunteers—while the perennial’s stolons stay well-behaved. Choosing the right type for your goals—quick harvests or long-term groundcover—sets you up for chamomile success!
Overwintering and Perennial Maintenance

If you grow Roman chamomile, trim it lightly after flowering to promote fresh shoots and prevent woody stems. In colder climates, a thin layer of straw mulch protects crowns from freeze–thaw cycles. Come spring, remove the mulch gradually so new growth can emerge unimpeded.
Roman chamomile’s shallow roots prefer consistent conditions, and protecting them ensures a lush patch year after year. Since it’s non-invasive, you can let established beds spread modestly, creating a living mat that suppresses weeds and shelters ground-nesting pollinators through winter!
Soil Preparation and Drainage

Chamomile flourishes in light, sandy-loam soils with excellent drainage. Before sowing, I work in a generous handful of coarse sand or fine gravel to prevent waterlogging and encourage deep root growth. Good drainage also deters root rot and fungal pathogens that can plague crowded beds!
In its native Eurasian habitats, chamomile colonized well-drained riverbanks and fallow fields. By replicating that gritty profile, you give seedlings the firm foundation they need. Earthworms soon follow, tunneling and aerating the soil as they nest—another bonus for a vigorous garden!
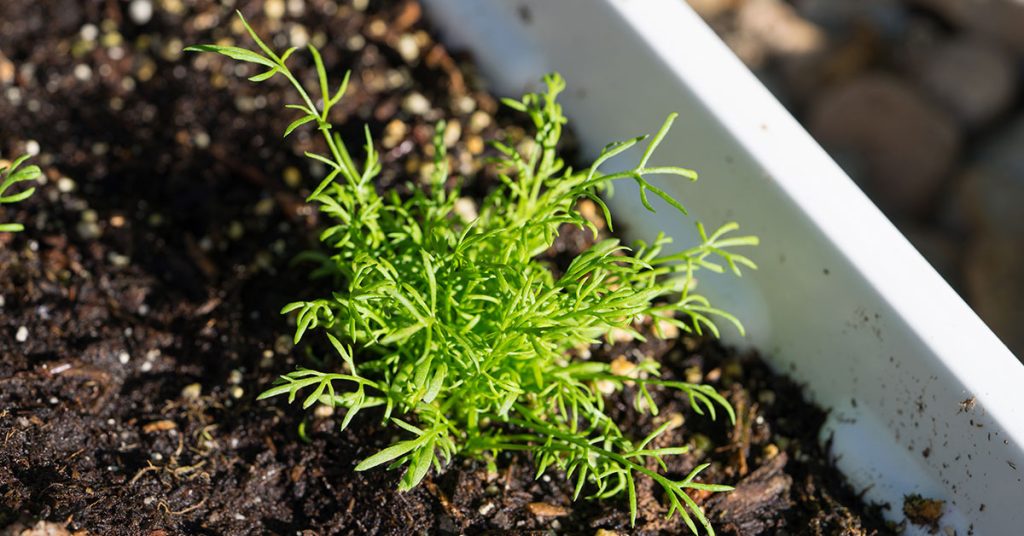
Sowing Techniques and Germination Strategies
Chamomile seeds are tiny and need light to germinate. I sprinkle them evenly on the soil surface, press gently, and keep the bed moist (but not soggy) with a fine mist. Germination takes 7–14 days; covering trays with clear plastic until sprouts appear maintains humidity without blocking light.
Patience is key—rushing to cover seeds deeply results in poor stands. Once seedlings show their first true leaves, I thin to 6–8 inches apart so each plant has room to branch. This spacing not only reduces disease risk but creates generous pockets where ground-nesting bees can establish cozy nests!
Water Management and Drought Tolerance

Chamomile prefers slightly dry conditions once established—overwatering can lead to root rot and floppy stems. After seedlings settle, I water deeply only when the top inch of soil dries, usually once a week in warm weather. This encourages roots to reach deeper moisture reserves!
In wild habitats, chamomile endured intermittent rainfall and occasional drought. Mimicking that pattern yields sturdier plants with more concentrated essential oils in the blooms. Plus, drier roots mean healthier crowns and lower disease pressure—leaving you with vibrant chamomile ready for endless harvests!