
Growing Anaheim peppers can be such a thrill—those long, mild fruits are perfect for roasting, stuffing, or adding a gentle kick to your favorite salsa! Despite their modest heat, Anaheim peppers pack a flavorful punch, and with a little know-how you can coax your plants into producing a bumper crop. Whether you’re a seasoned pepper pro or a newbie facing fickle spring weather, these strategies will guide you toward tall, vigorous plants laden with glossy green—and eventually red—peppers.
I know how frustrating it can be when blossom end rot or hungry pests threaten your harvest. Believe me, I’ve been there: staring at yellowing leaves and wondering if all that effort was for nothing! But fear not—by understanding your peppers’ native roots in the American Southwest (derived from the Capsicum annuum lineage originating in New Mexico) and adopting best practices—many of which help attract pollinators or beneficial insects that nest in nearby ground cover—you’ll soon be harvesting Anaheim peppers by the dozens.
Harvest at the Right Time
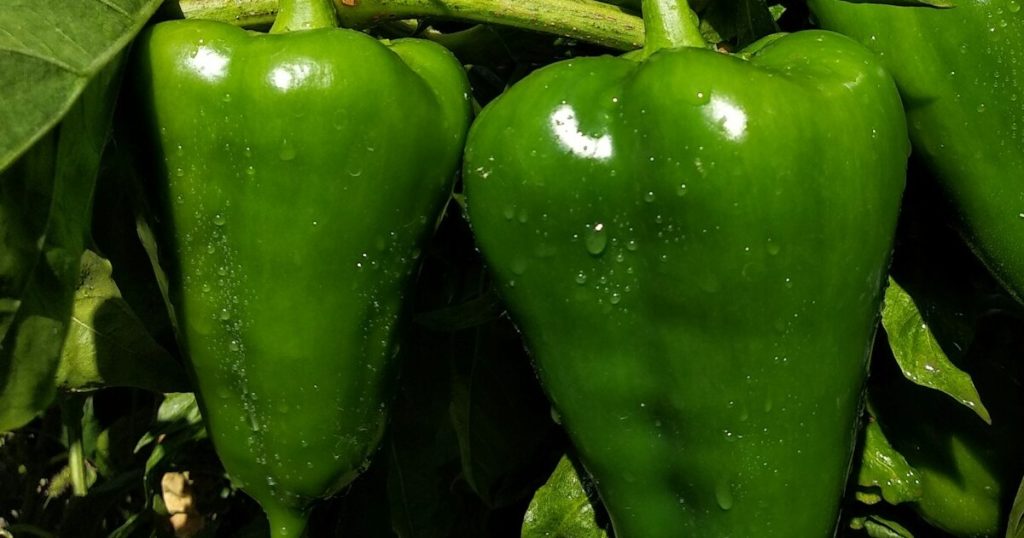
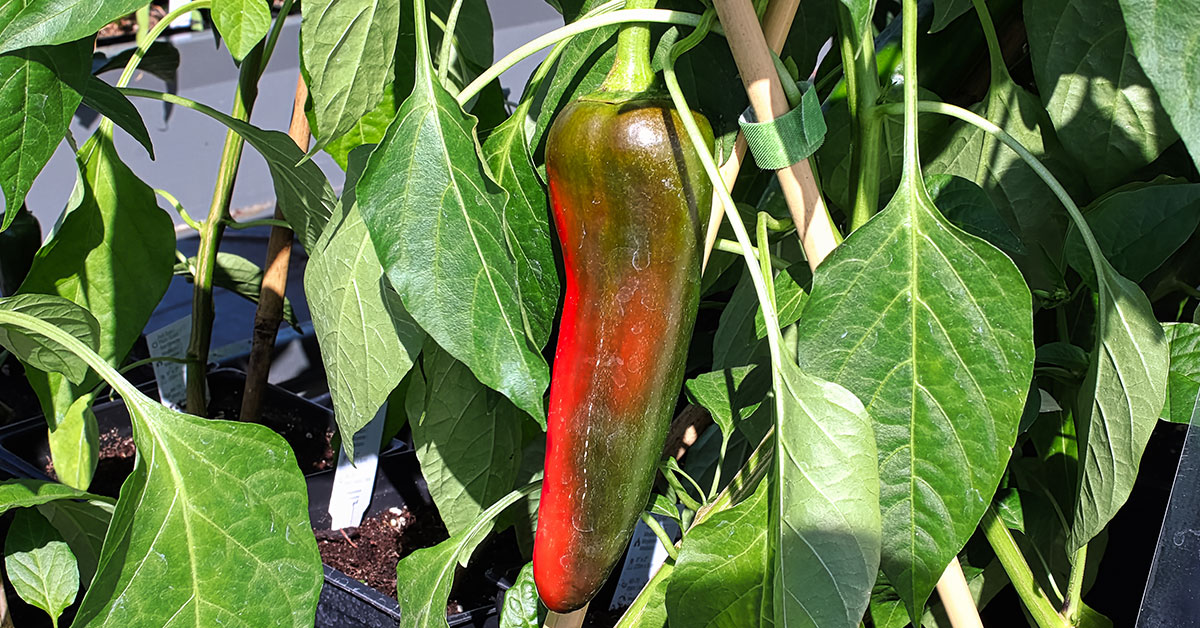
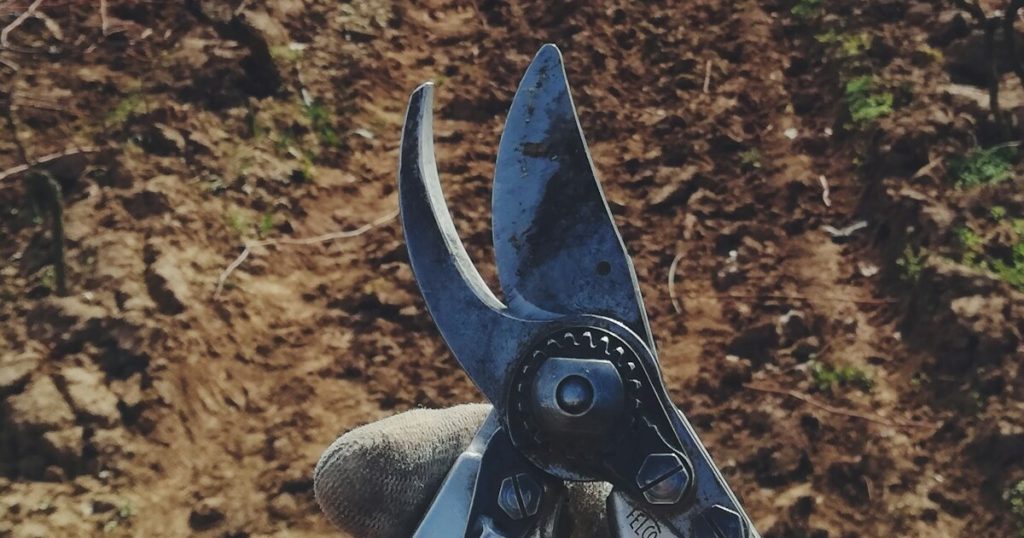
Anaheim peppers start out green and mature to a rich red if left on the plant, developing deeper flavor and sweetness. For a classic mild taste, harvest when fruits reach 6–8 inches long and glossy green—usually 70–75 days after transplanting. Use clean, sharp scissors or pruners to snip peppers, avoiding tugging that can damage branches.
Continue harvesting regularly; peppers signal stress when they feel crowded, which can slow further production. I always get a thrill when I see stems crowded with pods—it’s proof my careful care paid off! After harvesting, peppers keep for a couple of weeks in the fridge or can be roasted and frozen for year-round enjoyment.
Practice Strategic Pruning and Pinching
It might feel counterintuitive to snip parts of your pepper plant when you want more fruit, but gentle pinching of growing tips actually redirects energy into branching and boosts the number of flowering sites. Once seedlings have 4–6 true leaves, pinch above the second or third node. This encourages bushier growth and, ultimately, more peppers.
Later in the season, selectively remove lower leaves and any crowded foliage to improve air circulation. This reduces the risk of fungal diseases and lets sunlight reach developing fruits. Peppers themselves don’t nest, but you’ll often see ground-nesting bees setting up housekeeping in nearby mulch—those busy pollinators will help ensure every blossom turns into a plump pod!
Enrich Your Soil and Balance pH

Anaheim peppers flourish in loose, well-draining soil rich in organic matter. I always recommend mixing in a couple of inches of compost or aged manure to boost fertility and improve moisture retention without waterlogging those roots. Since Capsicum annuum isn’t considered invasive, it won’t crowd out neighboring plants—use that space to pamper your peppers!
Test your soil pH and aim for slightly acidic to neutral conditions—between 6.0 and 7.0. If it’s too acidic, add lime; if too alkaline, incorporate sulfur or peat moss. Proper pH ensures peppers can access essential nutrients like calcium—key to avoiding blossom end rot. Trust me, it’s a real downer when fruit develops black, sunken spots, but good soil prep keeps your harvest pristine.
Scout Early for Pests and Diseases
It’s such a bummer when aphids or spider mites sneak in and suck the life from young leaves. Inspect plants weekly, checking both upper and lower leaf surfaces for tiny invaders. Early detection means simpler controls: blast aphids off with a strong spray of water or apply insecticidal soap!
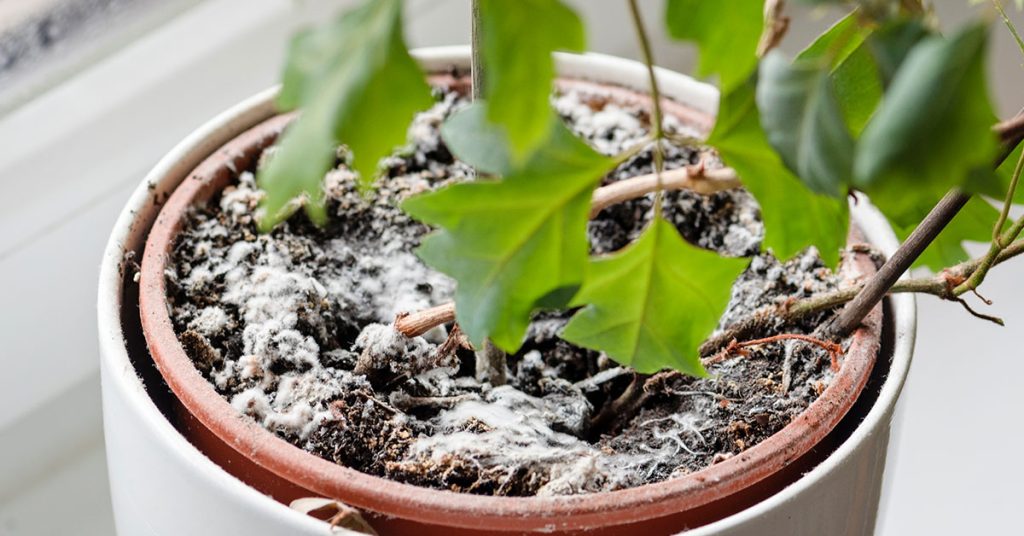
Keep an eye out for fungal issues like powdery mildew or bacterial spot. Remove any infected leaves promptly and dispose of them away from your garden. Promoting good air circulation plus using clean tools will help prevent disease establishment. A vigilant gardener is a successful gardener!
Encourage Pollinators and Beneficial Insects

Anaheim pepper flowers rely on bees—especially solitary native species—to transfer pollen. By planting companion blooms such as borage, calendula, or wildflowers nearby, you’ll attract these buzzing allies who’ll make frequent visits to your pepper blossoms. I adore watching mason bees flit through the garden—such tiny dynamos!
Consider installing insect hotels or leaving small patches of bare ground for ground-nesting beneficials like digger wasps. These predators help control aphids and caterpillars that might chew on pepper leaves. Supporting a healthy insect community keeps your pepper patch in check without harsh chemicals.
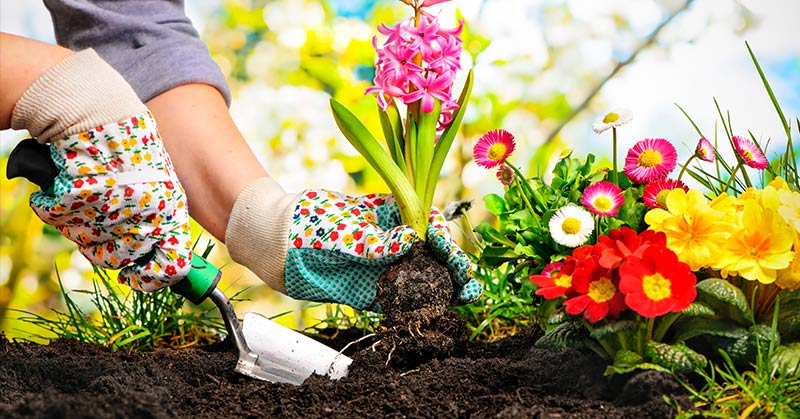
Harden Off and Transplant Thoughtfully

Timing matters! Wait until after all risk of frost has passed before moving your peppers outdoors permanently. Even a late chill can stunt or kill tender Anaheim transplants. Over 7–10 days, gradually acclimate seedlings to outdoor conditions by exposing them to increasing sunlight and breezes.
Choose a calm, overcast day for transplanting to reduce shock. Dig holes slightly deeper than the root ball to encourage new root growth along the buried stem. Backfill, water thoroughly, and add a light mulch layer. Seeing healthy transplants establish quickly always fills me with excitement—it means big harvests ahead!
Feed with Balanced Fertilizer

Before transplanting, side-dress the bed with a balanced, slow-release organic fertilizer—something like a 5-5-5 NPK blend. Anaheim peppers, originally selected for their prolific yields in the cooler climates of New Mexico, appreciate steady nutrition without going overboard on nitrogen, which can favor leafy growth at the expense of fruit.
Once flowering begins, switch to a formula higher in phosphorus and potassium, such as a 3-10-10 blend, to support blooming and fruit development. Scatter the fertilizer around the drip line, gently work it into the topsoil, and follow with a good watering to dissolve nutrients. You’ll soon marvel at how vigorously those pepper plants perform!
Start Seeds Indoors Early
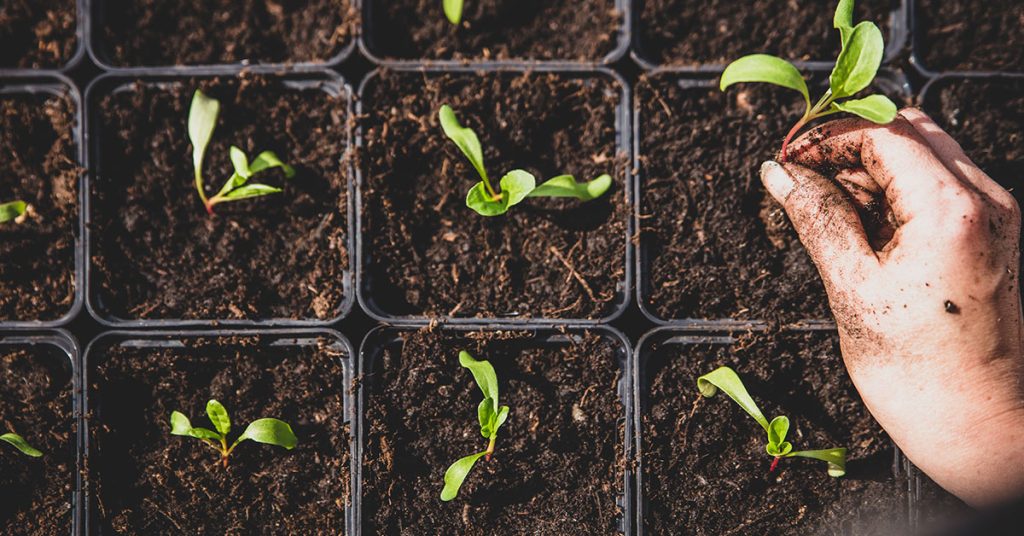
Anaheim peppers benefit from a long growing season. Sow seeds indoors 8–10 weeks before your last expected frost. Use a light, well-draining seed-starting mix and keep soil temperatures around 75–85°F to encourage lively germination. Watching those green cotyledons emerge always brings a smile to my face!
Provide 12–14 hours of bright light daily—whether from a sunny windowsill or grow lights placed just a few inches above seedlings. Gradually harden off young plants by introducing them to outdoor conditions over a week. Healthy, well-conditioned transplants face less stress, meaning more flowers and a heftier pepper set later on.
Rotate Crops Annually
Planting peppers—or any nightshade family member—in the same spot year after year invites soil-borne diseases such as verticillium wilt. Rotate your pepper patch to a new location each season and follow with legumes or brassicas to break disease cycles and naturally replenish nutrients.
Before returning peppers to a previously used bed, enrich the soil with fresh compost and consider cover cropping or solarizing during the off-season. This lively approach not only deters pathogens but also builds vibrant soil teeming with beneficial microbes and earthworms—a healthy foundation for your next pepper crop!
Maintain Consistent Moisture with Mulch

Peppers hate drought stress. Aim for about 1–1.5 inches of water per week, depending on rainfall. I love using drip irrigation or soaker hoses to deliver a steady sip of moisture right to the root zone, avoiding wet foliage that invites disease!
Top-dress with a 2–3-inch layer of organic mulch—straw, shredded leaves, or grass clippings are ideal. Mulch locks in soil moisture, suppresses weeds that compete for water and nutrients, and moderates soil temperatures. As it breaks down, it feeds the soil and attracts earthworms and predatory beetles that nest beneath, further enriching your pepper patch!
Monitor Temperature and Use Season Extenders

Anaheim peppers flourish when nighttime lows stay above 55°F and daytime highs hover between 70–85°F. If early spring nights dip too low, use row covers or cloches to trap heat. Conversely, intense summer sun can scorch foliage—light shade cloth during heatwaves keeps plants cool without cutting photosynthesis too much.
Consider plastic mulch to warm soil faster in cooler regions or clear plastic tunnels to extend both ends of the season. These “mini greenhouses” encourage peppers to flower and set fruit sooner, giving you a longer harvest window. I always cheer when I see those first blossoms thriving under covers—it’s like a promise of abundance!