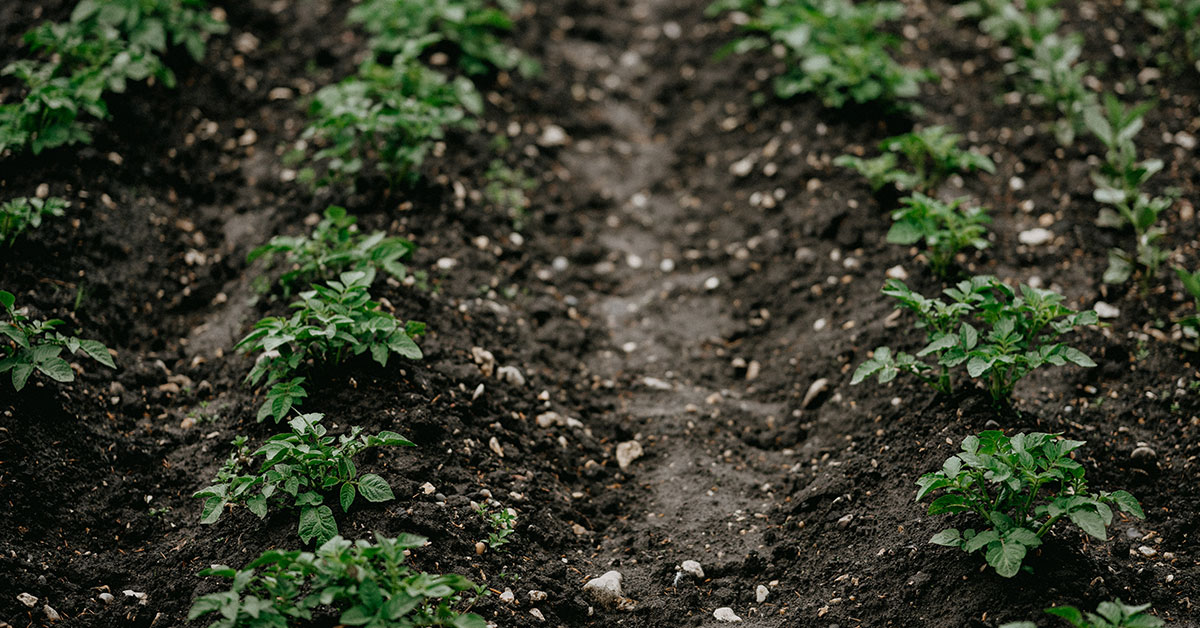

Potatoes (Solanum tuberosum) hail from the high Andes of South America, where indigenous farmers coaxed them from wild tubers into the versatile crop we prize today. They’re generally well-behaved in home gardens—not invasive unless you let every dropped spud sprout—yet they can send distress signals when conditions aren’t quite right. I know how disappointing it feels to spy sad, struggling potato plants after you’ve lovingly hilled and watered them, so let’s dig into eleven clear signs of trouble and easy fixes to get your patch back on track!
From nutrient shortfalls to pest invasions, each struggle has telltale symptoms above and below ground. Whether you’re battling scabbed tubers, leggy vines, or wilting foliage, these tips—drawn from my own triumphs and tumbles—will guide you in diagnosing issues early and nursing your potatoes back to health. Get ready to transform those ailing spuds into a bumper harvest!
Leaf Curling and Deformation
When potato leaves twist, cup, or develop puckered edges, it often points to aphid feeding or inadvertent herbicide drift. Aphids cluster on new shoots, piercing leaf tissue and sucking precious sap—leading to distorted growth. Meanwhile, some weed killers can drift in breezes and mimic these curling symptoms.
To help, scout undersides of leaves daily and gently wash off aphids with a strong spray of water or introduce ladybugs and lacewings, which nest in bare soil patches and feast on these sap-suckers! If herbicide drift seems likely, erect shade cloth barriers and coordinate with neighbors to adjust spraying times. Within a week of addressing the cause, new, untwisted leaves should unfurl.
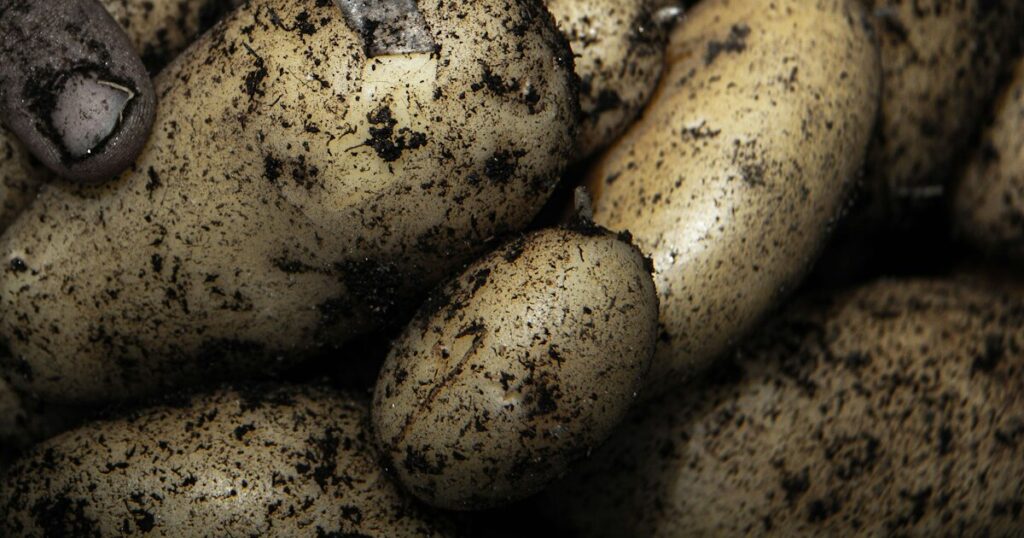
Scab on Tubers

Corky, raised lesions on your potatoes—known as common scab—thrive in alkaline soils and overly dry conditions. These rough patches don’t usually harm yield but make tubers less appealing and can harbor soil-dwelling pests. Scab organisms prefer pH above 7.2, where scab spores multiply near the soil surface.
Lower soil pH by amending with peat moss or elemental sulfur before planting, aiming for a slightly acidic range (pH 5.5–6.5). Keep soil evenly moist during tuber formation to discourage scab development. I once turned a scabby crop into smooth spuds simply by adjusting soil acidity and practicing consistent irrigation!
Yellowing Lower Leaves

Uniform yellowing of older, basal leaves typically signals nitrogen deficiency. Potatoes demand plenty of nitrogen early on to build lush foliage that will feed tuber growth underground. Without it, lower leaves fade to yellow while upper leaves stay green.
I remedy this by side-dressing with a balanced organic fertilizer—like blood meal or composted chicken manure—once vines reach 6–8 inches tall. Mulching with well-rotted compost also releases nitrogen slowly. Within 10 days of feeding, I always see those yellowed leaves regain their vibrant green!
Holes in Leaves

Little round holes across potato foliage usually betray flea beetles or potato beetle larvae munching away. Adult Colorado potato beetles and flea beetles lay eggs near the soil surface; their hatchlings chew holes that compromise photosynthesis.
Early morning, I handpick adult potato beetles into soapy water and sprinkle beneficial nematodes into the soil—these parasitize larvae. For flea beetles, a fine layer of diatomaceous earth deters hopping adults. As beneficial predatory wasps find nesting sites in nearby flower borders, they further suppress these leaf-eaters!
Wilting Foliage
If your potato vines droop even when soil is moist, it could be verticillium or fusarium wilt—fungal diseases that invade roots and clog water transport. Unlike simple drought stress, wilted leaves in well-watered beds indicate the roots can’t deliver moisture upward.
To help infected rows, practice crop rotation—avoid planting potatoes or related solanaceous crops (tomato, eggplant) in the same spot for at least three seasons. Improve soil structure with compost and gypsum to suppress pathogens, and consider resistant varieties like ‘Defender’ next year. Healthy rotation and aerated soil often prevent wilting outbreaks before they start!
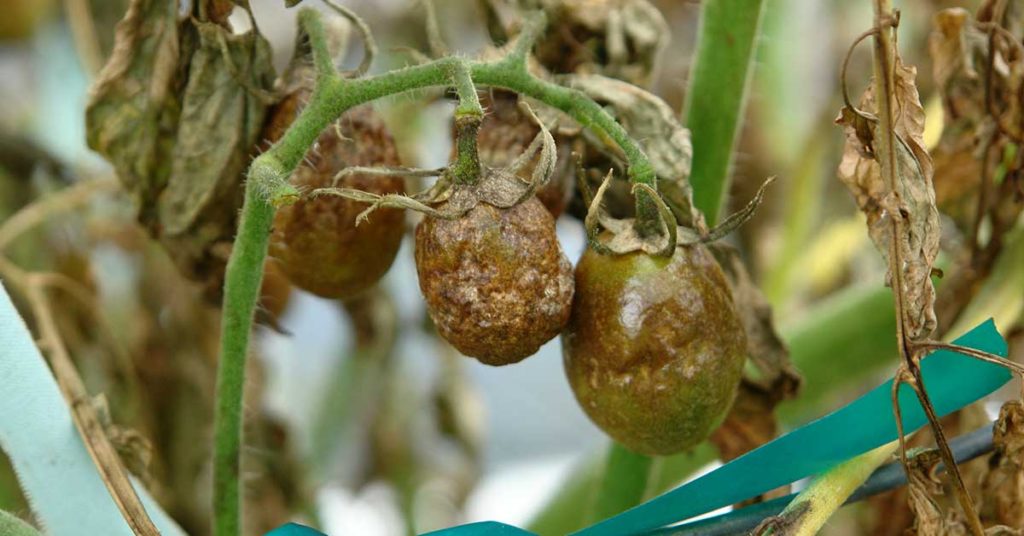
Brown or Soft Spots on Tubers

Soft, brown patches inside harvested potatoes point to tuber rot, often caused by Pythium or Phytophthora species in waterlogged soils. These pathogens feast on tubers when drainage is poor, turning them into mushy treasures best left in the ground.
To prevent tuber rot, plant on raised rows or in hilled beds that shed excess moisture. Mulch lightly to stabilize soil moisture without flooding. If you spot a few soft spots at harvest, cut away the affected tissue immediately and store the rest in a cool, dry spot—many tubers can still be salvaged!
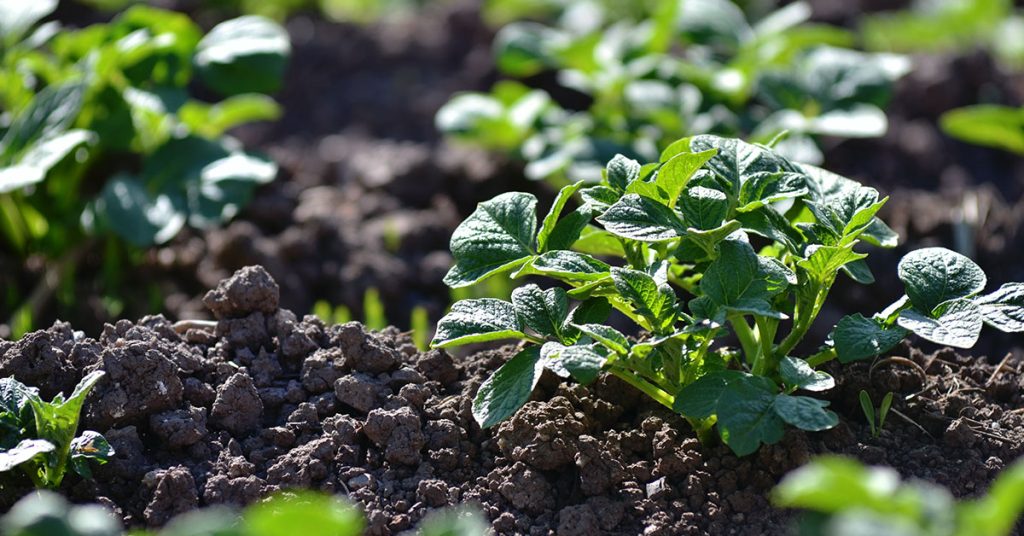
Stunted Growth and Small Tubers

Potato plants that barely reach ankle height with pea-sized tubers usually suffer from nutrient imbalance or compacted soil. Potatoes need loose, loamy soil to allow tuber expansion and a balanced supply of N-P-K throughout the season.
Before planting, double-dig your bed, enriching it with compost and aged manure. Mid-season, apply a side-dressing of bone meal or rock phosphate for phosphorus and a bit of potash for tuber bulking. I’ve turned puny harvests into generous yields simply by loosening soil and ensuring steady nutrient delivery!
Powdery Mildew on Foliage
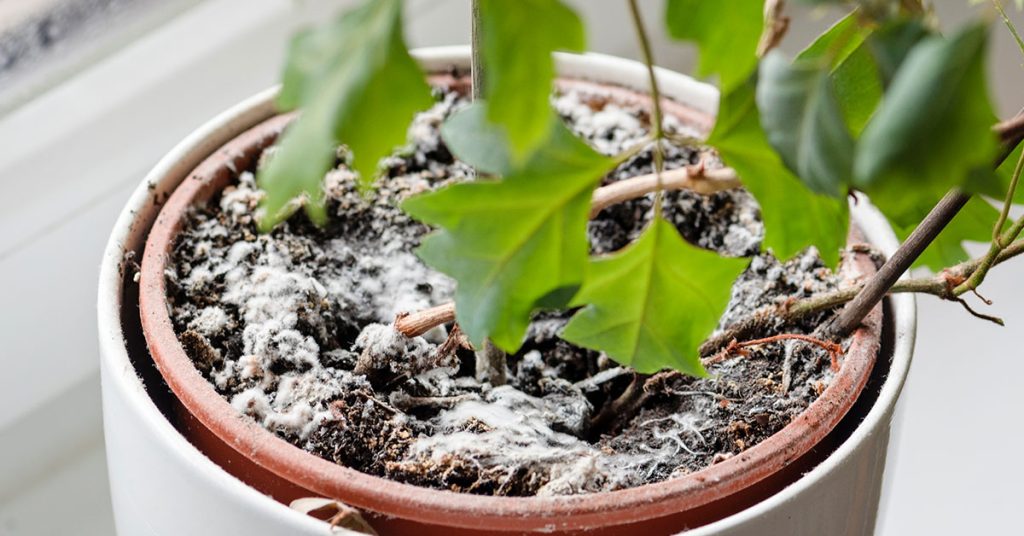
White, powdery patches on leaves often arrive in humid conditions, weakening the vines and reducing tuber fill. Though not as devastating as late blight, powdery mildew still saps energy from foliage, leading to yellowing and premature dieback.
I manage it by spacing rows for good airflow, watering at the base in the morning to allow leaves to dry, and applying a milk-spray treatment (one part milk to nine parts water) weekly until the patches fade. Introducing ground-nesting hoverflies via nearby alyssum beds also helps—those larvae chow down on mildew spores!
Delayed Flowering or No Flowers
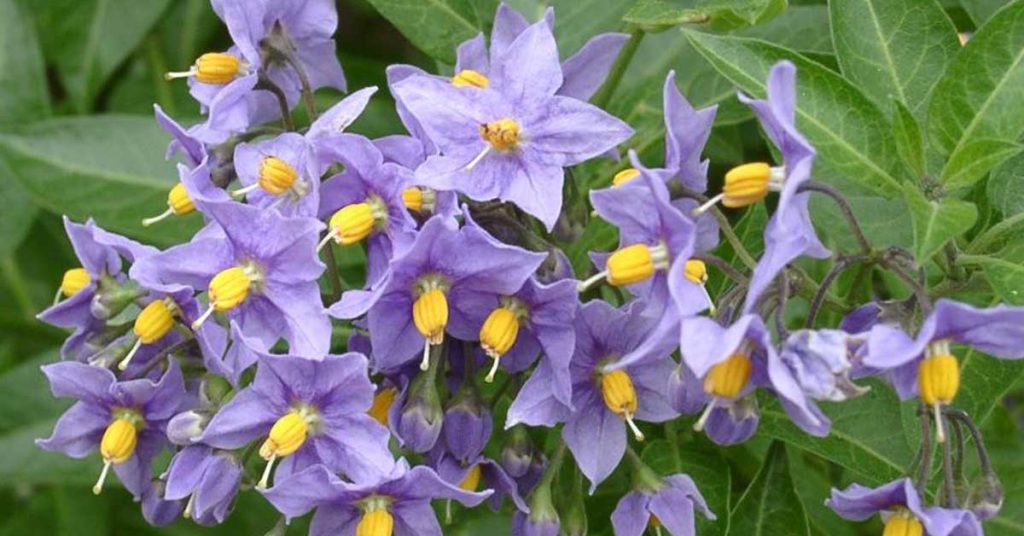
Potatoes blossom and set berries, but if your patch never flowers, it can indicate cool soil temperatures, excess nitrogen, or insufficient daylight. Flowering signals healthy pollinator visits—often by bumblebees nesting in undisturbed soil—and also correlates with good tuber set.
To encourage blooms, hill soil up around stems to warm roots, reduce high-nitrogen feeds mid-season, and ensure at least six hours of sun daily. If nights are cool, a row cover can raise temperatures. Once flowers appear, you’ll also see more pollinators buzzing about, which often boosts overall plant vigor!
Blister-like Lesions on Leaves
Dark concentric rings or target-like spots on foliage signal early blight, caused by Alternaria solani. These lesions weaken leaves, reducing photosynthesis and tuber development. Spores spread by splashing water, so low-lying leaves are at greatest risk.
I remove affected leaves promptly and mulch heavily to block soil spores. Applying copper-based organic fungicides at first sight of spots helps nip blight in the bud. And rotating away from solanaceous crops gives your plants a fresh start next season—fewer lesions, bigger tubers!