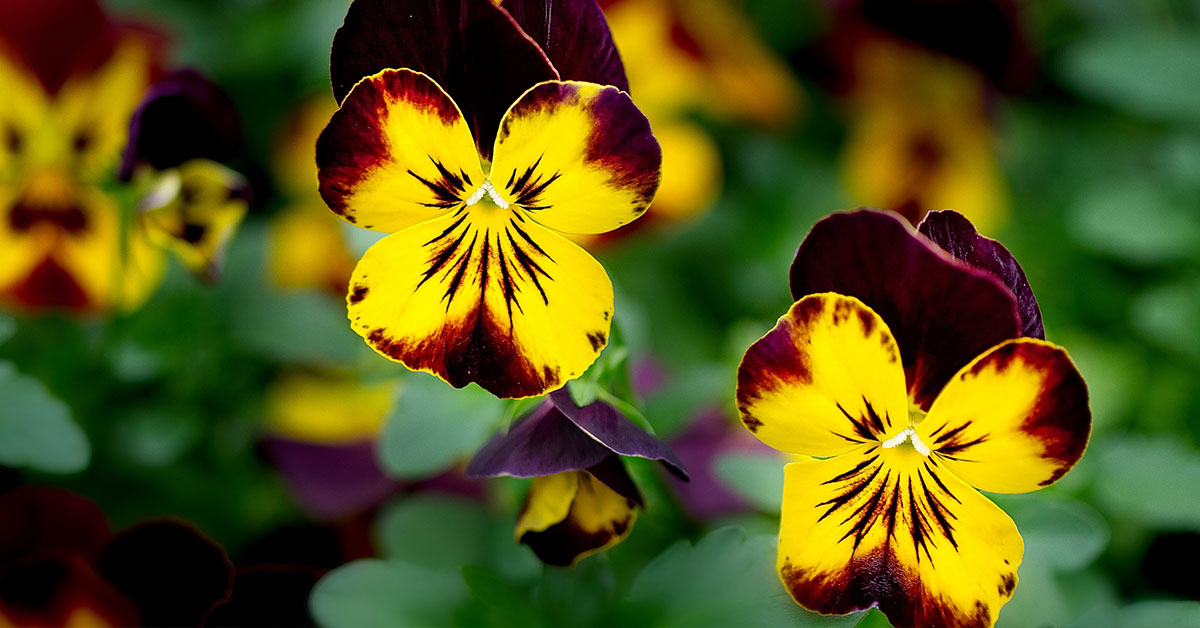

Pansies (Viola × wittrockiana) are spring’s happiest faces, brightening borders and containers with jewel-toned blooms. These European and Asian hybrids aren’t invasive, yet they can still show distress when conditions go awry. Knowing what to look for—and how to intervene—means you’ll keep those cheerful petals and lush foliage thriving through cool weather and beyond. Ready to diagnose your pansy patch? Let’s dive into these eleven warning signals and the targeted fixes that will have your plants bouncing back!
I know how disheartening it is to see once-vibrant pansies fade or falter despite your best efforts. Maybe you’ve chased off slugs and deadheaded blooms, yet leaf spots or wilt keep creeping in. With each of these sections describing the symptom (plus notes on nearby beneficial insects like solitary bees nesting in exposed soil or predatory mites lurking under foliage) and offering practical, detailed solutions so your pansies can put on their brightest faces once again!
Wilting Despite Moist Soil
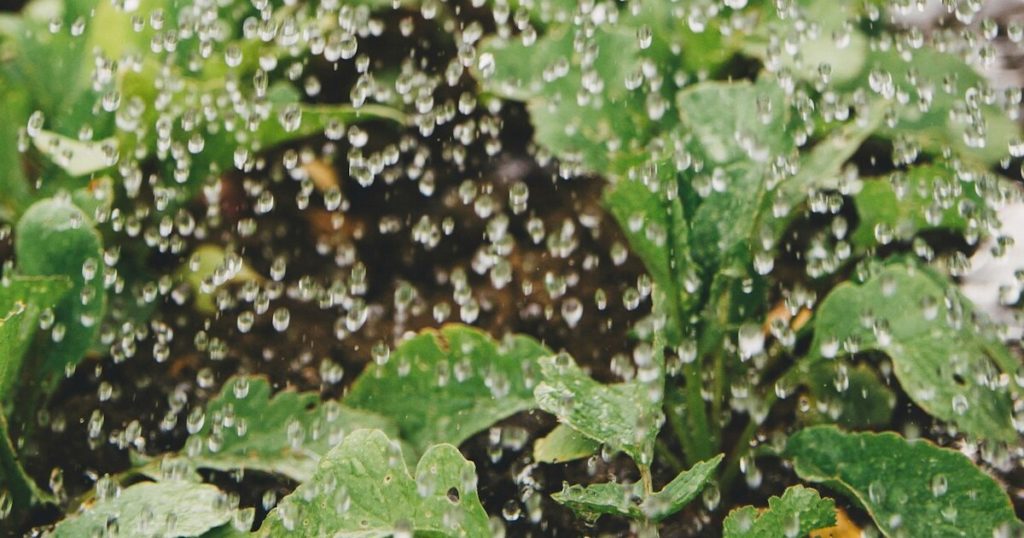
When pansy leaves droop even though the soil feels damp, root rot may be to blame. Pansies need well-draining, slightly acidic soil; waterlogged conditions suffocate roots and allow fungal pathogens like Pythium to take hold. You might also notice fewer ground-beetle patrols, as these beneficials avoid overly wet beds.
To remedy this, gently lift the plants, trim away any soft, dark roots, and repot in fresh soil amended with perlite or coarse sand for better drainage. Water only when the top inch of soil is dry, and consider adding a handful of composting springtails to the surface—they break down organic debris and help maintain a healthy, aerated root zone!
Yellowing Leaves with Green Veins

Chlorotic leaves—yellow tissue between green veins—often point to iron deficiency or an overly alkaline pH. Pansies prefer a pH around 6.0–7.0; outside that range, essential micronutrients lock up. You may also spot fewer hoverflies and ladybugs, as chlorotic plants produce less fragrance and fewer pollen rewards to attract these pest-hungry insects.
Fix this by applying chelated iron as a foliar spray and amending the soil with elemental sulfur if pH tests high. Mulch lightly with well-aged compost to buffer pH swings and feed beneficial soil microbes. When the plant’s chemistry balances, both foliage and flower production will recover—and so will your garden’s natural pest control!
Soft, Mushy Stems

If pansy stems suddenly become soft, discolored, or “mushy” at the base, you’re likely facing bacterial or fungal stem rot. These pathogens flourish in cool, damp conditions—exactly when pansies are supposed to shine! Fewer predatory mites under the leaves may clue you in, as these micro-hunters steer clear of diseased foliage.
Prune away affected stems up to healthy tissue, sterilizing your shears between cuts. Improve air circulation by spacing plants properly and avoiding overhead watering. A light dusting of cinnamon on the cut surfaces can act as a natural antifungal. Once stems firm up, beneficial mites and ladybugs will return to patrol for aphids and other unwelcome guests!
Leggy, Spindly Growth

When pansies stretch skyward with long gaps between leaves, insufficient light is often the culprit. Although they tolerate partial shade, they perform best with at least four hours of direct morning sun. You may notice fewer tiny ground-nesting bees in dim patches, since they’re drawn to well-flowered, sun-drenched blooms.
Relocate your pots or thin overhead canopy to boost light exposure. Pinch back straggly tips to encourage bushier branching, and soon you’ll see a flurry of new shoots. More compact foliage also creates ideal microhabitats for hoverfly larvae, natural aphid predators that help keep your pansies pest-free!
Black or Brown Leaf Spots

Dark, water-soaked spots on leaves signal fungal leaf-spot diseases like Alternaria or Septoria. Spores spread rapidly in cool, wet weather, causing tissue death and defoliation. Look for diminished hoverfly visits—these beneficial insects avoid diseased blooms, so their absence can warn you earlier than visible spots.
Remove and destroy infected leaves, then apply a copper-based fungicide or neem oil spray in the evening to minimize UV breakdown. Water at the soil level with a drip system or soaker hose to keep foliage dry. With fewer spots, pollinators and beneficial predatory mites will return, helping maintain that healthy balance!
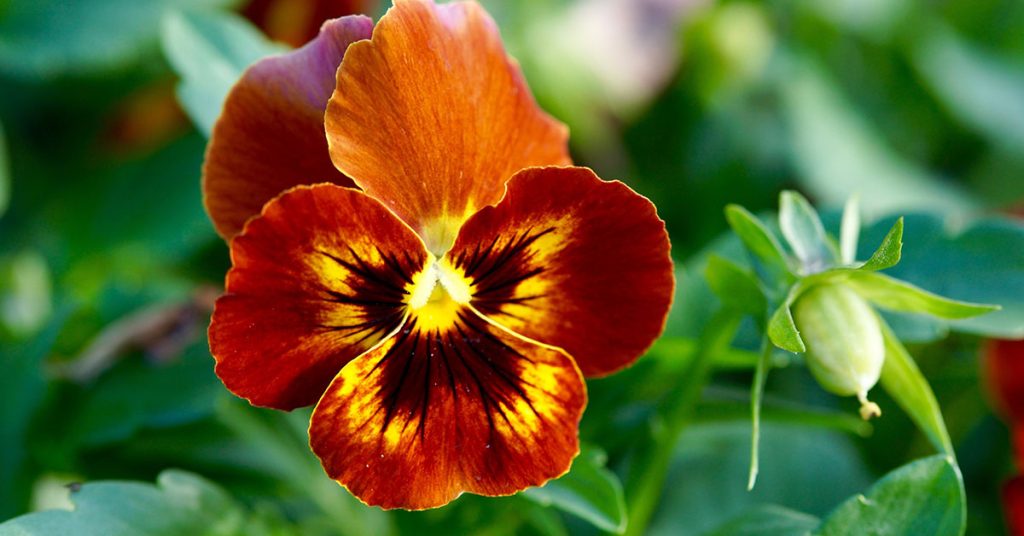
Faded or Discolored Flower Faces

When pansy petals lose their vivid hues or develop blotches, nutrient imbalances—or extreme temperatures—are usually at play. High nitrogen can produce lush foliage but poor flower color, while heat stress can bleach delicate pigments. You might also spot fewer nectar-loving bees, as dull flowers offer less visual attraction.
Balance nutrients by switching to a bloom-boosting fertilizer higher in phosphorus and potassium—something like a 5-10-10 NPK blend. Provide afternoon shade during heatwaves with temporary row covers or shade cloth. Restored flower intensity will beckon back bees and butterflies, improving both pollination and garden beauty!
Powdery White Coating on Leaves
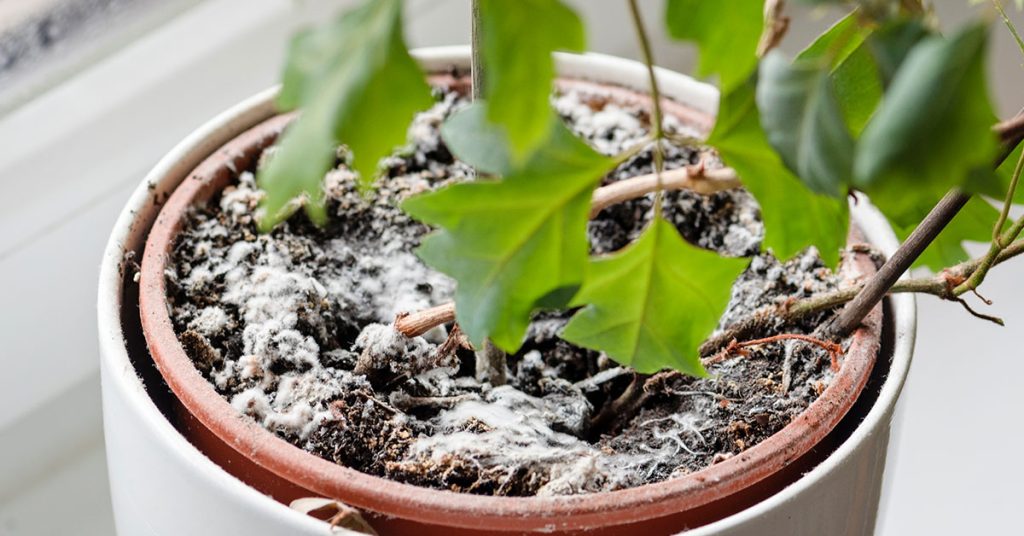
A dusty white layer signals powdery mildew, a fungus thriving in crowded, humid conditions. Mild air movement and dry foliage discourage its spread, so if your patch is dense, you’ll see more mildew—and fewer predatory mites that help control other pests.
Increase spacing between plants and remove lower leaves to encourage airflow. Spray with a homemade solution of one part milk to nine parts water every seven to ten days; the milk proteins inhibit fungal spores. Once the mildew retreats, your patch will again attract beneficial insects—nature’s own pest patrol!
Premature Flower Drop

Pansy blooms that bud up only to fall off before opening often indicate sudden temperature swings or drought stress. These tender hybrids prefer consistent cool temps; extremes trigger bud abortion. Fewer ground-beetle patrols along the soil surface can also clue you in—when flowers fail, the habitat becomes less attractive to these predators.
Protect developing buds by using lightweight row covers during frosty nights and temporary shading in scorching afternoons. Keep moisture consistent—never allowing the soil to dry out completely. Healthy, opened blossoms will once more draw pollinators and beneficial predatory beetles alike!
Stunted Growth
Tiny pansy rosettes that refuse to expand often suffer from poor soil fertility or root compaction. In compacted beds, roots struggle to spread—and beneficial springtails that aerate the topsoil may be scarce.
Loosen the soil around your pansies with a gentle fork and amend with rich, crumbly compost. Top-dress each plant with a balanced organic fertilizer, following package directions. As soil structure improves, both your pansy foliage and springtail activity will ramp up, leading to fuller, more vigorous plants!
Aphids or Whitefly Infestations

Clusters of tiny green aphids or whiteflies on new growth can devour pansy leaves and transmit viral diseases. These sap suckers thrive on weak or overfertilized plants, and their sticky honeydew invites sooty mold. Look for absence of lacewing larvae—these beneficials avoid pest-overrun patches.
Spray pests off with a strong jet of water and introduce insecticidal soap if populations persist. Encourage lacewings and ladybugs by planting alyssum or dill nearby; their larvae nest in low foliage and forage aggressively on these sap feeders. Soon, your pansies will be pest-free and merrily blooming again!
Crowded, Overgrown Patches
If your pansies are elbow-to-elbow, they compete fiercely for light, water, and nutrients. Overcrowding traps humidity, fueling fungal diseases, and deters ground-nesting solitary bees looking for bare soil to burrow in.
Thin your pansy stand by removing every other plant, or transplant extras to new beds. Aim for at least 6–8 inches between crowns. This opens soil for nest-building beetles and bees, improves airflow, and ensures each pansy enjoys room to flourish—resulting in fuller blooms and robust health!