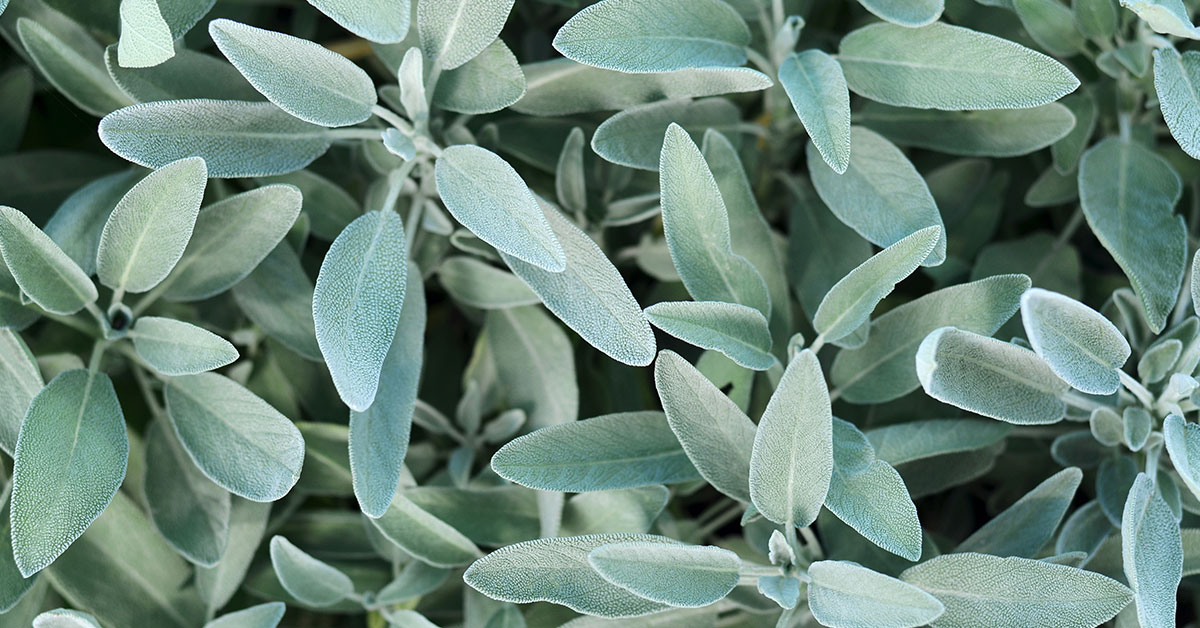

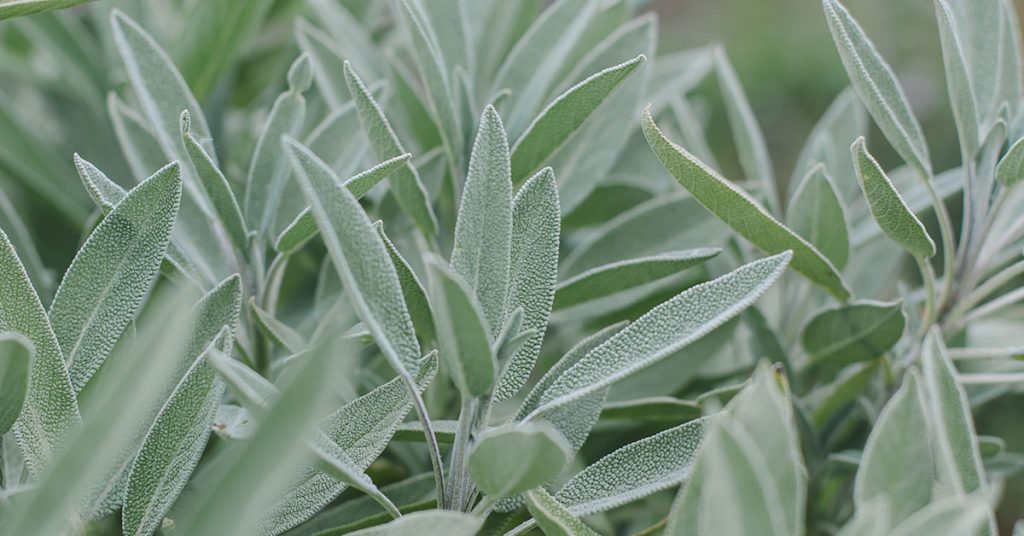
Sage (Salvia officinalis) is a culinary superstar and ornamental stunner native to the sun‑baked hills of the Mediterranean. I know how exciting it is to plant those silvery leaves in your garden, dreaming of fragrant harvests! Yet, it’s such a bummer when sage stays leggy, sulks in damp soil, or falls prey to pests before you’ve even had a chance to enjoy its savory scent. In this guide, we’ll explore eleven common missteps gardeners encounter with sage—and, more importantly, how to sidestep each one for lush, bushy growth.
Though sage rarely becomes invasive outside its native range, understanding its Mediterranean heritage is key. This plant thrives on bright light, lean soils, and good air circulation. As we dive into these mistakes—from overwatering to ignoring pruning—I’ll share practical tips, insect‑attracting tricks, and soil secrets so you can grow sage that’s as bold and healthy as you’ve always hoped!
Overwatering and Poor Drainage
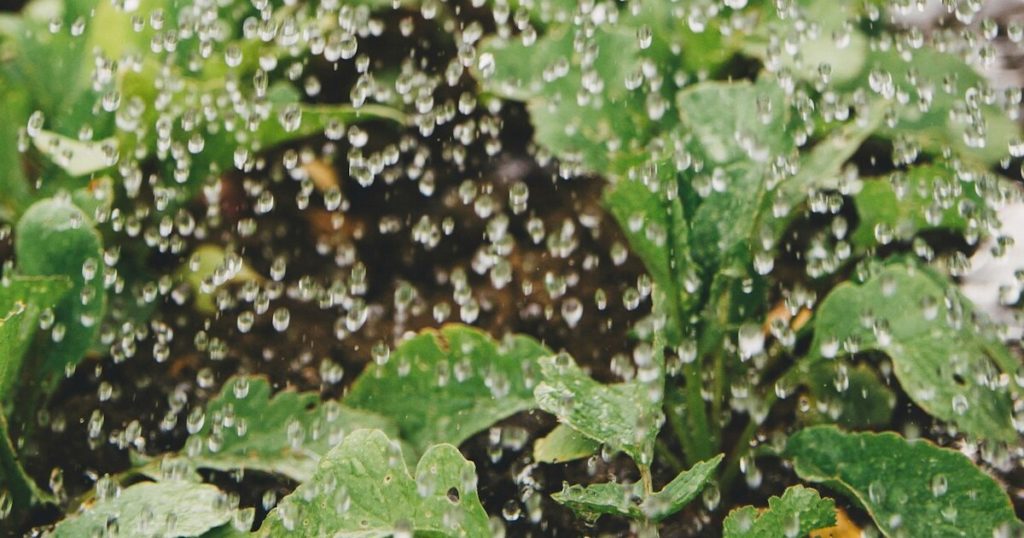
It’s tempting to keep the soil damp to help new sage seedlings, but sitting roots quickly rot in soggy ground. Sage evolved on gritty, well‑drained slopes, not waterlogged beds! Too much moisture invites fungal pathogens like root rot and damping‑off, turning those hopeful green shoots into mushy disappointments.
To avoid this, amend heavy clay with coarse sand or fine gravel and plant in raised beds or containers with drainage holes. Water deeply only when the top inch of soil dries, letting excess moisture drain away. This mimics sage’s native conditions and encourages roots to explore for water, leading to stronger, bushier plants!
Planting in Too Much Shade

I know how tempting it is to tuck sage into a half‑shady border, but insufficient sun spells trouble. Sage requires at least six hours of direct sunlight to photosynthesize fully and develop those essential oils that give it flavor and fragrance! In too much shade, stems stretch toward the light, becoming thin and floppy instead of forming dense clumps.
Choose the sunniest spot in your garden—south or west‑facing is ideal—and remove any competing branches that cast shade. If your site is marginal, consider growing sage in a movable pot that you can rotate to follow the sun’s path. Your sage will repay you with plump, aromatic leaves!
Neglecting Soil pH and Nutrient Balance

Sage thrives in slightly alkaline soil (pH 7.0–7.5), yet many gardeners skip testing and end up with acidic beds that hamper growth. Acidic conditions can stunt sage, leading to pale, sparse foliage and poor branching. Without adjustment, you might find yourself scrambling for fixes mid‑season.
Before planting, test your soil pH with a kit or meter. If it’s below 6.5, add garden lime or a light dusting of wood ashes to raise alkalinity. For nutrients, avoid heavy granular fertilizers—too much nitrogen causes leggy growth. Instead, side‑dress with well‑rotted compost once in spring to provide a gentle, balanced feed!
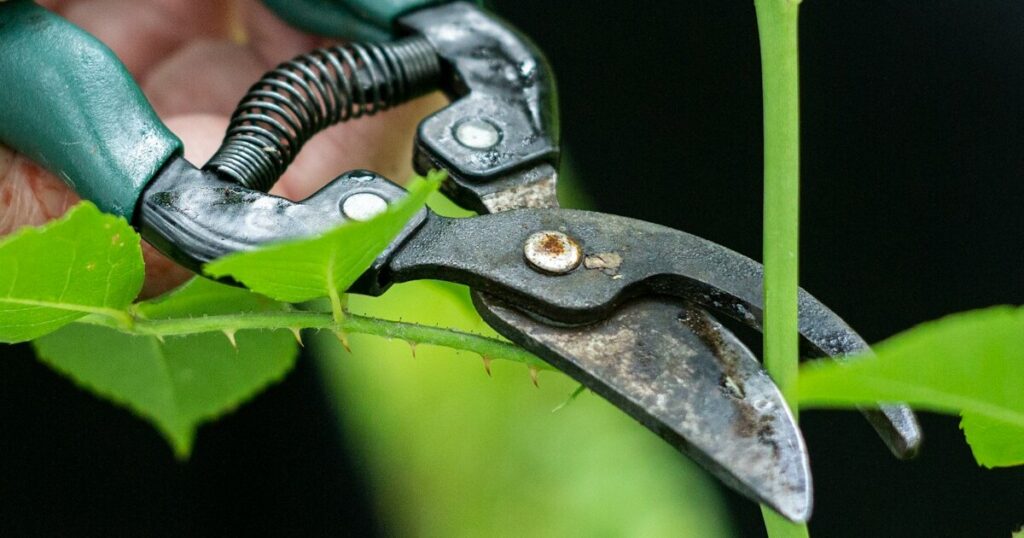
Skipping Regular Pruning
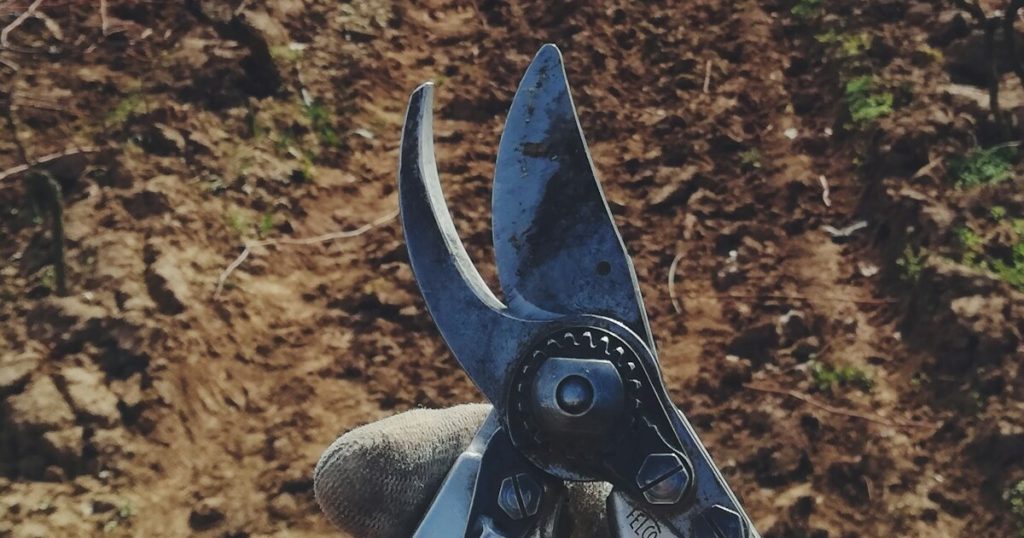
It’s such a shame when mature sage plants become woody and unproductive. Without pruning, old central stems take over, and the plant’s energy shifts toward maintenance rather than new branch growth. The result? Sparse interiors and a top‑heavy habit.
Aim to prune young plants annually in early summer: trim back about one‑third of the longest branches just above a leaf node. This signals the plant to produce two vigorous side shoots at each cut, rapidly increasing bushiness. Deadhead spent blooms too, so energy focuses on foliage instead of seed production!
Ignoring Pest and Disease Monitoring

A few holes in your leaves might seem minor, but unchecked pests like spider mites, slugs, or aphids can decimate young sage beds. Likewise, powdery mildew thrives in humid, stagnant conditions and leaves an unsightly white film.
Inspect your sage weekly, especially the undersides of leaves. Hand‑pick slugs or wash them away with a gentle spray. Introduce companion flowers—like borage or calendula—to lure beneficial hoverflies and predatory wasps that nest nearby and feast on aphids. Improve airflow to keep mildew at bay, and treat outbreaks early with organic neem oil!
Crowding Plants Too Closely
Overcrowding may seem like efficient use of space, but sage needs roughly 18–24 inches between plants. When stems are too close, airflow suffers, humidity spikes, and fungal diseases take hold more easily. You’ll also find each plant competes for light, leading to spindly, pale growth.
Re‑space your sage to give each plant room to spread its branches. If you’re tight on space, grow in staggered rows or containers placed strategically. You’ll enjoy healthier plants and fewer disease problems—plus easier access for harvesting those fragrant leaves!
Using the Wrong Sage Variety
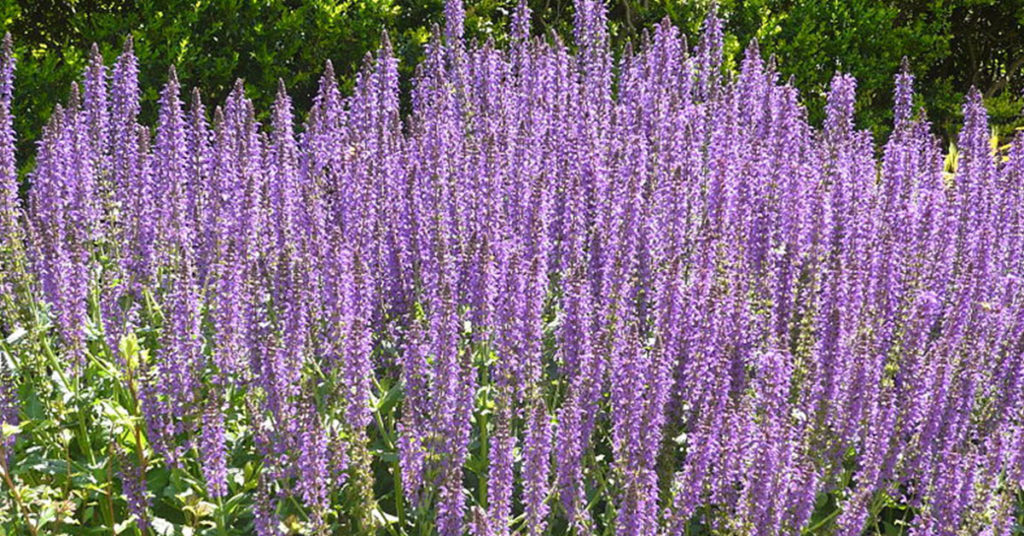
Not all sages are created equal when it comes to growth habit. Common culinary sage (Salvia officinalis) prefers lean soils and sun, while ornamental sages (Salvia nemorosa) tolerate more moisture and shade. Planting the wrong type for your conditions can set you up for frustration.
Research cultivars suited to your climate and garden style. If you want low‑mounding, choose ‘Icterina’ or ‘Purpurascens’; for tall ornamental spikes, opt for ‘May Night.’ Matching variety to site ensures each plant thrives rather than merely survives!
Omitting Mulch or Applying It Incorrectly

Mulch is a gardener’s best friend for moisture regulation and weed suppression—but it can backfire if piled against stems. A thick layer up to the trunk retains moisture, inviting stem rot and slug invasion. On the flip side, no mulch exposes roots to temperature swings and dries soil out too quickly.
Apply a two‑inch layer of organic mulch—such as leaf mold or straw—keeping it at least two inches away from the crown. This stabilizes soil temperature, retains moisture appropriately, and supplies gentle nutrients as it decomposes. Your sage will thank you with robust spring growth!
Overharvesting Young Plants
I know how thrilling it is to snip fresh leaves right after planting, but stripping too many leaves from immature sage can stress the plant. Young sage needs foliage to produce energy through photosynthesis, and excessive harvest can stunt root establishment and branching.
Wait until sage has at least six sets of true leaves before your first harvest, and never remove more than one‑third of the foliage at a time. Gradual harvesting encourages regrowth and ensures the plant remains strong enough to flourish through the season!
Neglecting Winter Protection in Cold Climates

Common sage is semi‑evergreen in mild zones but can suffer winter dieback in colder areas. Letting frost‑swept stems remain can lead to fungal entry points come spring and a messy, weak plant.
In late autumn, trim off half the growth, mulch heavily around the base with straw or leaves, and avoid late‑season feeding that stimulates tender new shoots. In spring, remove mulch gradually to prevent sudden thaw‑freeze cycles. This care helps sage survive winter and bounce back vigorously!
Failing to Rotate or Refresh Sage Beds
Leaving sage in the same spot for too many years invites soil‑borne diseases and depletes specific nutrients. I’ve seen long‑neglected sage patches lose vigor and become prone to dieback. Rotating medicinal or culinary herbs—or at least refreshing the soil—breaks disease cycles and restores fertility.
Every two to three years, relocate your sage to a new bed or amend the existing soil heavily with fresh compost and sand. This refresh gives roots fresh breathing room and nutrients, preventing stagnation and ensuring ongoing robust growth!